Not many people know that April 1 is marked not only by the day of laughter, the day of the brownies, but also by the day of birds. The history of this holiday begins in 1906 with the signing of the International Convention for the Protection of Birds. But in the more ancient times the arrival of migratory birds was noted especially, as a sign of the onset of spring and the renewal of nature. In honor of this event, the housewives baked larks from dough, and children under the guidance of adults hung out houses for birds. Nowadays the tradition to celebrate this holiday has been renewed since 1994. In the kindergarten and school, children are preparing for the day of birds crafts from a variety of materials, making a symbol of spring - a bird made of natural material, cotton wool, paper and cloth. Making souvenirs of birds is an excellent way for children to show their creativity and get to know the world of birds.
The work of "Birds"
We need:
- paper napkins;
- thick threads of brown color;
- colored paper;
- balloon;
- scissors;
- PVA glue.
Manufacturing
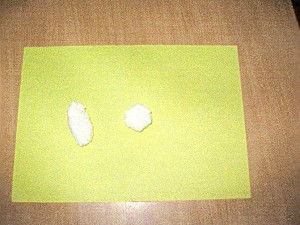
- We roll two balls from the napkin: big for the torso, and small for the head. Fix the shape by pulling the balls with threads. We will glue the head to the trunk.
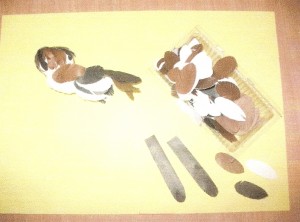
- We will cut out oval-shaped feathers from colored paper, glue them on our bird, forming wings and tail.
- From color cardboard we will cut out a beak, paws and eyes, we will stick to a bird.
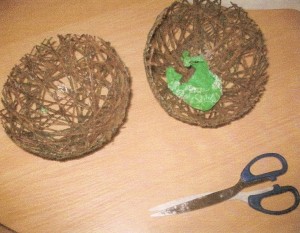
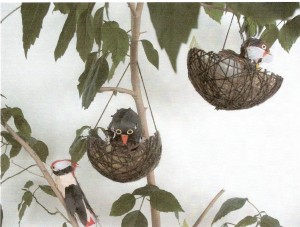
- Let's make a nest. To do this, inflate the balloon and wrap it with threads, pre-greased with glue. When the threads are completely dry, pierce the ball and cut the workpiece into two halves.
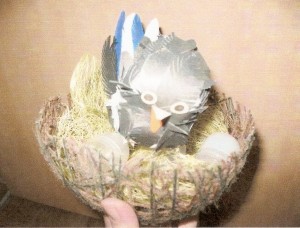
- Fill the nests with straw or packing mesh, put our birds there. The handicraft is ready.
| | |
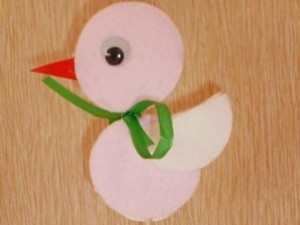
Crafts "Birds" made of cotton wool
We need:
- disks wadded;
- wooden skewers;
- colored paper;
- plastic eyes;
- scissors;
- glue.
Manufacturing
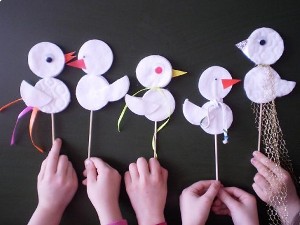
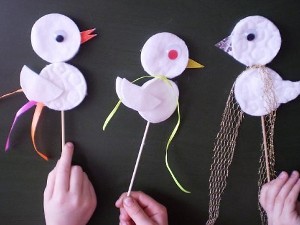
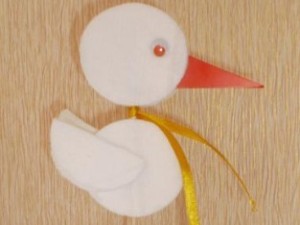
- For the production of each bird, we take 4 wadded discs. One of them will be cut in half, and the three remaining ones will be left intact.
- We fix the whole cotton wool on the wooden skew with the help of glue, forming a head and a trunk from them.
- We glue to the trunk on both sides a cut disk - the wings.
- To the head we glue a beak cut out of a colored paper and plastic eyes.
- Additionally, birds can be decorated with ribbons.
- To fix the bird in a vertical position, you can use the origami or plasticine module.
| | |
| | |
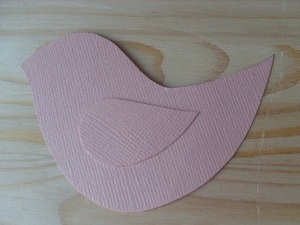
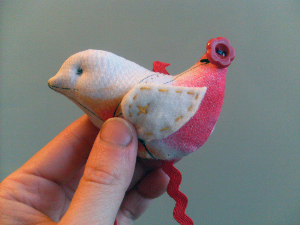
Handmade "Bird" made of fabric
We need:
- Heavy paper for patterning;
- remnants of natural fabrics and felt;
- sintepon for packing;
- pins;
- thread;
- needle;
- buttons;
- braid.
Manufacturing
- Draw on paper a pattern of crafts from two parts: the trunk and the wing.
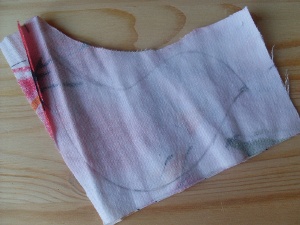
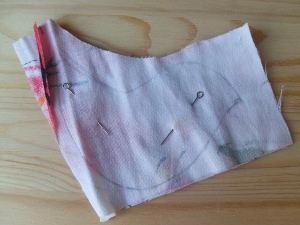
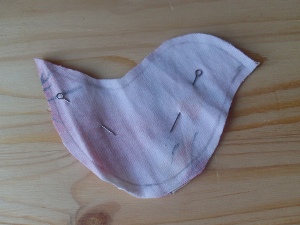
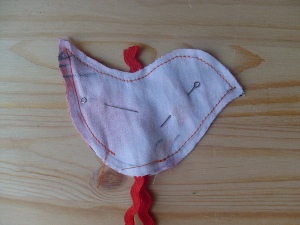
- Let's fold a suitable flap of tissue twice, face down and outline the pattern. Skolim folded fabric pins so that it does not move during sewing.
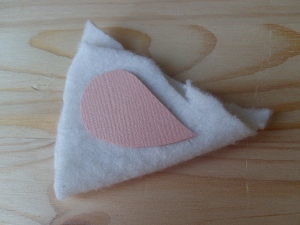
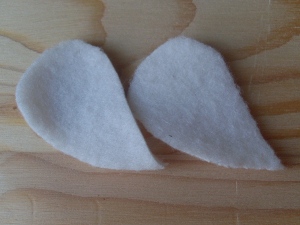
- Pattern of the wing is outlined on a piece of felt or fleece.
- We cut out the torso of the bird, not forgetting the allowances for seams (1-1.5 cm). Since the felt and fleece do not require additional processing of the edges, we cut out the wings from them along the contour of the pattern, without allowances.
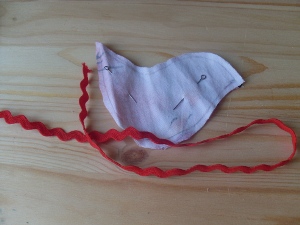
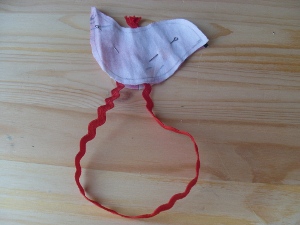
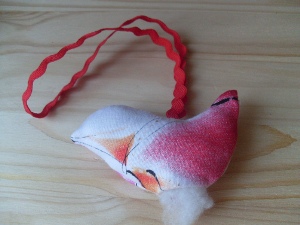
- In order for the work to be suspended, prepare a piece of decorative braid.
- Insert the braid between the details of the trunk (Fig. 16) so that its edges look slightly above.
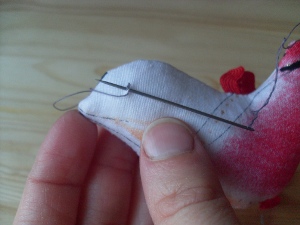
- We sew the body along the contour, leaving a small hole for eversion and packing. In places where sharp angles are obtained, the fabric must be cut close to the seam.
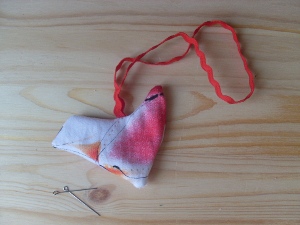
- We turn out our bird, straighten the corners with a scoop or knitting needles.
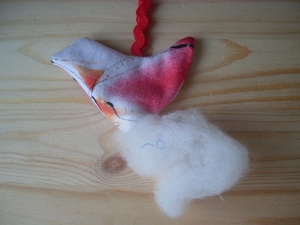
- We fill the bird with a sintepon.
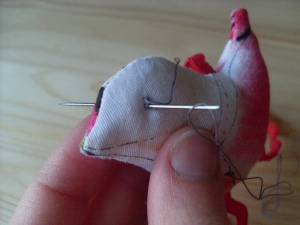
- Sew the hole in the bird with a hidden seam.
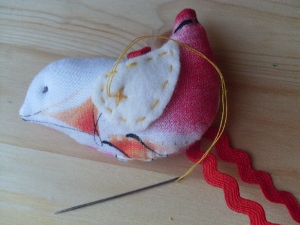
- We sew a bird's eye. In order to do this symmetrically on both sides, we designate a place for the eyes, piercing the article with a needle through and through.
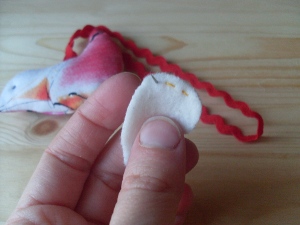
- We sew our wings a wings, piercing them beforehand with any decorative seam along the contour.
- We will decorate the tail of our craft with a suitable button.
| | |
| | |
| | |
| | |
| | |