Many needlewomen love to make their own things for the house in the technique of decoupage. For decoupage use or special napkins from the store for artists, or any liked, which sell in the economic departments. We in our master class use a napkin specifically designed for this type of work.
Decoupage of a wooden casket
To decorate the decoupage of an ordinary, unremarkable wooden box, we will need the following materials:
- wooden cask stock, in our case the most common casket;
- acrylic paints of wood shades;
- decoupage card;
- adhesive for decoupage;
- aerosol varnish;
- two-step craquelure;
- copper pigment;
- glue for potali;
- potital crumb;
- a skin;
- shellac varnish;
- clear wax.
Master class on decoupage of wooden caskets
In this master class, we show you how easy and simple it is to make an excellent decoupage box.
1. First of all, we start the primary processing of the workpiece, that is, the box itself. For this we need to use a skin. We rub the box with a sandpaper until it becomes as smooth as possible.
2. Now we determine which parts of the box we need to blot, that is, using the paints to darken the color of the tree. We do not need to stain the top of the box, since it will be decorated with a napkin. In order not to stain it, we seal it with paint tape.
3. Now we will clean the casket. It is better to do this consistently, in several shades, suitable in color to the pattern. The stain is made from a mixture of acrylic paint and glazing medium, which gives the paint transparency. Mix the shade, close to the color of the girl's hair behind the piano.
4. Using a brush, we smear the casket, let it dry.
5. Now mix a more red shade, similar to the dress of the second girl. The casket is a little dark.
6. Finally we use the darkest color, cover the box, let it dry out.
7. After that, you can slightly polish the sides of the box, thereby bleeding them.
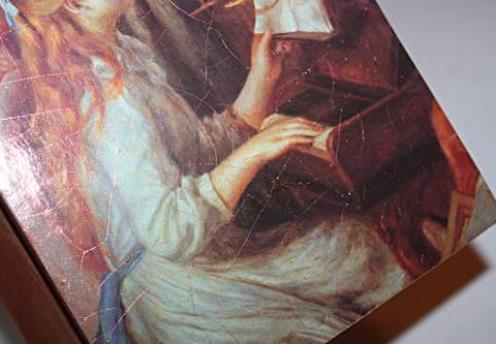
8. We received the box in tones, close to the tones of the image of the girls at the piano. It's time for the decoupage card. Cut out the card according to the size of the box.
9. Soak the decoupage napkin for a few minutes in the water. This will help the picture to stretch slightly before applying the glue. If we do not, the picture will begin to stretch during the gluing process and bubbles may appear.
10. While the napkin is soaked in order not to waste time, it is possible to prepare everything necessary for gluing. Lubricate the cover with glue, put paper towels to blot the image before gluing.
11. Now glue the decoupage napkin to the lid of the casket.
12. Using a coarse skin, remove the excess edges of the napkin.
13. After that, carefully dry the decoupage map and cover it with another layer of glue-varnish. Let the box dry.
14. Apply the first layer of craquelure. It is most convenient to apply it directly with your finger, with a thin layer, spreading it in circular motions.
15. After that, wait for half an hour, the first layer will become transparent. You can apply a second layer. It is brownish in color, very similar to gum arabic, quite liquid. You should apply it neatly, in no case by pouring too much. The layer should be applied as thin as possible, because the thick layer sometimes peels off during the formation of cracks, this will spoil the whole appearance of the casket.
16. Now you need to wait 3-4 hours, until the crackle is completely dry and covered with a network of beautiful cracks.
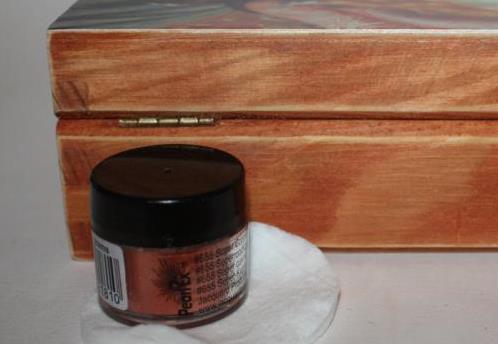
17. Next, proceed to mashing the cracks. Here you need to be careful - in most cases, craquelure is water soluble, so a drop of water or damp fingers can leave ugly prints. So rub the cracks better with a cotton pad. As a grout, you can take a pigment, oil or bitumen. Rubbing in circular motions, taking a little pigment on the disc.
| | |
18. We fix craquelure with aerosol varnish, it is better to apply several layers.
19. Now cover the entire wooden box with varnish.
20. At this stage, you can stop - our decoupage box is ready and covered with varnish. But let's try to continue decorating, giving it the appearance of an older thing, using potalic crumbs.
21. Apply a little glue on the palette and rub it lightly on the sides of the box around the motif and slightly on the sides.
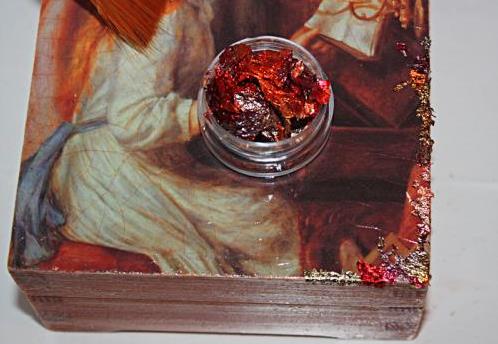
22. When the glue has become transparent, it is possible to apply pital: apply the leaf to the place where the glue was applied and lightly press down with a soft brush. It is very convenient to take the leaves from the jar with an electrified brush.
| | |
23. When the pant is applied to all droplets of glue and is glued to it, you can use the same brush, "anti-wool" movements, to remove the excess from the casket and collect them back into the jar for future work. And the work itself is fixed with several layers of shellac varnish. Here you can not use acrylic lacquer, in which case the potassium will oxidize after a while.
24. Now let's give the boxes a small copper tide. This requires a palette, wax and copper pigment.
25. Mix the wax and a little pigment until smooth.
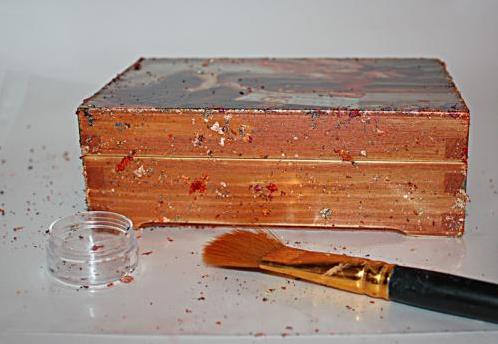
26. Rub the wax into the work with a brush or sponge.
27. After a few hours, polish the casket with a soft cloth. From the inside, the casket is processed or left untreated, depending on the purpose of the casket.
28. Now the casket is ready.