Decoupage, as one of the creative techniques of the transformation of household items, is popular with women. The technique itself is not complicated, it does not require large material costs, but as a result of this work, real works of art can turn out. About how to use this technique to transform an ordinary vase, we'll tell you later.
How to make decoupage of a glass vase?
The simplest version of decoupage of a glass vase is suitable for beginners. You will need only:
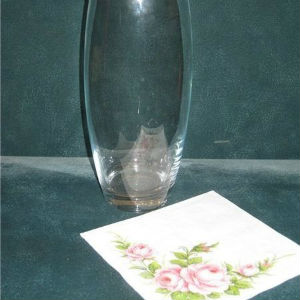
- the glass vase itself;
- rice paper;
- napkin with the desired image;
- scissors;
- adhesive for decoupage;
- brush;
- acrylic lacquer (preferably in the form of an aerosol);
- acrylic paint;
- sponge;
- alcohol;
- cotton wool.
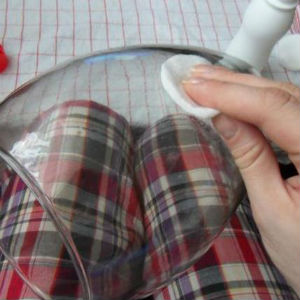
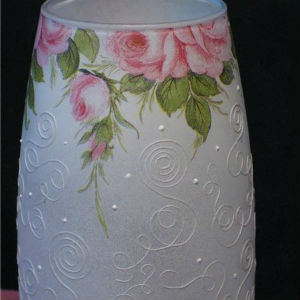
- We prepare the surface of the vase. To do this, wipe it with cotton wool soaked in alcohol.
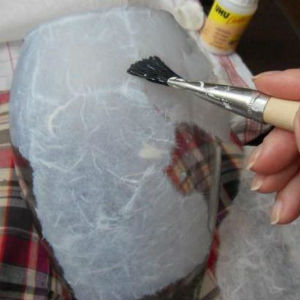
- Rice paper tear into small pieces and pasted them with a vase with a special glue. Decoupage vases rice paper - this is a common technique. Most often, the paper serves as a background for the main decor.
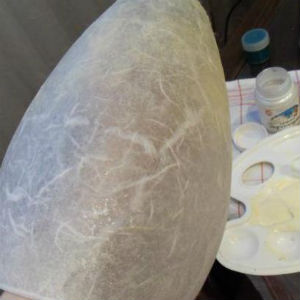
- After the paper has dried, use a sponge soaked in the paint to give the paper the desired shade. In this case, we make the transition from pale yellow to white, from bottom to top.
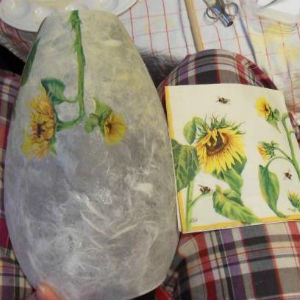
- We leave the vase to dry out, and in the meantime, we cut out the desired pattern from the napkin.
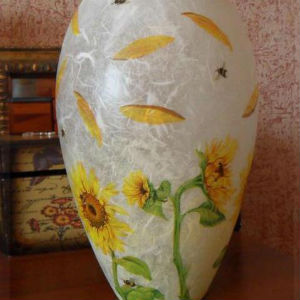
- Gently paste on the vase carved images, composing the composition.
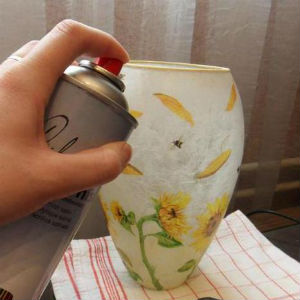
- Apply the first coat of varnish and after drying, using fine-grained sandpaper, rubbing all the irregularities.
- Apply the varnish again. The vase is ready!
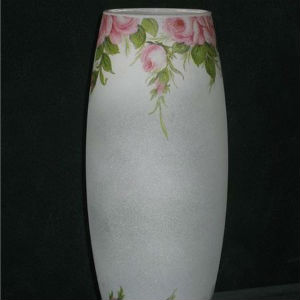
Master class: decoupage of a glass vase with napkins
In addition to traditional decoupage vases with napkins, you can use other materials, such as thread. The result of this additional decor is the interesting appearance of the vase. So, we need:
- glass vase;
- aerosol paint (white);
- napkins with a pattern;
- adhesive for decoupage;
- thread white;
- scissors;
- brush;
- PVA glue;
- putty;
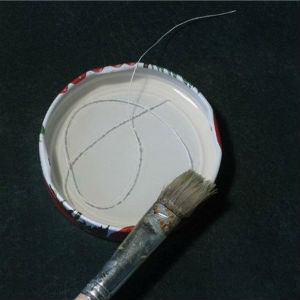
- syringe;
- aerosol varnish;
- toothpick;
- alcohol;
- cotton wool.
- Rub the surface of the vase with cotton wool soaked in alcohol.
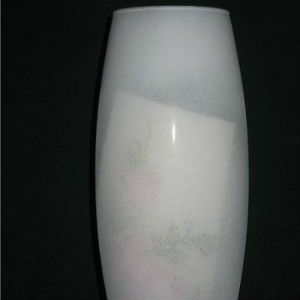
- The vase is covered with paint from a can.
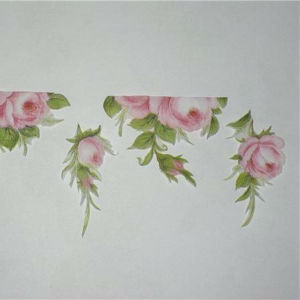
- From the napkins we cut out the desired pattern.
- We glue the cut out drawings for decoupage, in this case roses, distributing them on the bottom and on top of the vase. The middle of the vase is left empty.
- We wet the threads in water, and then in PVA glue. We remove the excess with a brush. We glue the threads to the vase, forming the desired pattern. All the angularities are corrected by following the resulting tooth pattern with a toothpick.
- We type a few fillings in the syringe and make bulky points. You can use small beads. Then they just need to stick.
- We cover the vase with an aerosol varnish, and it's ready!
| | |
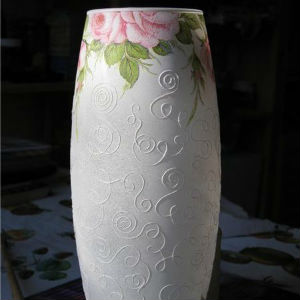
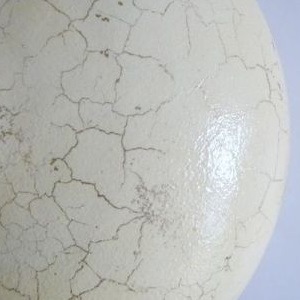
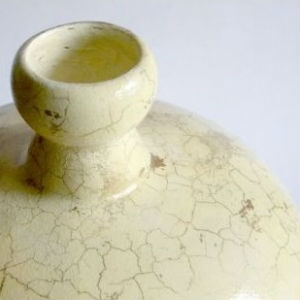
Decoupage vases with craquelure own hands
Even more interesting and textured look vases with craquelure. Using this effect, you can create original and really
- beautiful vases. To create the desired invoice on the vase we will need:
- vase;
- acrylic paint;
- acrylic lacquer;
- means for the creation of craquelure (gum arabic, shellac);
- artistic paste of bronze color;
- sponge;
- brush.
- Using a sponge, we cover the vase with white acrylic paint. It is desirable to make a solid color base, so apply the paint in several layers.
- After drying the paint, we cover the vase with varnish.
- After the varnish is completely dry, apply the shellac with a sponge. This product requires three layers, they are applied tightly, with a break of 20 minutes.
- After another 20 minutes, we apply the second component, gum arabic. We also apply it with a sponge and tightly. We leave the vase for 3 - 5 hours, preferably in the sun, but not to have a draft. During this time on the vase cracks are formed.
- Cracks fill with a paste of bronze. Excessively rinse gently with soapy water. If necessary, once again we pass through the cracks paste. The vase is ready!
| | |
Having decorated the vase in this way, it is possible to continue and make decoupage of a box , housekeeper , clock or even a cover for a passport .