If you still have little idea how to draw a children's drawing on the theme "Winter", then try to fantasize with the child. Better yet, go on a winter walk to the snow forest. After the baby gets impressed, the drawing will turn out as it should.
How to draw a winter in a pencil for children: a master class for beginners
Draw the winter in stages can be as colors: gouache, watercolor, and felt-tip pens. But an inexperienced artist is better to start with a pencil.
So, for the winter masterpiece, we need the following set:
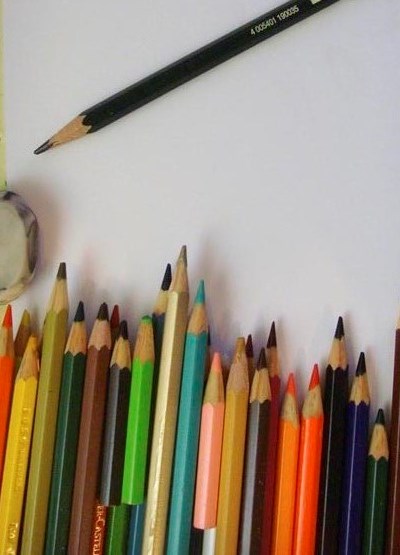
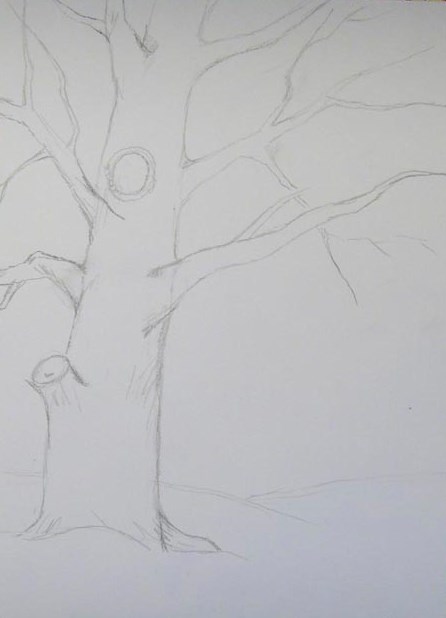
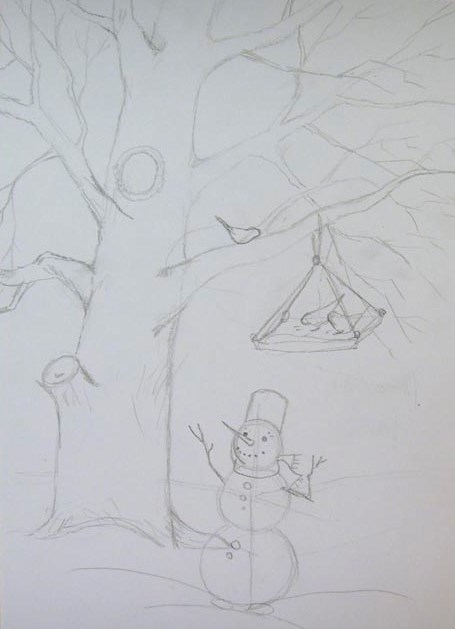
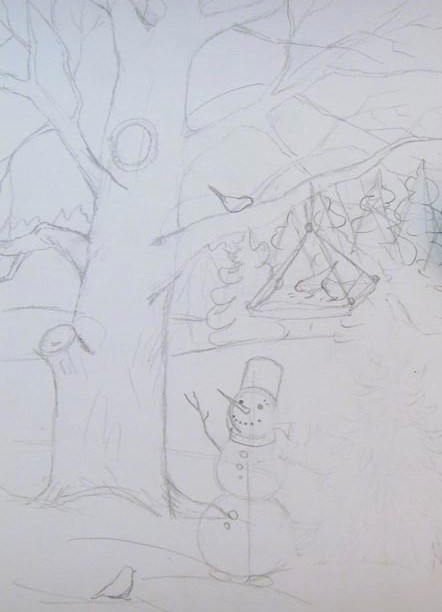
- Turning the sheet along the vertical, first with light movements of a simple pencil should make the appearance of the relief - drifts away. Approximately in the middle of the resulting "glade" we draw a projection of a mighty oak tree, certainly with a hollow. Even someone who has never painted a realistic tree will cope with this without much difficulty.
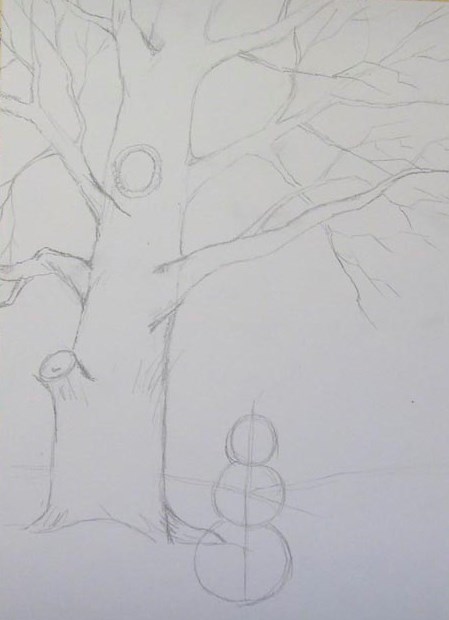
- Now it's time to draw a snowman. This should also be done step by step, first sketching only schematically. As expected, the lower circle will be the largest, then the middle circle, and afterwards the smallest. Superfluous lines are easily erased by an eraser.
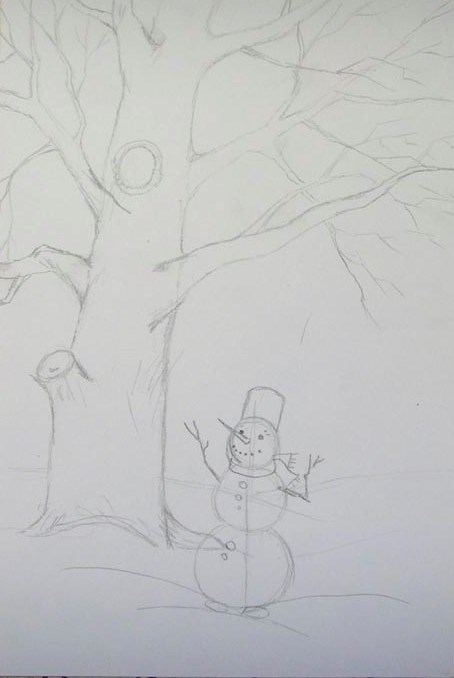
- Now add the snowman details - on his head bucket, nose-carrot, mouth and buttons of embers, and hands of twigs. Do not forget to draw peeping boots in the form of small ovals.
- What kind of winter forest without birds - bullfinches and tits? You can draw any, because they are similar in shape, only the color is different. We draw one ptahu on the tree next to the feeder, in which two others are already dining.
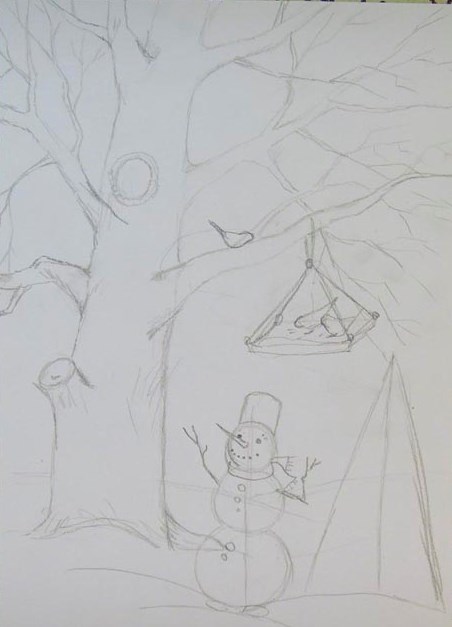
- Oak oak, but the winter picture will be missing something if you do not add a green herringbone beauty to it. We depict it first schematically in the form of a triangle divided in half.
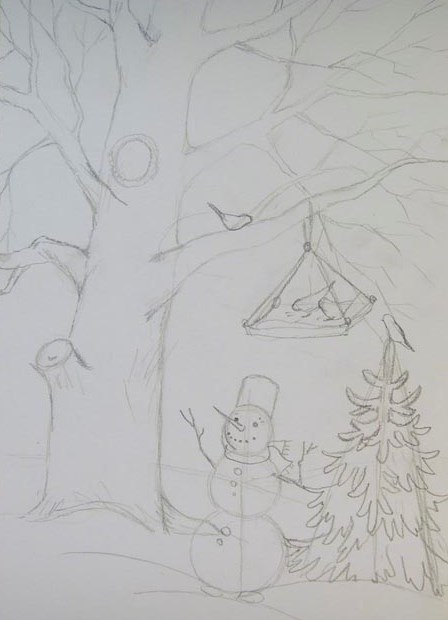
- Now the task is complicated and, perhaps, the adult will have to help the child a little. From the schematic triangle it's time to make a tree, drawing on it starting from the top of the twig. On the very top you can sit one more bird.
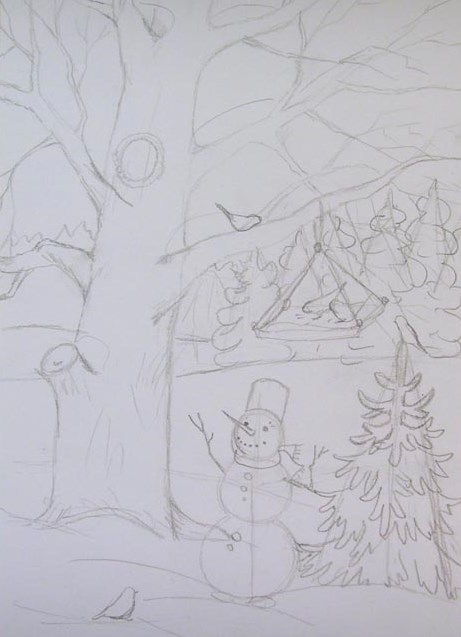
- In the background, under the lower branches of the oak tree, arrange a composition of low trees.
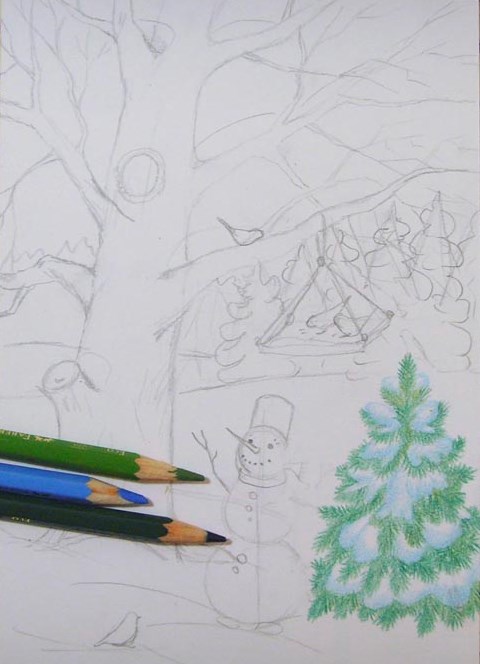
- Gently erasing the eraser, wipe the Christmas tree, leaving only inconspicuous contours of branches. This is necessary in order that later snow on the branches looked more realistic.
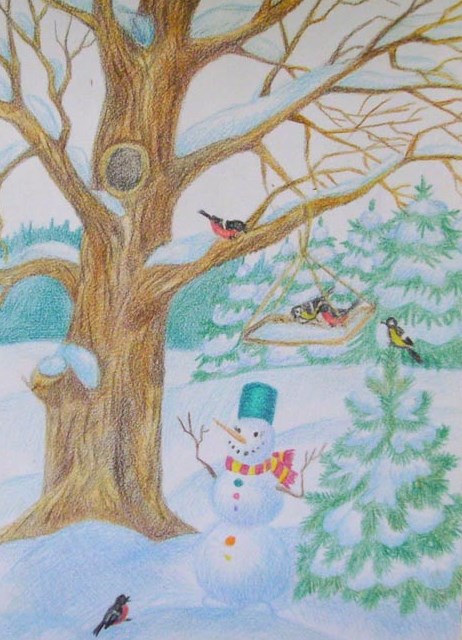
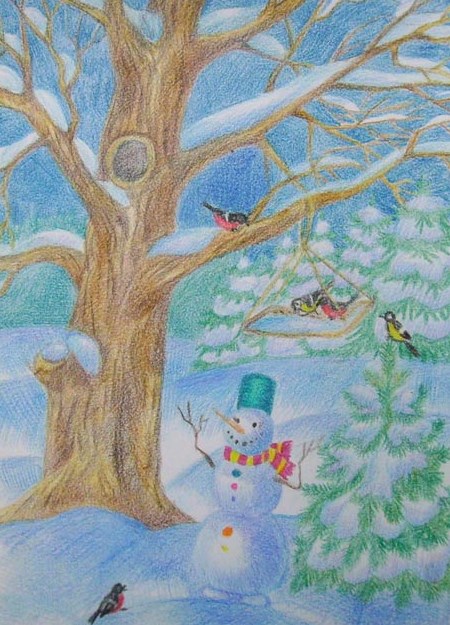
- Now take the dark green and light green pencils and color the Christmas tree, combining these two colors for greater naturalism. Do not forget to carefully draw the needles. Blue color the snow.
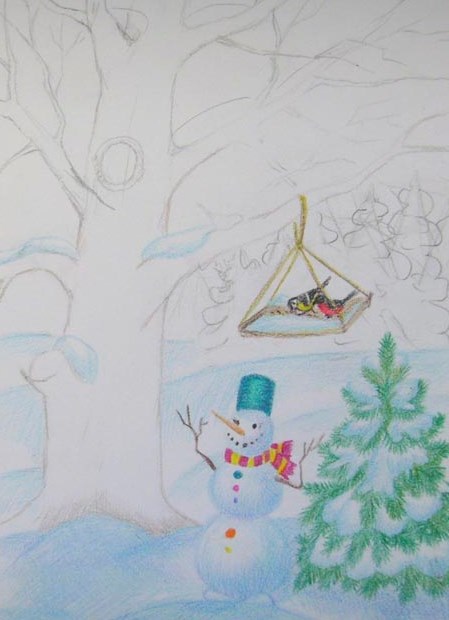
- Using blue and blue pencils, we paint snow drifts. And with the help of brown we distinguish the contour of a large tree. Do not forget about the birds, let it be tits and bullfinches.
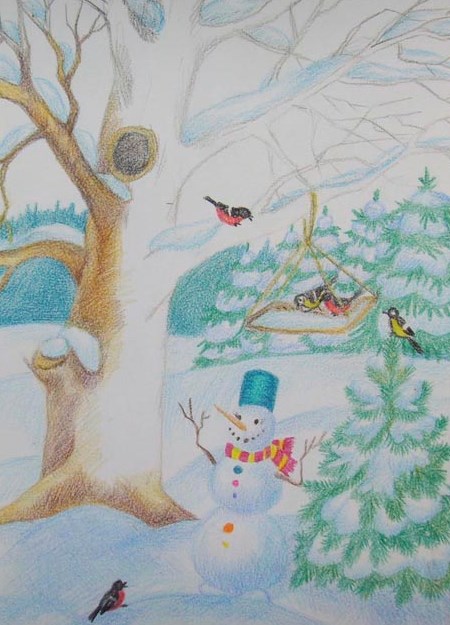
- The backdrop, consisting of snow-covered trees, paint with blue-green flowers. And using several shades of brown, add color to the tree. Do not forget the branches of the oak "sprinkled" with snow.
- To denote the structure of the bark, apply darker lines to the trunk with a brown pencil.
- With the help of blue, lilac and purple pencil add depths to the snowdrifts and paint the sky.
- That's all - a picture with a winter landscape is ready. Everything is very simple and pretty quickly drawn, try it yourself!