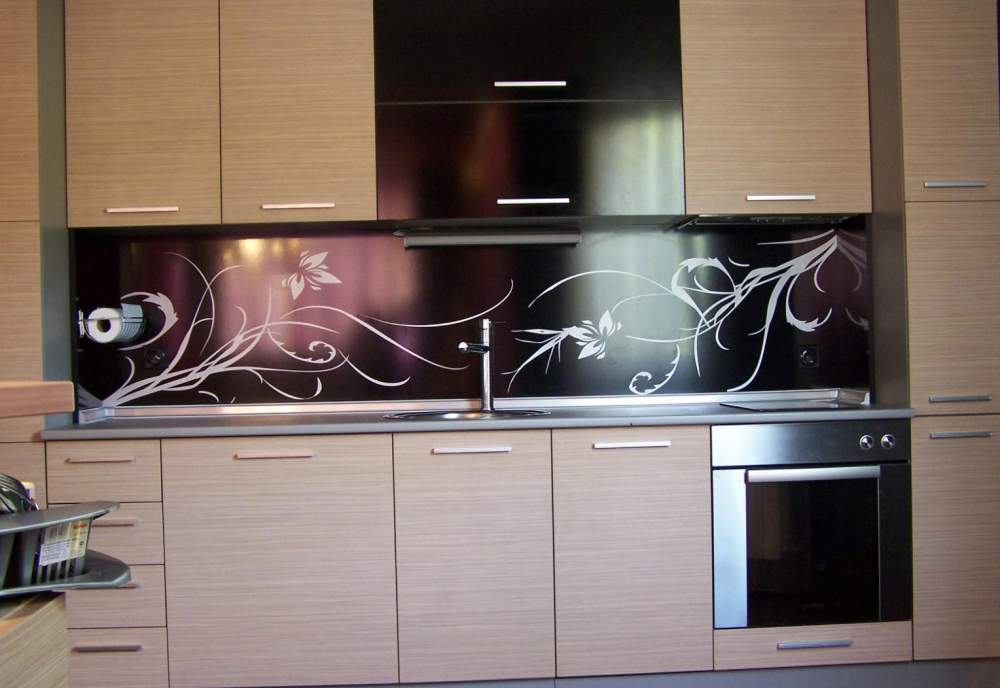
Apron for the kitchen is one of the most necessary and functional elements. It serves to protect the wall and furniture above the working area of the countertop from dirt, especially near the stove. Materials for creating an apron are used in a variety of ways: tiles, mosaics, tiles, glass apron-skins , metal, stone and many others.
We make an apron ourselves
If you have not decided yet what to make an apron in the kitchen, pay attention to the fact that the most popular materials for making an apron are tile or mosaic . The glass apron is also popular, besides each of the proposed ones can be made with your own hands. Today, we'll look at a few options that you can accomplish.
How to make an apron in the kitchen, our master class, where we use mosaic and tile, will tell.
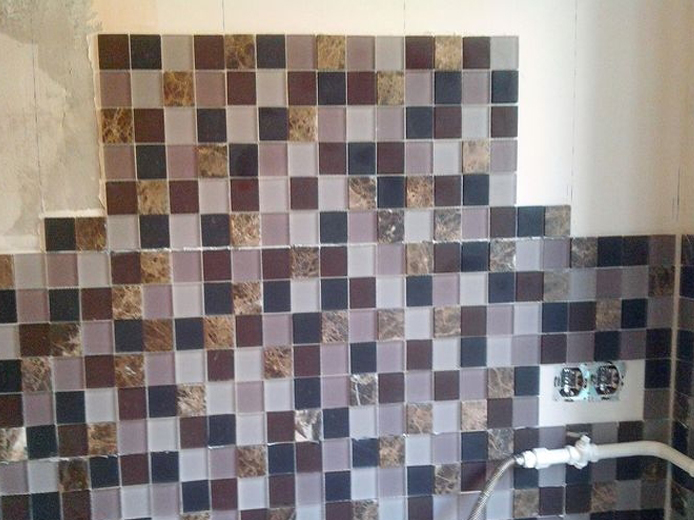
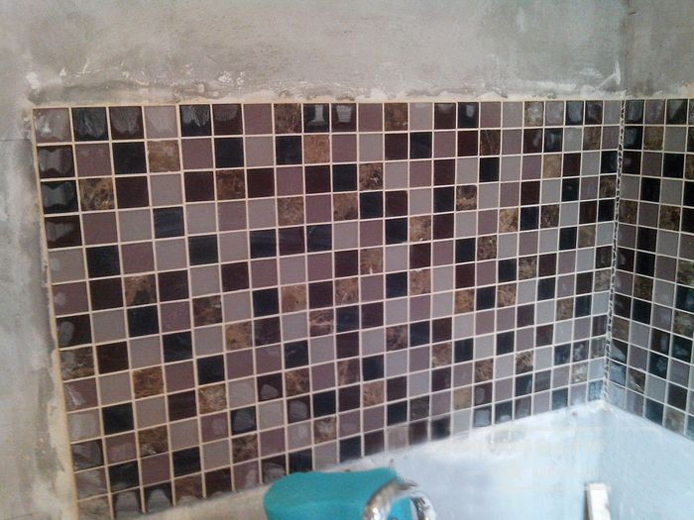
The most beautiful design solution is a kitchen apron from a mosaic, but how to make it? Let's consider in more detail
- For the support of the lower mosaic layer we fix plywood pieces with the help of dowels to the wall, the main thing is that they are smooth from the right side. In this case, the first row of the mosaic will not slide down until the glue seizes.
- We continue to glue the mosaic to the chosen height, using crosses, which are used in laying out tiles. The second row and the subsequent lay out is much easier and easier.
- We dismantle the sockets, using longer screws, as the thickness of the mosaic tiles reaches 1 cm.
- Now it is necessary to glue the places around the outlets with a mosaic.
- We admire the work done and the ready apron from the mosaic.
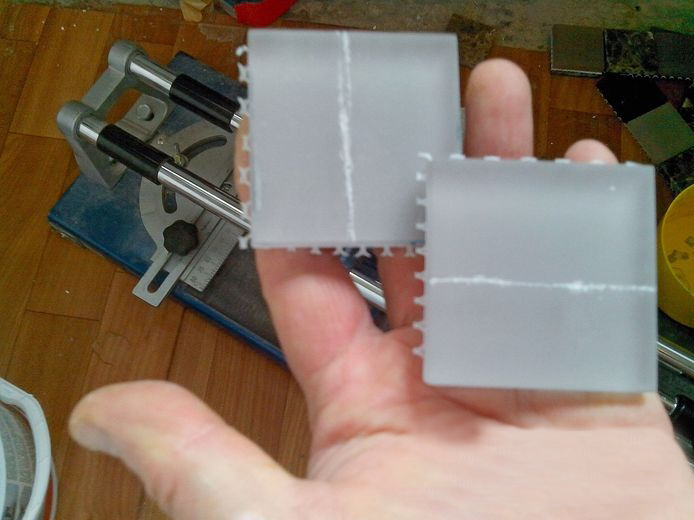
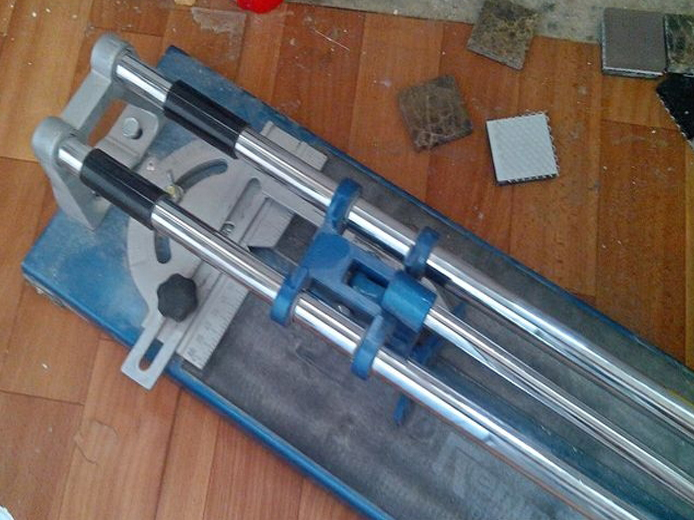
To do this, the mosaic must first be cut. You can do this with a tile cutter.
If you want to bite the corner of the mosaic, then it's easy to do with the usual pliers. From these pieces lay out the design around the outlets. Paste them.
The apron, laid out of ceramic tiles, looks very beautiful in the kitchen, and we will tell you how to do this. Tile at all times served for a long time and was easy to maintain. In addition, the tile looks very nice in the kitchen and gives it a unique charm.
What we need:
- the tile itself;
- acrylic primer;
- adhesive for tiles;
- crosses for seams;
- trowelling compound.
Let's get to work.
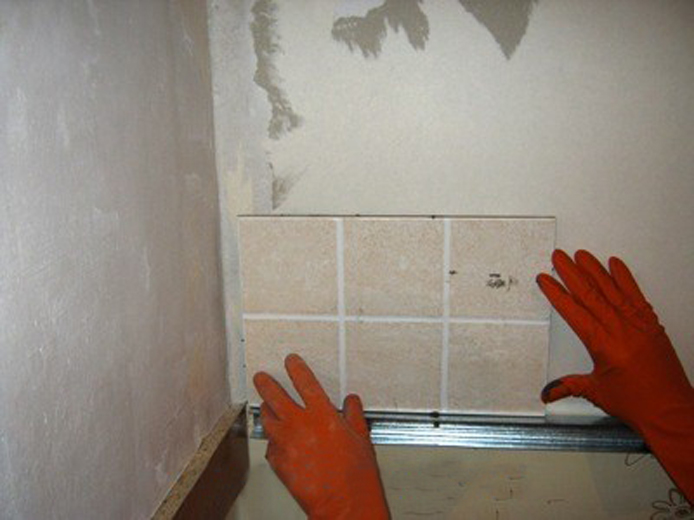
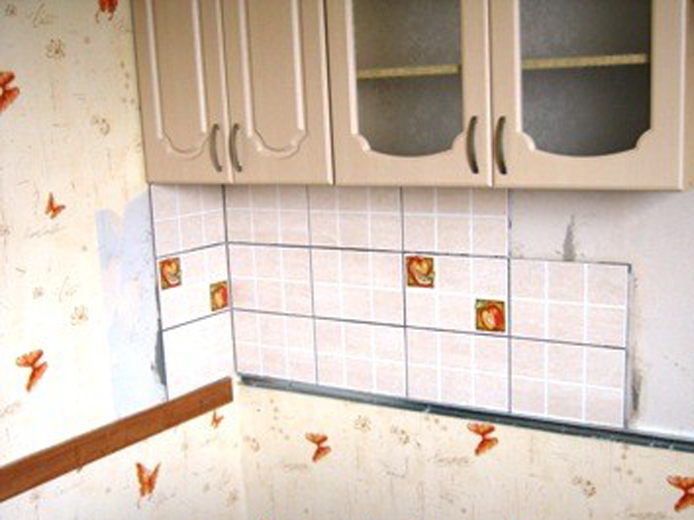
- We measure the height, on which we will spread the tile, and at this level we fix the slats.
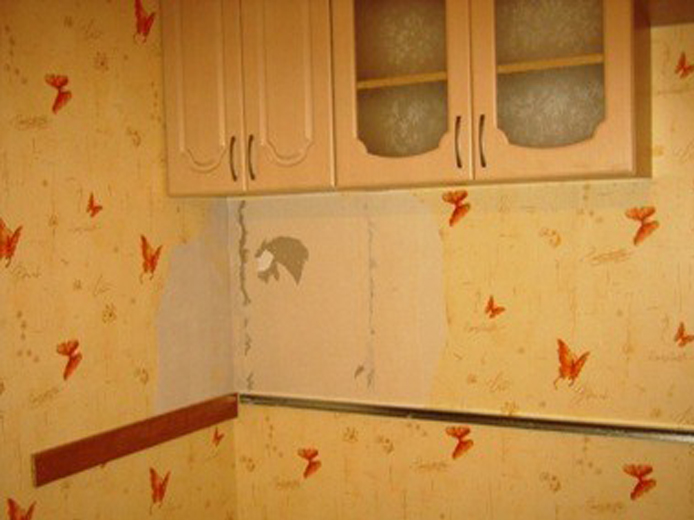
- We prepare the wall for work, for this we must remove the wallpaper, repair the cracks and cover the wall with an acrylic primer.
- After the primer has dried completely, we proceed to lay out the tiles, starting from the bottom and from the corner.
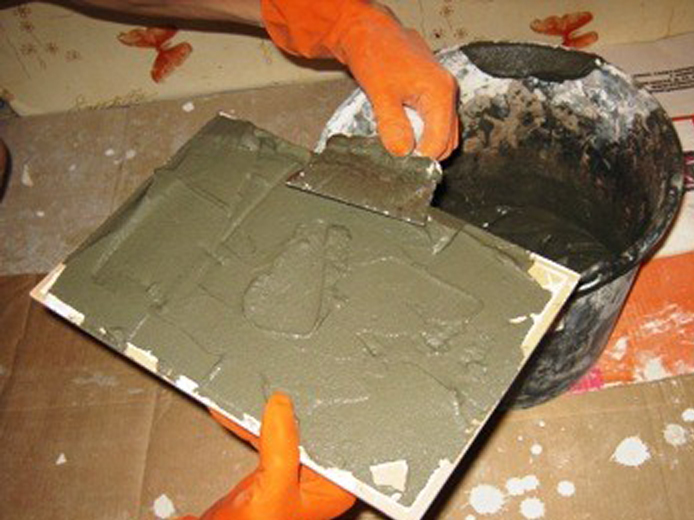
- Put the adhesive on the back of the tile with a spatula. Apply the tile to the wall and crush it lightly. Thanks to the rake, the tiles lie flat, which facilitates further work. In vertical and horizontal seams we install crosses of 2 pieces per face.
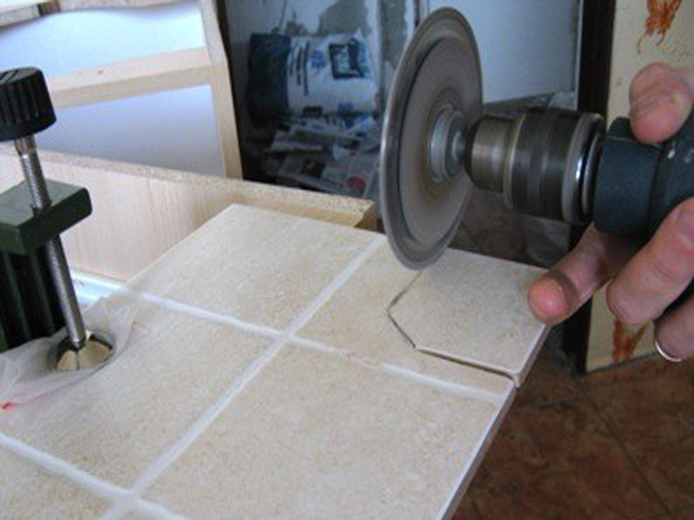
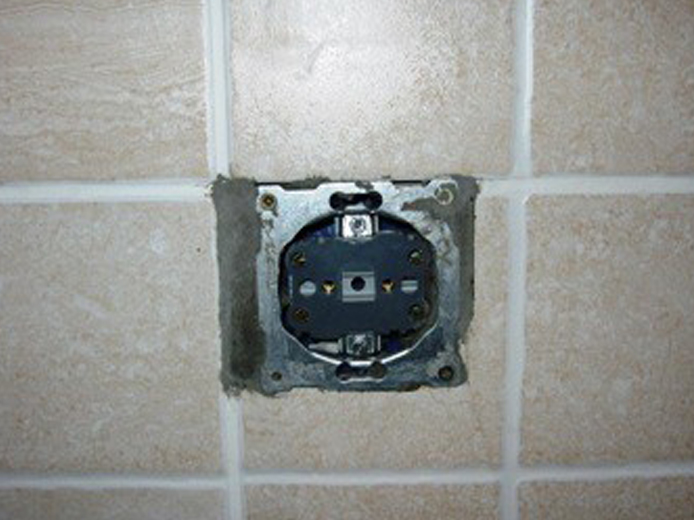
- Since almost always on the apron are located rosettes, tiles for them should be cut. To do this, we draw a contour with a pencil and use the Bolgar to cut out the unnecessary part. According to the finished cuts, a piece of tile can easily be broken off. The finished tile is glued to the wall and a socket is mounted in it.
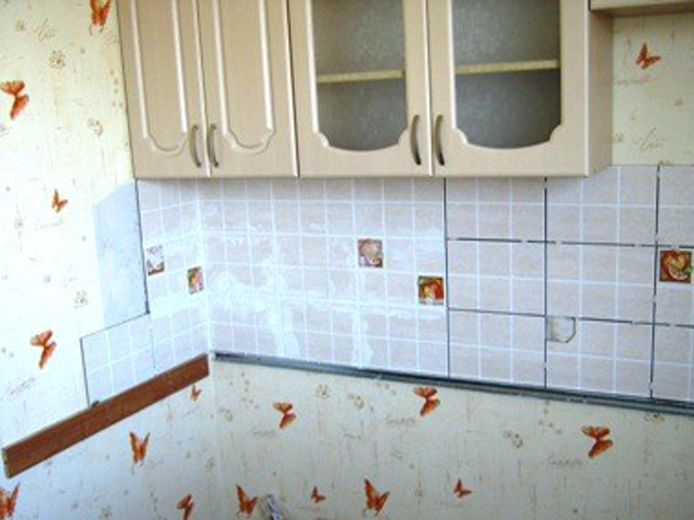
- To make the apron of a finished tile, you need to apply a trowel to the seams.
Now it remains to wait a couple of days of full drying and the tile can be washed with a washing agent.
Choosing and installing a kitchen apron with your own hands will give your kitchen a character and demonstrate your taste and talent as a designer.