Most women of fashion today do not really like the mass market. And it's not just about neglecting inexpensive clothes and accessories. No, modern girls attract unique, unusual things.
And what could be more original than a thing made especially for you?
In this article, we'll talk about exclusive jewelry, namely jewelry, which you can do with your hands with our master class.
Ornaments from tapes by own hands
Silk and satin ribbons are one of the simplest materials in needlework. Cope with the creation of jewelry from tapes on the strength of most girls. If you have never done anything before, start with the tapes - and success is guaranteed to you.
There are several ways to use tapes - most often they are weaved into braids, they make embroidery with ribbons or create flowers. Look great accessories with flowers from ribbons , for example, wedding bouquets.
Flower decoration by own hands
In this master class we will consider the creation of a rose from a tape on a fabric basis, which is useful for decorating clothes or accessories, creating a brooch or hairclips.
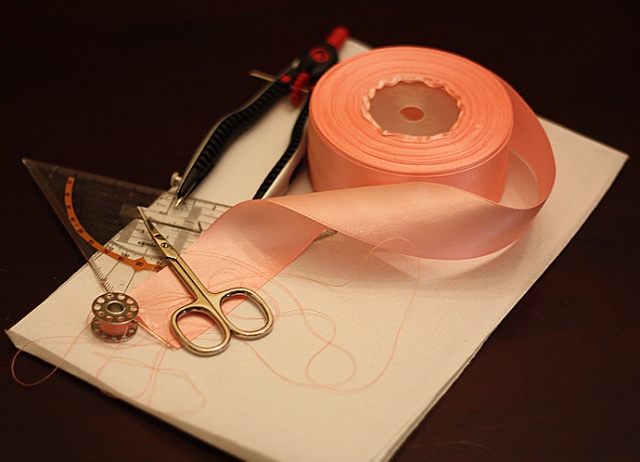
To make such a rose, you will need:
- base fabric (starched linen or dense cotton fabric will fit);
- a satin ribbon 3-4 cm wide (one meter is enough with a margin);
- ruler;
- compasses or stencil for a circle;
- scissors;
- Threads (similar in color to the ribbon) and a needle;
- beads or rhinestones (optional).
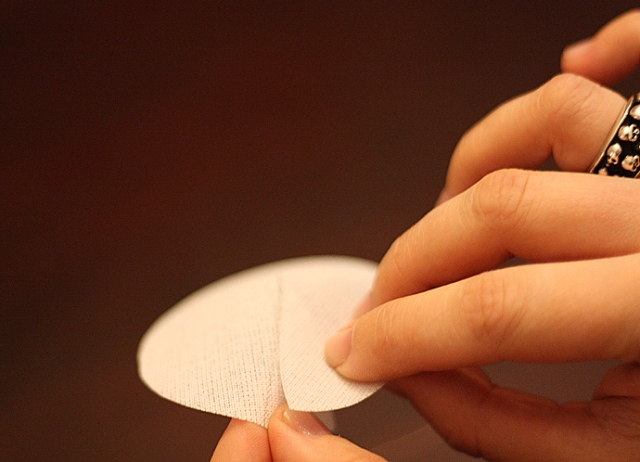
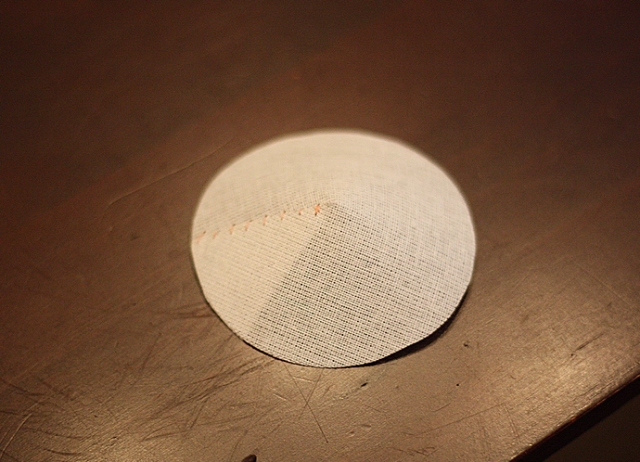
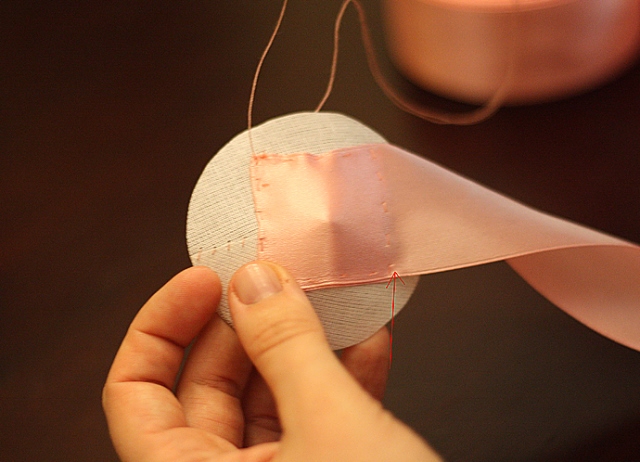
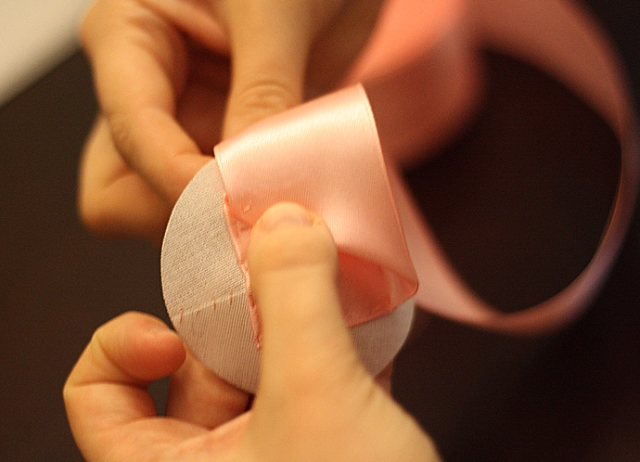
Draw on the fabric-based circle and make a small segment on it. We make an incision along one edge of the segment and sew the tissue circle into the cone. The wider the segment, the larger (higher) the center of the flower. The larger the circle, the larger the rosette and, correspondingly, the greater the expense of the tape for its creation.
| | | |
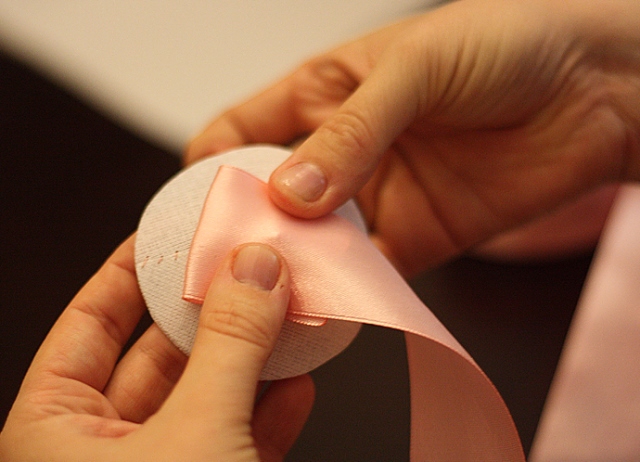
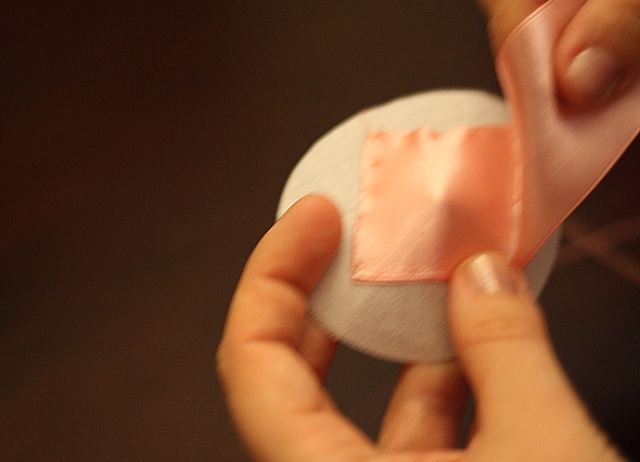
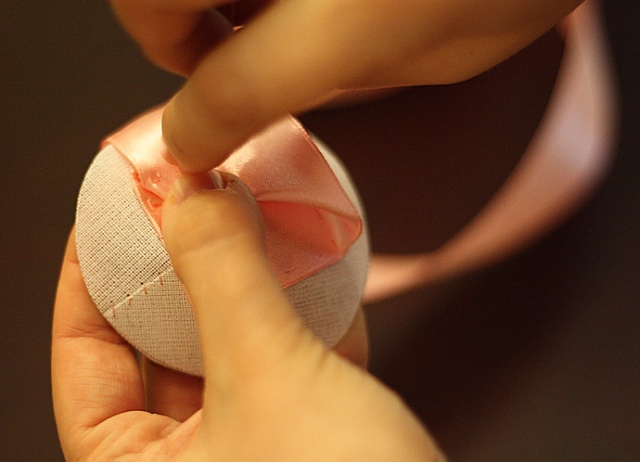
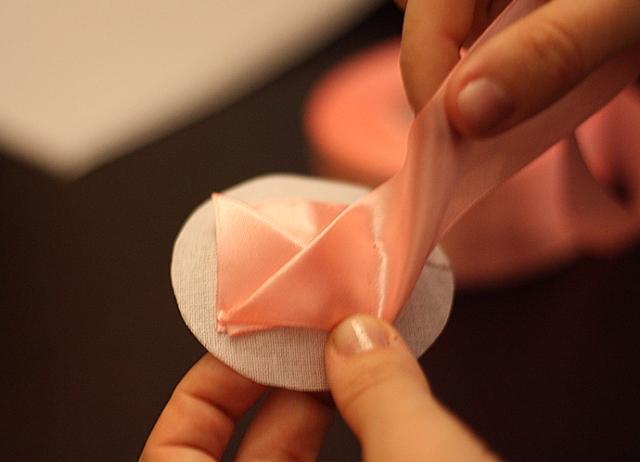
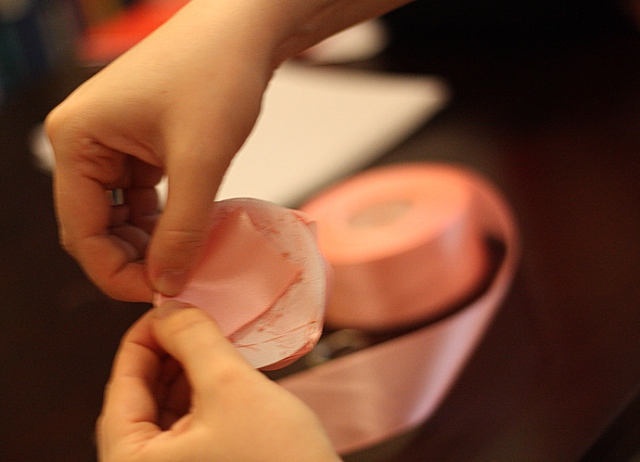
Fold the edge of the tape and sew the resulting square to the top of the cone-base.
The beginning of the flower, where we begin to form the first petal, is marked by an arrow.
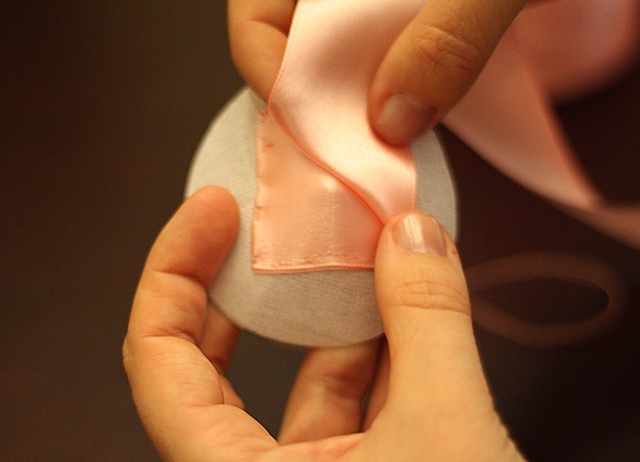
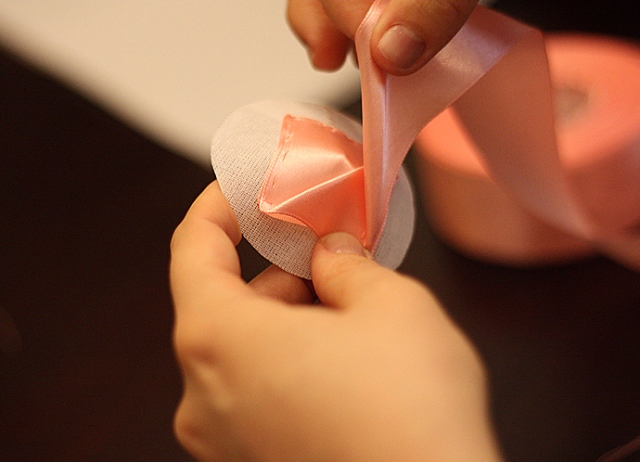
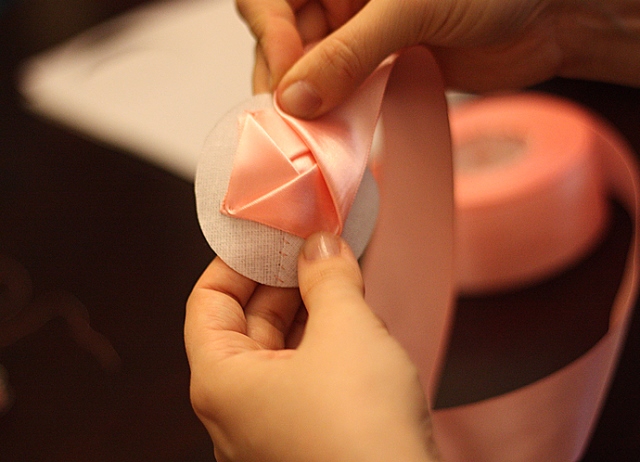
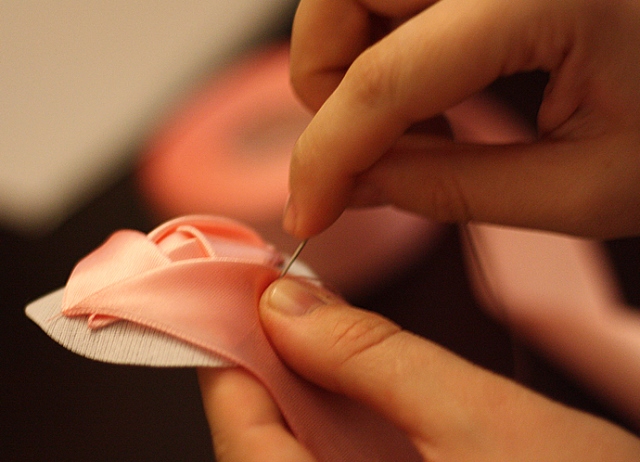
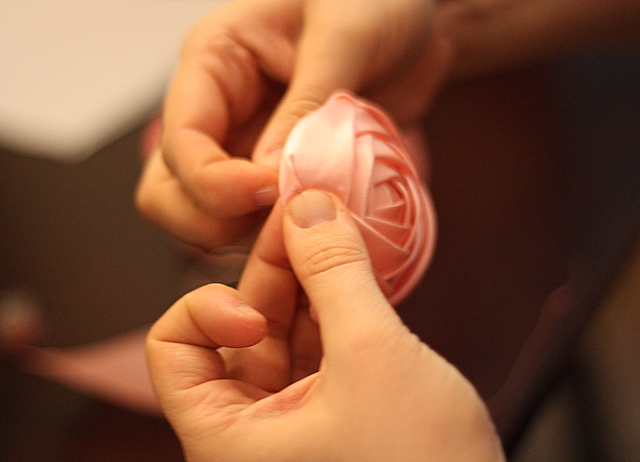
To obtain the petals, the tape should be folded in small triangles (make sure that the glossy (front) side was on top). The inner vertices of the triangles are fixed with threads (enough pairs of seams).
| | | |
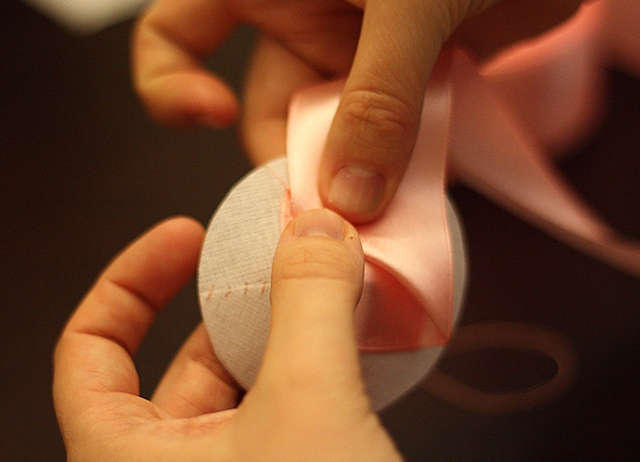
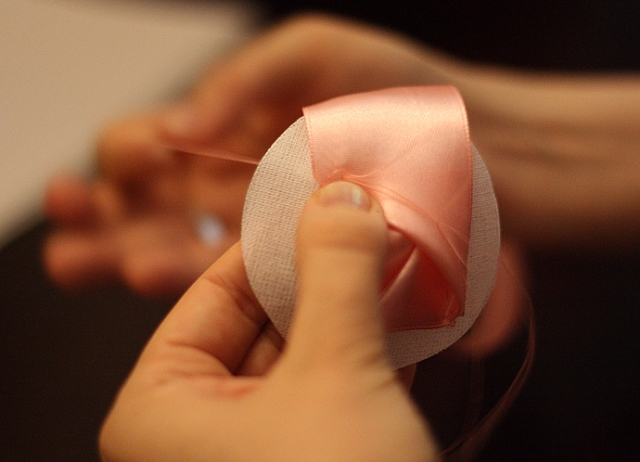
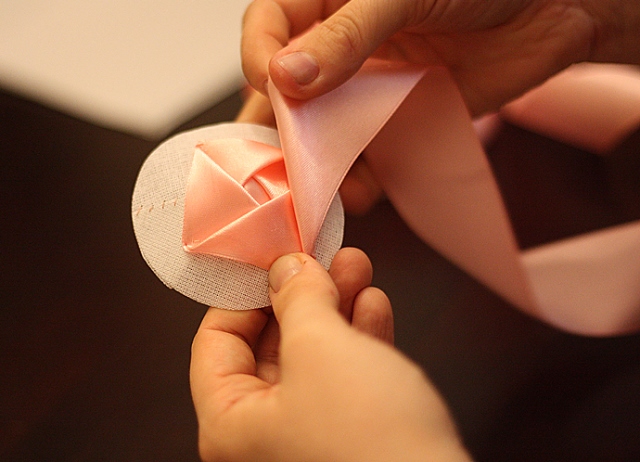
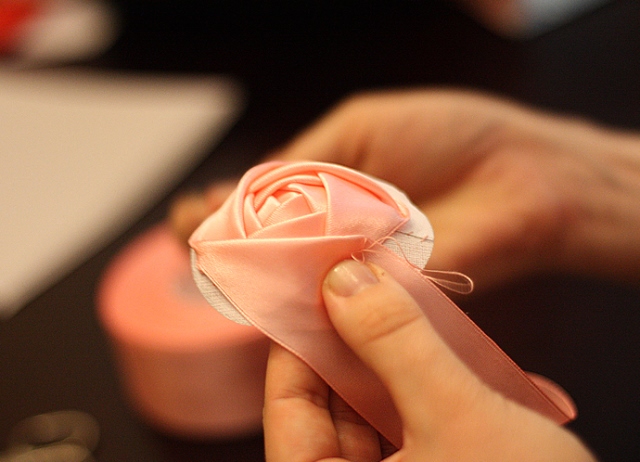
Gradually close all sides of the square in the center. Take care that the rows of petals do not warp, but be even.
| | | |
| | | |
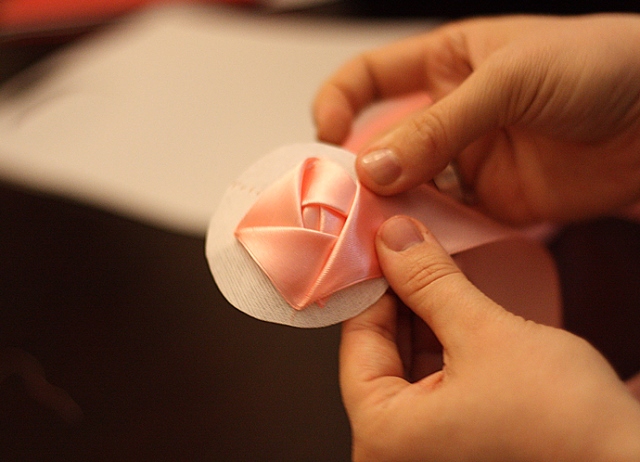
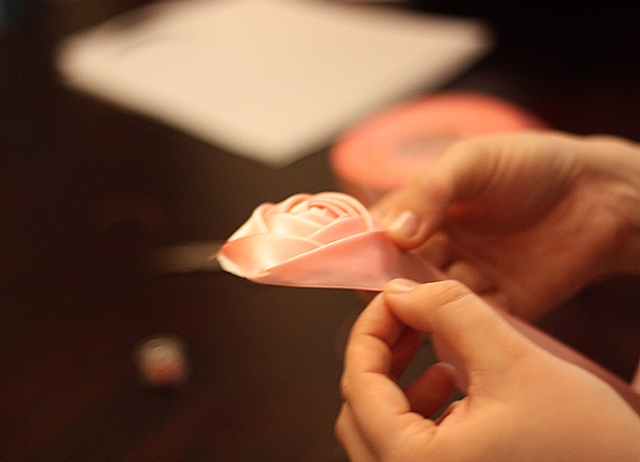
In the future, the corners do not need to be made straight, but the method of their creation and fixing remains the same.
| | | |
| | |
Watch that the corner marked with a circle does not get out of the boundaries of the already existing petals. It should always be attached over other petals.
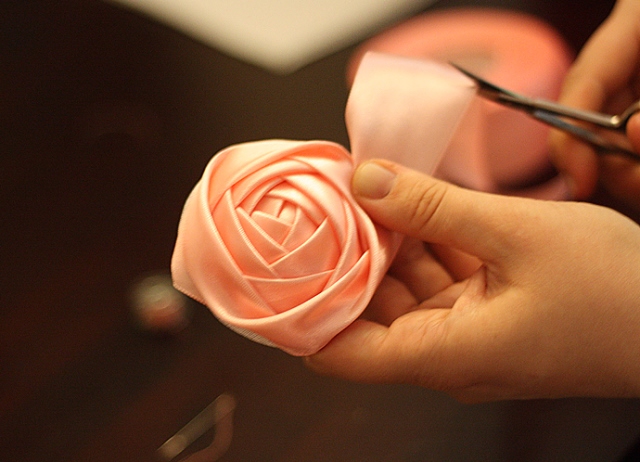
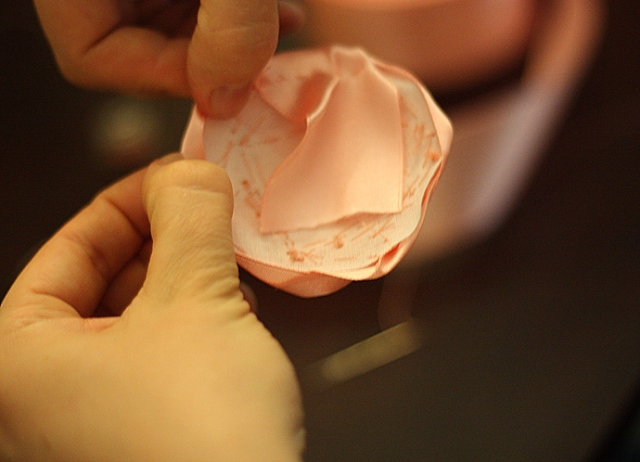
When the entire surface of the base is closed and the tape begins to protrude beyond its edge, trim the free edge of the tape, leaving a couple of centimeters in stock.
| | | |
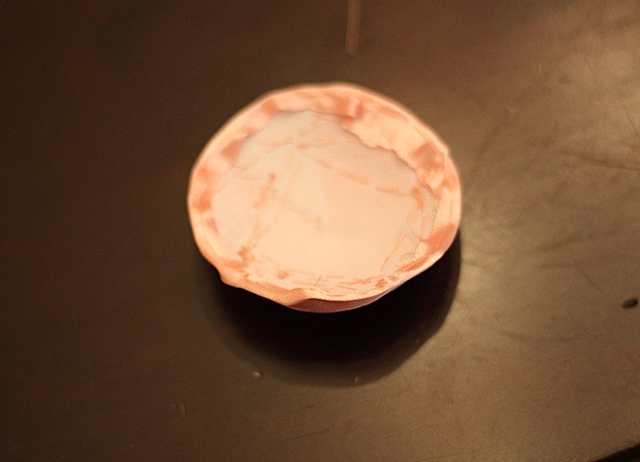
Fold all the projecting edges of the tape onto the wrong side of the base and sew them there.
| | | |
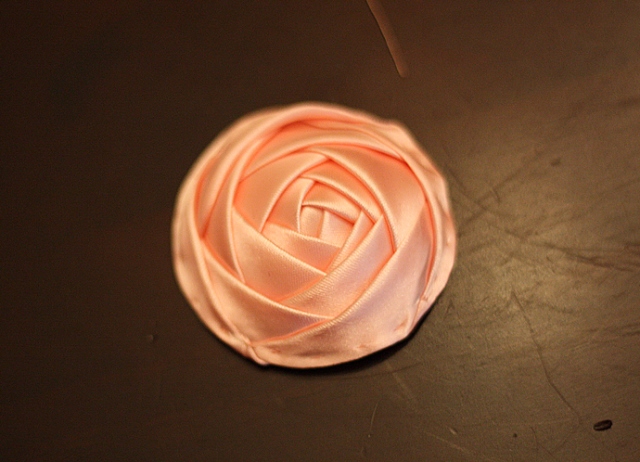
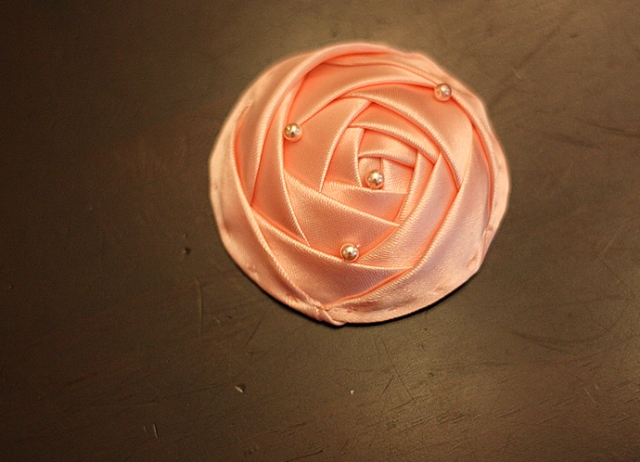
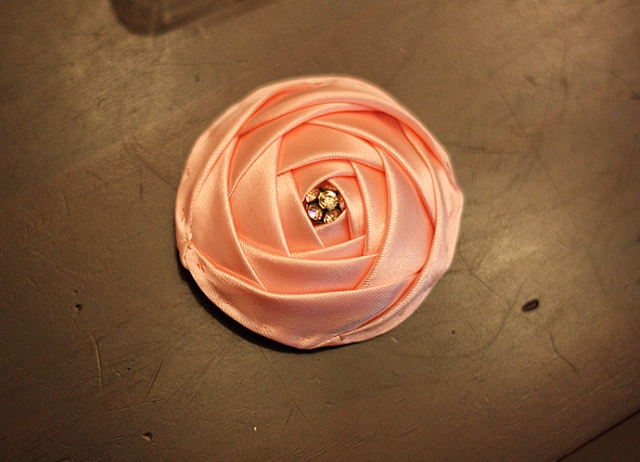
Rosochka is ready. You can leave it in a "pure" form, and you can decorate by gluing beads or crystals.
| | | |