Do you think it is interesting to present something interesting and unusual ? Make a calorie-free cake. You ask: "How?". Very simply - from paper. Our article suggests to get acquainted with the master classes, from which you will learn how to make and decorate a cake of paper with your own hands.
Master class 1: cake made from paper
It will take:
- color A4 cardboard for 11 sheets per cake tier;
- colored paper for decoration;
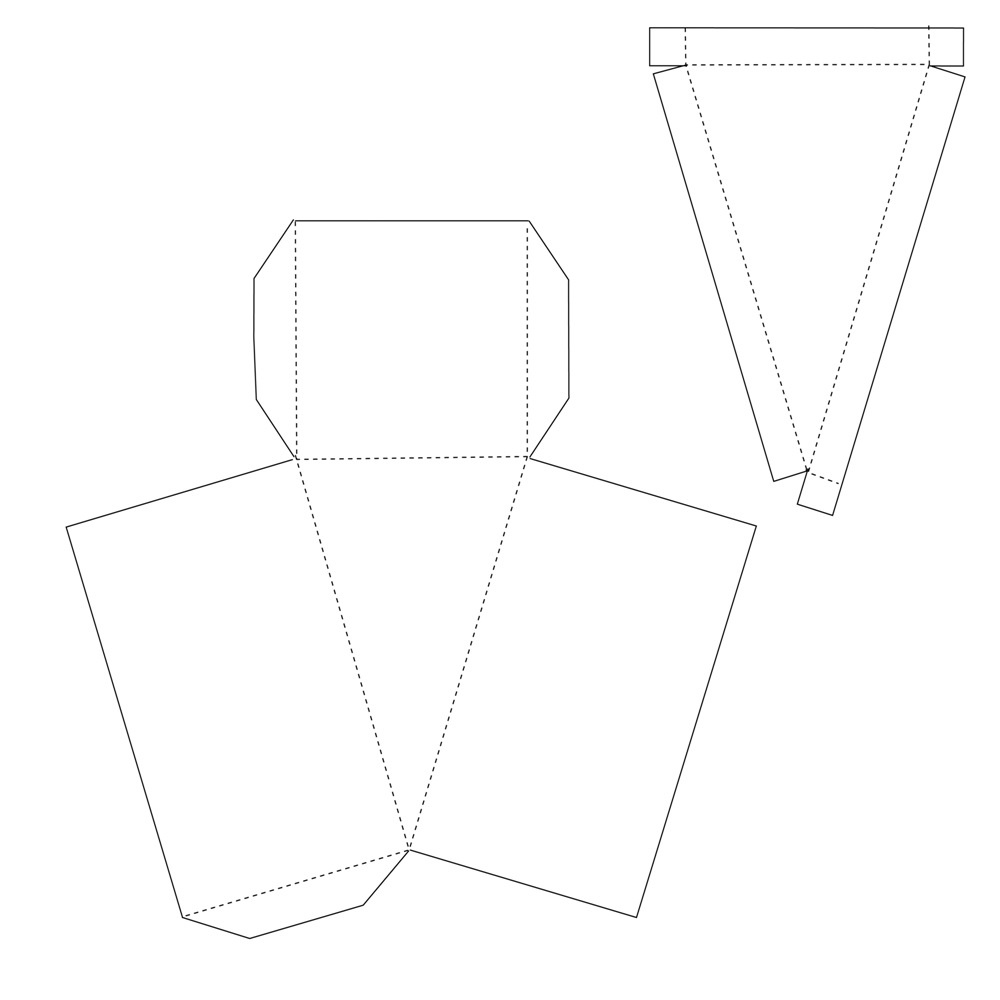
- template;
- different ribbons and ornaments;
- scissors and glue;
- double sided tape;
- hole puncher.
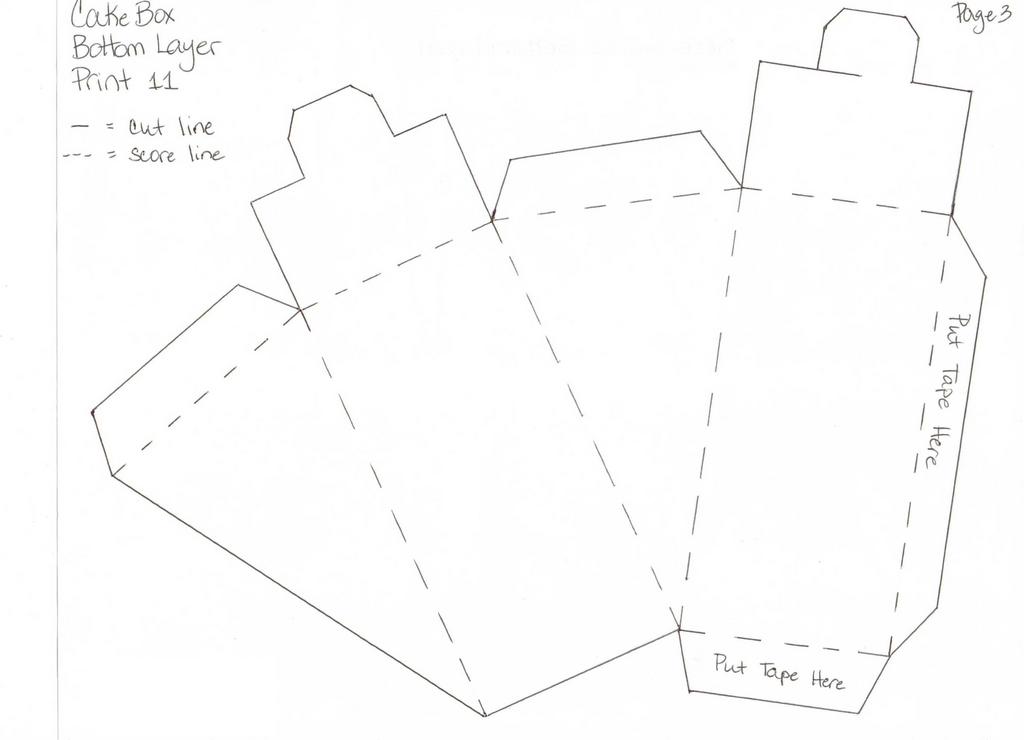
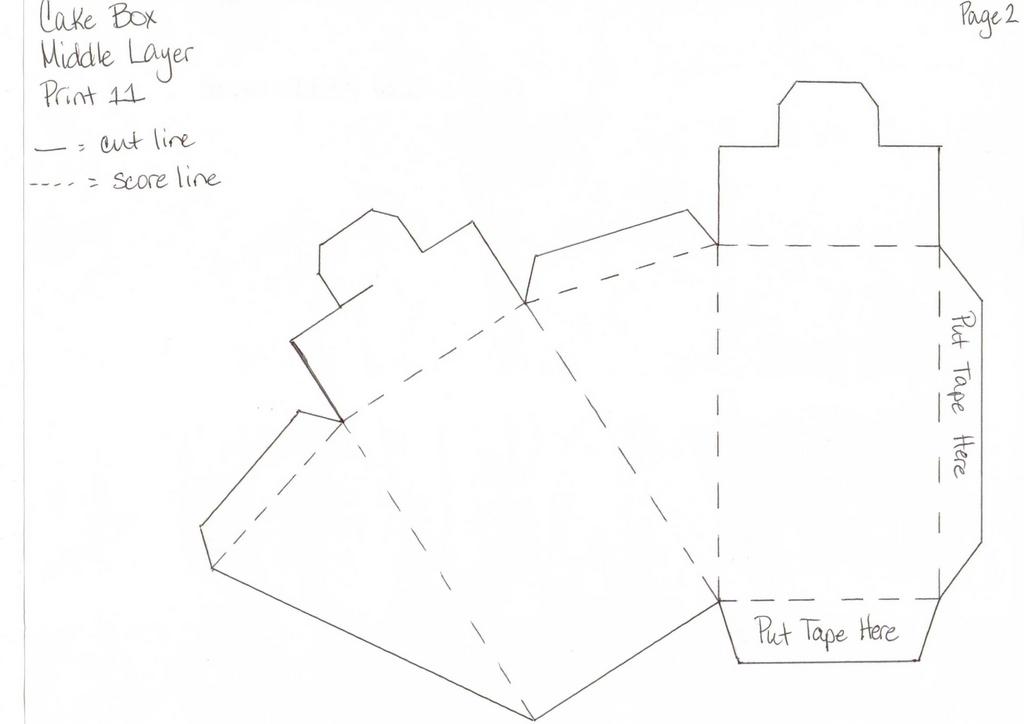
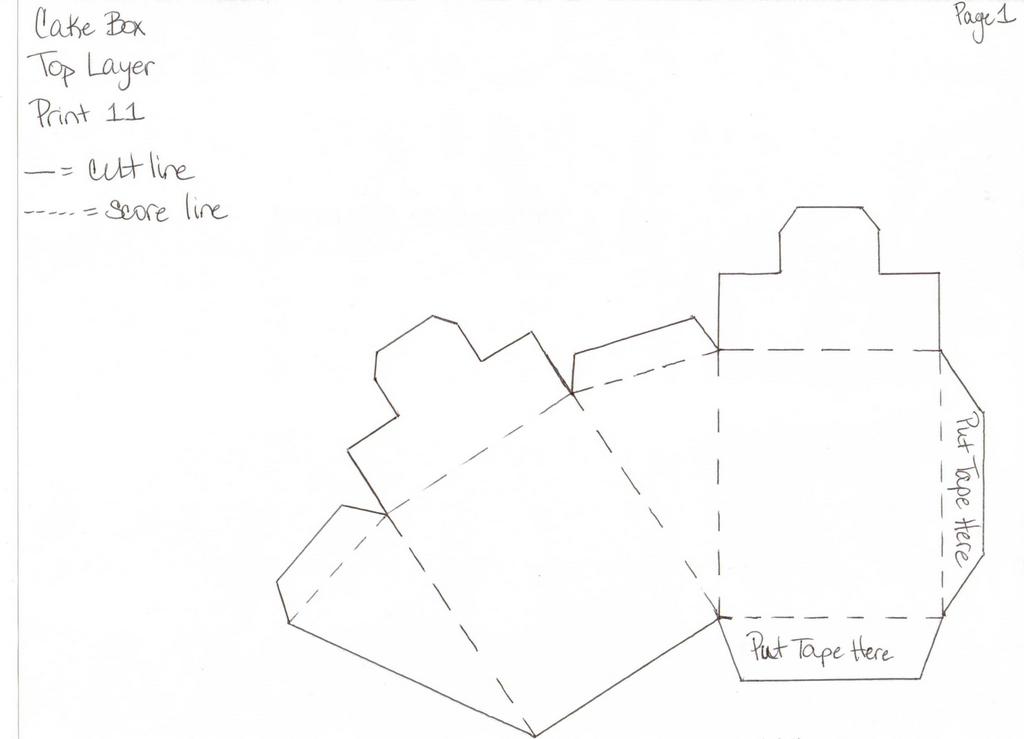
For one tier of cake it will be necessary to make 11 such pieces.
- We print a template of a certain size on a sheet of cardboard.
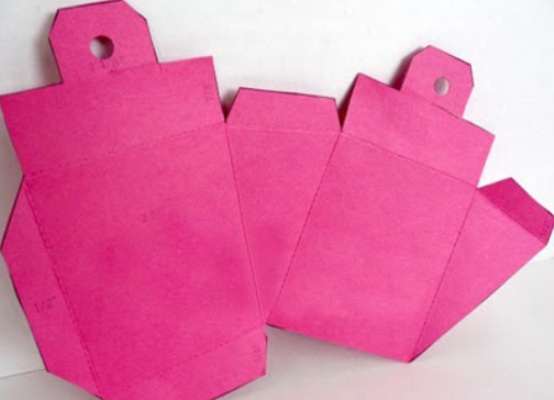
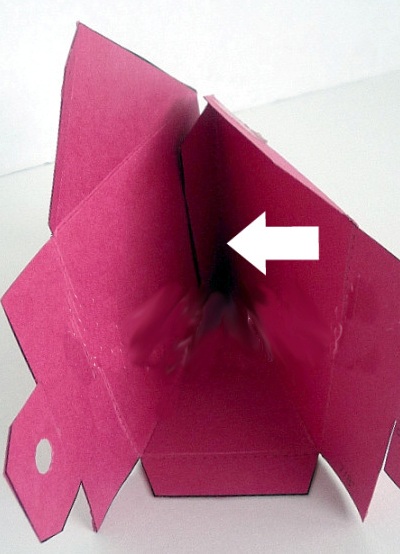
- Cut out the workpiece along solid lines and bend it in one direction along the dotted lines.
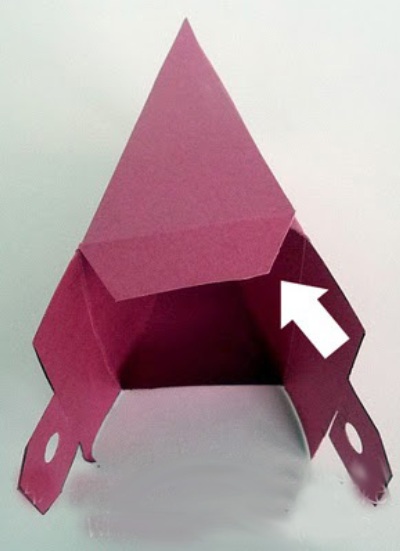
- Fold the workpiece in a triangular piece, glue the spout and the side edge of the workpiece.
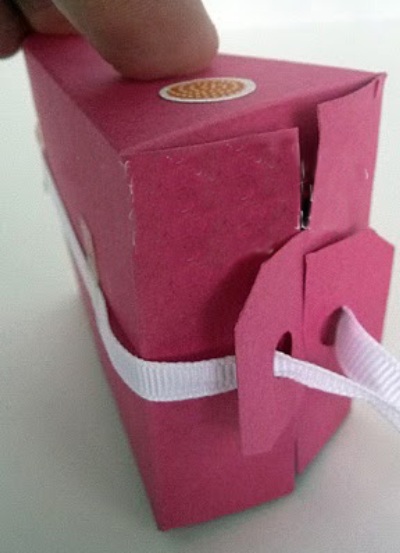
- Fold inward at the beginning short ends, and on top we add long ones and pass them into the cuts.
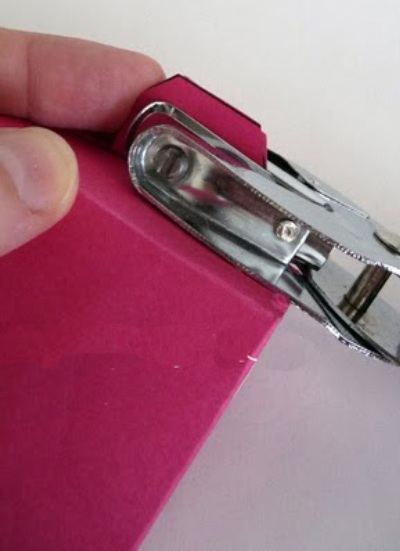
- Folding the ends together, we make a neat hole hole, if you have not done so before.
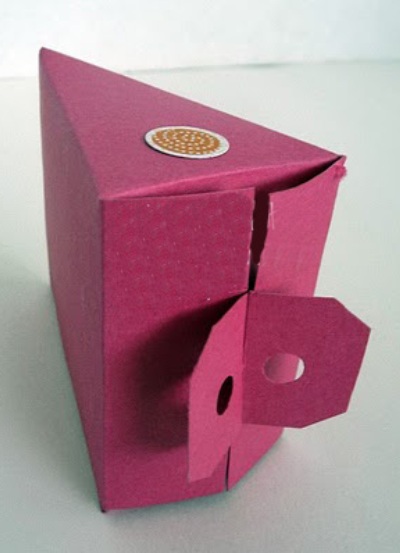
- We pull the tape through one hole, wrap it around the middle of the workpiece, stretch it into the second hole and tie it with a bow.
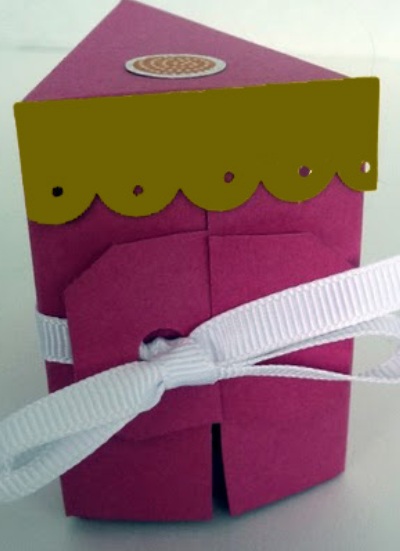
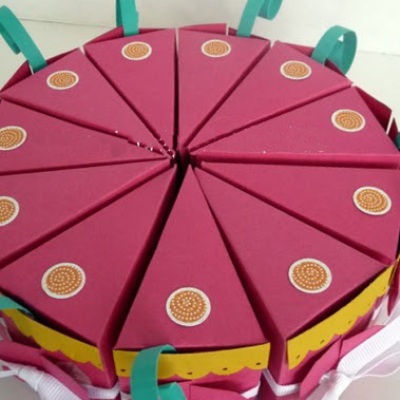
- From above and on each side we decorate the resulting piece of cake from paper with different elements.
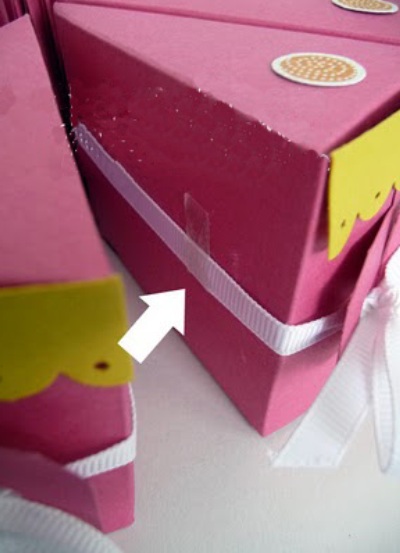
- On a stand or a dish we spread 11 slices, they can be fixed together with small pieces of scotch.
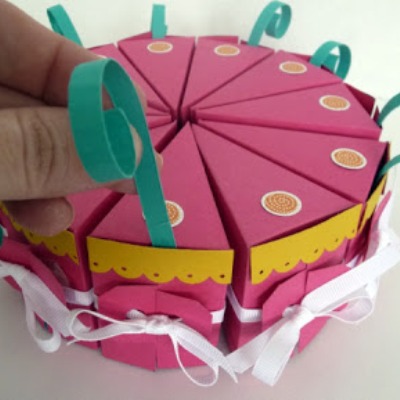
- Cut out small strips of bright paper, twist it on a pencil and decorate our cake with such curls.
| | | |
| | |
| | |
Our hand-made paper cake is ready.
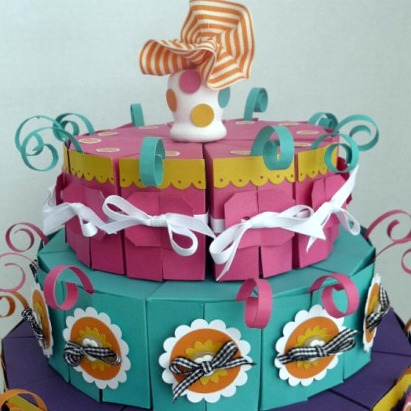
You can make it one-tiered or multi-tiered, as well as decorate differently.
| | |
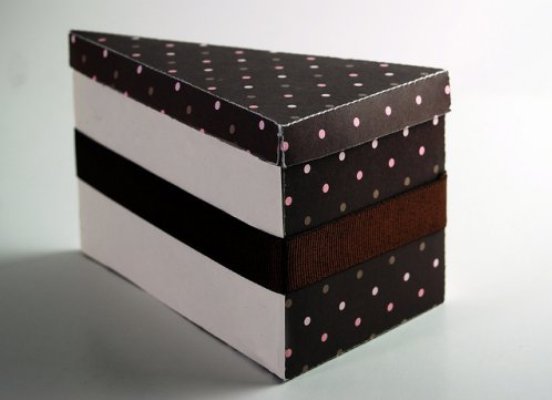
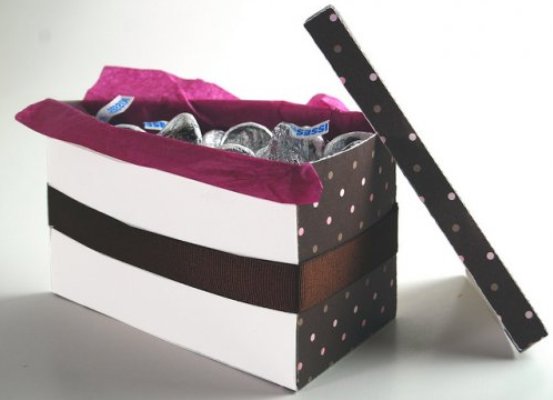
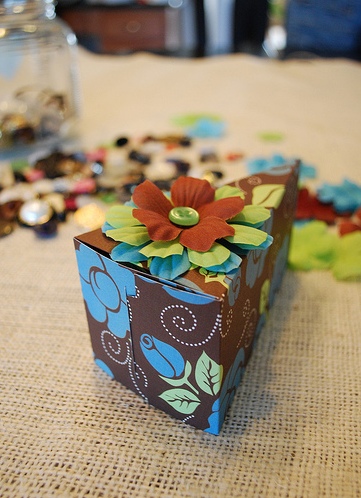
If you use this template, you will get a piece of cake with a lid from paper. Such pieces of paper cake can be made with a surprise or put a real piece of cake that guests can take home with them.
| | |
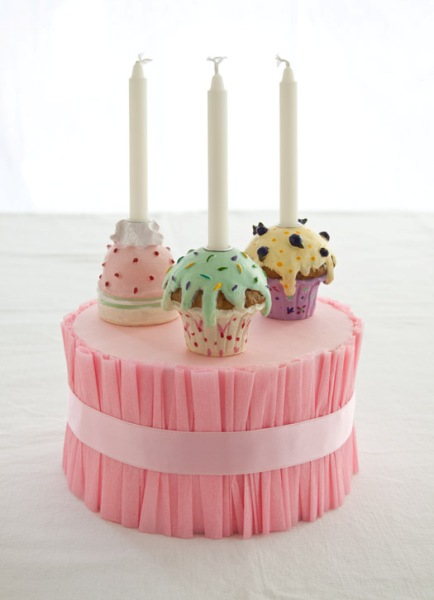
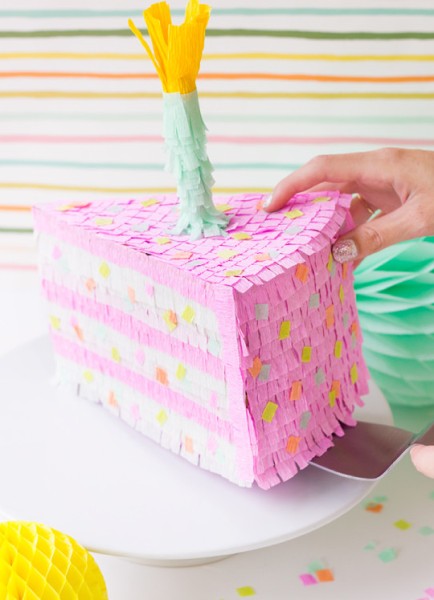
Master-class 2: cake from paper
It will take:
- Styrofoam;
- crepe-paper of soft pink color;
- paper and satin ribbon in the tone of crepe paper;
- needle and thread;
- Glue, brush, compasses, scissors;
- double sided tape;
- decorations for cake.
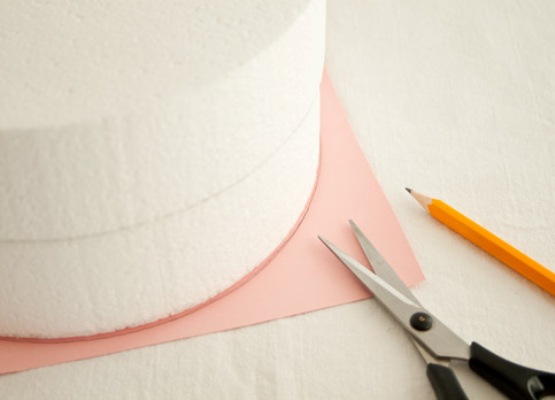
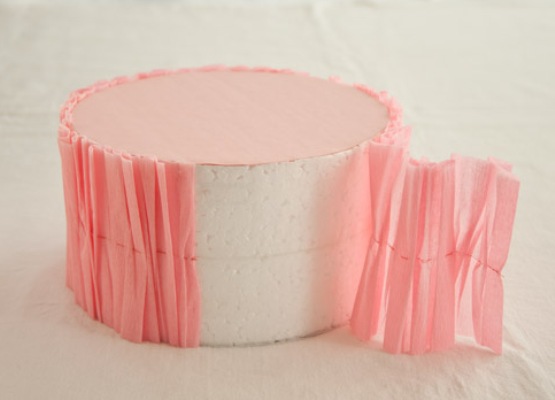
- On polystyrene, draw a circle of the desired diameter and cut out with a knife. If the foam is thin, then make a few circles and glue together.
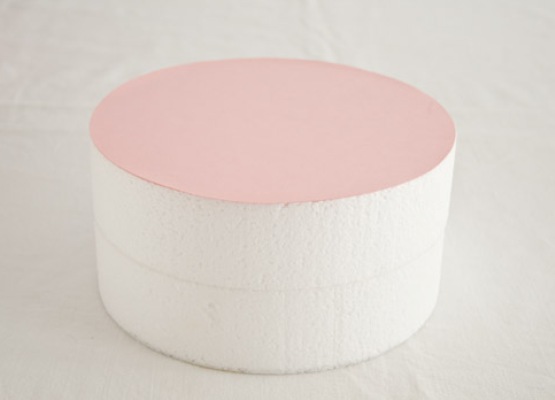
- Circle the contour of the foam block on colored paper, cut out the circle and glue it on the top of the future cake.
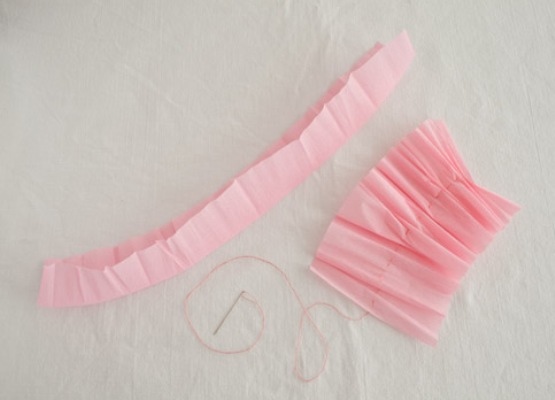
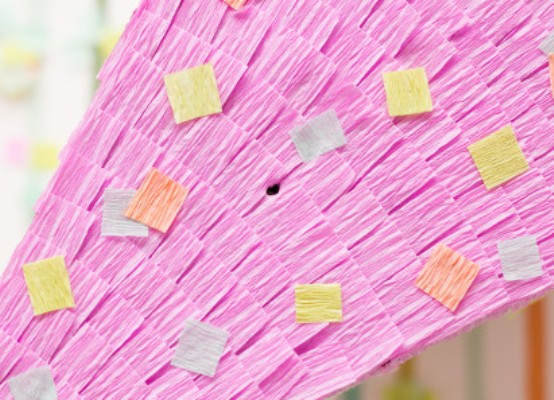
- Cut off long strips of crepe-paper with a width equal to the height of the cake plus 3-4 mm. Fold them in half, unfold and, on the resulting line, stitch with a suture. Gently tighten the thread, prisborivaya paper on it, and fix it. We thus make several strips to cover the entire side surface of the cake.
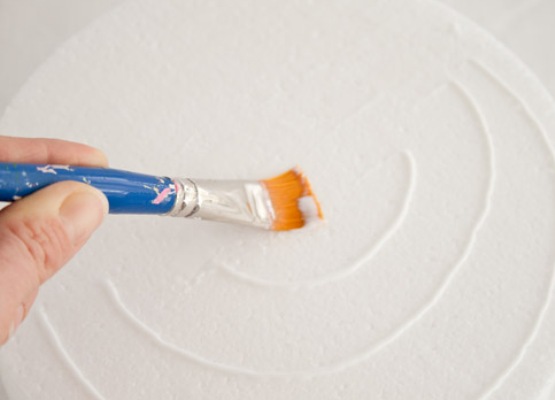
- On the sides of the cake we attach the two-sided adhesive tape on top and bottom. On top of it we attach our frills from crepe paper.
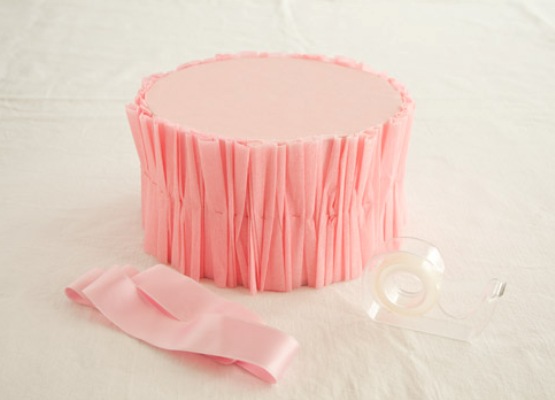
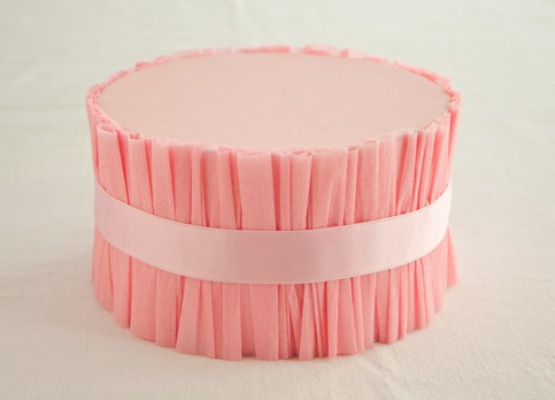
- On the cake, where the thread is visible, we attach the satin ribbon.
- We decorate the cake with candles.
| | | |
| | |
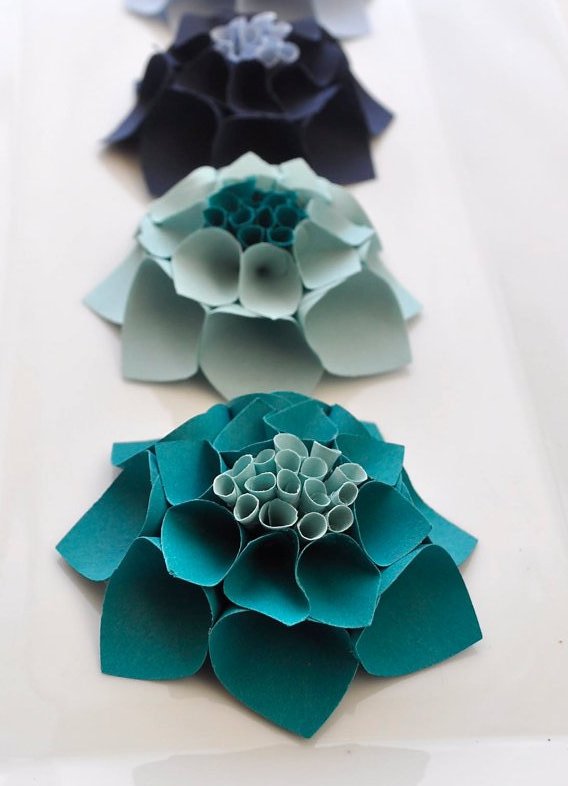
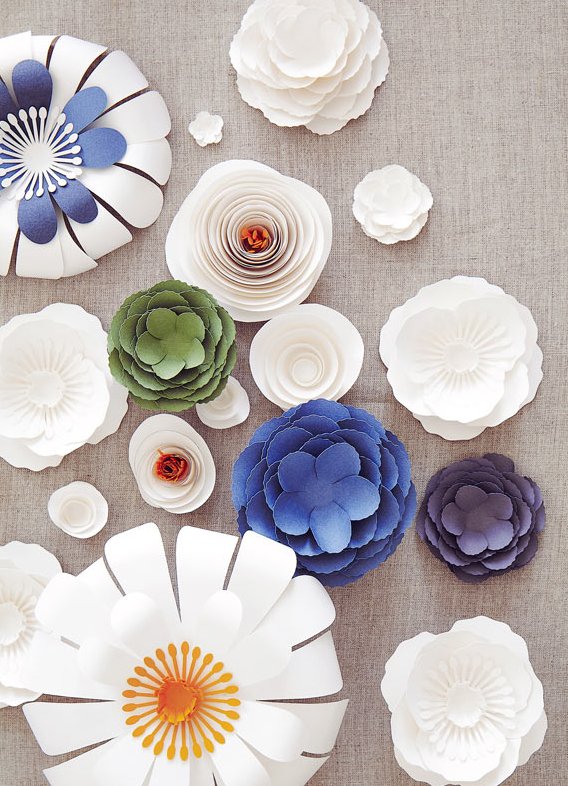
Such cakes can be decorated in different ways: flowers , ribbons, different figures, but the most important decoration, of course, should be a candle.
| | | |
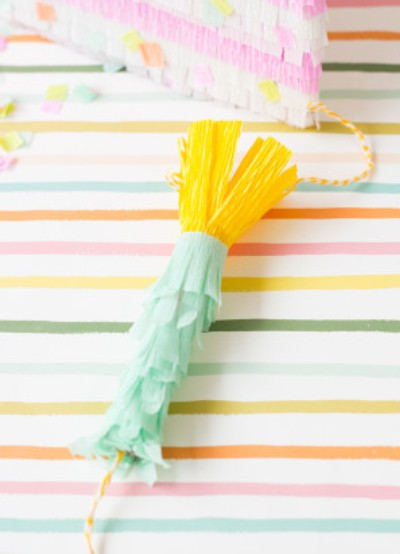
Master class: decoration "Candle" for a cake made of paper
It will take:
- crepe-paper;
- 3 straws;
- piece of twine;
- glue;
- Scotch.
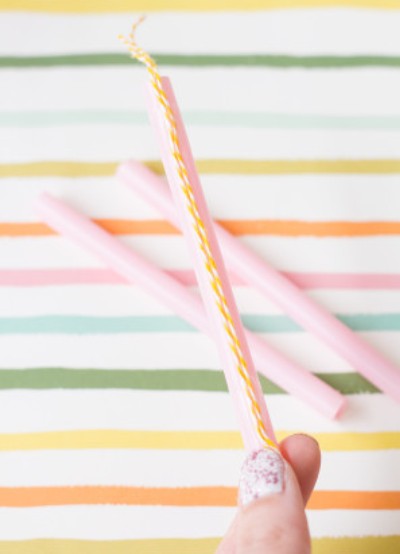
- Crop the straws to the desired length.
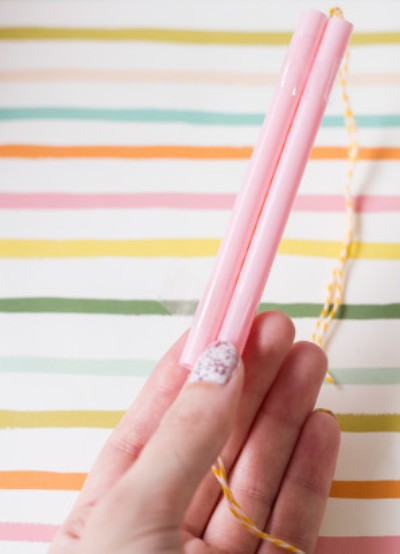
- We put together 3 straws, and inward between them we stretch a piece of twine and fix everything together with scotch tape.
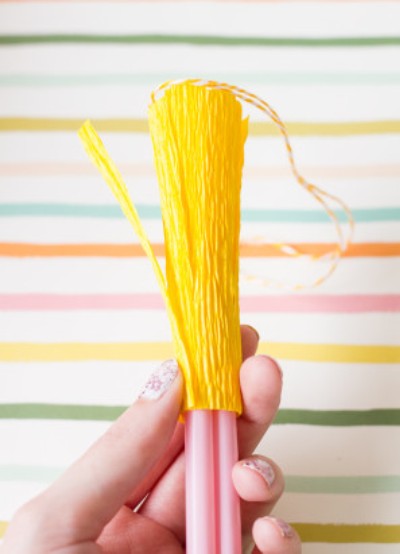
- From a wide strip of yellow paper crepe we make fringe, twist round the top of straws and fix it with tape on top.
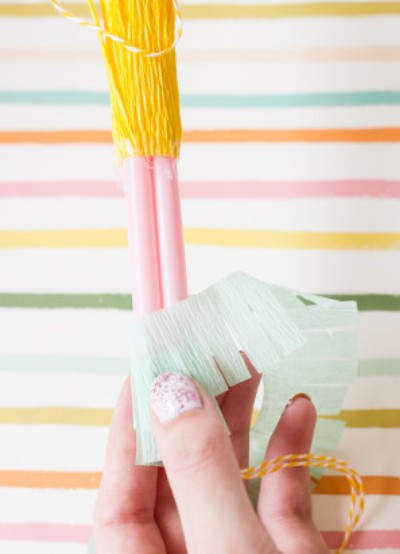
- Starting from the bottom, we wrap the tubes with a narrow strip of blue color with fringe, if necessary, fix it with adhesive tape.
- We make a small hole in the cake with an awl in the cake, stretch the tip of the string into the inside and fix the candle.
- The cake with the festive candle is ready!
| | |
| | |
Friends and acquaintances will be pleasantly surprised when they receive from you for any holiday a gift cake made of paper with an unexpected surprise inside and bright unusual ornaments from the outside.