In various areas of creativity, the theme of honeycombs is often used, and it is also used in patterns for knitting with knitting needles. The drawing of "honeycomb", enjoys well-deserved popularity among the skilled workers. After all, the product connected in this way turns out to be embossed, soft and at the same time very beautiful. In addition, there are a lot of variations on its theme, so mastering it, you will easily perform them. In this article, you will learn how to knit a pattern of "honeycomb" (large and small), drawing on the scheme.
Master class №1 - we knit the pattern "Small honeycomb" with knitting needles
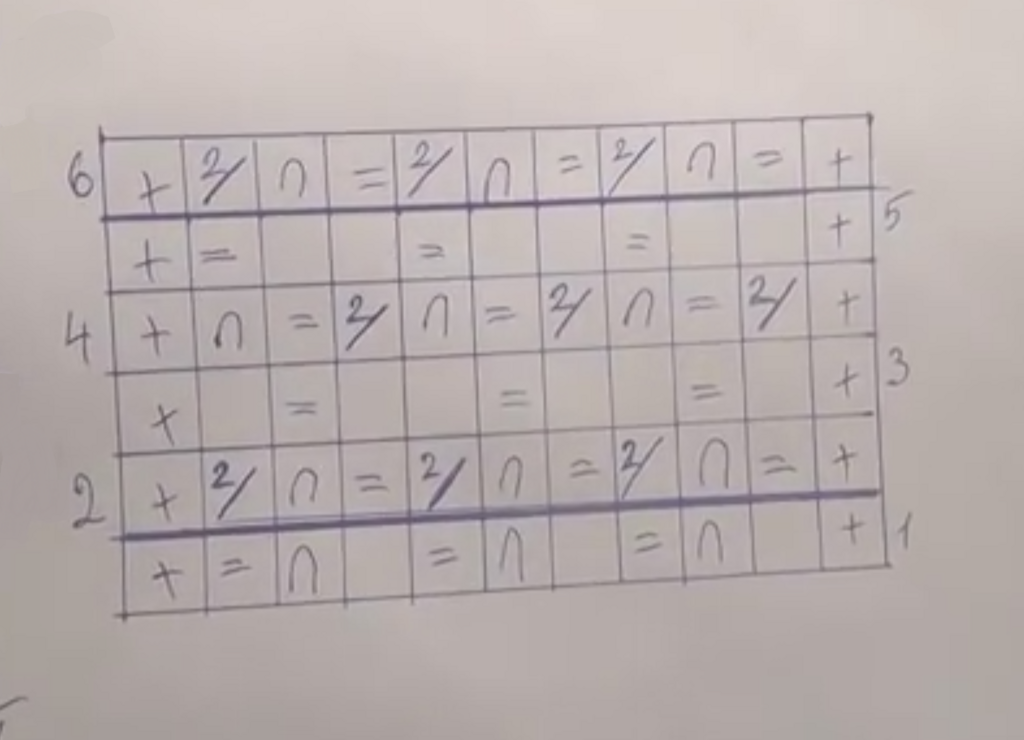
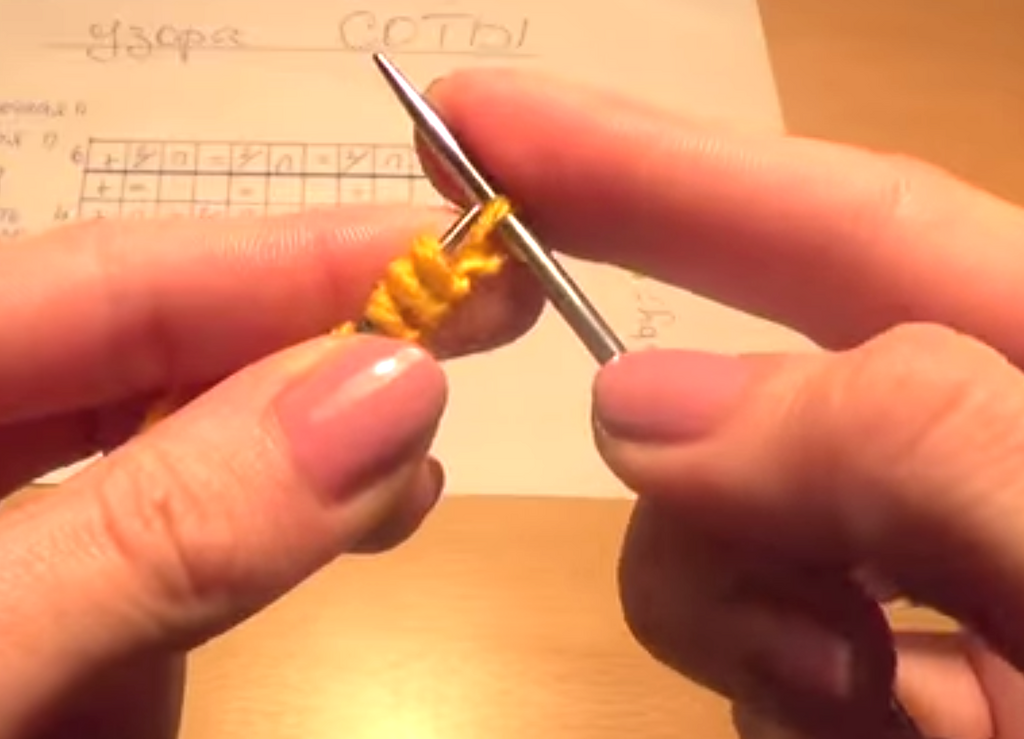
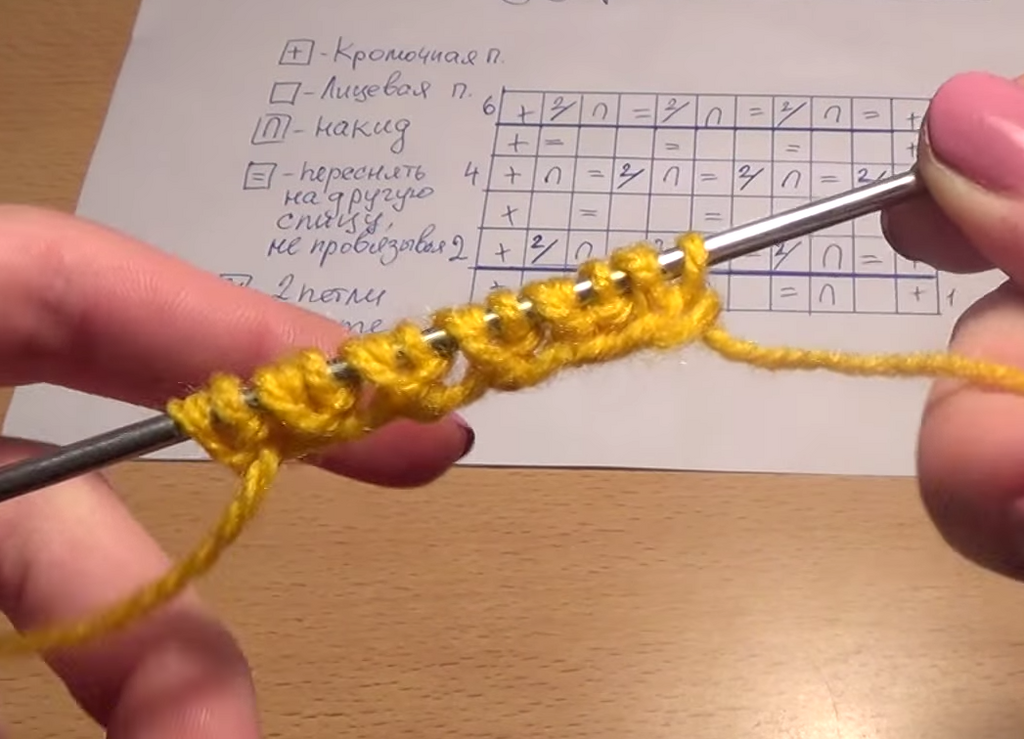
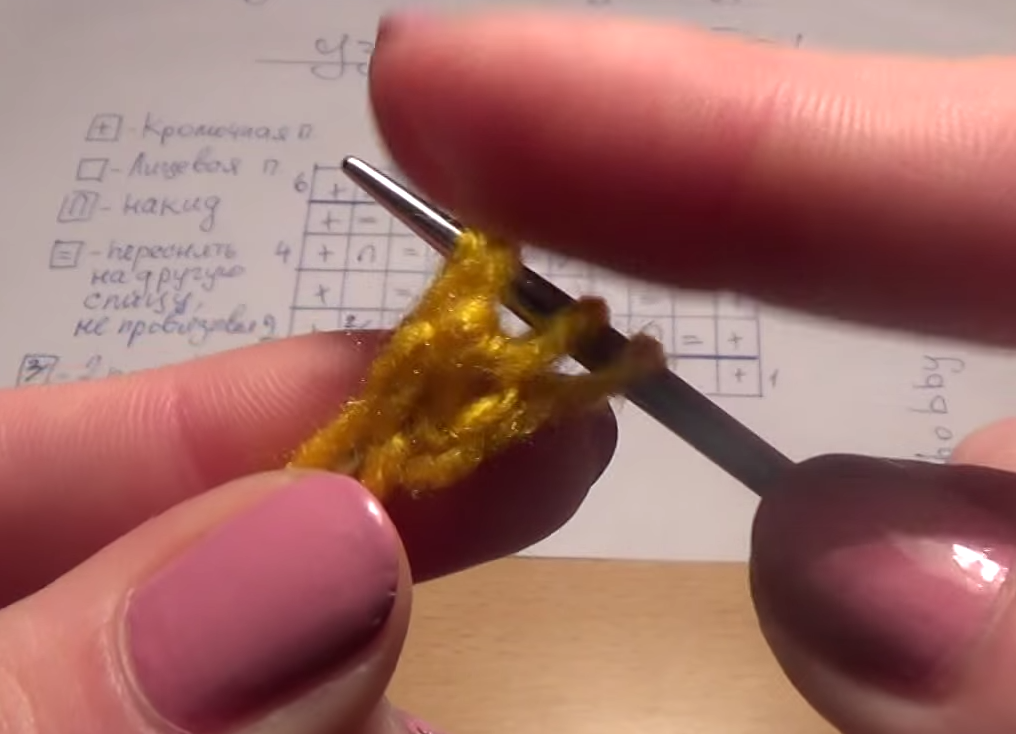
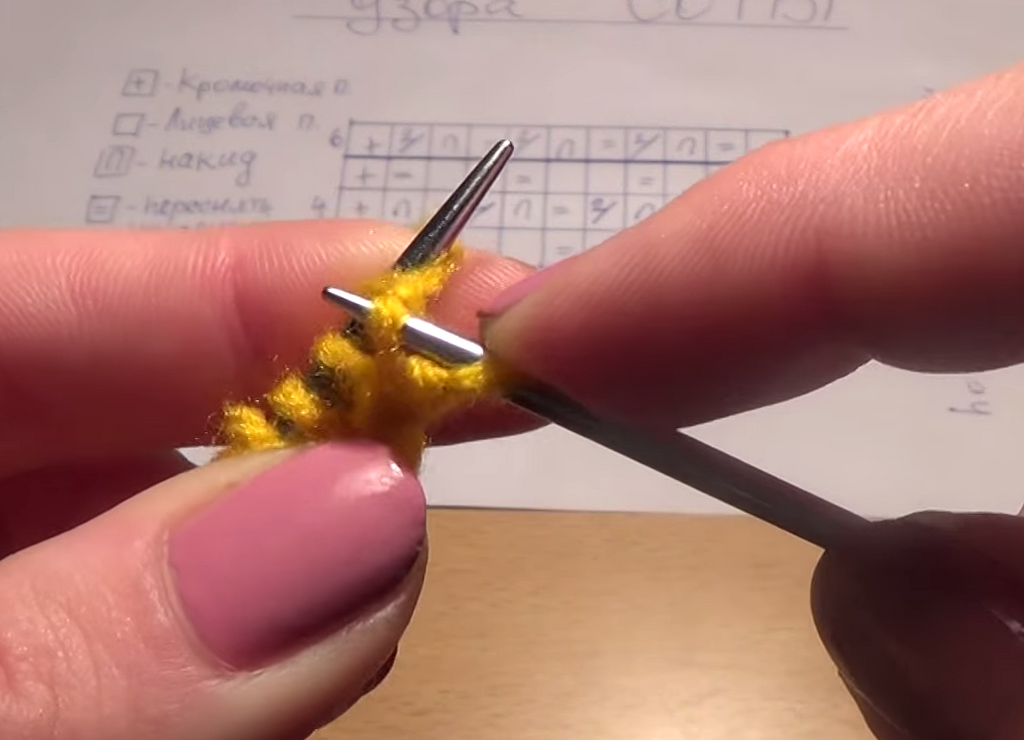
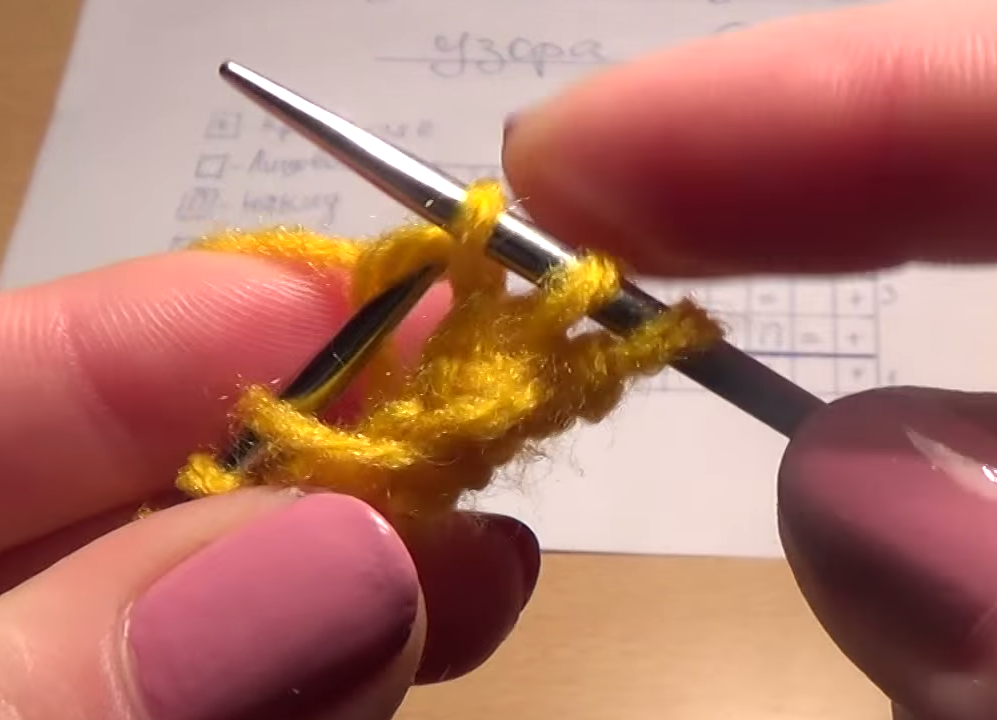
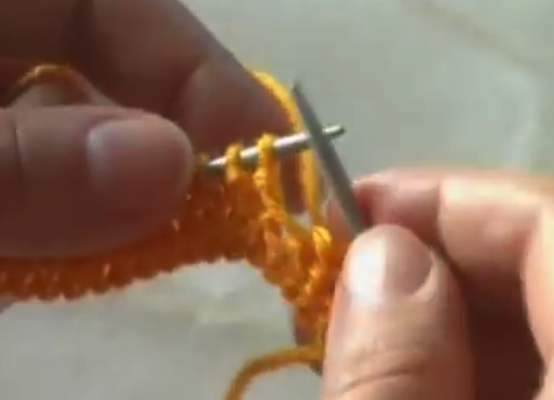
We will need separate knitting needles, a tangle of yellow threads, as well as this knitting scheme.
Executing the pattern:
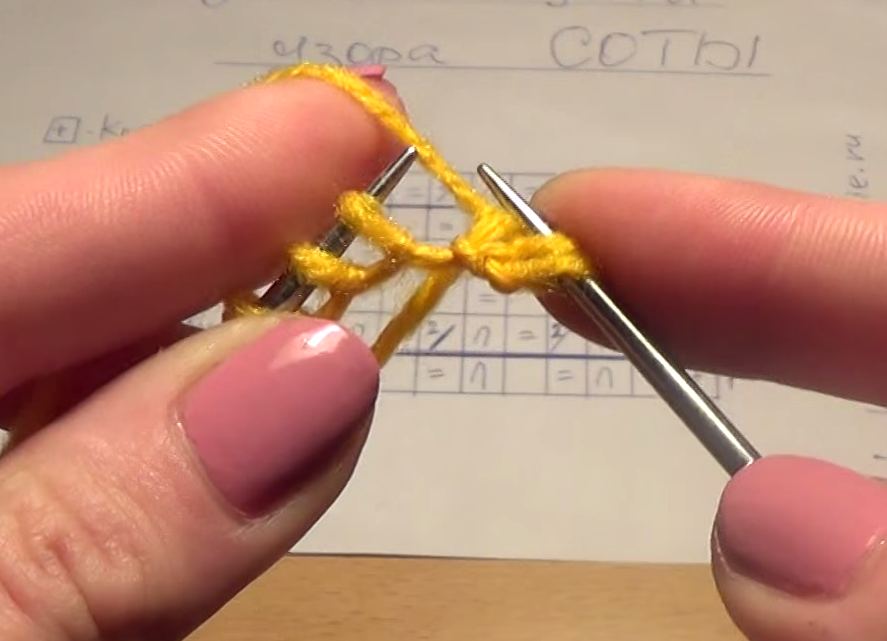
- We type loops (the number is a multiple of 2).
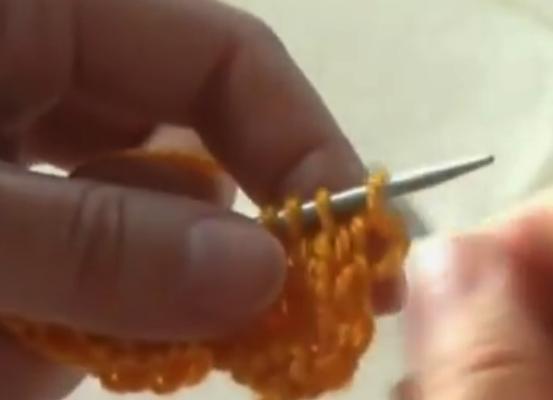
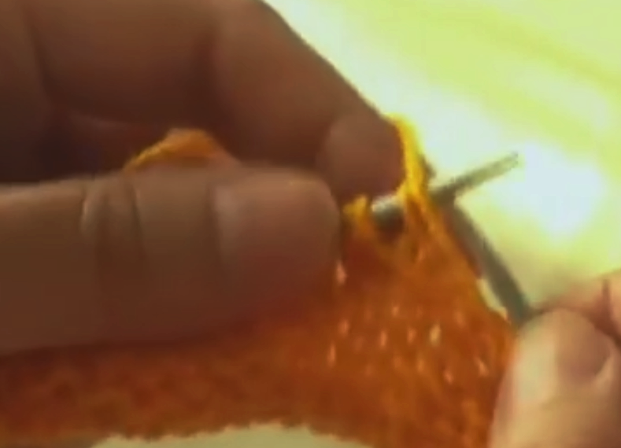
- First row. We make the edge loop, taking it off just on the spoke. Then we do a throw-in and take off the next loop of unreinforced one. We repeat to the end of the series. We sew the wrong loop with the wrong loop.
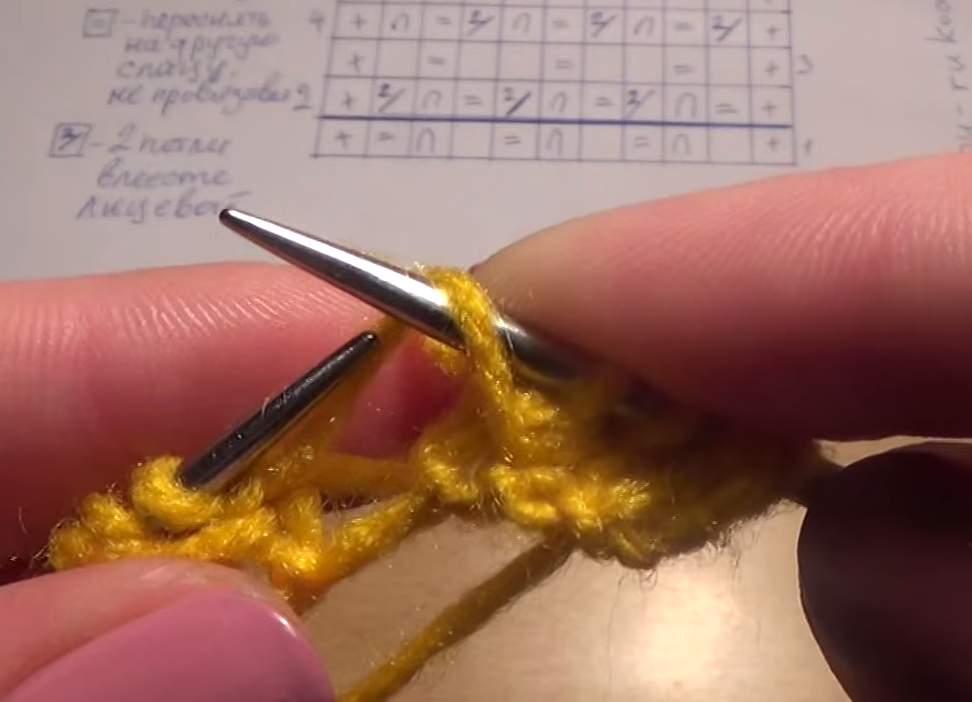
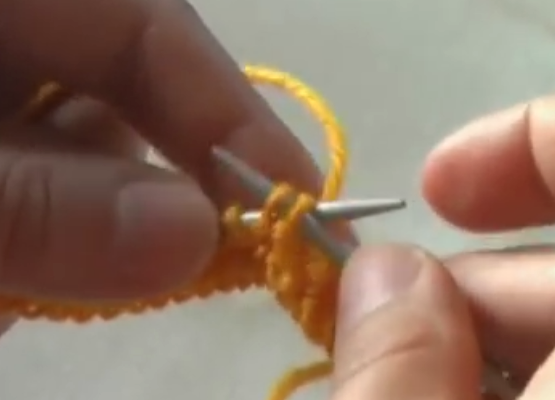
- We turn the resulting row of loops. We proceed to the second row, on which the drawing begins to form.
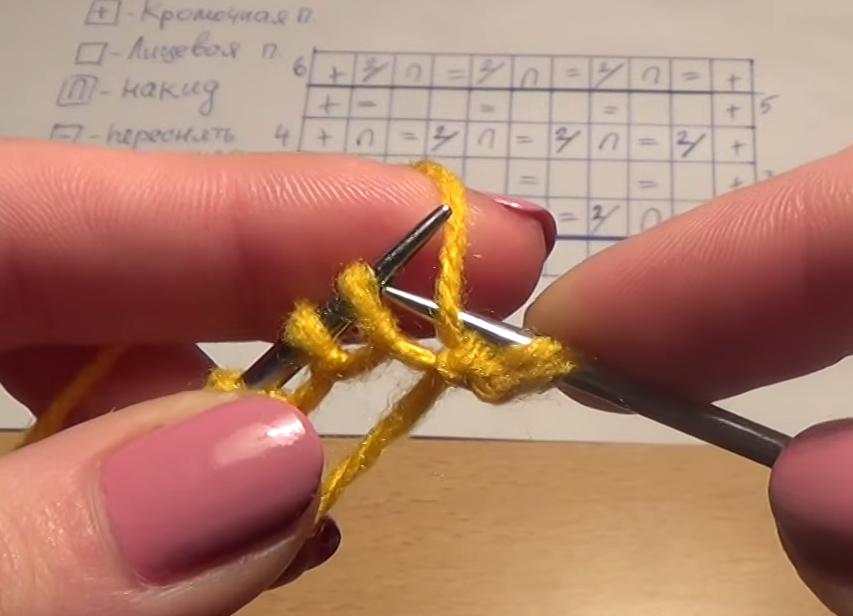
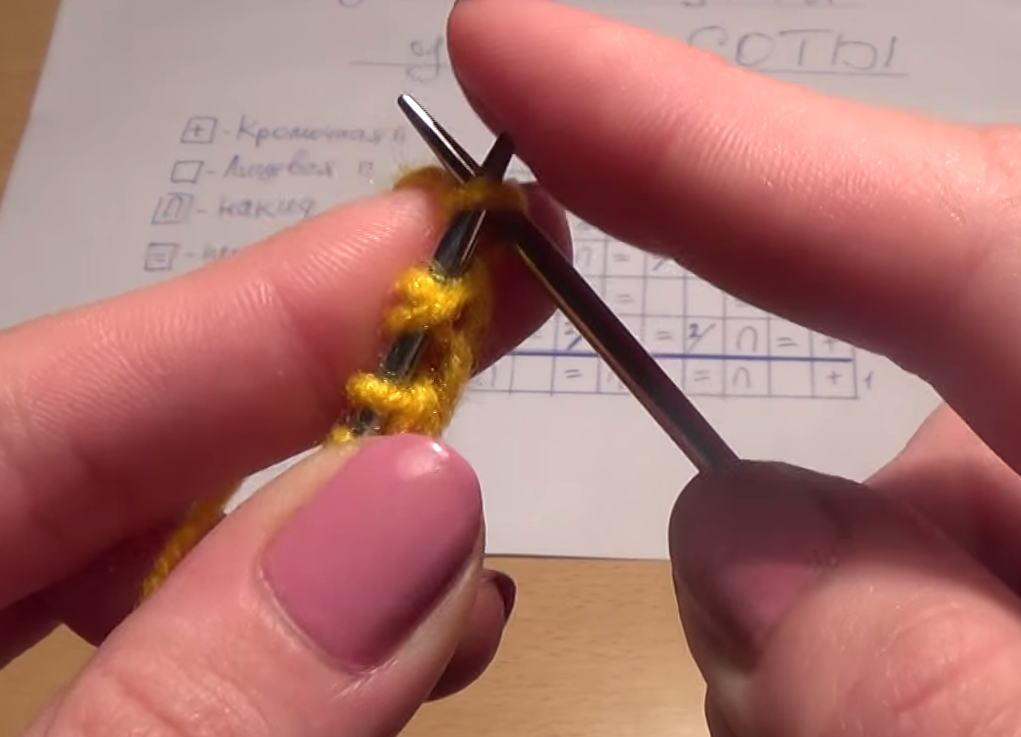
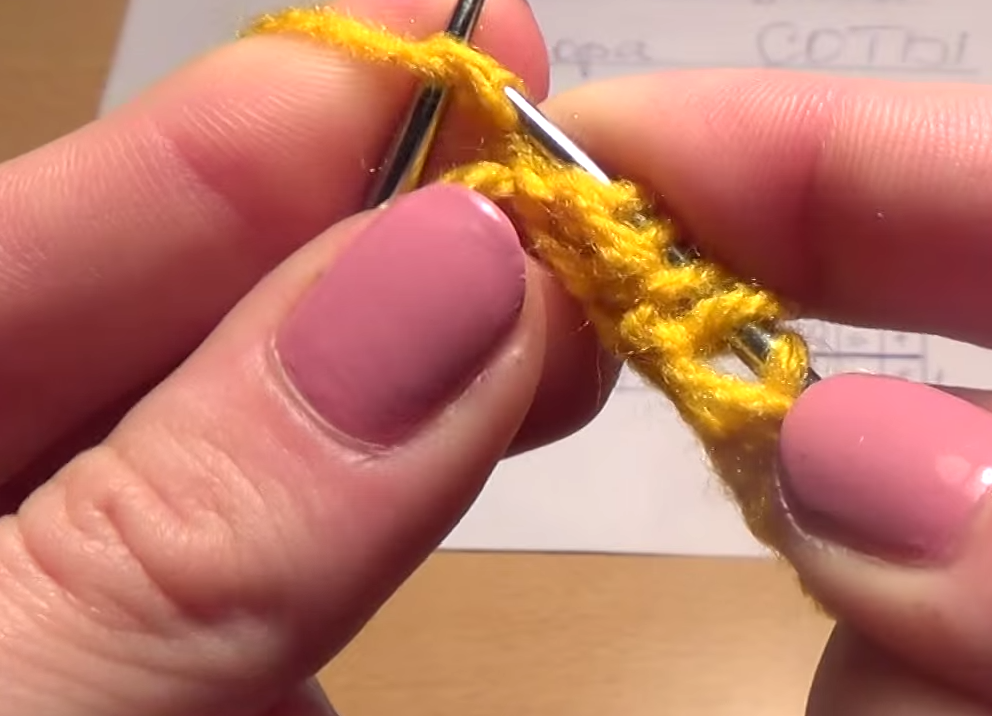
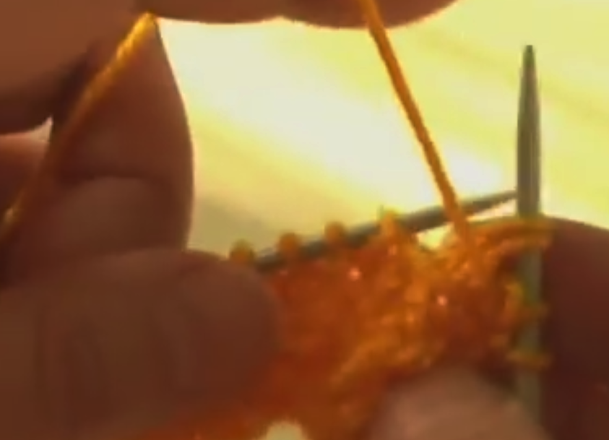
- Second row. The first loop is edge (just removed). After that, we sew two loops together front. We make a cap and remove the next loop. We continue to repeat this sequence to the end. We sew the wrong sideband. The finished row is leveled and turned over again.
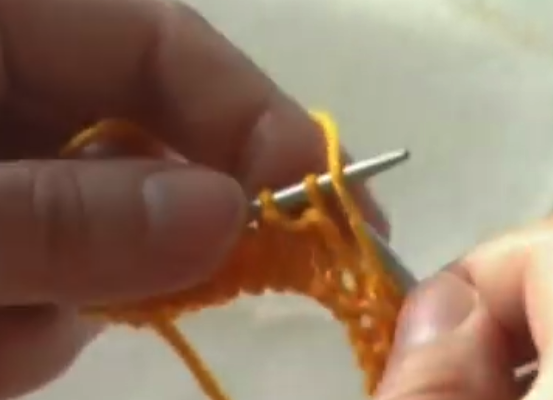
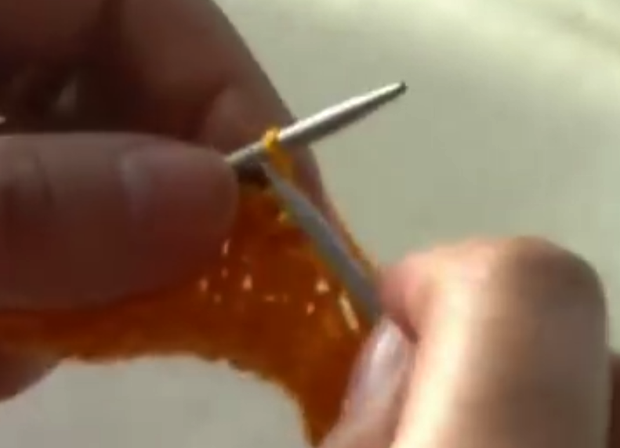
- Third row. We remove the edges. After that do 1 front and take off the loop. After that, to the end of the row, alternate 2 facial, and the third simply remove. Edge rooting.
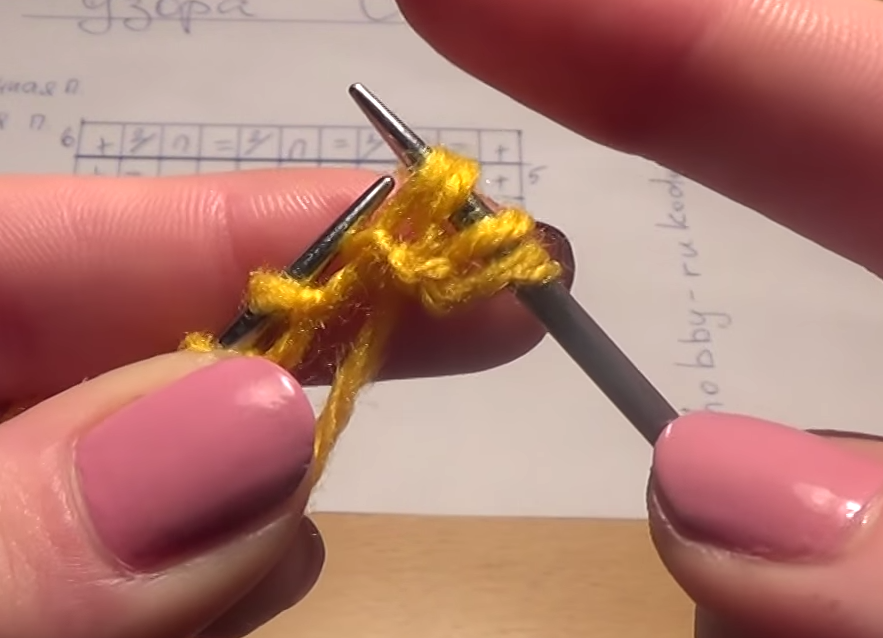
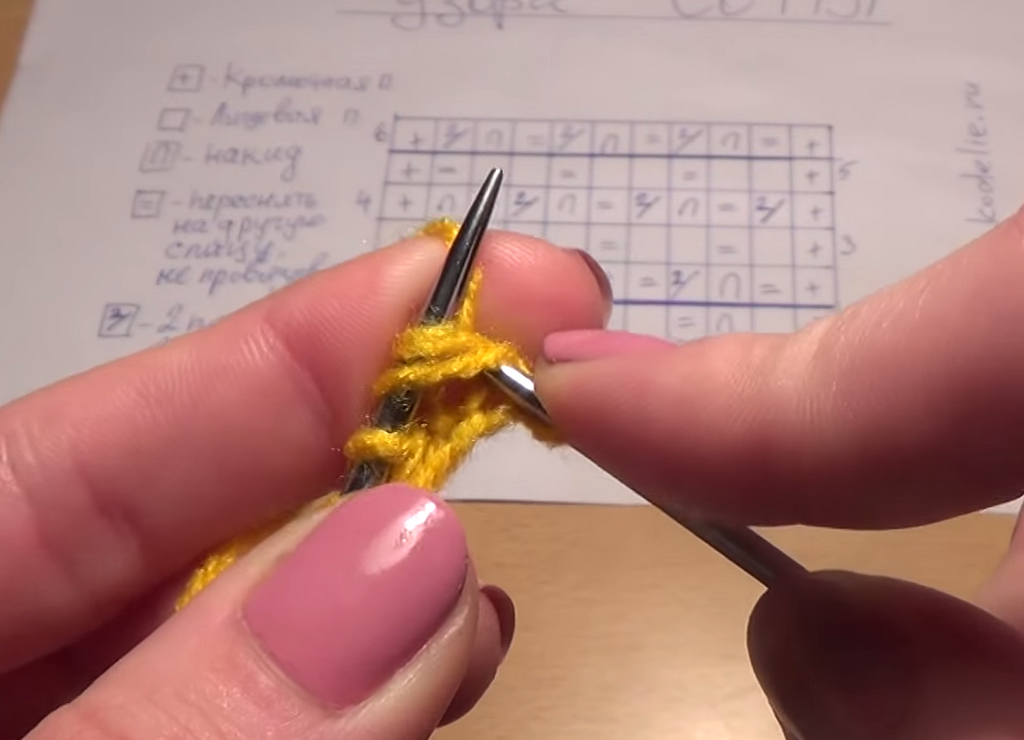
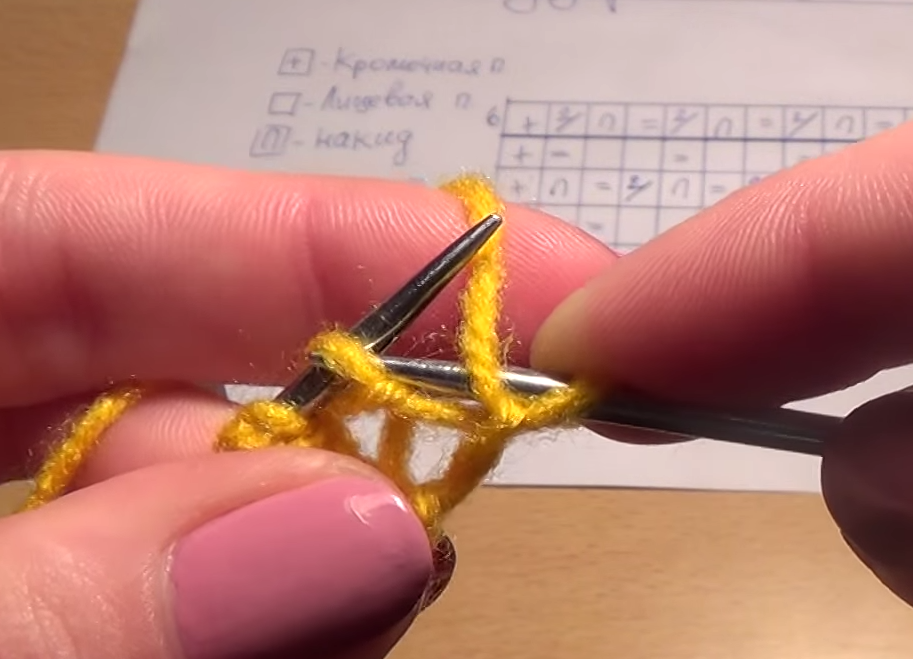
- Fourth row. We remove the edges. We then make a drop and remove the next loop without tying. Until the end of the series, we repeat the sequence: two eye loops, a cap and a loop are removed. Kromochnuyu again we sew the wrong. We turn the finished row.
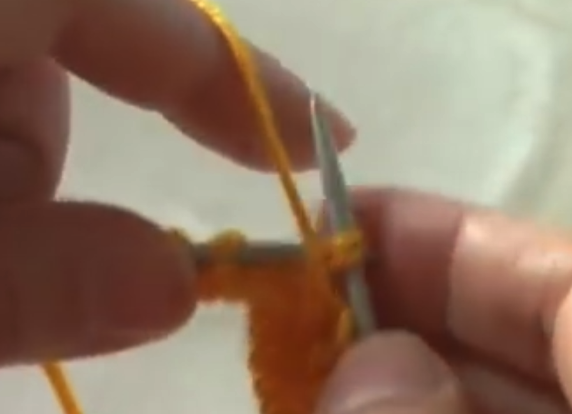
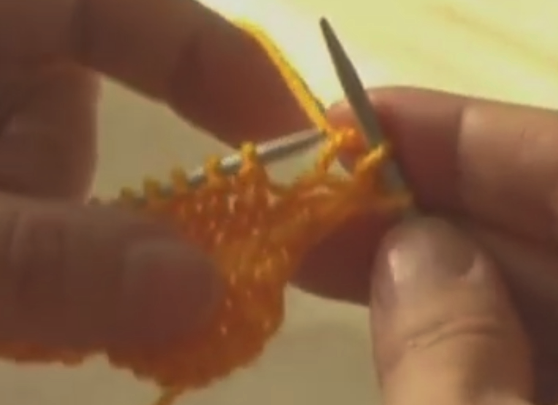
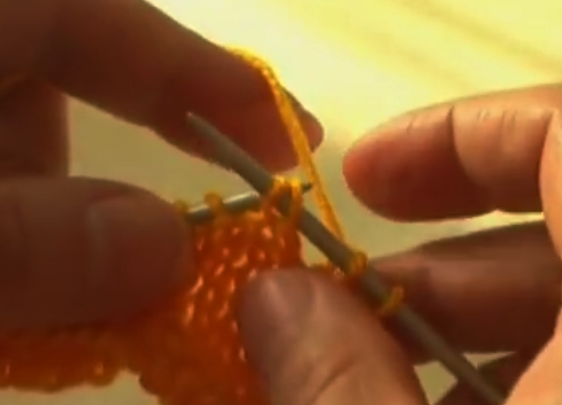
- Fifth row. We make the edge. Then repeat the end of the series: 2 facial and 1 remove without tying. We sew the wrong sideband. We turn around.
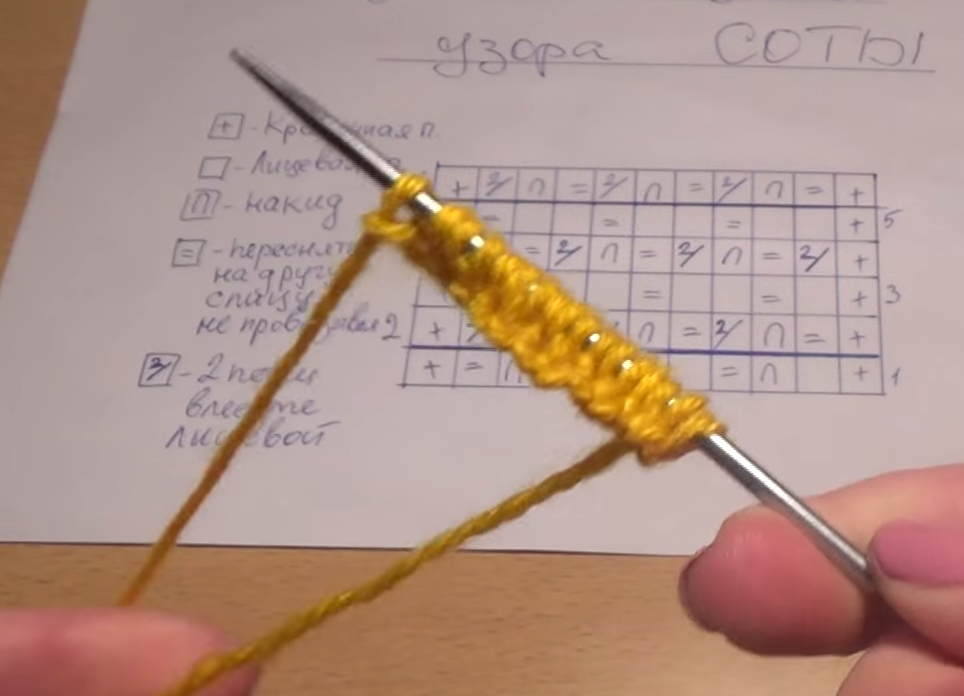
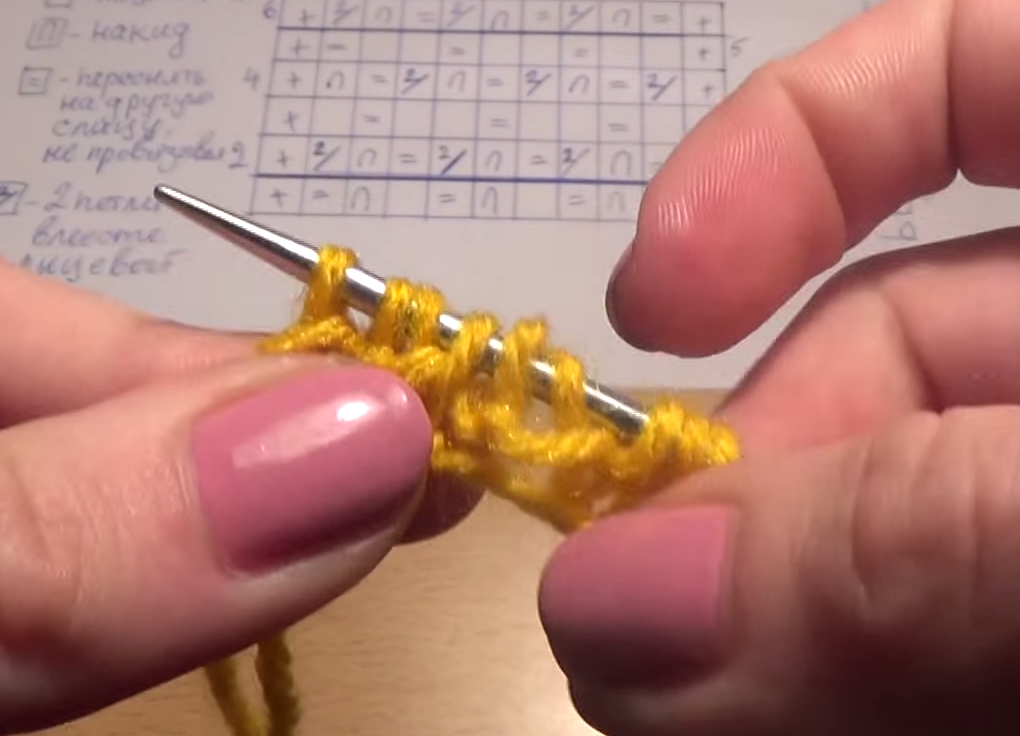
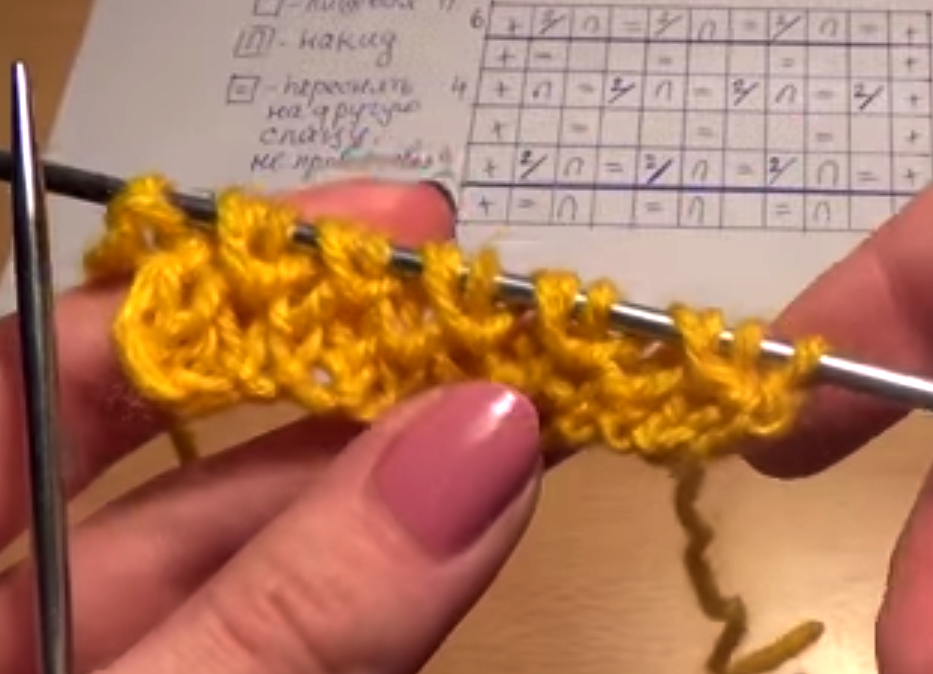
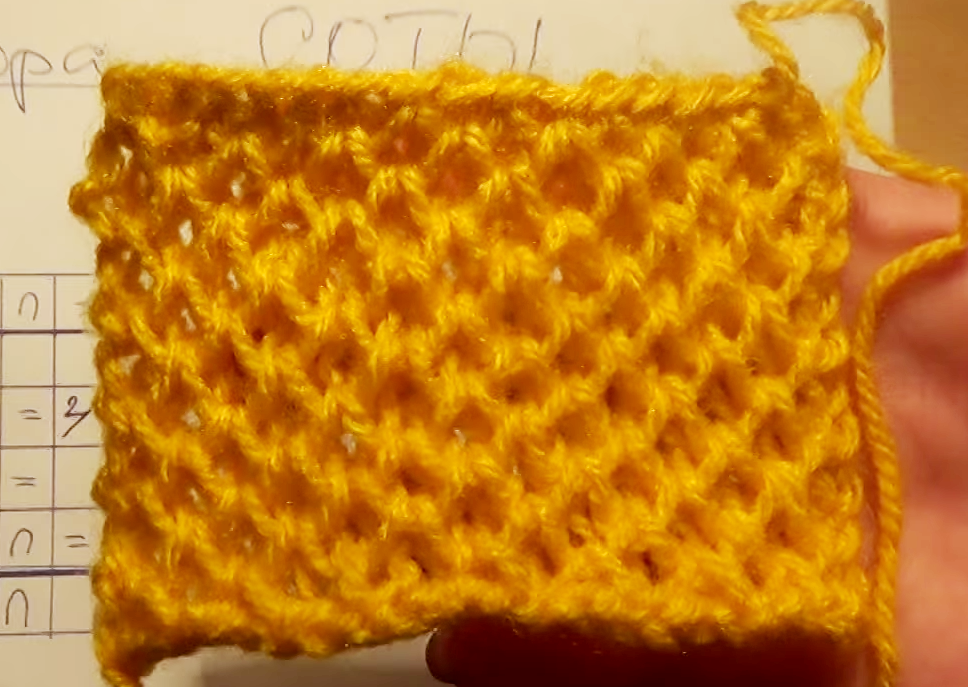
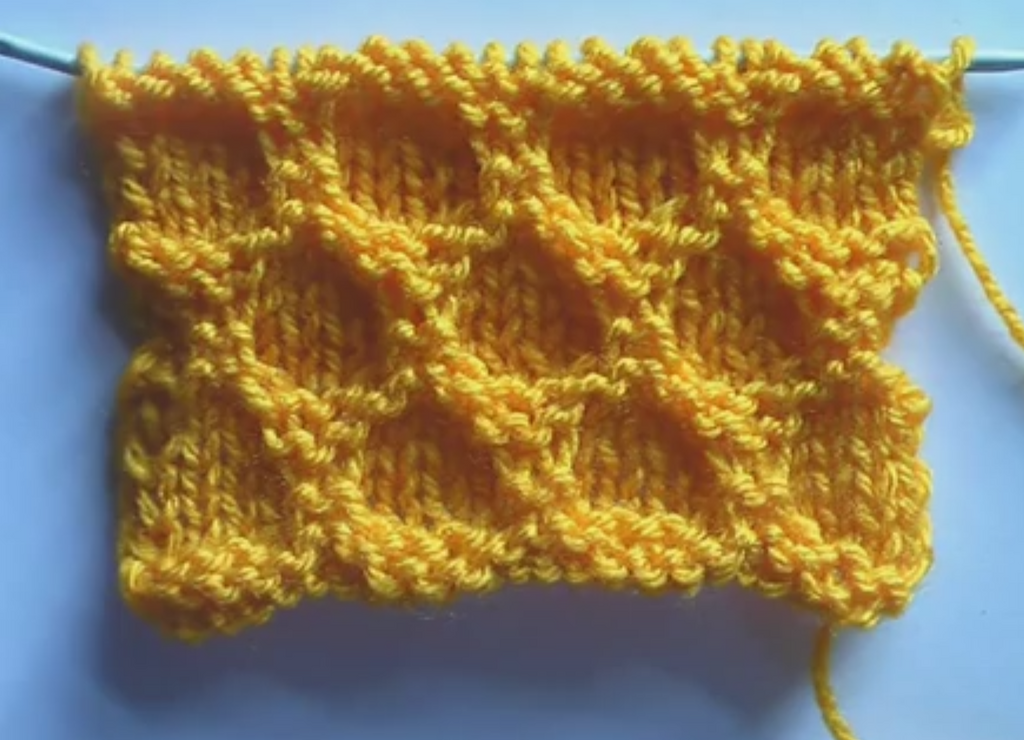
- From the sixth row we begin to repeat knitting from the 2nd to the 5th. As a result, we should have a canvas, the front and the underside of it looks like this:
Master class number 2 - we knit the pattern "Large honeycomb" with knitting needles
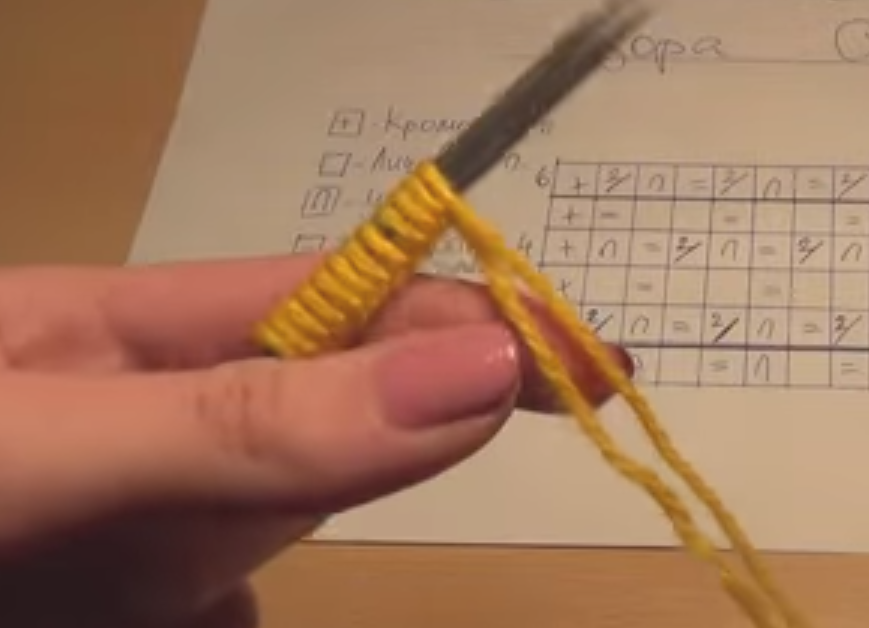
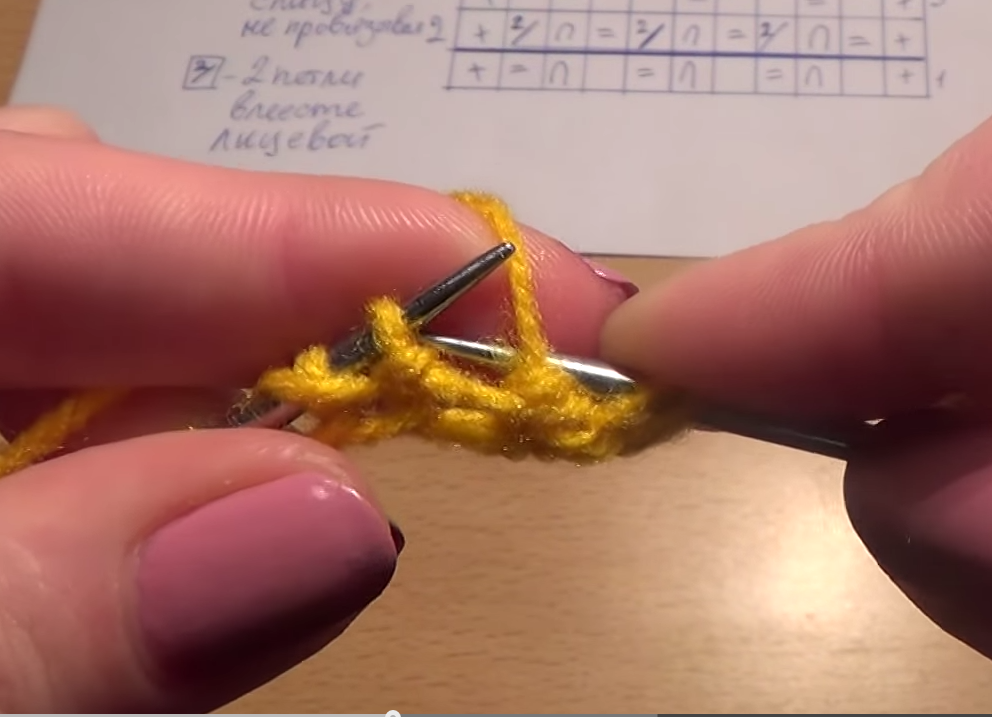
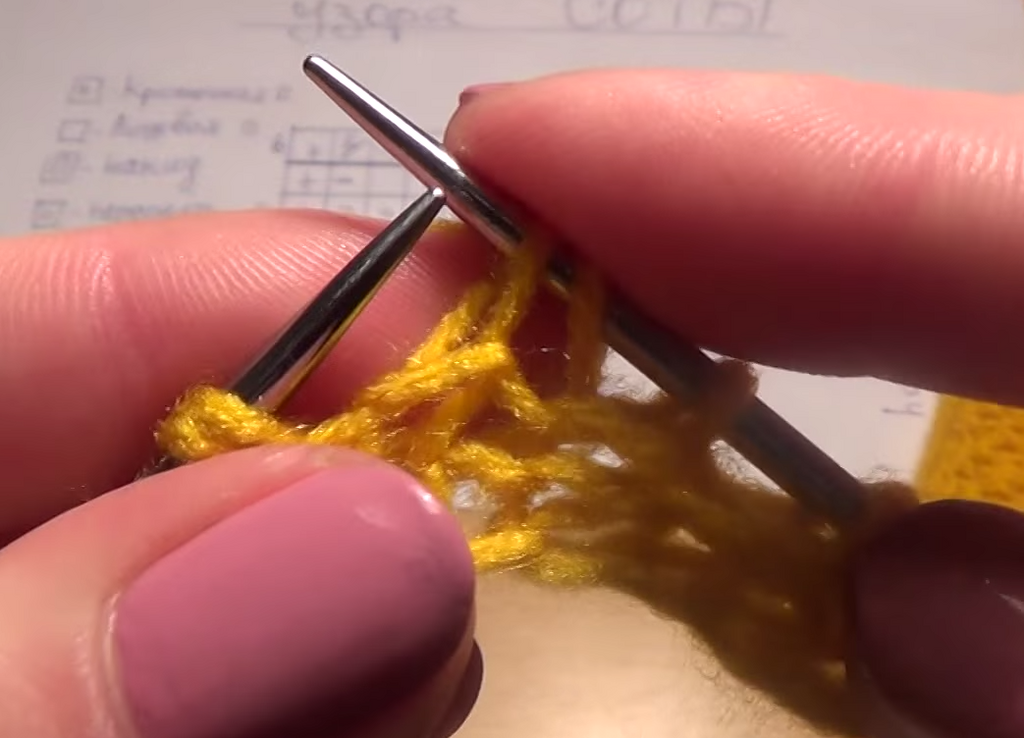
For this pattern, the number of typed loops should be a multiple of 6. They include 2 edges, which we begin to do from the third row. The first - we remove, and the second (last) - we sew the purl.
Executing the pattern:
- The first row we sew with the wrong loops, and the second one with the front ones. The drawing starts to form from the next row.
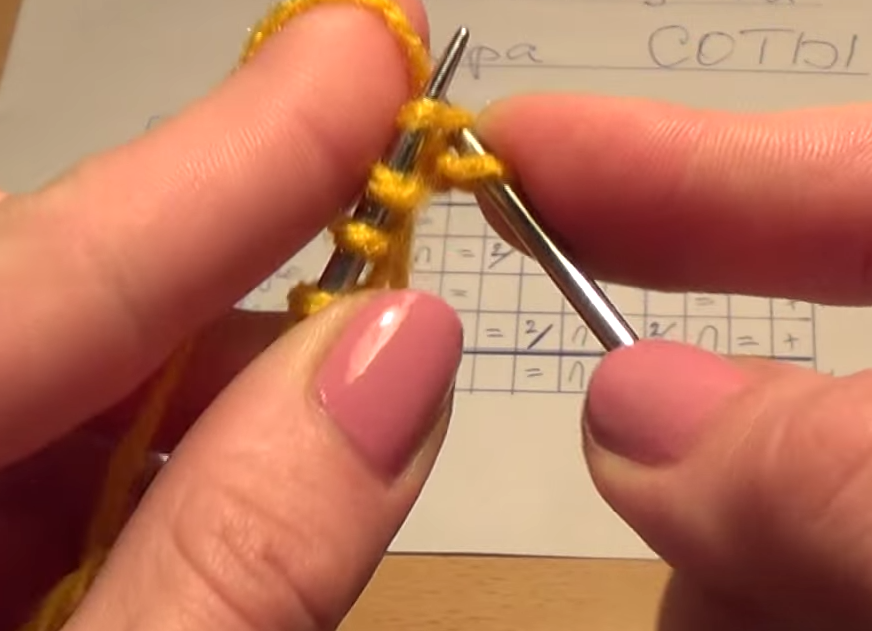
- The third row is typed, repeating the combination of 4 facial and 2 simply remove, necessarily leaving the working thread at work. We turn around.
- We perform the fourth row, repeating 4 purl and 2 without tying, the thread must be before work. We turn over the canvas.
- The fifth and seventh rows are bred, repeating the drawing of the third, and the sixth and eighth - as the fourth.
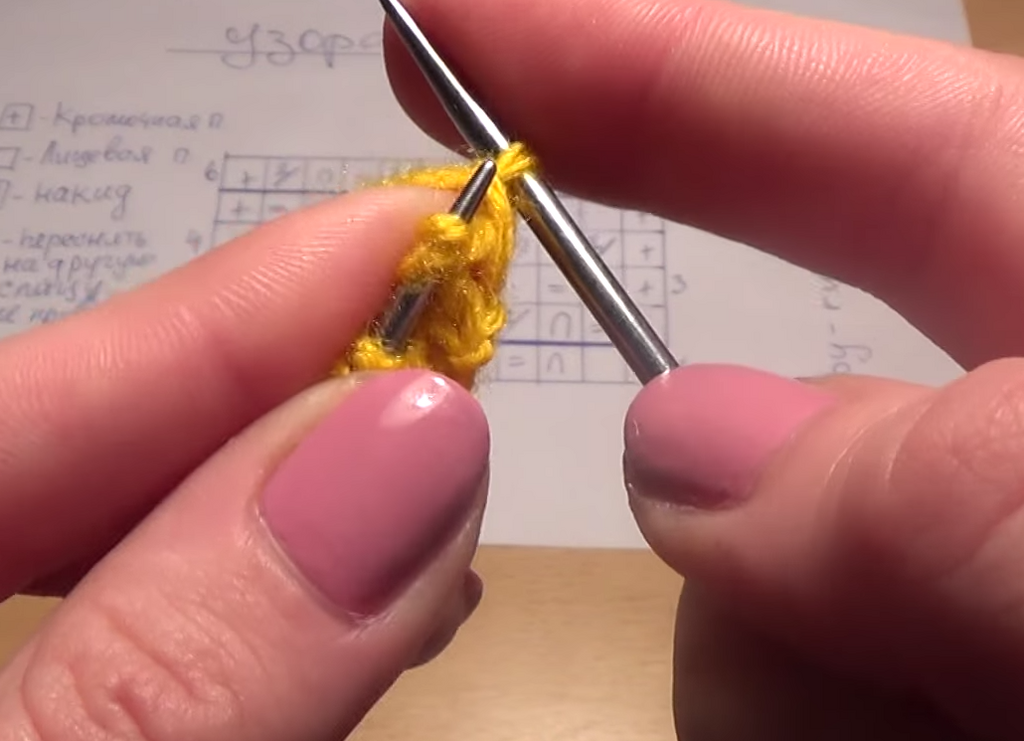
- The ninth row is completely bound with the backs, and the tenth with the obverse ones (without the edges).
- Eleventh row. After the edge we make 1 facial, then repeat the picture to the end: 2 remove (thread at work) and 4 facial. When there are 2 loops left, we perform 1 face and final edge. In the same way, we then tie the thirteenth and fifteenth ranks.
- The twelfth row. After the edge we make the purl. Until the end of the series we are tying, alternating 2 loops taken without bandage (thread before work) and 4 purlins. At the end we perform 1 purl and edge. Similarly we knit the fourteenth and sixteenth series.
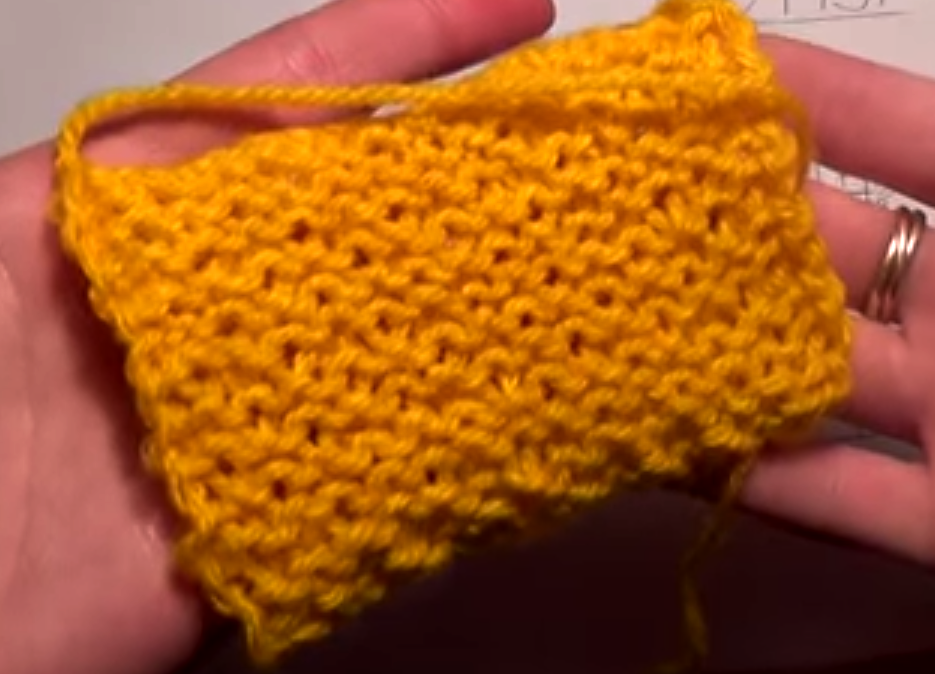
- From the seventeenth row we begin to knit, repeating the first row. As a result, such a pattern should be obtained.
Use the pattern "honeycomb" can be for knitting hats, scarves and various types of jackets .