The growing popularity of the production of various figures from triangular modules in the origami technique leads to the appearance of new schemes: animals, trees, birds, fairy-tale characters, etc. But on the eve of the celebration of the New Year, the most actual will be to make a miniature Christmas tree that will decorate your table.
In this article, we'll look at how to make a beautiful Christmas tree from modules.
Master-class: New Year's tree from the modules in the technique of origami
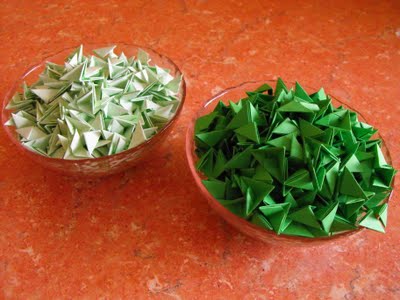
It will take:
- 413 modules from the main color - dark green;
- 163 modules of additional - light green or light green.
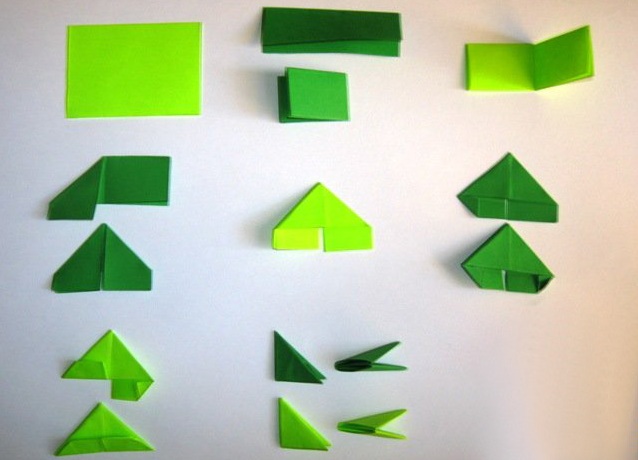
When manufacturing any crafts in the technique of modular origami, triangular modules are executed equally, as shown in the picture.
Production of parts:
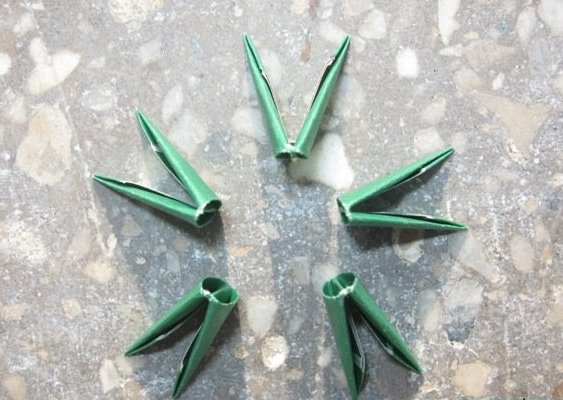
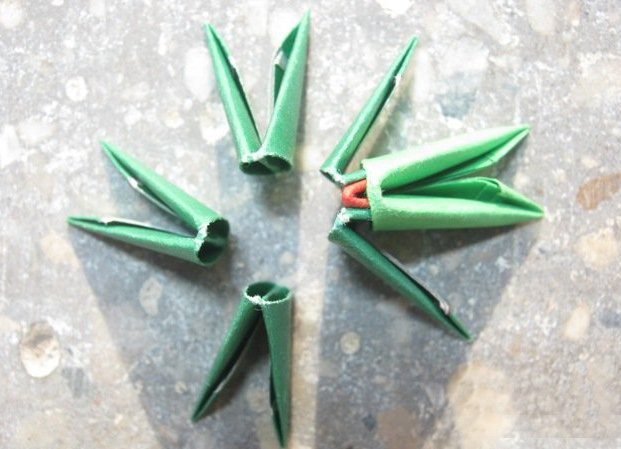
1. We take 5 modules of the main color and have them in a circle, and 10 modules are connected in pairs, as shown in the photo.
| | |
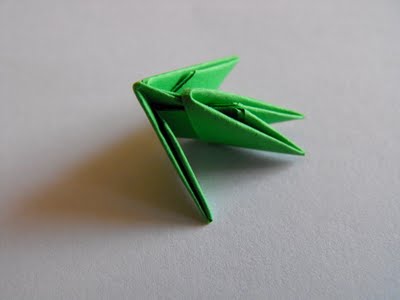
2. We put the pair modules on the modules located in a circle. It turned out a blank for the branches. We need to perform them 5 pieces.
| | | |
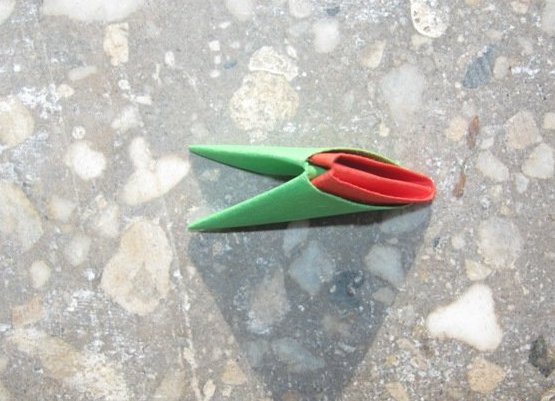
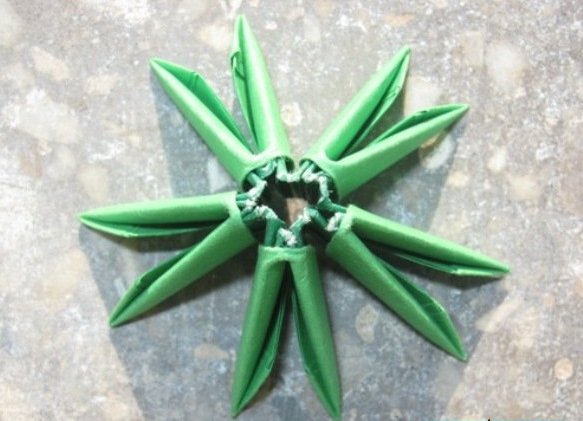
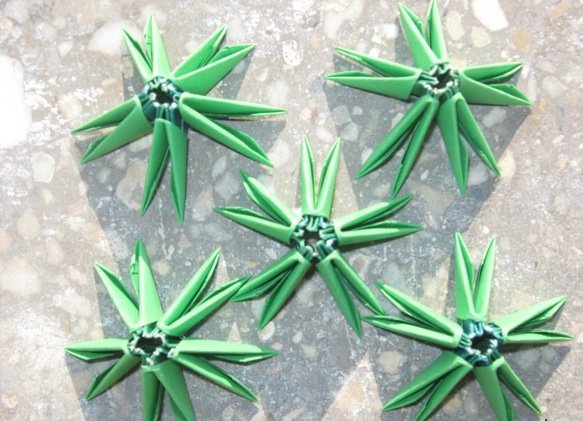
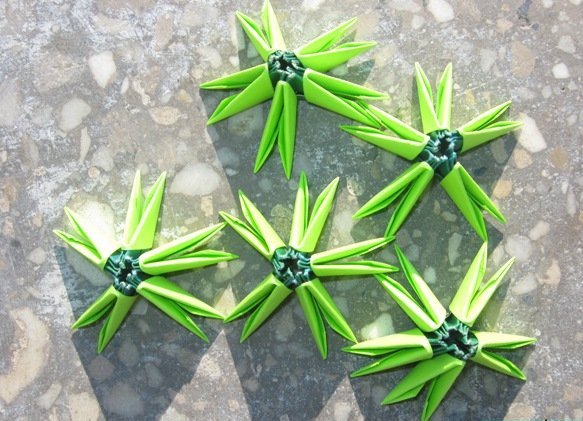
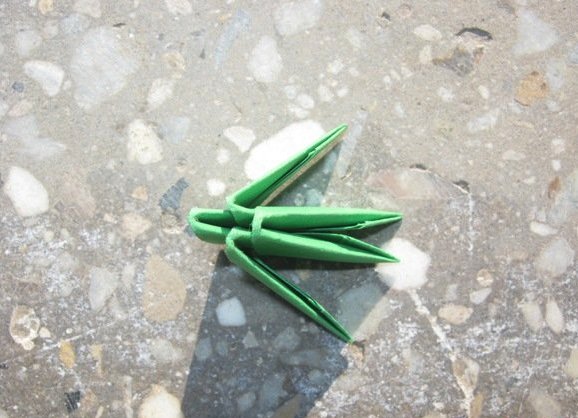
3. Using the top module of an additional color, we make 5 more round blanks.
4. When manufacturing the Christmas tree, we will use the concept of a series, which consists of 3 modules
| | |
and a row on the leg, which of the 4 modules.
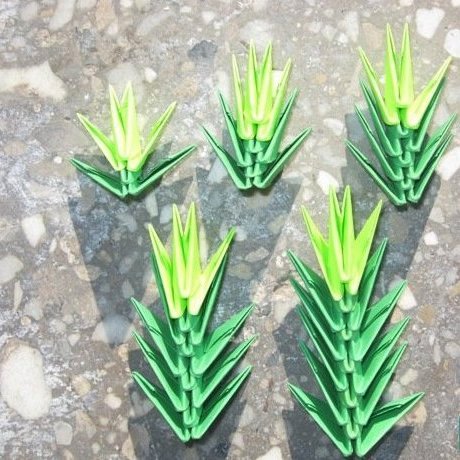
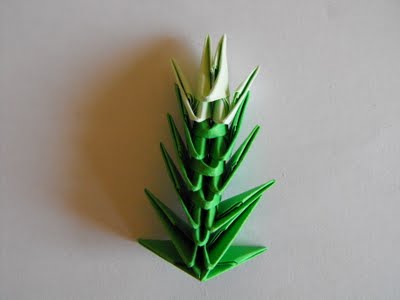
5. We make the main branches of each species for 5 pieces:
- 1 type - 1 main color and 1 additional row;
- 2 kinds - 2 rows and 1 row;
- 3 types - 3 rows and 1 row;
- 4 types - 4 rows and 1 row;
- 5 view - 5 rows and 1 row.
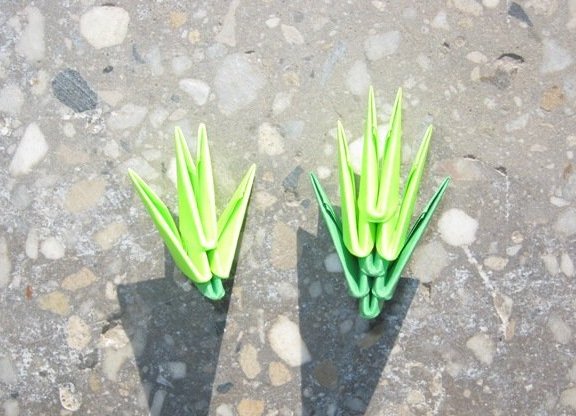
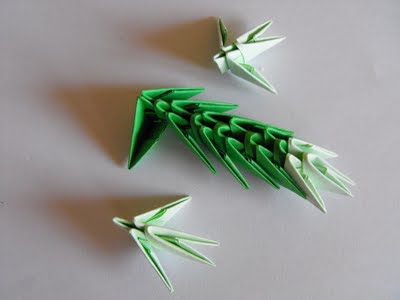
6. Then we collect additional twigs, each type of 10 pieces:
- 1 view - 1 row of additional color and 1 module of the primary color;
- 2 view - 1 row of additional color and 1 row on the main leg.
7. To the main branch of 4 species (5 rows) from two sides we attach on an additional branch of the 1st kind.
| | |
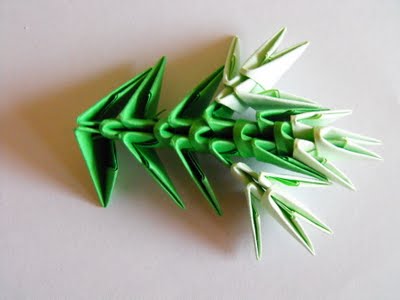
And to the main branch of the 5 kind (6 rows) - additional branches of 2 kinds.
| | |
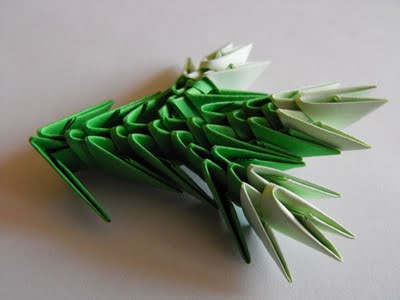
8. We take a round billet and attach 5 branches of the 1st kind to it, it should look like the photo.
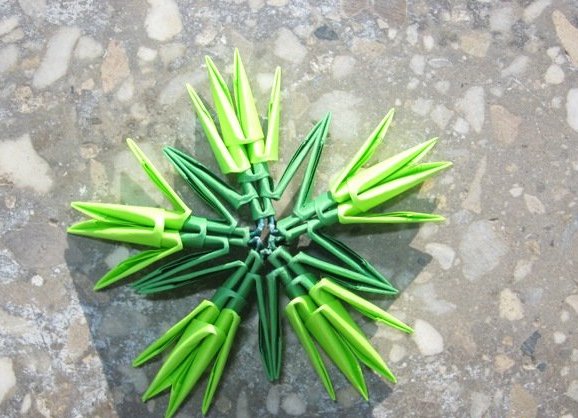
9. To 2 more round blanks we join 5 branches of 2 and 3 kinds. So we get the top three rows of our Christmas tree.
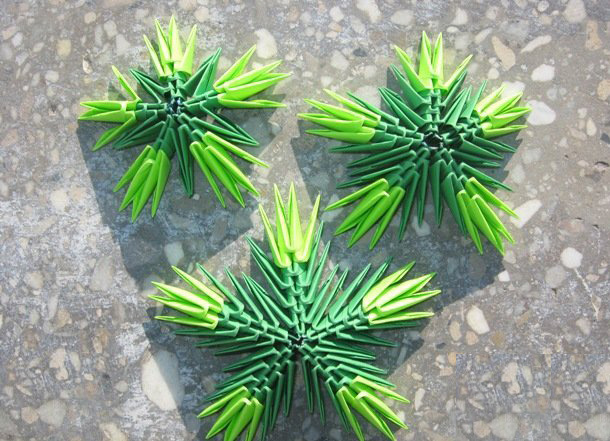
10. To join the next two round billets we join sprigs 4 and 5 of the species (already with additional branches). This will be the 2 lower rows.
| | |
11. To make the top, connect 3 rows of the main color and 1 row of the complementary. In the right and left pockets of the lower module, we insert two more modules of the primary color.
| | |
12. The trunk for the tree is made by twisting a green paper into the tube.
| | |
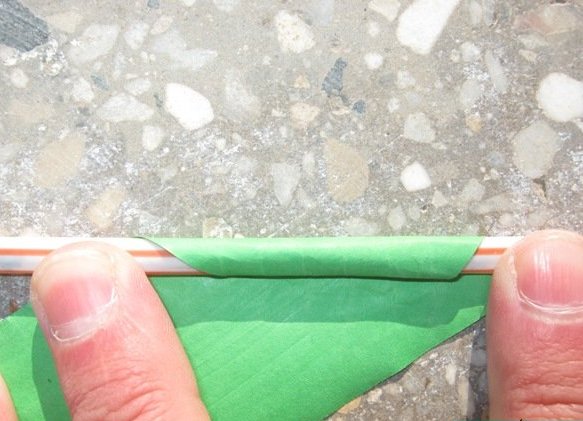
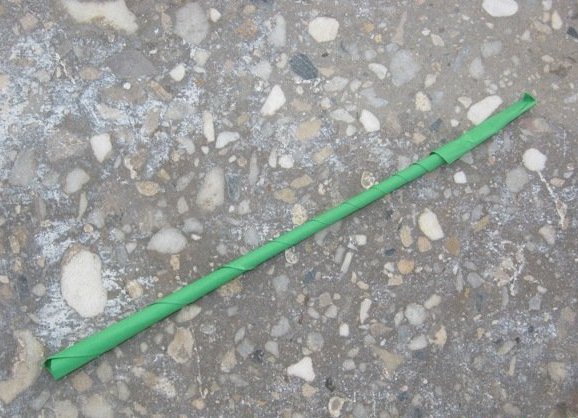
Assembling a Christmas tree
13. For stability, we dress the round workpiece of an additional color.
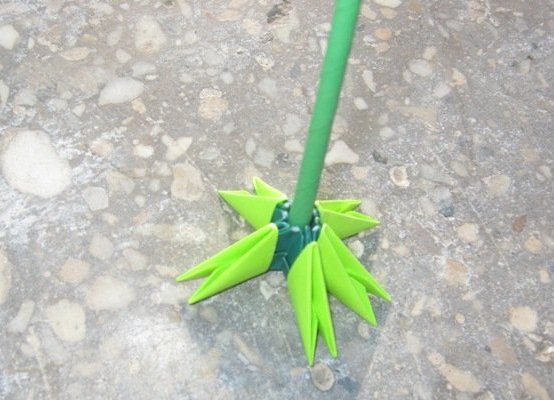
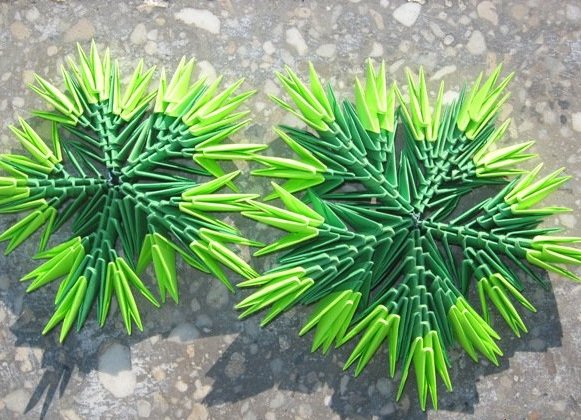
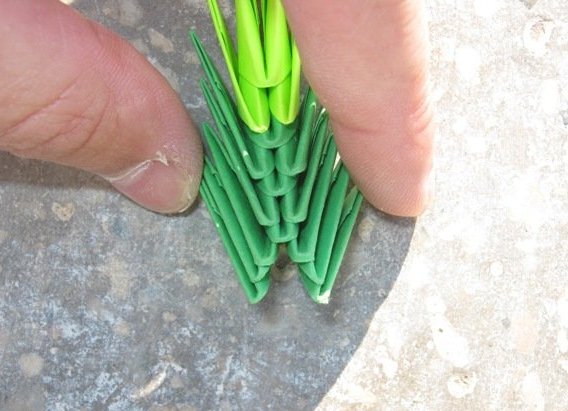
14. On the trunk we dress all the branches made - alternating the basic and round billets. We start to dress with the most magnificent.
| | | |
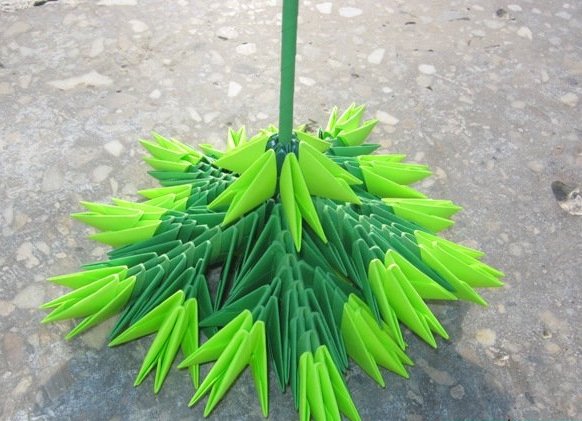
| | |
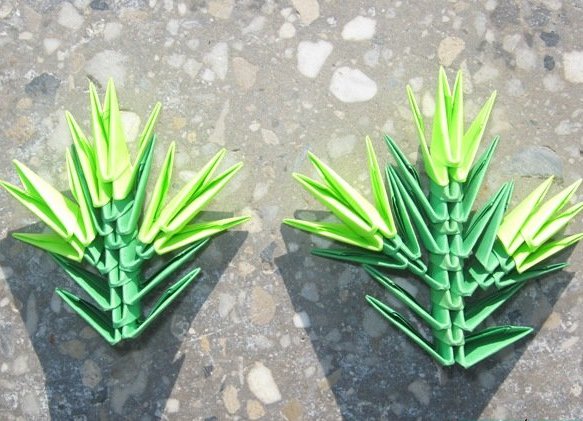
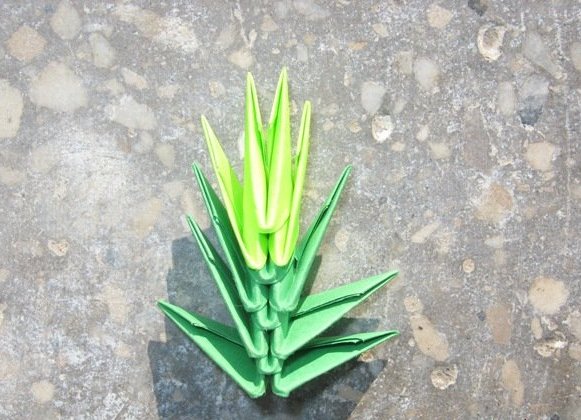
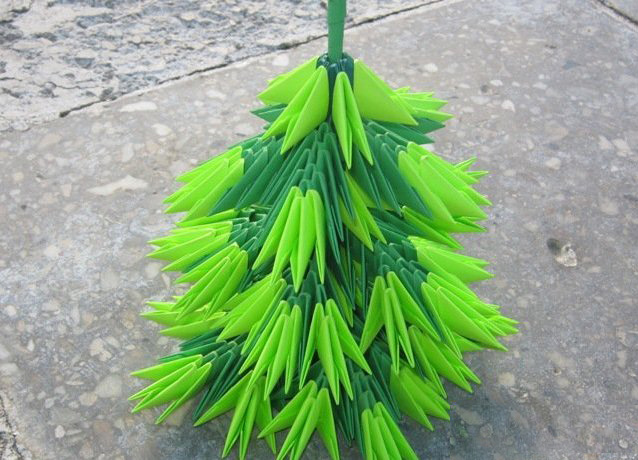
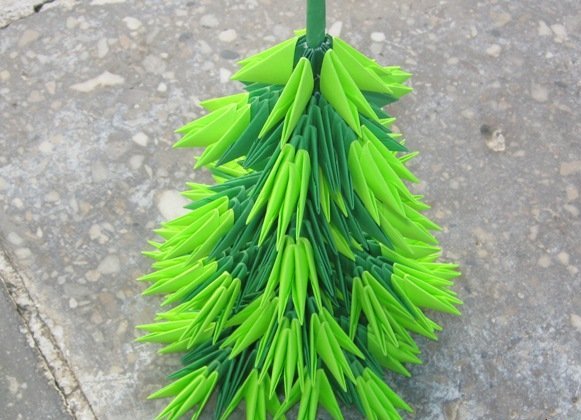
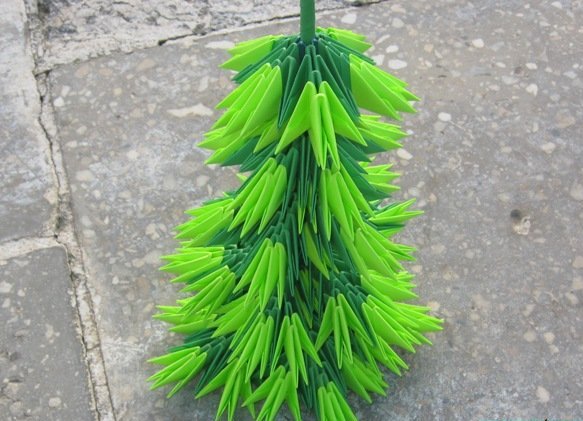
15. We dress the crown and our Christmas tree is ready.
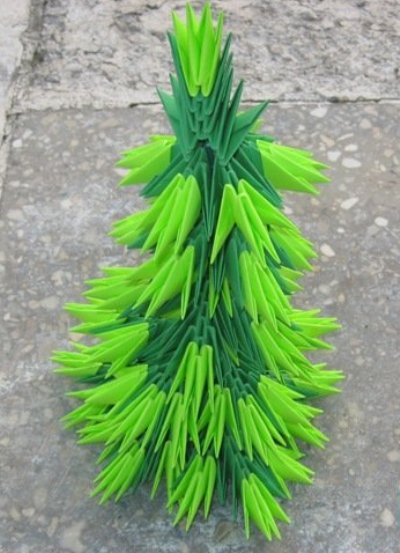
If you use white modules during execution, then we will get a Christmas tree in the snow.
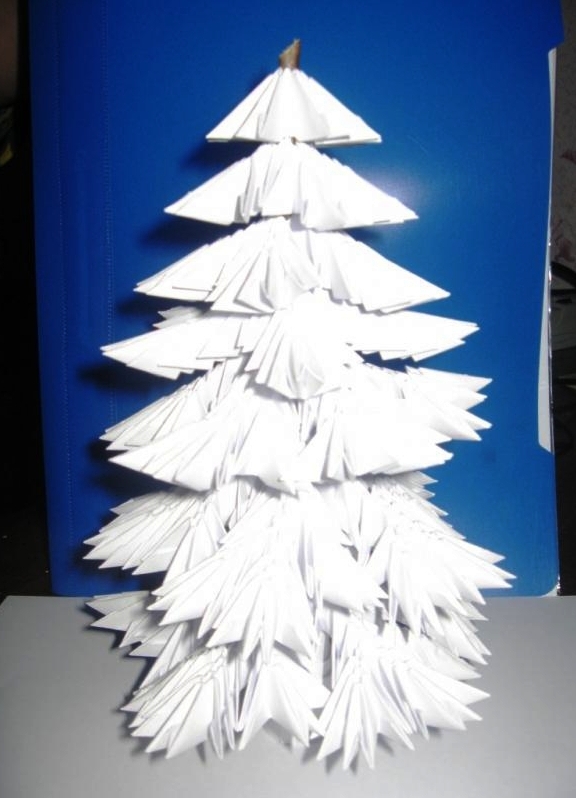
The herringbone can be made from paper in other interesting ways .