The easiest way to make clothes is poncho . Hearing this word, everyone immediately has associations with the Indians and cowboys who carried them. In everyday life, a poncho, depending on the fabric from which it is made is worn as a coat, sweater, blouse and even bolero.
In the article you will learn how to sew simple poncho coats with your own hands, as for them you do not need patterns, or you can use the presented diagram in the picture:
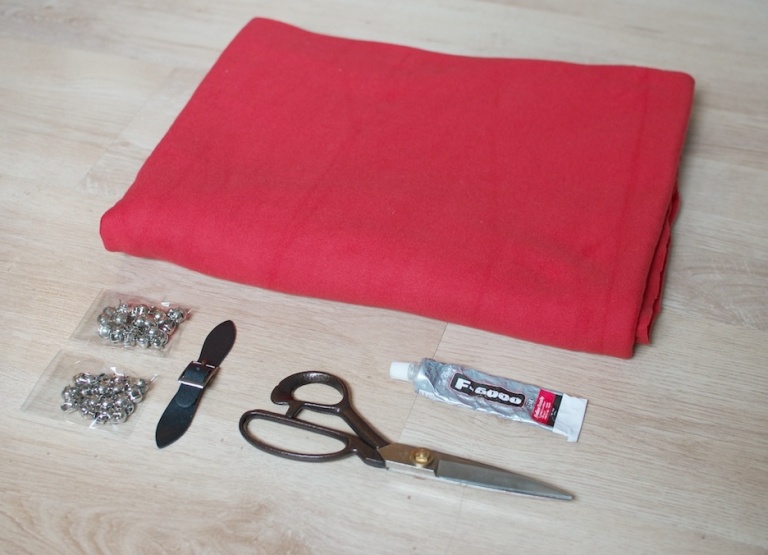
Master class on making a poncho coat with your own hands
- dense and warm fabric for the autumn version (wool) or light for the spring-summer version (fleece);
- leather clasp with buckle;
- 40 round rivets or stasis, which are fixed teeth;
- scissors;
- chalk or a piece of soap;
- measurements: the length of the product (D1), the length from the neck to the wrist on the arm (D2).
- glue.
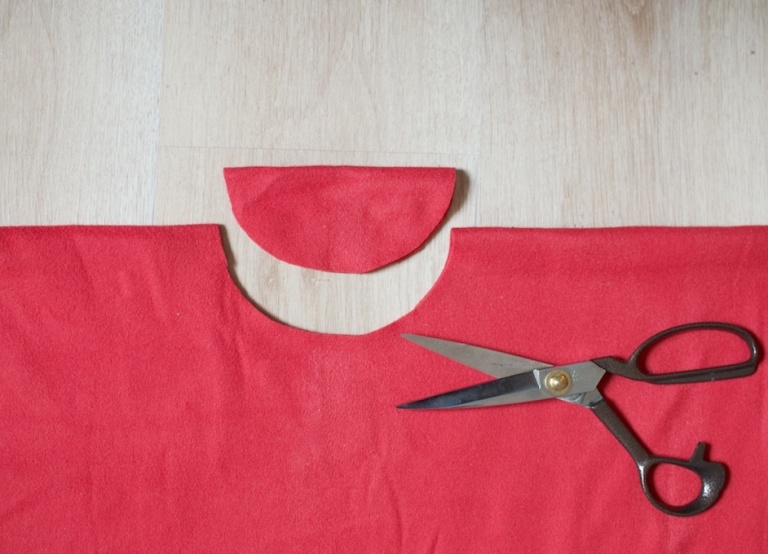
- Fold the fabric twice so that a rectangle or square is obtained. Draw a circle with a radius equal to the length of the product (D1) or simply the maximum possible for the given fabric. We cut it off with scissors.
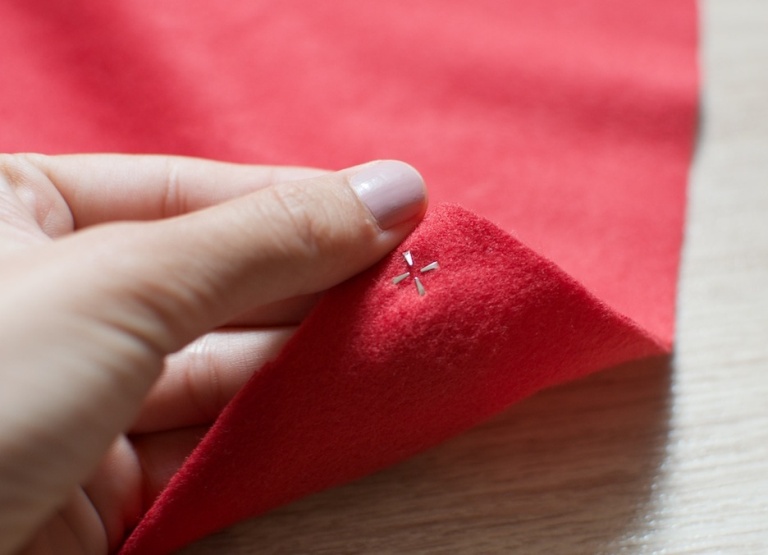
- Expand once to get a semicircle. In the center, we cut out the neck, you can use a T-shirt for the template, attaching it to the fabric.
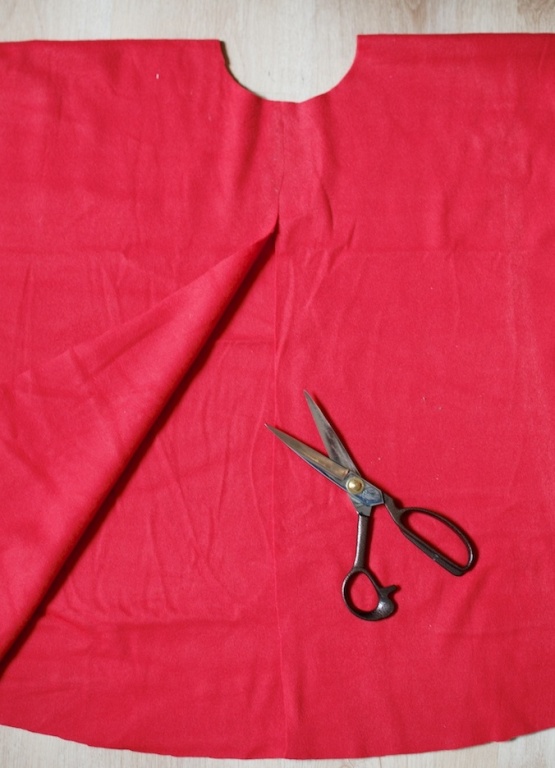
- The upper layer of tissue is cut with scissors horizontally in the center from the middle of the lower edge to the middle of the neck.
- From the edges of the neck we measure the distance D2 to the right and to the left and place the small marks. If Д2 is less than the length of the product, it is necessary to draw a smooth transition from the bottom of the semicircle to the marks and cut off excess fabric. Or you can just make cuts in the fabric, so that the hands look up to the elbows. These slits are fashionable to make by folding the fabric at the top or in front of the poncho.
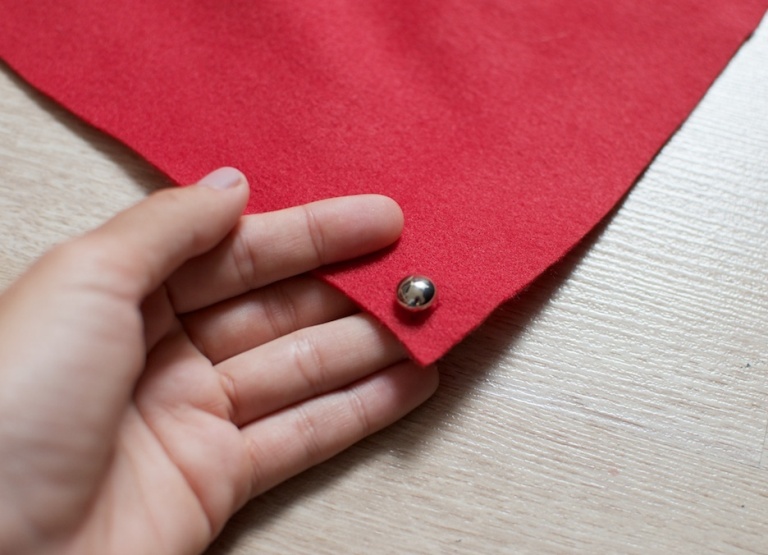
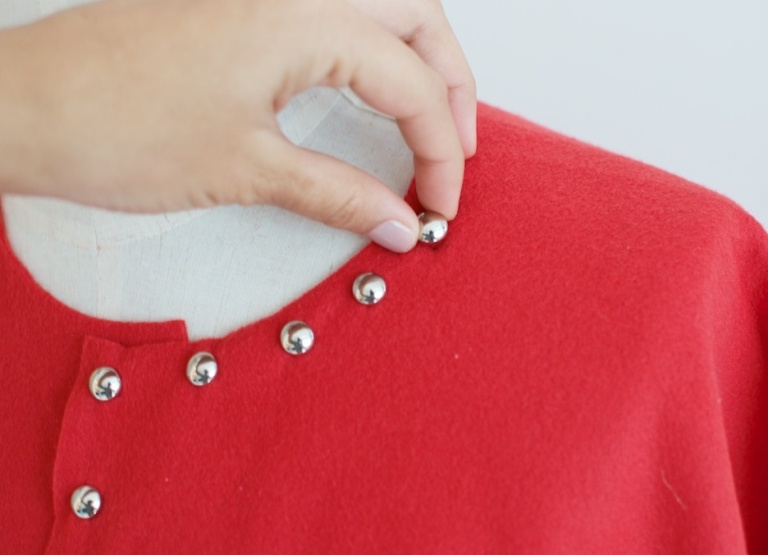
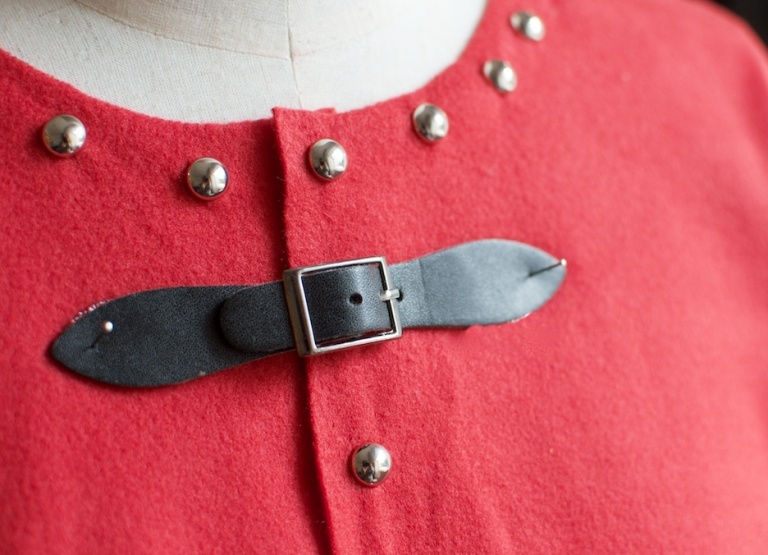
- We take the rivets and fix them along the edges of the poncho in front and along the neck, gently clamping the teeth from the back of the fabric.
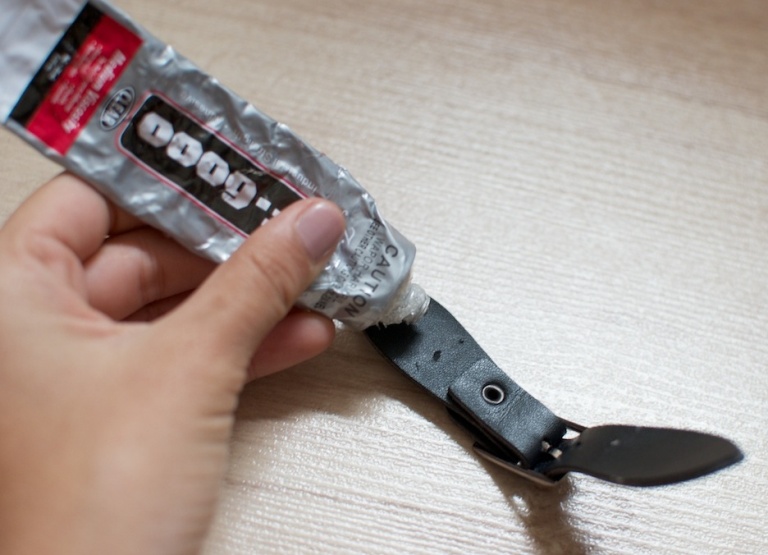
- We put a special glue on the ends of the fastener, attach it to the top of the poncho, fix it with pins and leave it to dry completely for the night.
| | | |
| | |
Our poncho is ready!
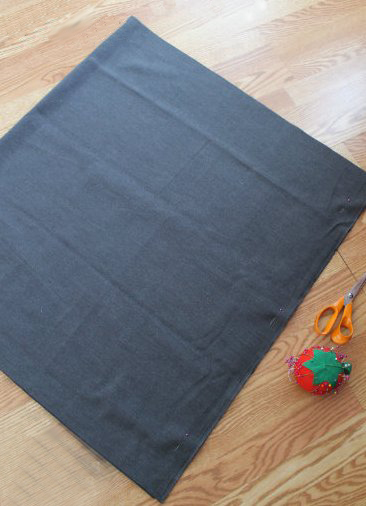
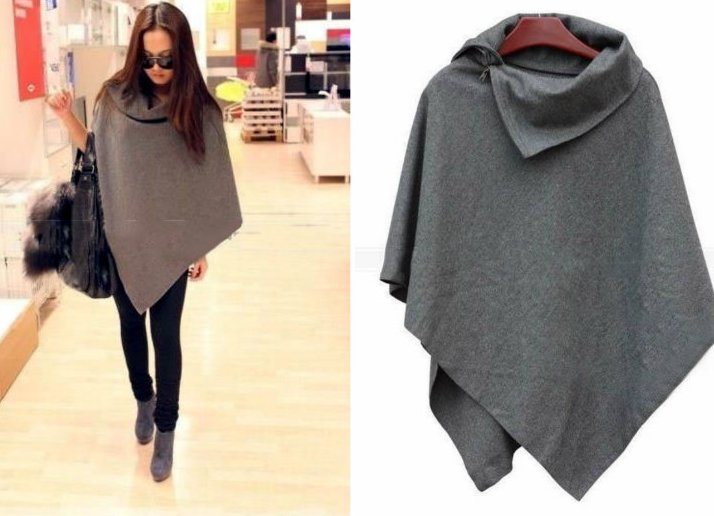
Master class for the manufacture of a poncho coat with an asymmetrical neck
It will take:
- woolly fabric - 1,75 m;
- scissors;
- threads and pins;
- sewing machine.
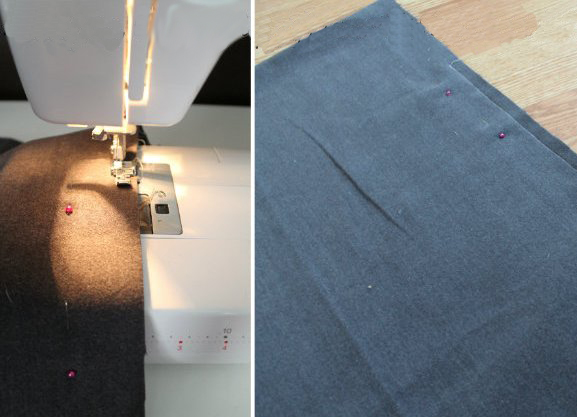
- Fold the fabric in half facing down and puncture.
- Spread ¾ of the distance on one side from the edges to the fold of the fabric, leaving about 25-27 cm to create the neck.
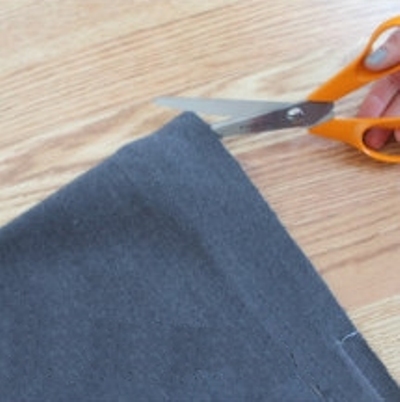
- From the corner on the other side we make a cut along the fold of the fabric about 35 cm long.
- We fasten the neck from both sides with small stitches.
- We turn out and our poncho coat is ready!
| | |
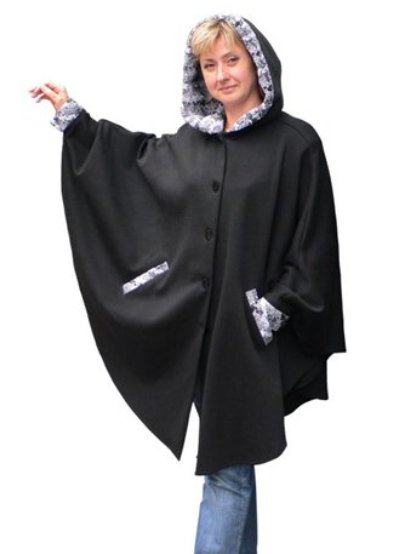
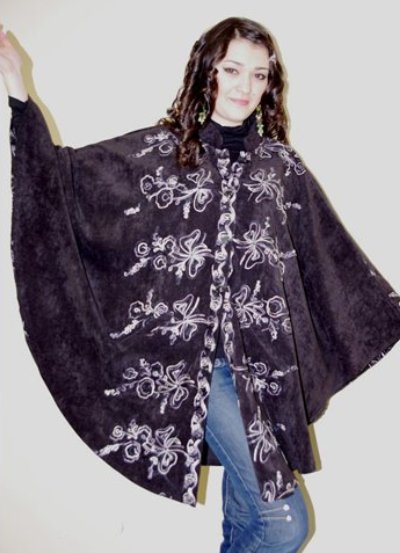
Taking these master classes as a basis, you can sew beautiful poncho coats with a belt and other details. It looks good, if you make a contrast edging around the edges of the product, cut or fasten the fringe, braid, fur and other ornaments along the bottom edge. You can sew a front zipper or sew buttons, and to the neck - a collar or hood.
| | |
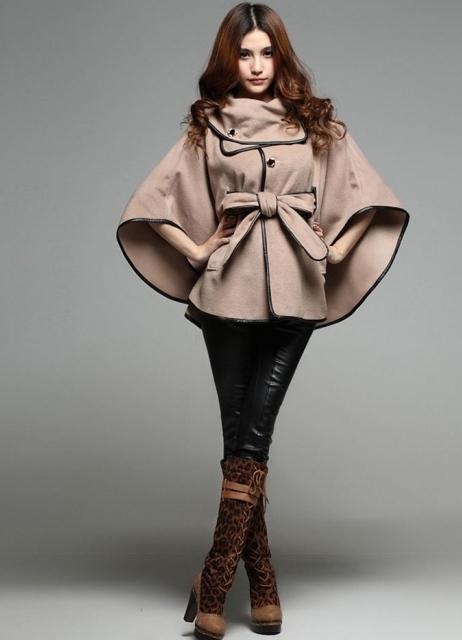
To make a poncho coat with a belt, you need to calculate the waist half-width and the distance from the shoulder to the waist. On the front of the semicircle, poncho from the center is to lay half of this length and draw a shallow two vertical lines. Measure the waist from the top and make two vertical holes in the intersection (both front and rear), into which a leather or fabric belt will be inserted. Hinges for it must necessarily be processed, so that the fabric in these places from friction is not worn out.
| | |
Using ready-made patterns and your imagination, you can sew your own hands a modern, beautiful and comfortable coat-poncho for you.
You can also tie a beautiful poncho with your hands.