Decorating the wall of the room with drawings is a great idea. The art of your children will look great in the interior, regardless of its style. But any picture, even if it is performed by a child, should have a worthy frame.
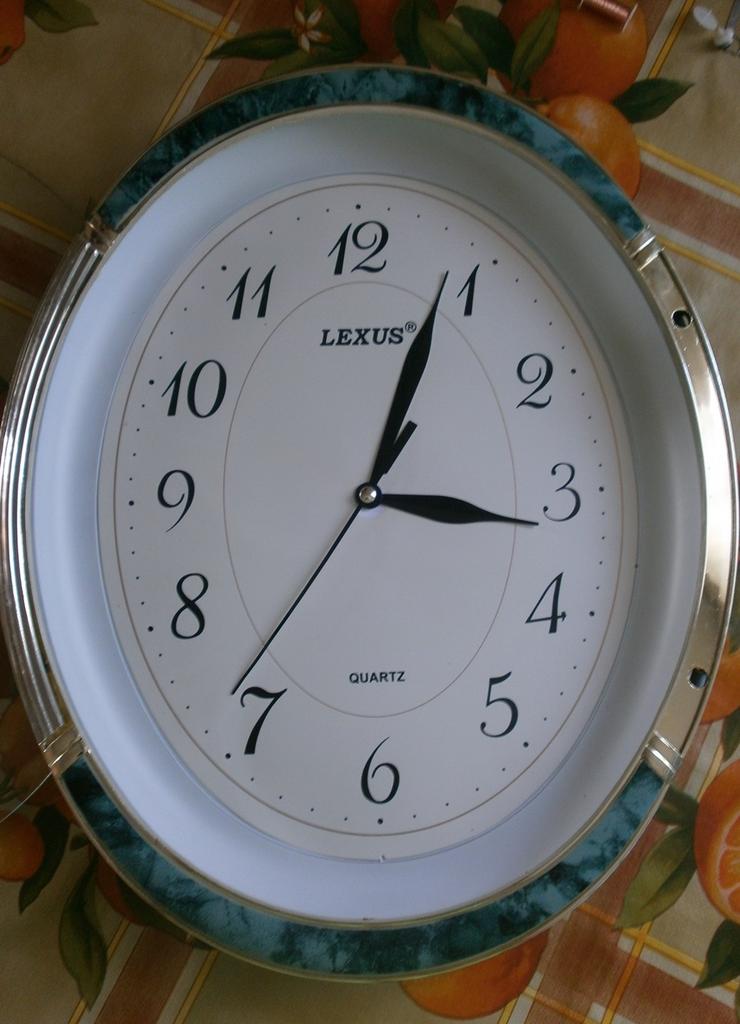
In this article, we will not consider the option of ordering frames in a framing workshop. Without a doubt, it will look nice and expensive, but the self-made frame looks just as good. Also it is possible to make own frames from various improvised materials. In our case, such a thing will be a non-working wall clock, which we will slightly redesign.
Option frame for children's drawings with their own hands
So, let's get down to work:
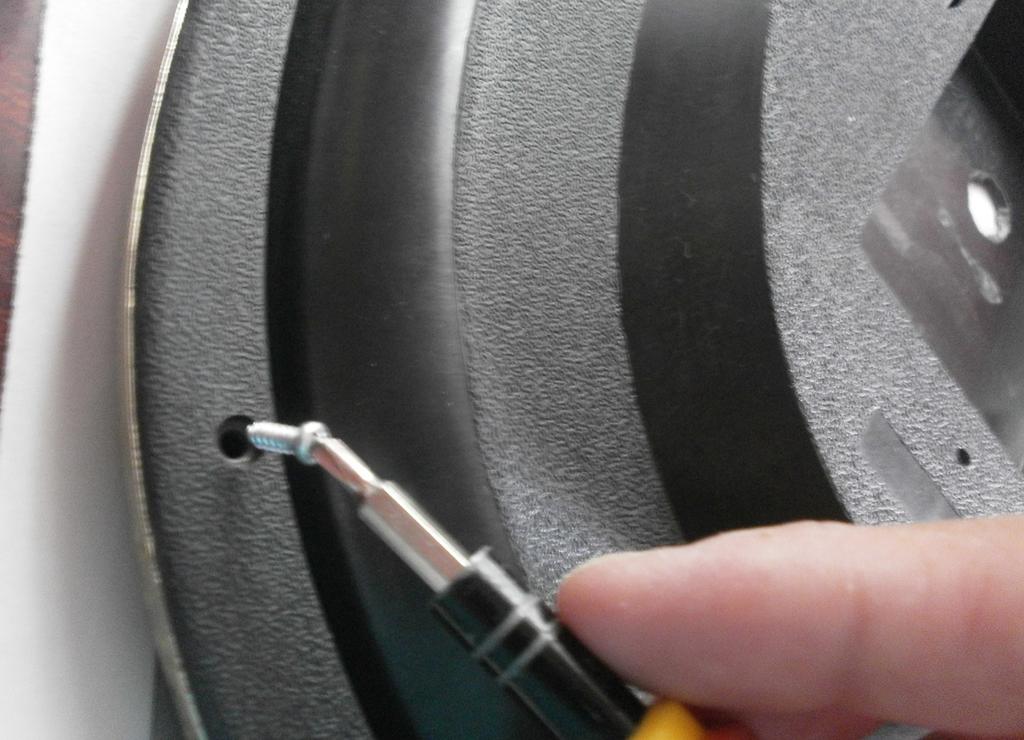
- Remove the glass frame, previously unscrewing all the bolts on the back of the clock.
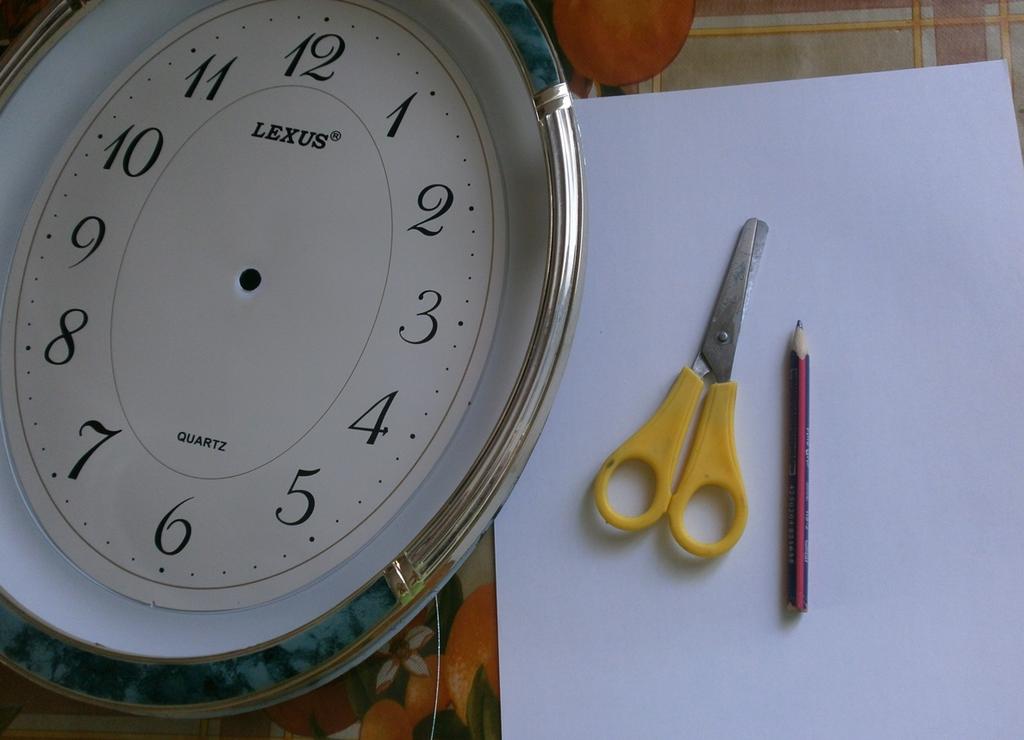
- Carefully remove the arrows - we do not need them.
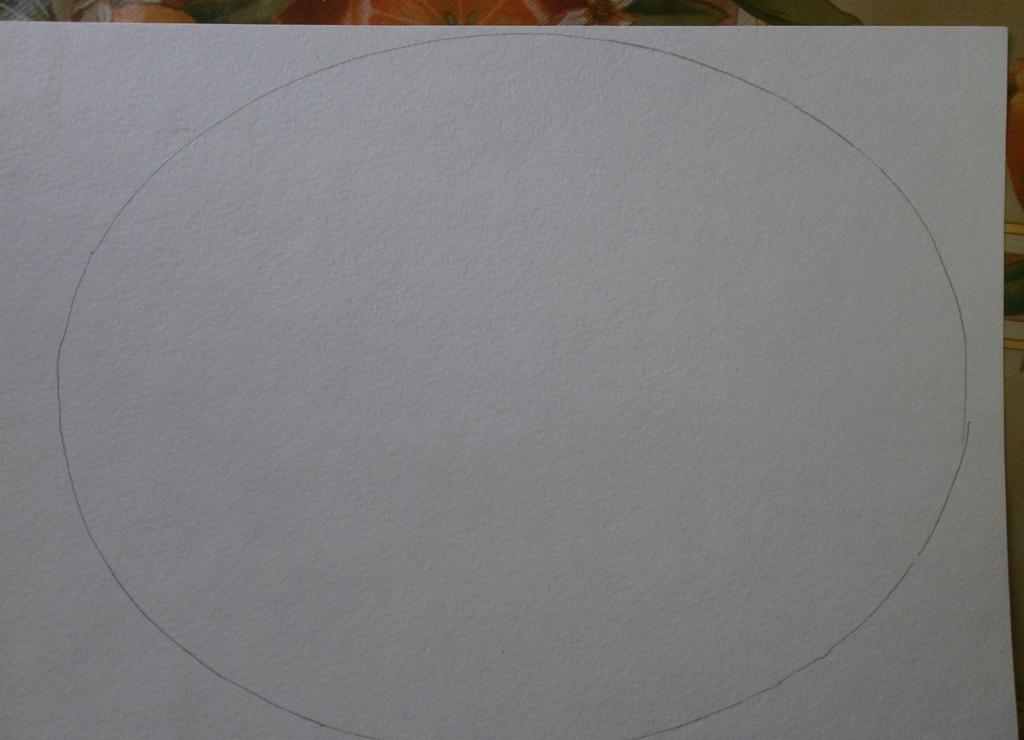
- Prepare a sheet of ordinary office paper - with it we will make an oval pattern. This is necessary in order for the pattern to fully coincide with the central part of the workpiece.
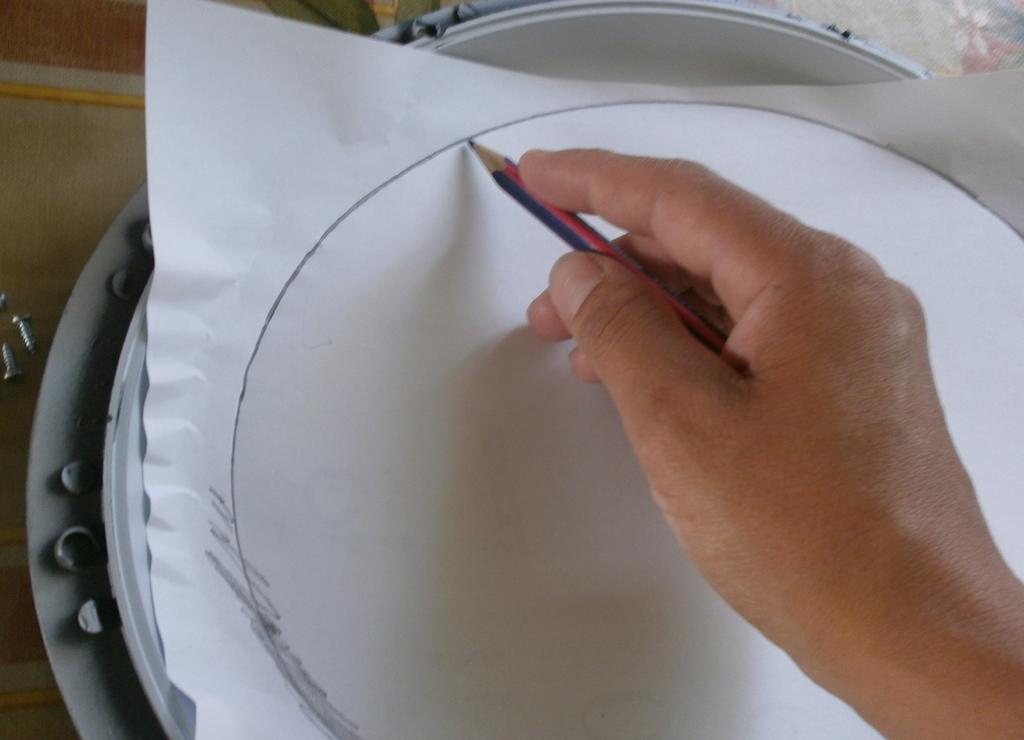
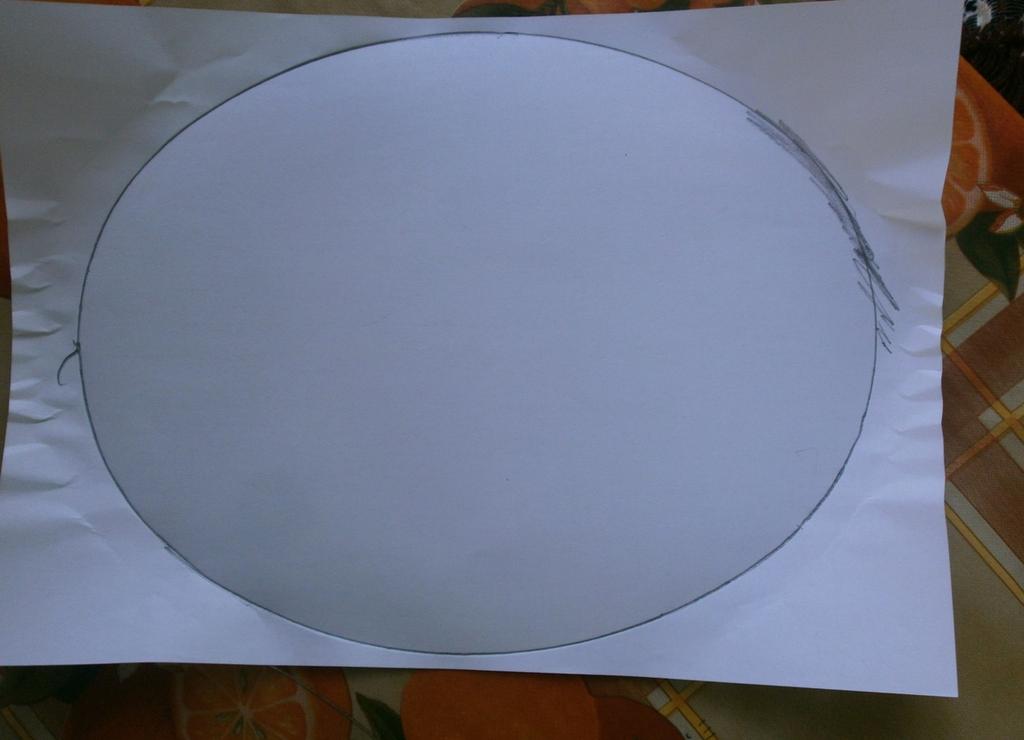
- Lightly pressing with a pencil, we will draw on the sheet an oval of the right size.
- Then we transfer it to paper for drawing. Since the drawing will be done in watercolor, then it is better to take the appropriate paper.
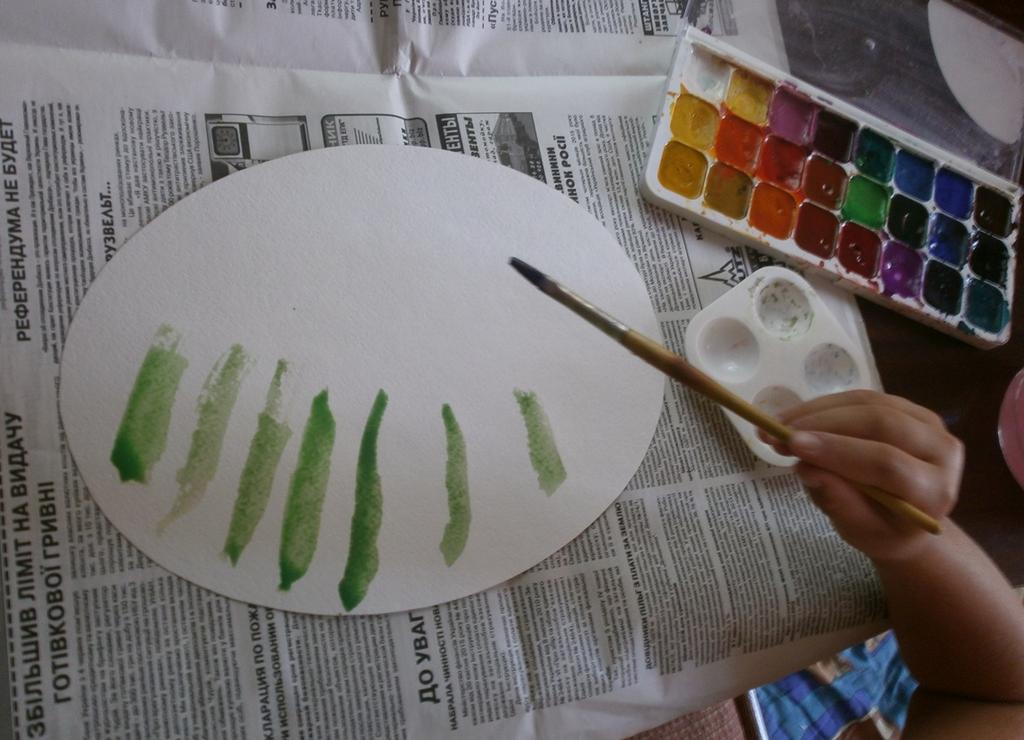
- Offer your child to depict something specific (a cat, a tractor, a tree or a simple landscape). And you can just give the child the paint, and let him depict everything he wants.
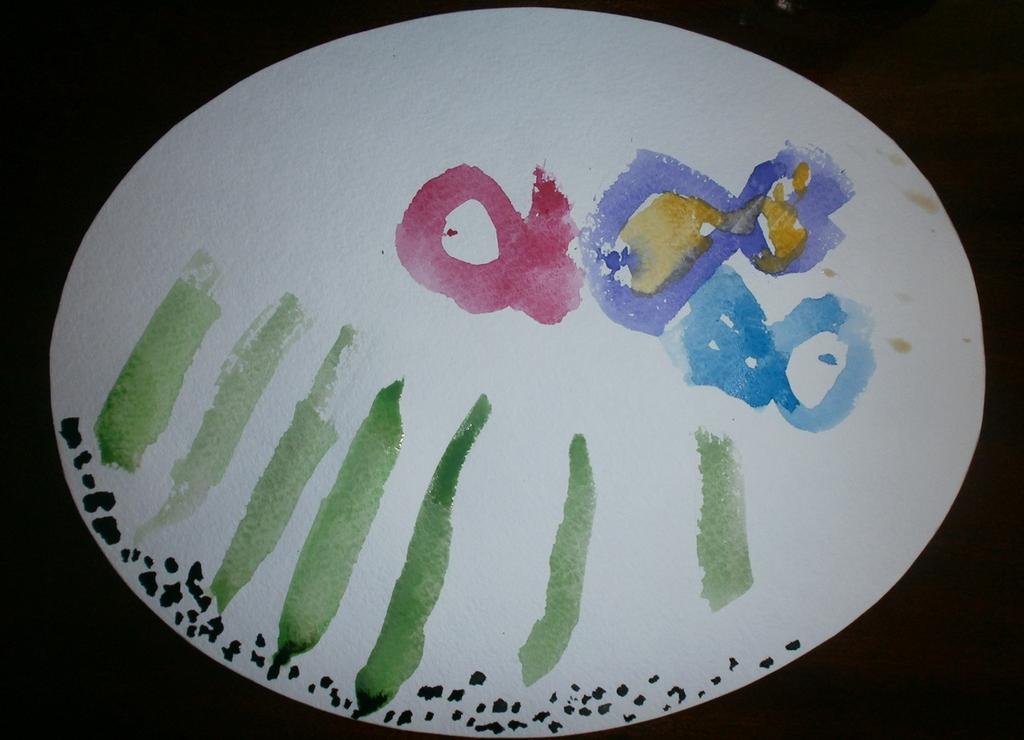
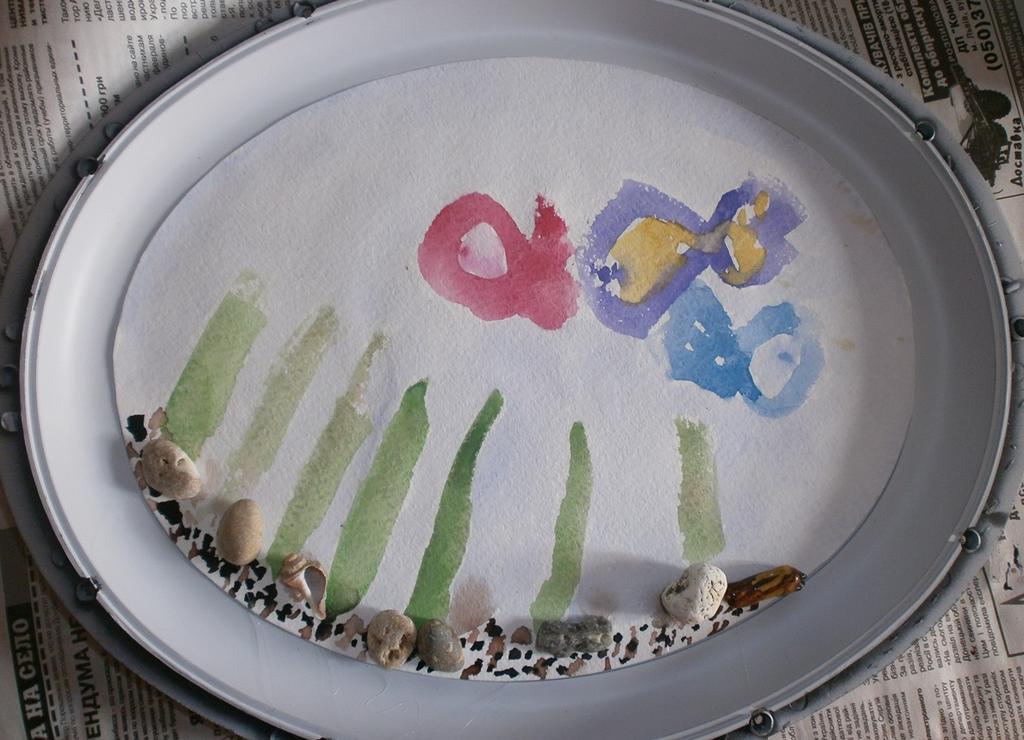
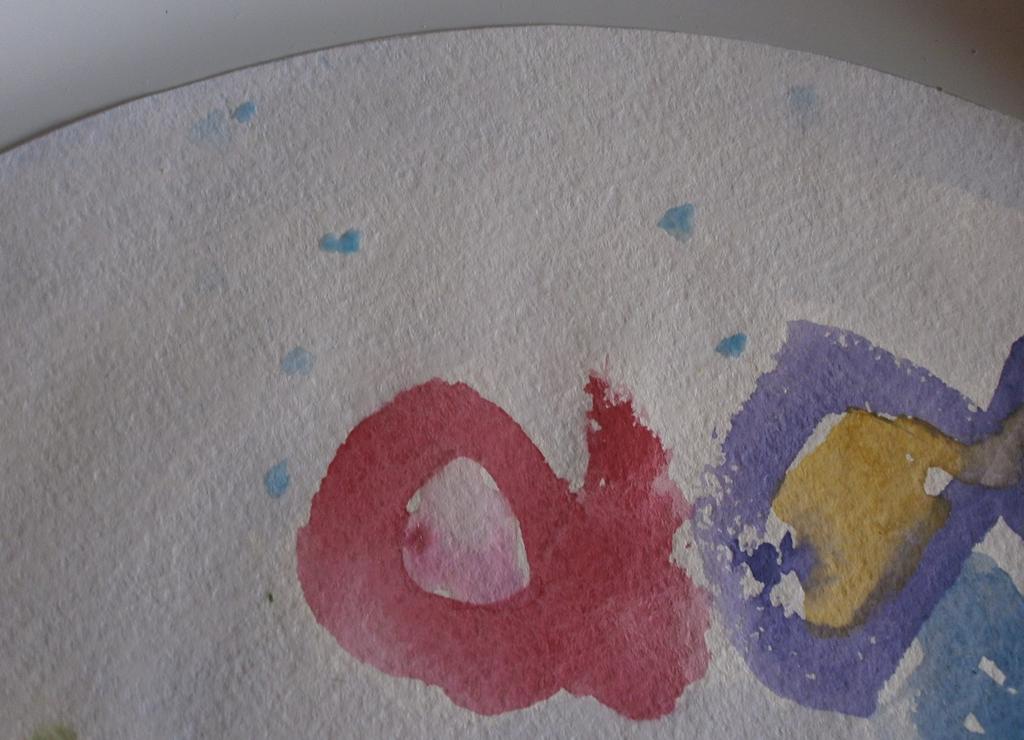
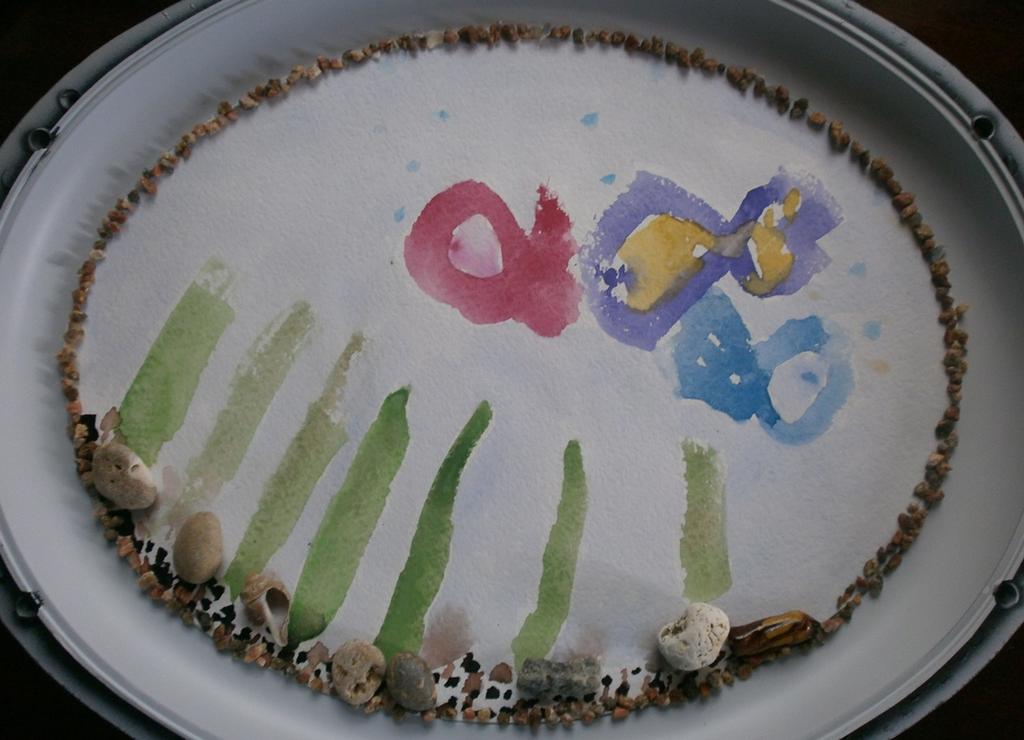
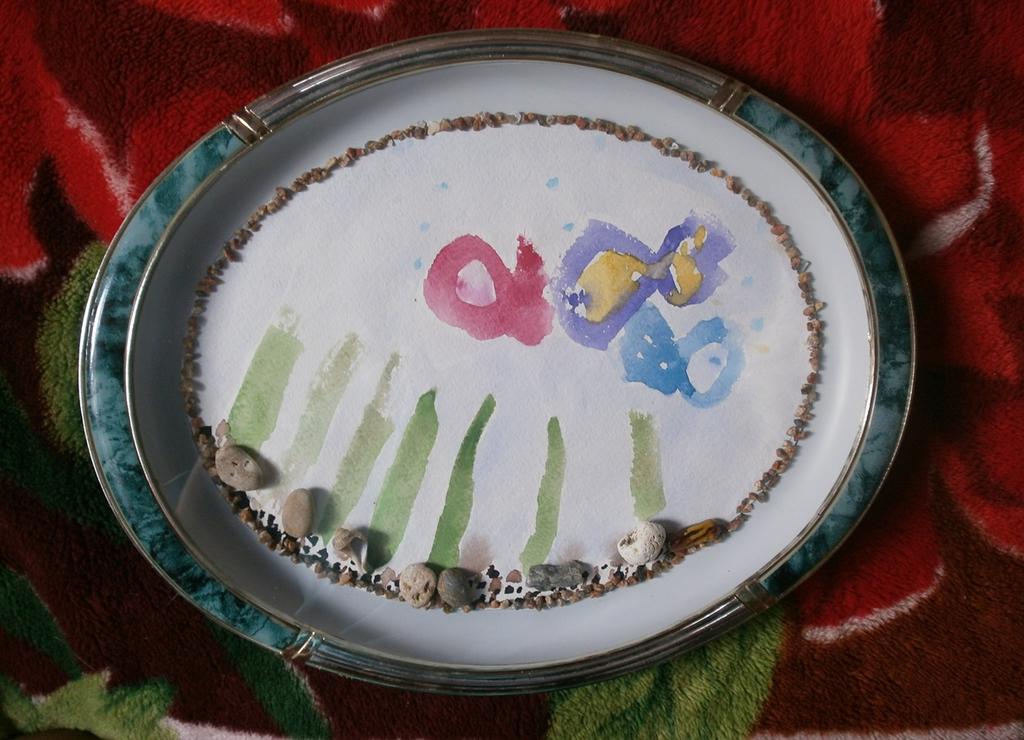
- In the photo, you see a drawing of a 5-year-old child - an aquarium with three colorful fish. It turned out creatively and childishly directly.
- Glue the picture on the inside of the watch. If desired, you can slightly improve the future picture - for example, to make the background a little bluish.
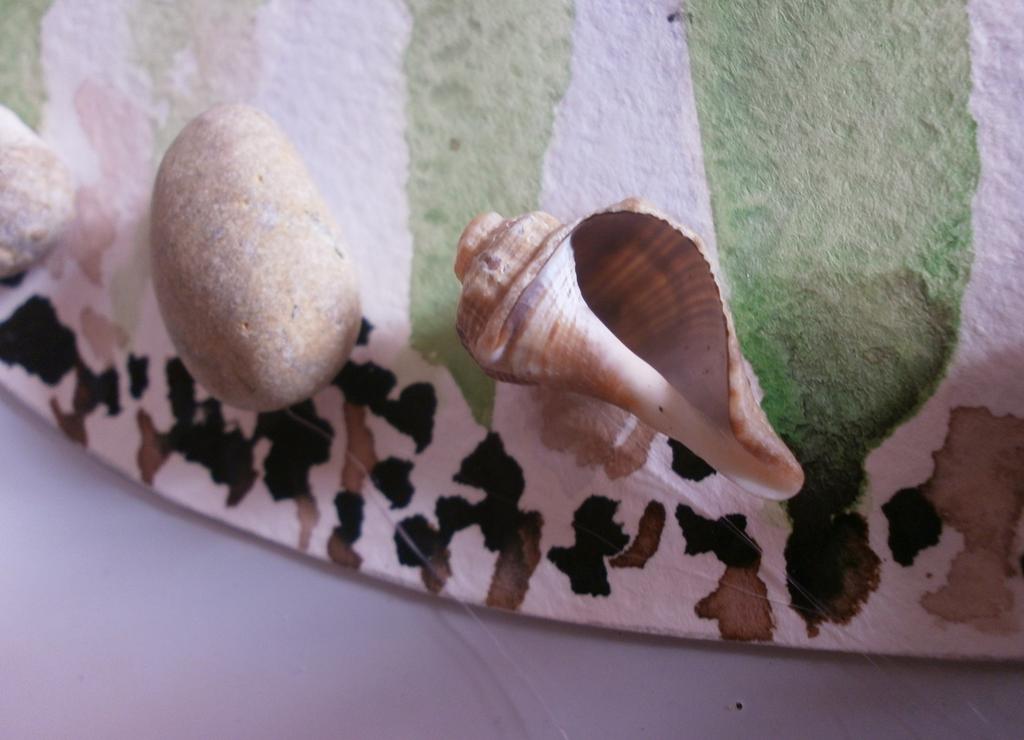
- At the bottom of the painted aquarium glue small pebbles and seashells - this perfectly complements the seascape. Just consider the height of these elements - they should be placed under the glass frame.
- To glue pebbles is best for a thermo-pistol - this is a guarantee that they will hold well, besides hot glue freezes very quickly, which means that you can make such a frame for a child's drawing with your own hands in half an hour.
- Do not forget to remove thin threads of frozen glue from the craft.
- The composition of the picture will be more successful if you picture air bubbles above each fish.
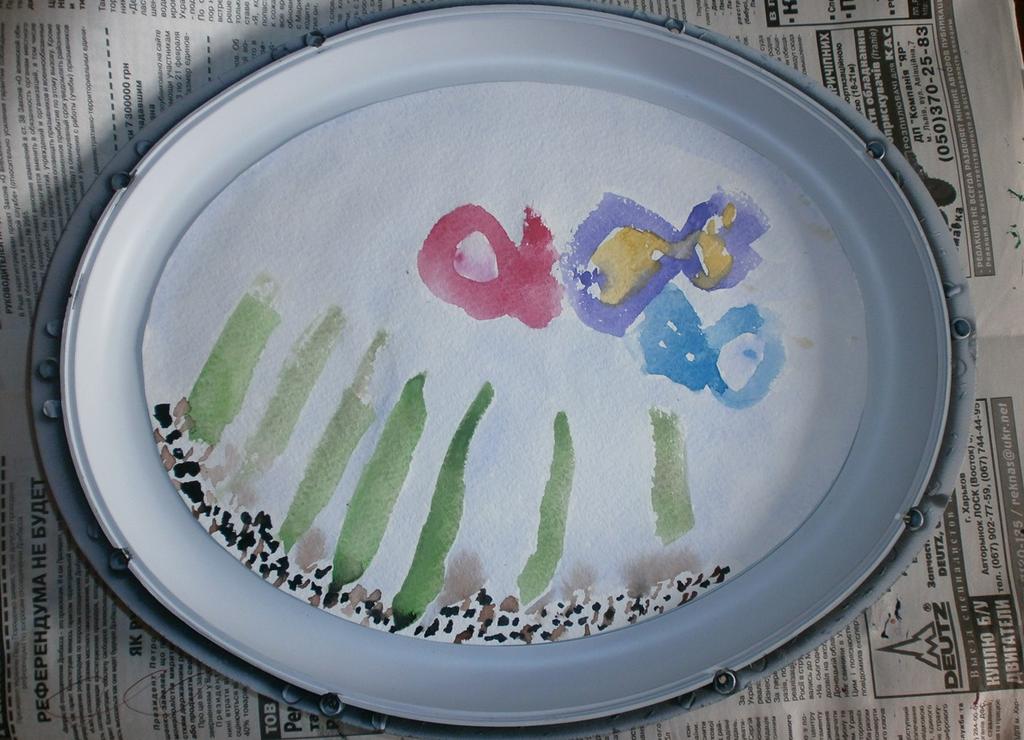
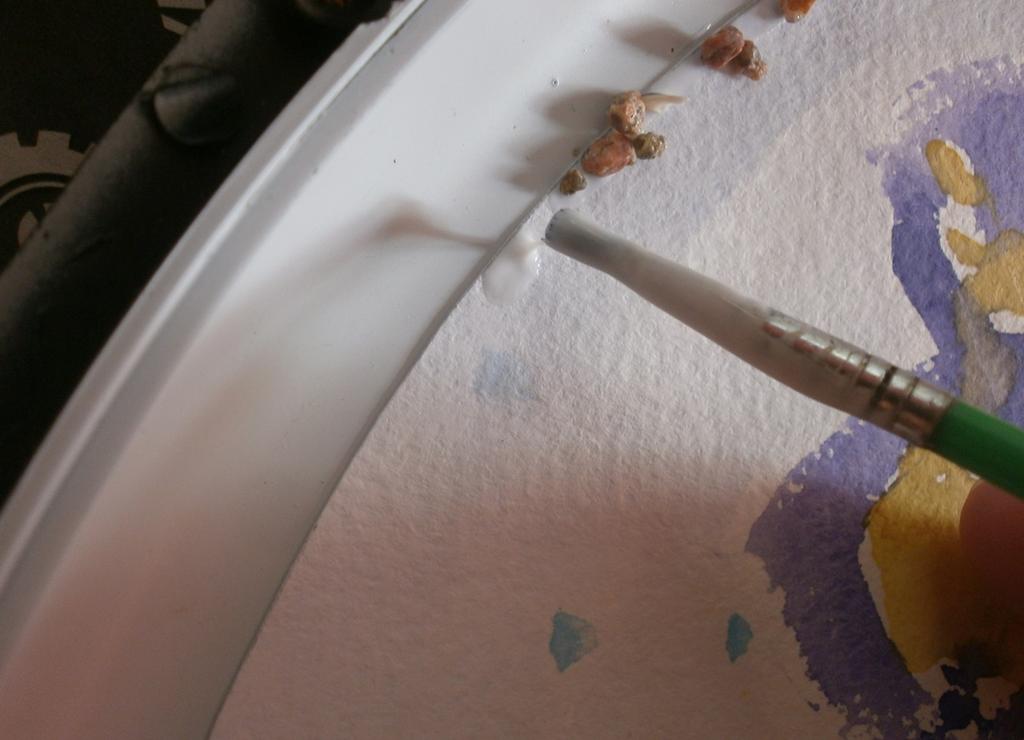
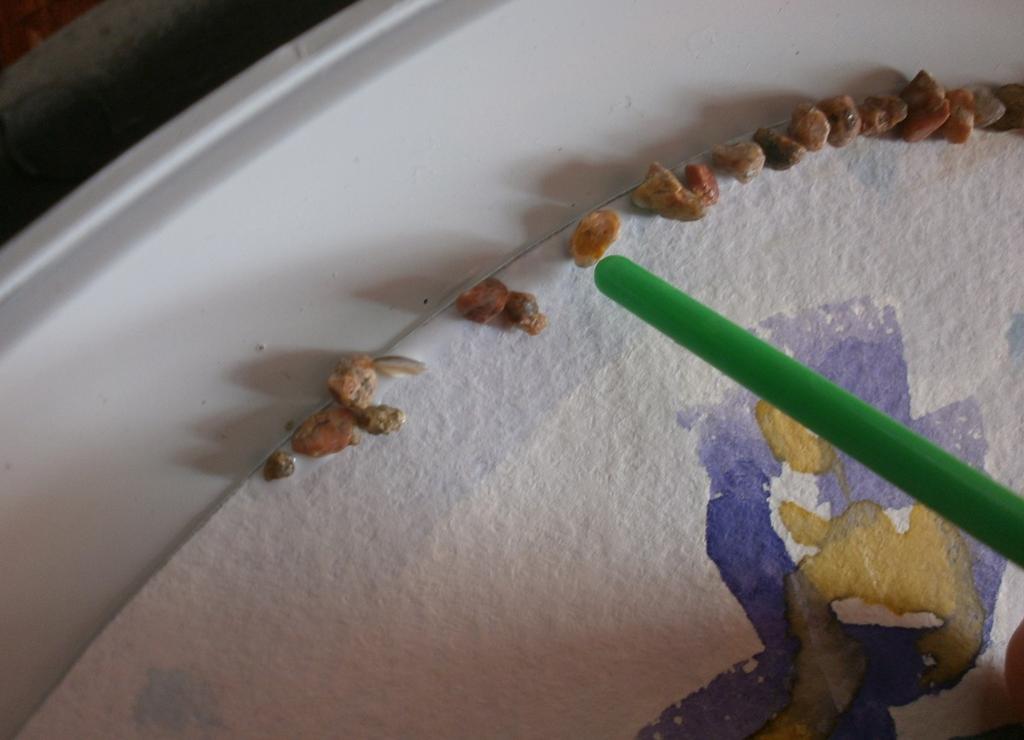
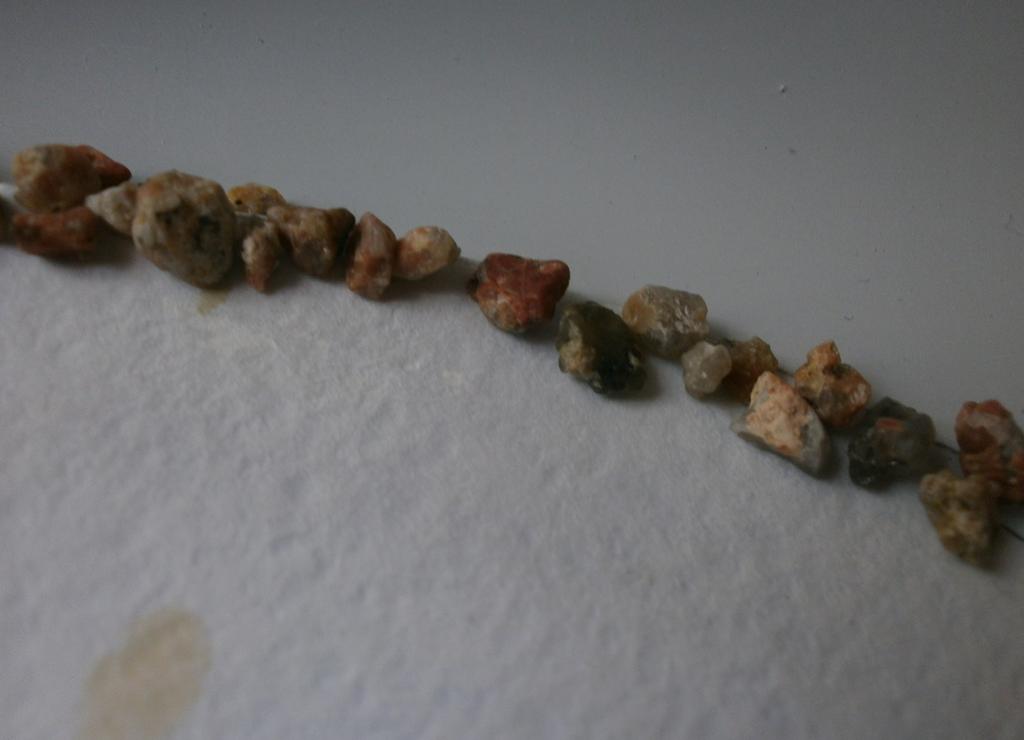
- The joint of paper and plastic looks not so beautiful, therefore it is better to decorate it. We will do this with the help of large decorative sand - here it will be very useful.
- Using a thin brush, apply the PVA glue with a thin strip to the edge of the paper, and then gently place the sand there (it can be replaced with very small stones).
- Allow the glue to dry well, and then turn the product over. If some particles are not stuck, they will fall down - you can paste them again.
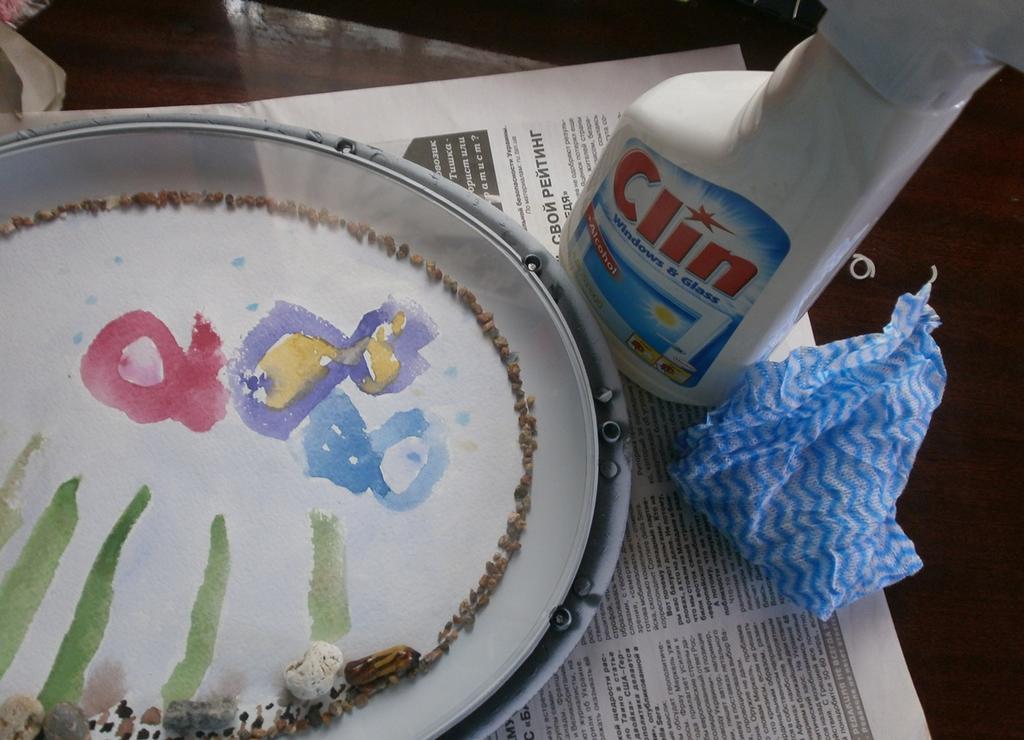
- Glass frames should be perfectly clean from the inside - wipe it with a special tool.
- Turn the frame over and screw all the bolts into place.
| | |
| | |
The handicraft is ready! It will look great on the wall of the nursery . As you can see, it's very easy to make a frame from an old watch with your own hands. And if the clockwork is working, then the arrows can be left - and you get the original wall clock-aquarium.