Crafts in the quilling technique have appeared for a long time, but they have become widespread not long ago. Previously, not available for ordinary people color paper, today is represented in abundance, and therefore get carried away by the art of paper-rolling has become an increasing number of people and children, including. With the help of glue and paper strips of different texture and colors, children can create on their own not only appliqués, but also large, rather strong toys.
Quilling technique for children
The main thing that is necessary for doing quilling works is a special needle with a split end for twisting paper, strips of paper and glue.
The technique is simple enough: you need to learn how to make several figures and then combine them, getting the desired pattern on paper or the bulk of the craft.
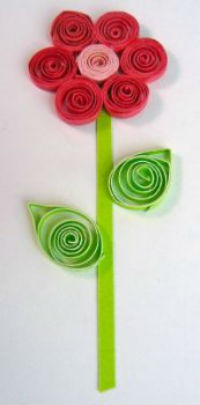
Quilling for children: making flowers
Flowers are one of the simplest elements in kevings. For the manufacture of such floral applique we will need:
- needle for quilling;
- colored paper or cardboard;
- strips of paper for quilling;
- brush;
- glue.
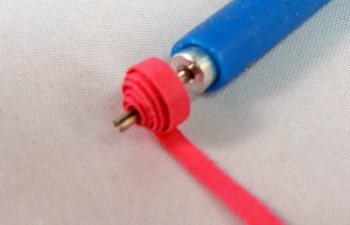
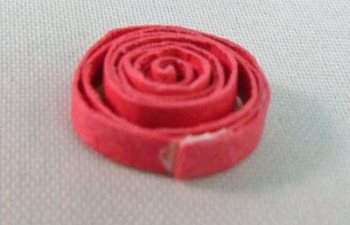
- We take one strip of paper for quilling. One end is clamped with a needle and begins to twist the paper. The free end of the tape is spread with glue and glued to the resulting circle. The resulting lace circle will be the flower petal.
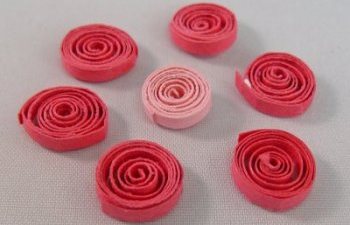
- Similarly, we make the desired number of petals and the core of the flower. To make a core, take a strip of paper of a different color.
- Leaflets for the flower do also, but at the end of the work we squeeze one side of the circle with our fingers, forming a drop.
- To the sheet of white cardboard we glue a strip of green paper - it will be a stem. To the stalk we glue the core, petals and leaves. Our flower is ready!
| | | |
Master-class: volume quilling for children
Despite the seeming fragility of lacy patterns, handicrafts for children in the quilling technique are strong enough for a child to play them. Make such crafts a little more complicated than just an application on paper, but the result of diligence is worth it.
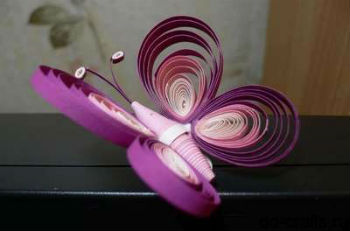
In this master class, we propose to make a three-dimensional butterfly. For this we need:
- strips of paper for quilling;
- needle for quilling;
- Quilling board;
- sewing needles;
- scissors;
- glue;
- brush.
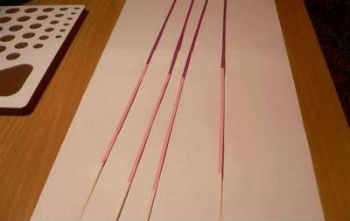
- First of all, we will make butterfly wings. To do this, take three strips of paper, combining colors. The strips must be of different lengths. Gluing them follows in order: from a short strip to a long one. When the glue dries, the strips are twisted with a quilling needle so that the circle is the shortest inside the circle. The free end of the entire strip is fixed with glue from the outside of the circle.
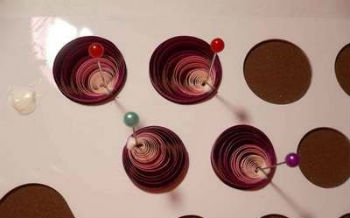
- Insert the resulting circles into the cutouts of the quilling board and untwist them. Two of the four circles do a little more - these are the big butterfly wings.
- Sewing needles center of the circle is pressed to one side and carefully glue all the strips in this place.
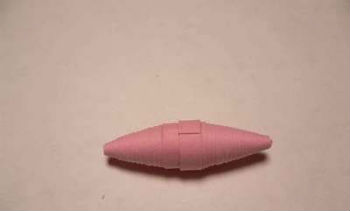
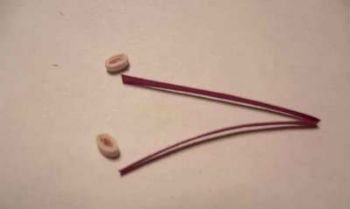
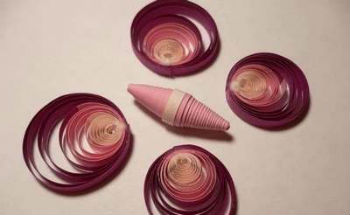
- While the glue on the wings dries, we make the body of a butterfly. To do this, we twist two circles from the paper and, drawing the needle along with the paper, we form cones. Two cones are glued together.
- From strips of short paper of two colors we make a butterfly's antennae. Light tightly turn into a circle and clamp your fingers on both sides so that an oval comes out. The second strip pastes the outer part of the oval, leaving one end flat. We glue the resulting antennae to the trunk.
- From the ready circles we form the wings, clamping one side with two fingers, so that the drops will form. One big wing and the fact that we glue less together and glue a butterfly to the body. Similarly we do with two other wings. Children's hand-made butterfly in the quilling technique is ready!
| | | |
| | | |