Having a green natural place at home is a real pleasure, but placing it on a windowsill, hiding behind a curtain, is not the most original idea. You can think about how to purchase a special stand for flowerpots , and even better, if it is a flower stand made by yourself. We will tell you one interesting way how to make a hanging stand for flowers from simple materials at hand.
For work you will need:
- wooden boards (they can be purchased in a specialized store, but you can use, for example, old shelves);
- rope;
- ceramic pots (4 pieces);
- a jigsaw;
- drill;
- brush and paint;
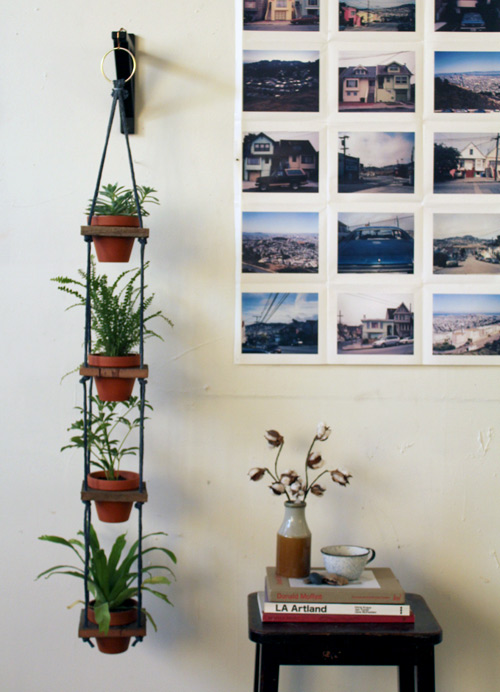
- metal ring.
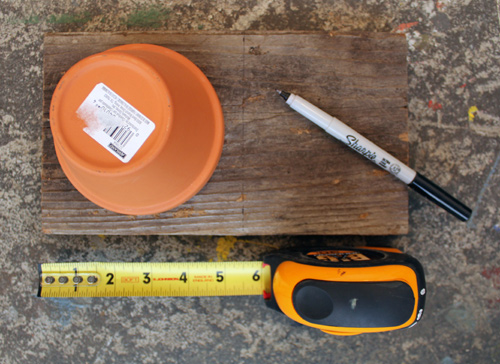
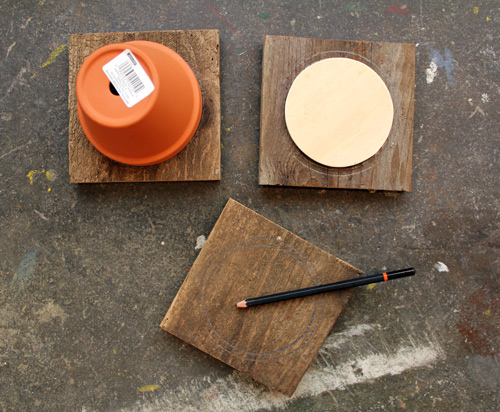
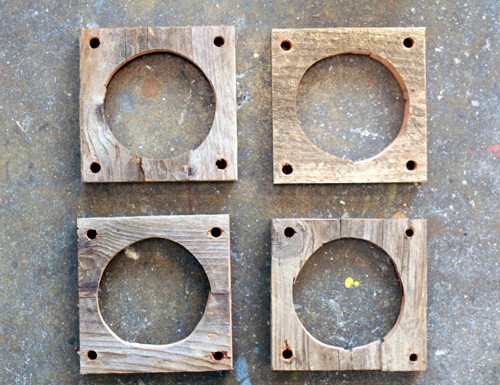
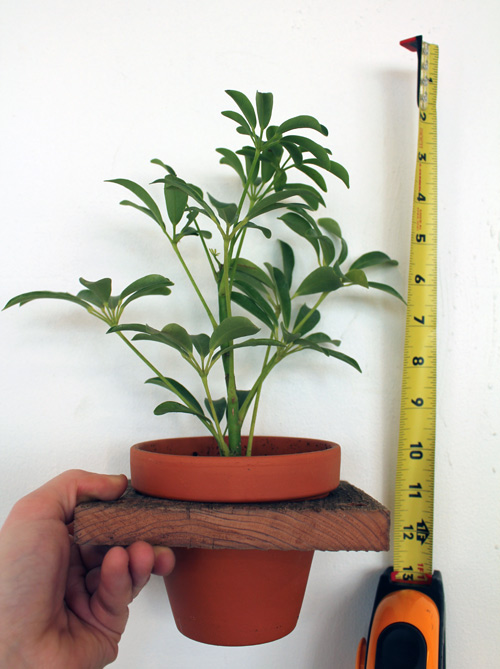
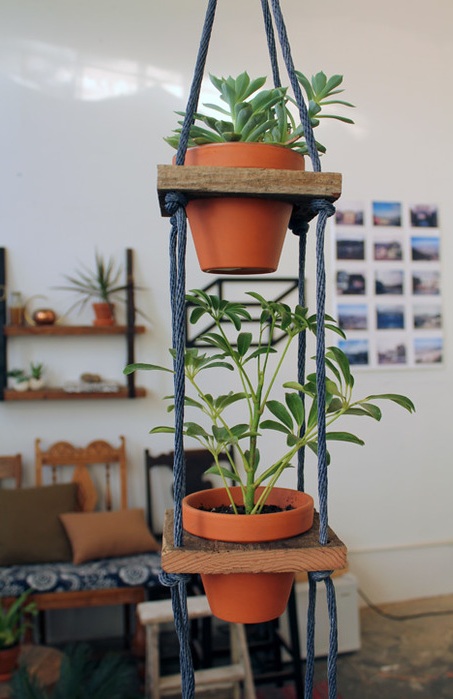
- To a flower stand made with your own hands was strong, it is desirable to make wooden bases protruding 1-2 cm from the edge of the flowerpot. To do this, we take a ceramic pot, and on a wooden board we circle it with a pencil from the wide side. Then measure the corresponding square. We do only 4 squares.
- Now we need to describe the place of the internal saw. Cut out a circular pattern of cardboard, a diameter of 1.5-2cm less than the previously drawn circle and circle it in the center of each square plate.
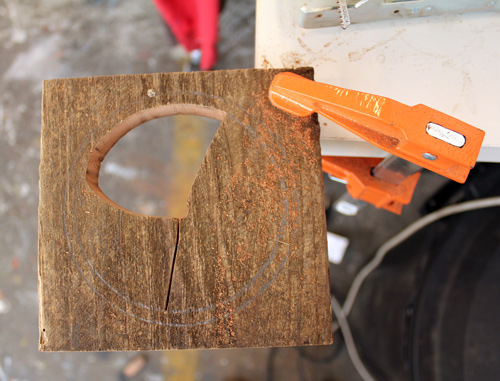
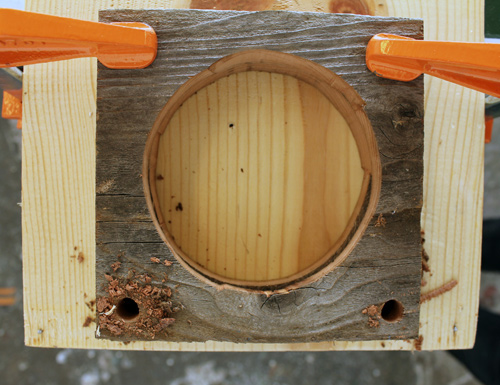
- The next step in creating a self-made flower stand is to cut out the inner parts. To do this, secure the square fragment securely, then create a hole in the center of the drill with a drill and then penetrate the wood through the hole with a jig saw. Work carefully, so as not to stand out for the indicated boundaries.
- When all the center circles are cut out, it is necessary to drill a rope hole that will hold a multi-level structure. Clearly identify drilling locations so that they are the same on all four squares.
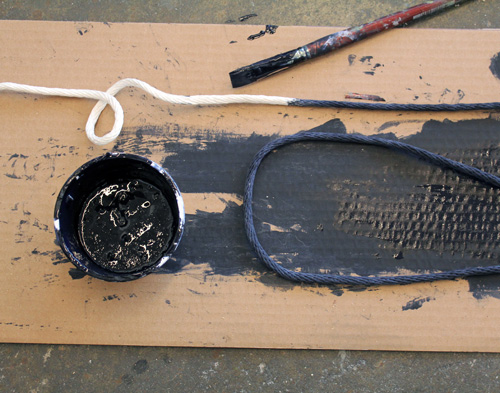
- Then you can dream up how to decorate the stand for flowers. Depending on the style of the interior, you can paint the wooden bases in different colors or decorate the rope with colored paints. In our version, the interior assumes maximum naturalness, so just paint the rope with acrylic paint in dark blue.
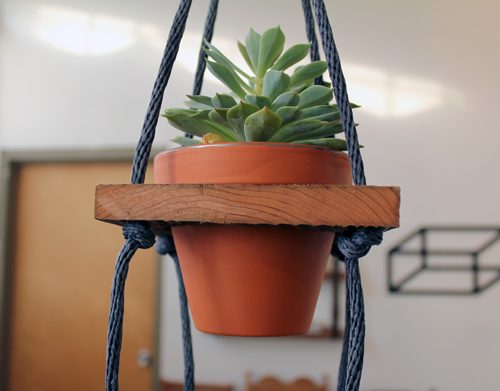
- Next, we have to assemble the structure, for this we measure the height of the plants in order to know the distance between the supports to be oriented. We start to collect from above, we fix all four ropes on a metal ring and we pass into the holes of the first square. Under the base we tie knots, level the level.
- We perform similar steps with all four stands. By adjusting the knots, bring our handicraft creation to the ideal. Having tied the lower knots, we cut off the excess rope.
- This stand is ideal for a small apartment, because the vertical design allows you to competently save space.
| | |
| | |
| | |
| | |