If you want to sew a doll , animal or, for example, a heart in the style of Tilda, then you need to have a pattern. How to make it and how to later sew the handicraft itself, we will tell in this article.
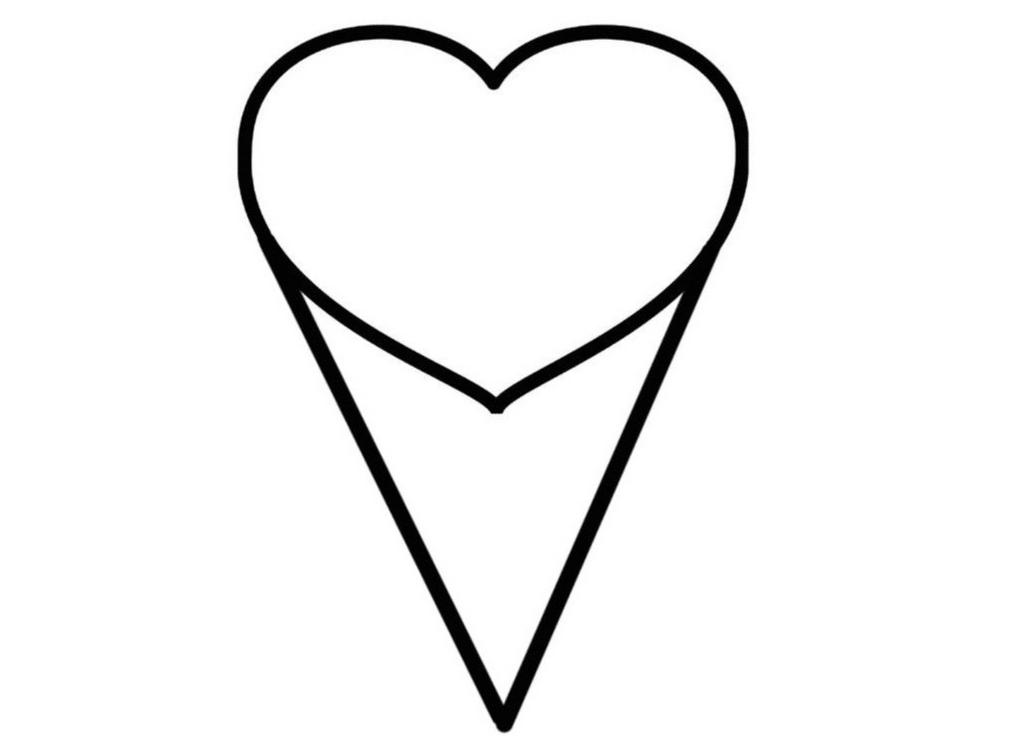
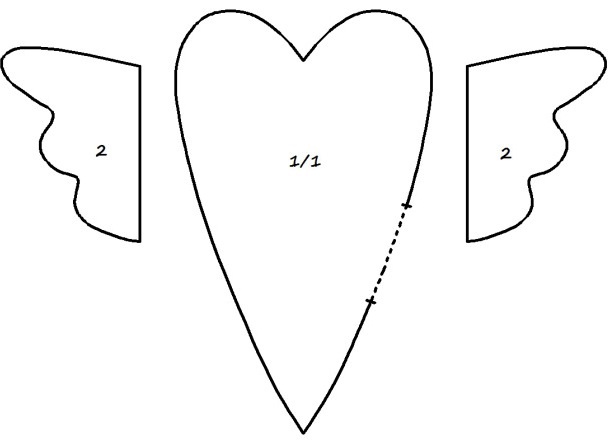
The difference between the heart of Tilda and the form we are accustomed to is the elongated down tip. Therefore, in order to make the necessary pattern for us, we need to draw it to the usual pattern of the heart, as shown in the picture.
Now you can start making the product itself.
Master class - the heart of Tilde own hands
It will take:
- pink felt;
- colored fabric (cotton);
- sintepon;
- scissors;
- sewing accessories.
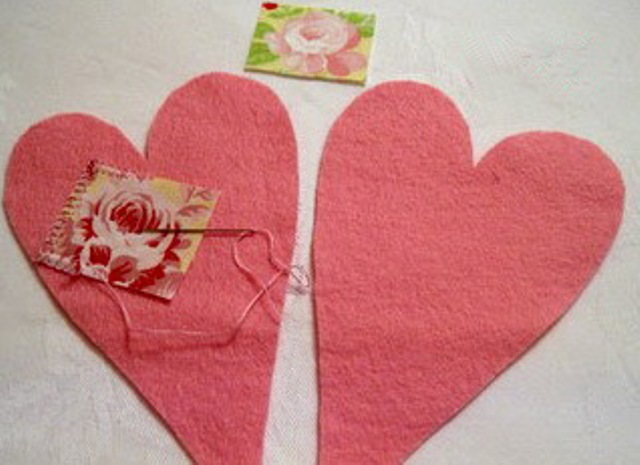
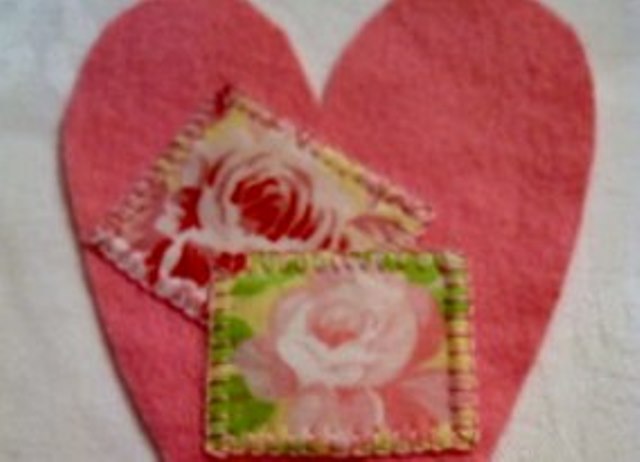
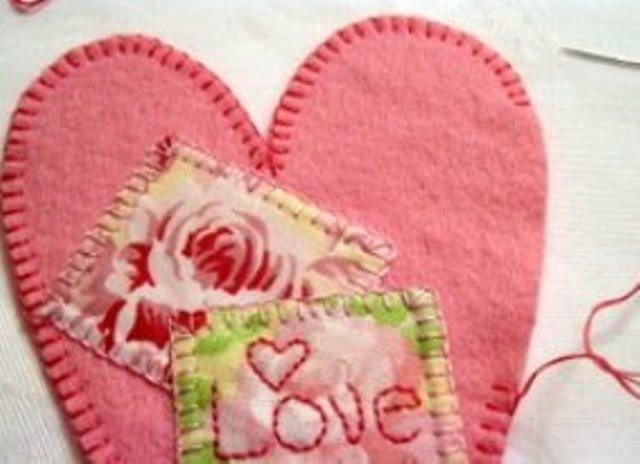
- Cut out 2 pieces of felt and 2 squares of cotton fabric on the pattern produced. Sewing squares to the front workpiece.
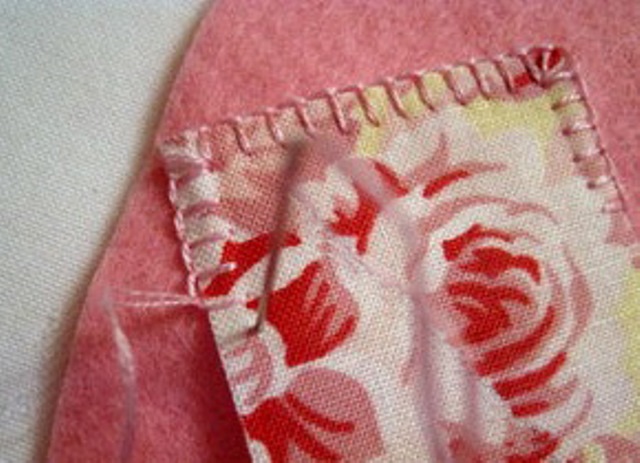
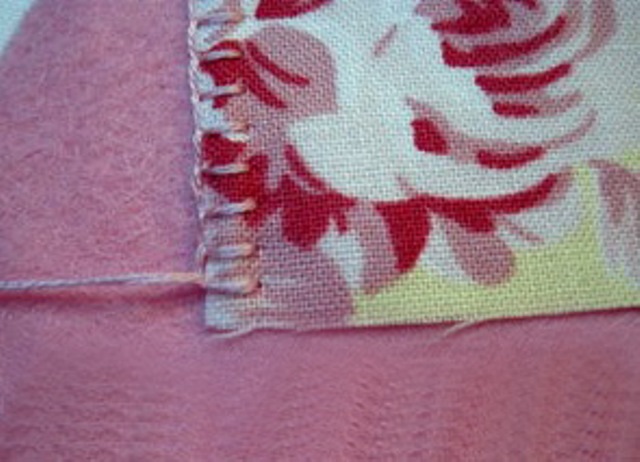
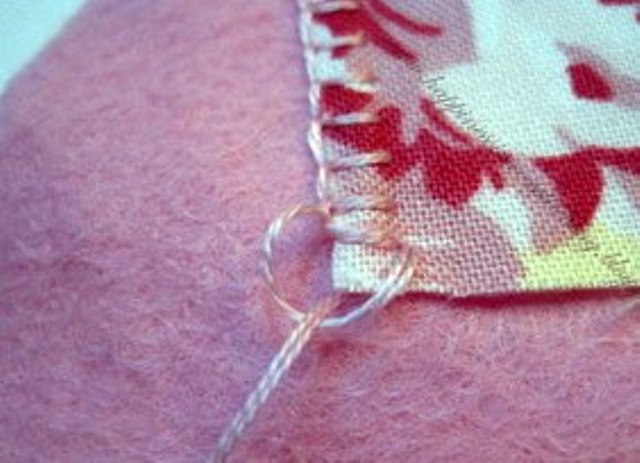
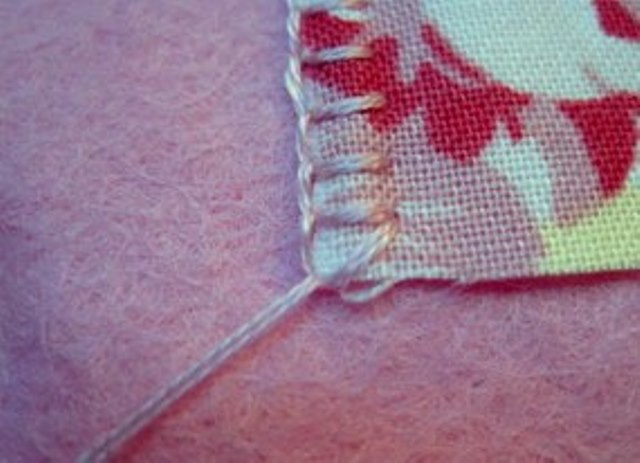
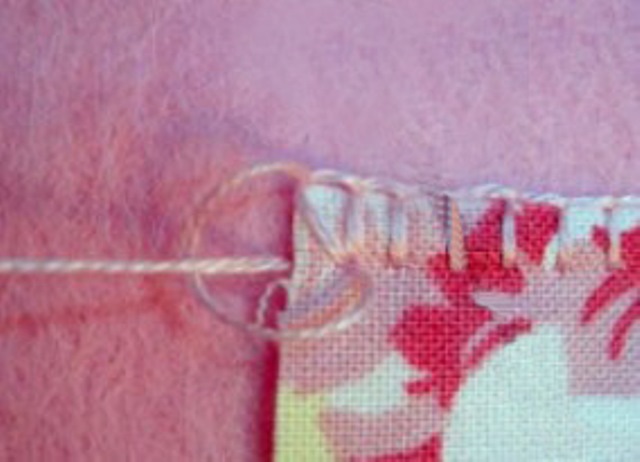
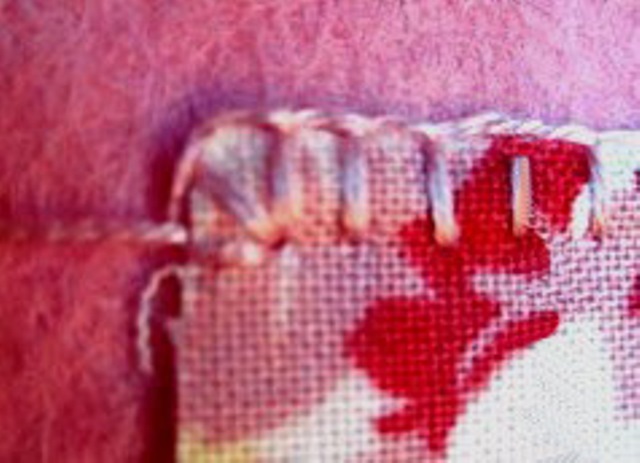
- We connect the details with a suture seam. To do this, we fix the thread from the wrong side, then we stick the needle in the front side, and we remove it from under the fabric into the formed loop. Gently tighten so as not to overtighten the material.
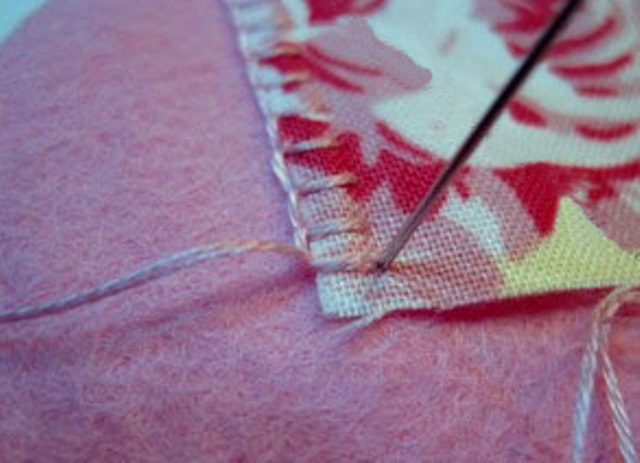
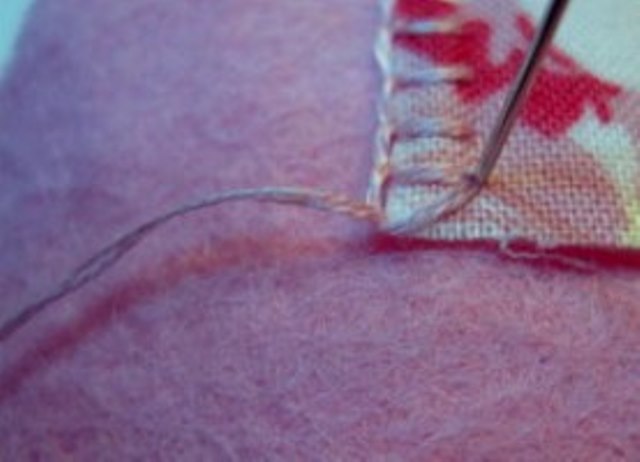
- At the corner, to get it neatly, going up to it at a distance of one stitch, we stick the needle into the hole already available.
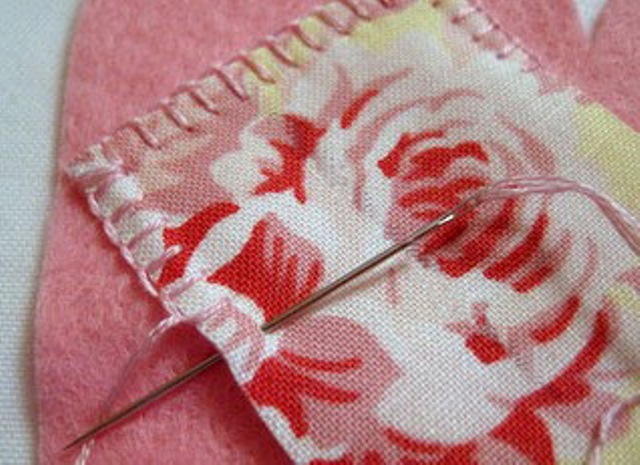
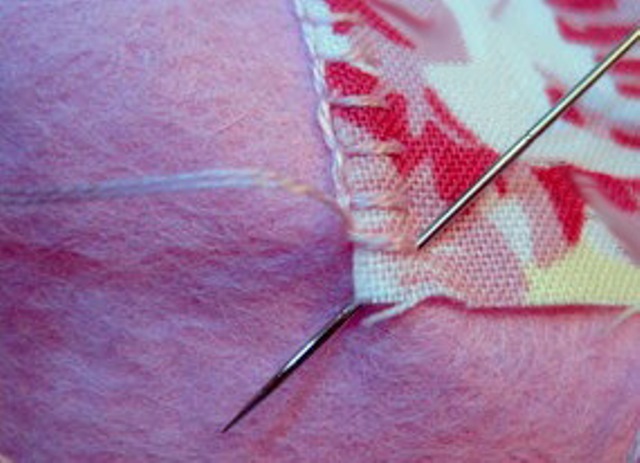
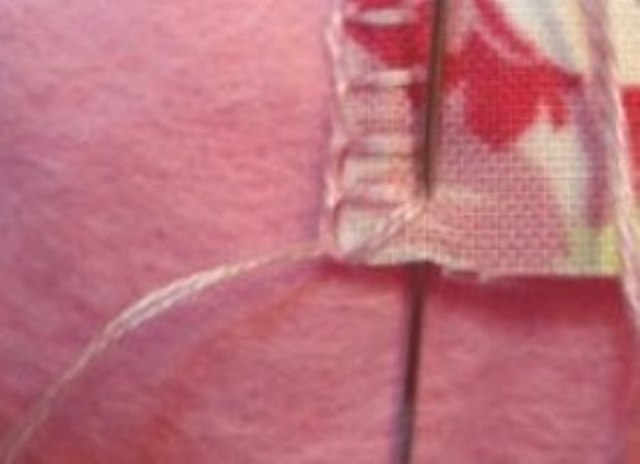
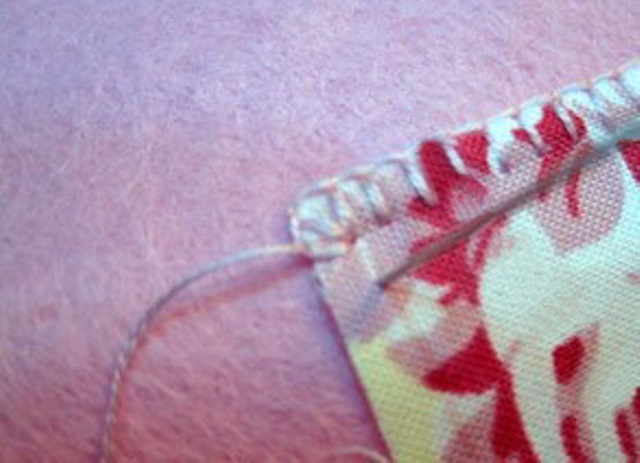
- Then make a stitch diagonally and again go back there.
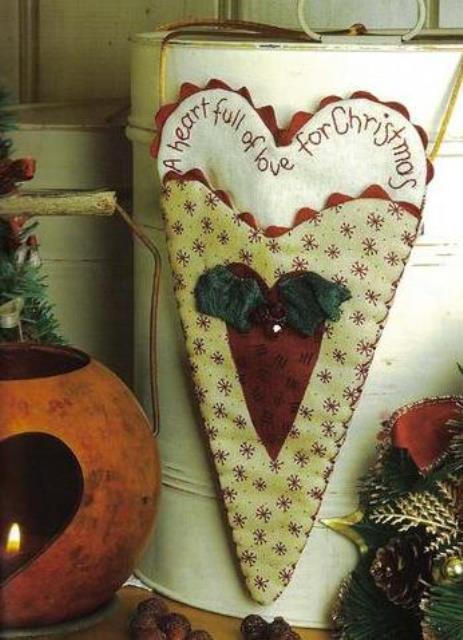
- The next stitch is made perpendicular to the penultimate. We continue to sew this and another square in the same way. On the second shred, embroider the inscription we need.
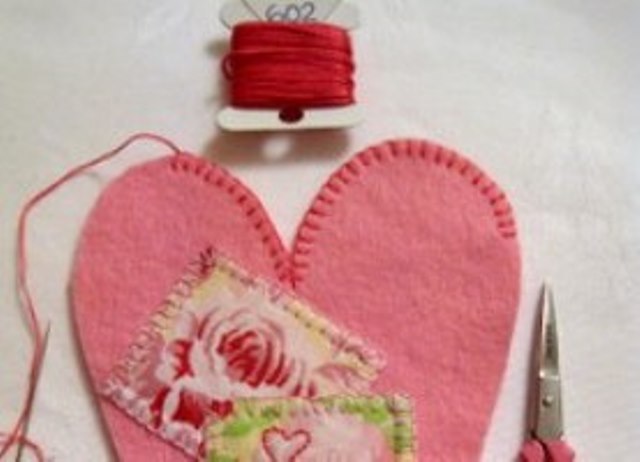
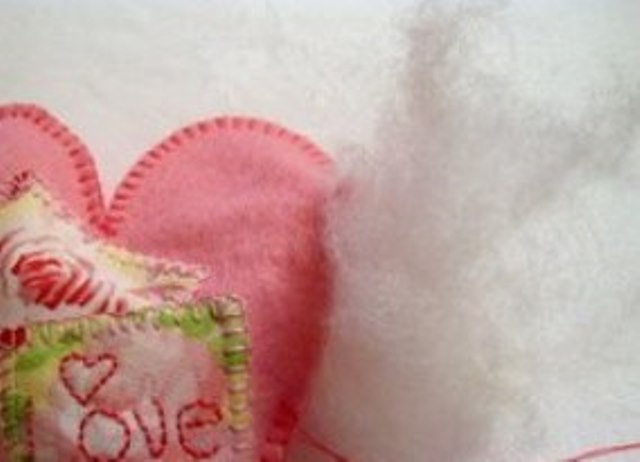
- We fold both parts and sew them also with a seam wrap, leaving a small hole.
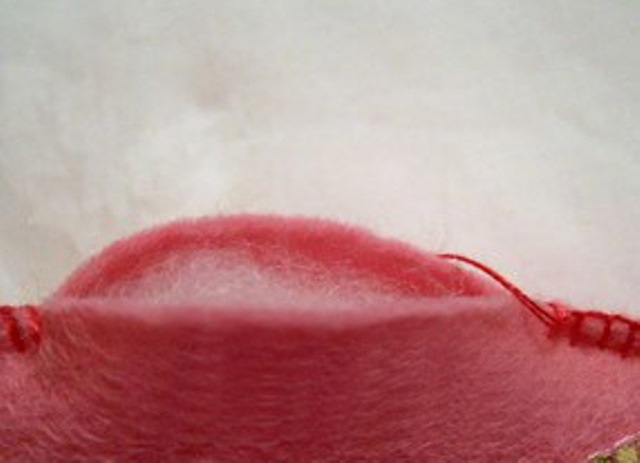
- Through the hole left, we fill the heart with a sintepon and sew it up.
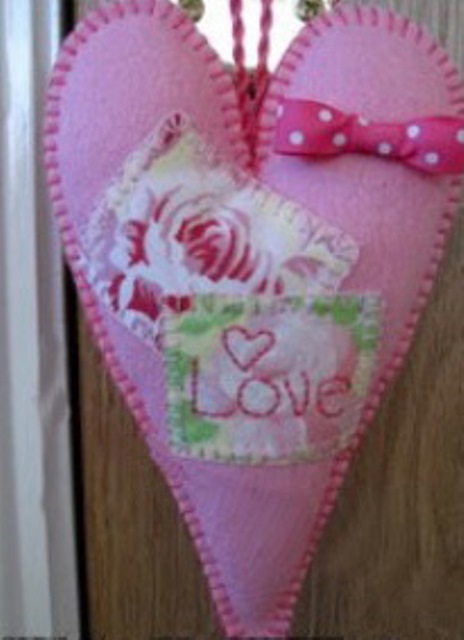
- We sew the rope to the middle and our heart Tilda is ready.
- If you want to sew Tilda's heart with wings, then you need to take the following pattern. It will turn out very romantic.
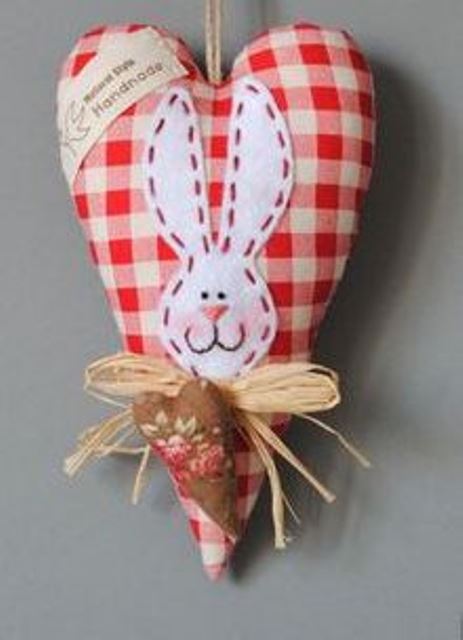
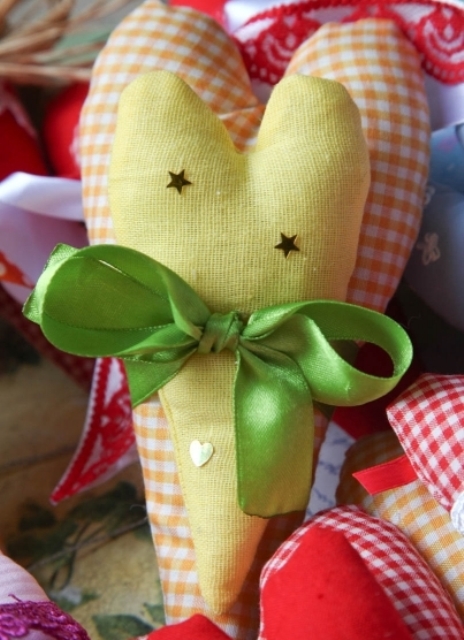
- Decorate stitched hearts can be embroidered, muzzles bunnies, bows or little hearts.