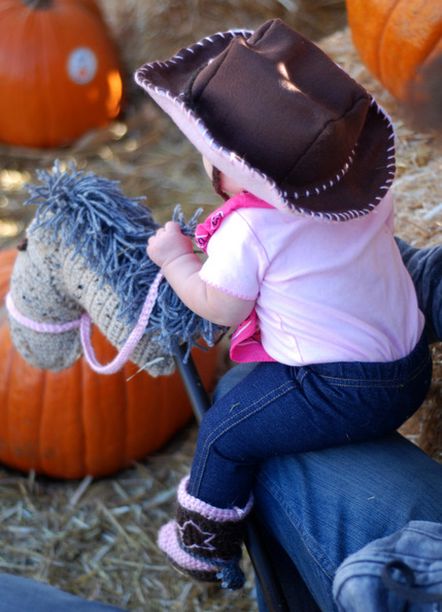
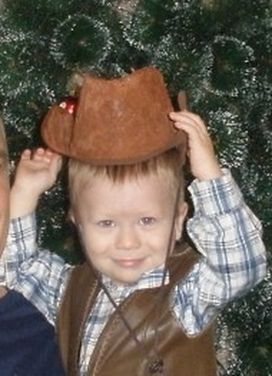
What boy would not dream of becoming a cool cowboy? In addition, almost everything you need to create an image can be found in the children's wardrobe: old worn jeans, a shirt in a cage, a bright scarf, boots and a pair of children's handguns. However, the most important thing for a cowboy costume is a beautiful wide-brimmed hat that will finally complete the image of this hero. That's why, we suggest you try to make a cowboy hat with your own hands, which, thanks to precise patterns and detailed description, can make even the most unskilled craftsman.
How to sew a cowboy hat?
For work you will need:
- 2 cut material of different colors: the main color - it can be black or brown, optional - material of any contrasting color to create an accent;
- woolen thread of the appropriate color;
- needle;
- piece of thick wire.
Let's get to work:
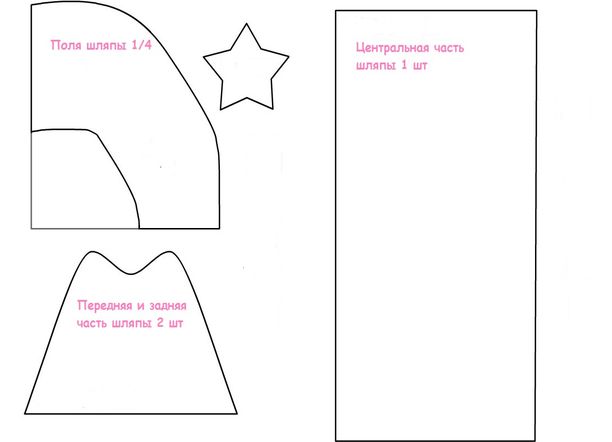
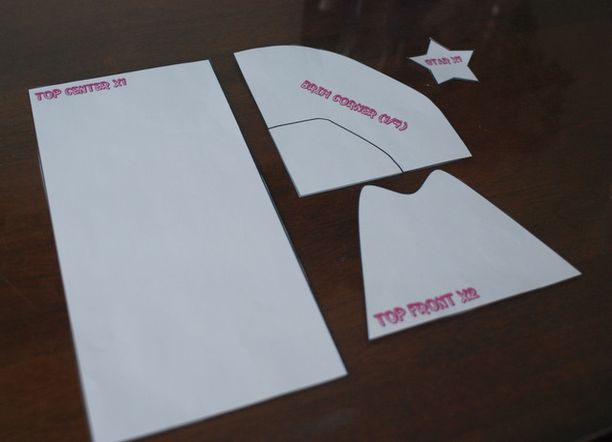
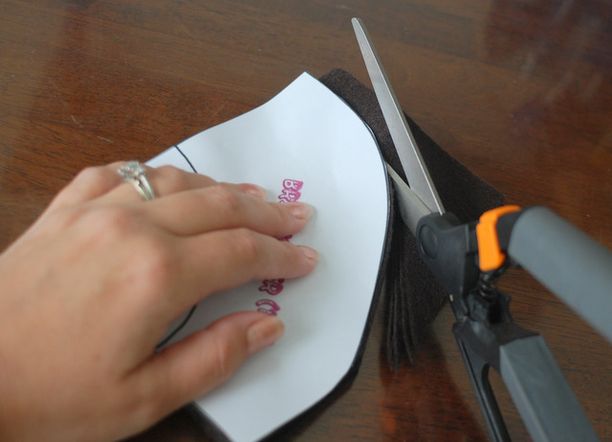
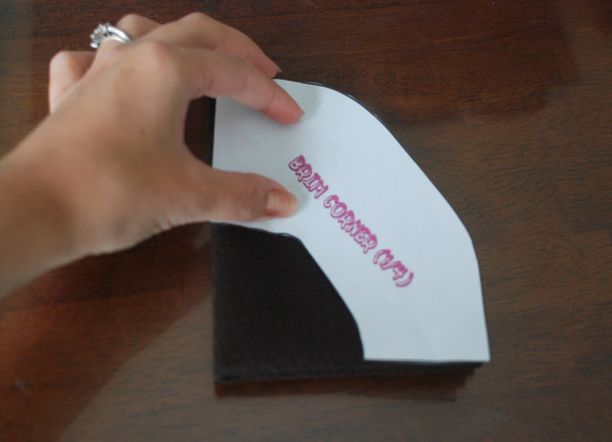
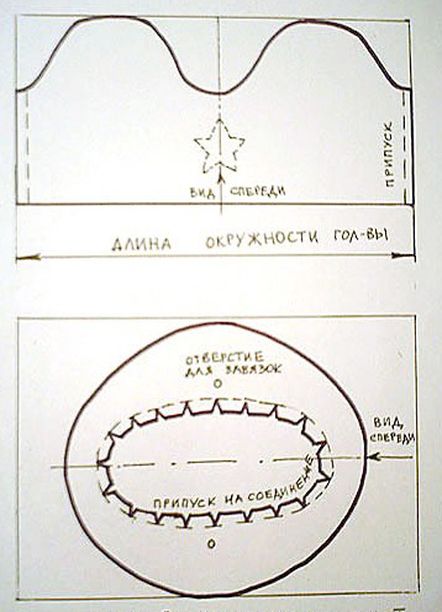
- First you need to make a cowboy hat pattern according to the proposed scheme and cut each element separately. Note that the hat fields are represented on the pattern in the form of a ¼ piece and, by cutting out this element, do not touch the inner corner.
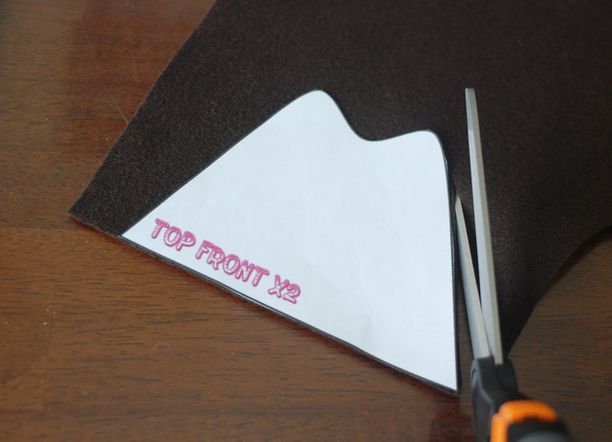
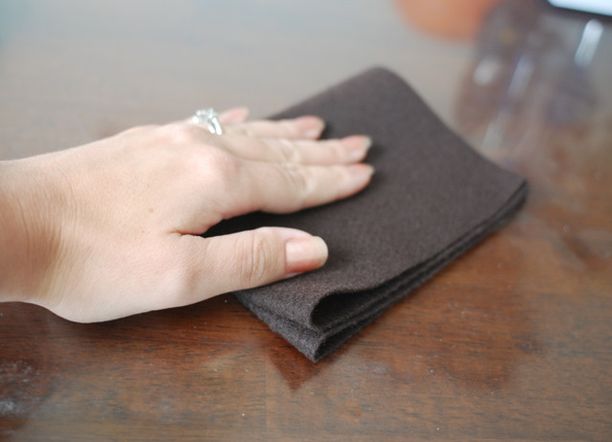
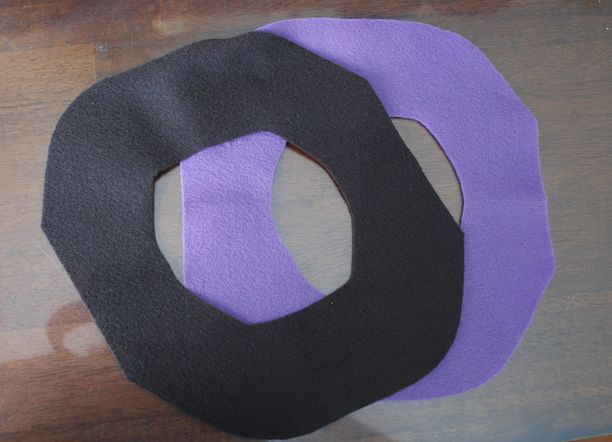
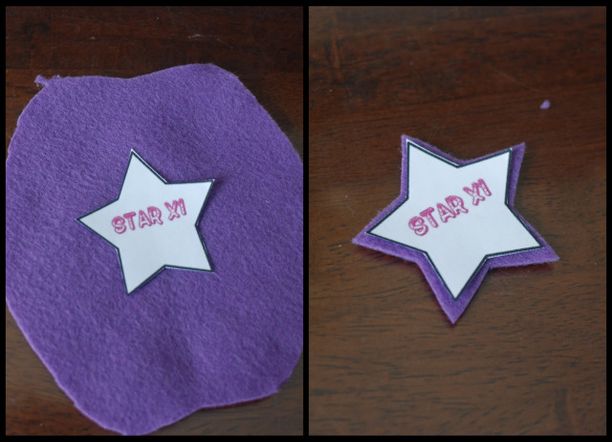
- Now you need to transfer the pattern to the fabric and cut again. To begin with, we transfer the central element of the hat to the fabric of the main color, as well as the front and back parts. Cutting from the fabric of the central part, add on all sides a few centimeters, then you can cut off later. Then, in order to cut out the fields of a cowboy hat, fold a square piece of fabric of the primary color four times, carefully transfer the pattern to it and cut it out with the inside corner. The same fields for our hat need to be cut out and with the material in addition to the color.
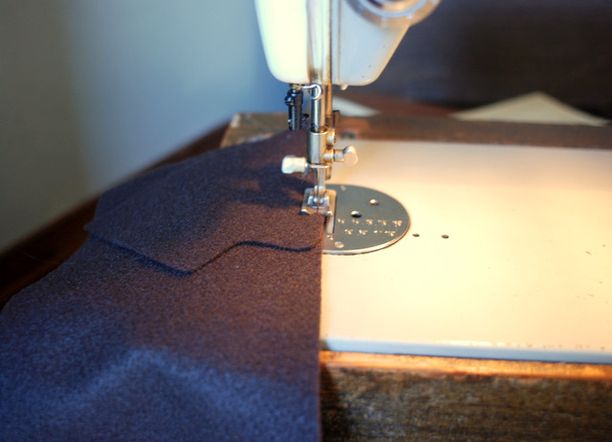
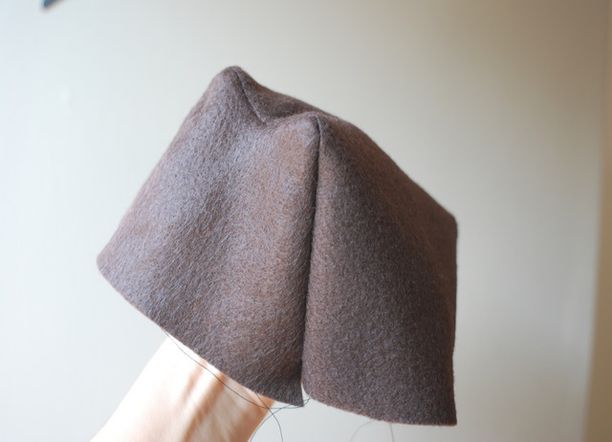
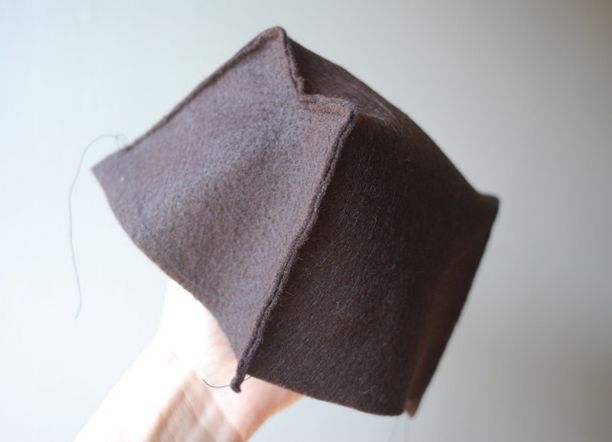
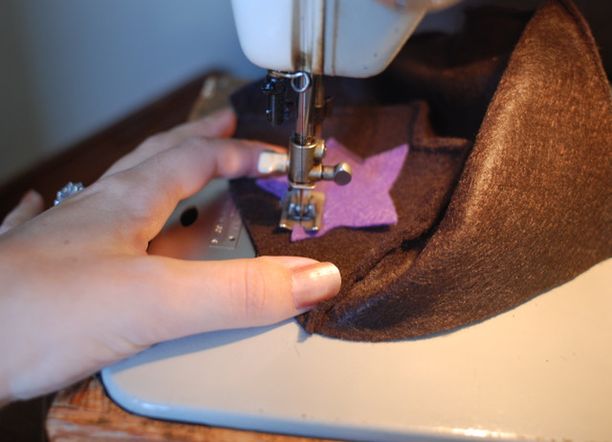
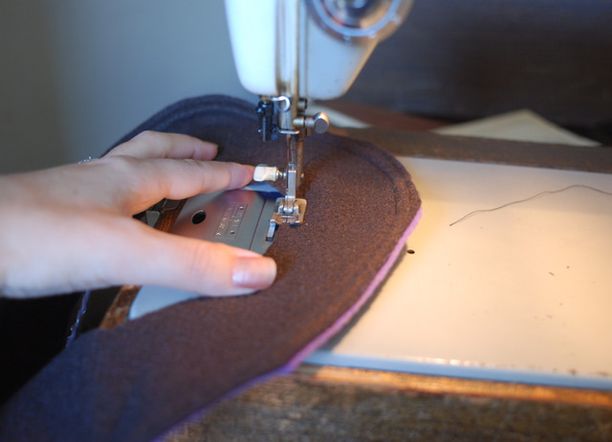
- Along the long sides of the central part with a sewing machine sew the front and back of the hat. You should get the top of a cowboy hat. You can turn it to the front side, or you can leave it on the wrong side. To the front of the hat we sew a star, cut from a fabric of an additional color.
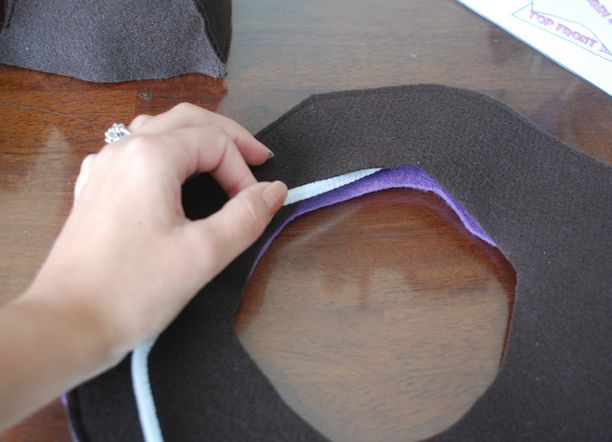
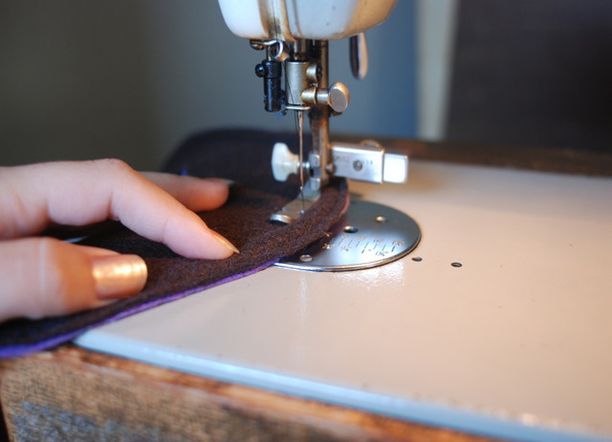
- With the help of the machine we sew the fields of the hat along the outer edge. Inside, we insert the peg, with which the fields can be given the necessary shape, and lay another machine line to fix the wire. Then we sew the margins already along the inner edge.
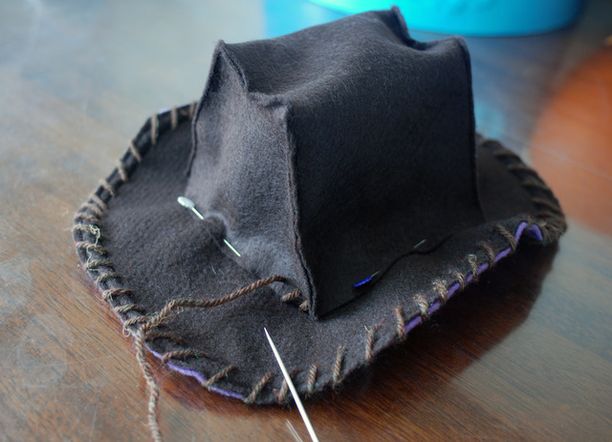
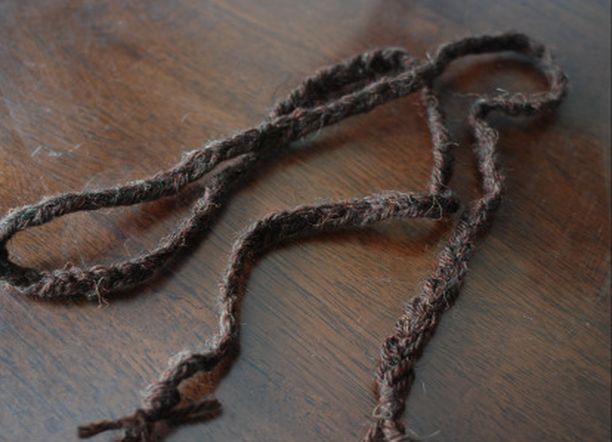
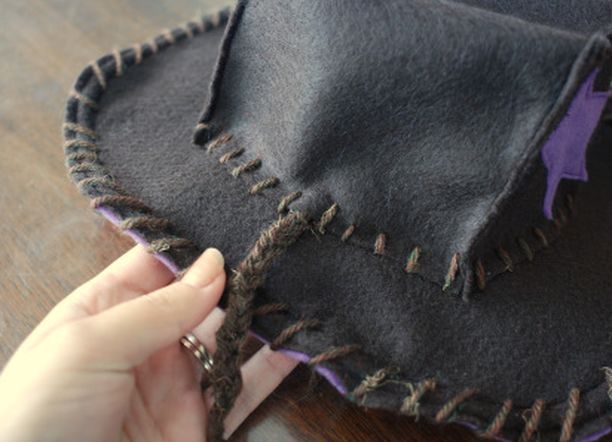
- The ready top part of the hat is applied to the fields and sewed with woolen threads. These same threads make a decorative seam along the edges of the fields. We also weave a braid from the woolen thread and insert it through the front of the hat between the stitches on both sides.
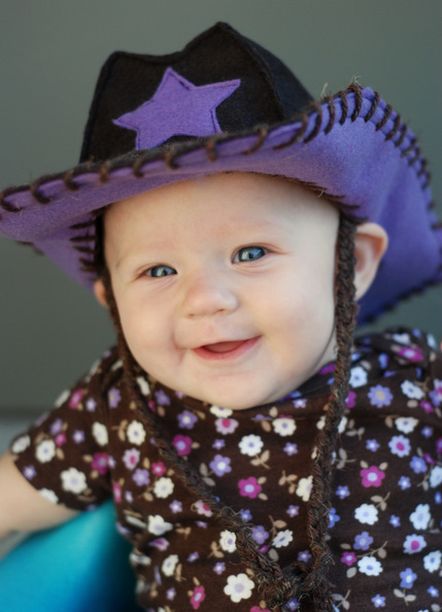
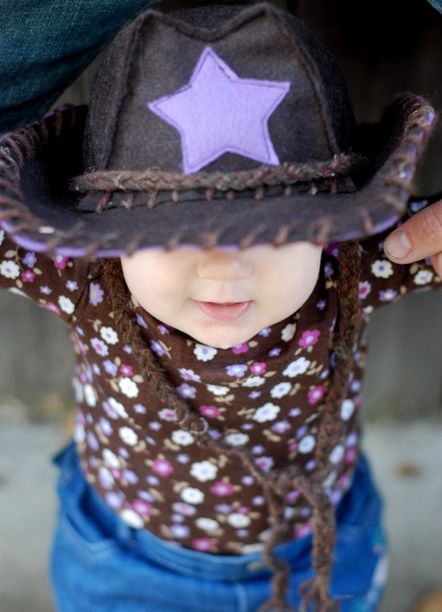
- And now, a cowboy hat made by own hands is ready!
How to make a cowboy hat out of paper?
For work you will need:
- whatman;
- roll of toilet paper;
- PVA glue;
- gouache brown;
- 2 laces with a boa constrictor.
So:
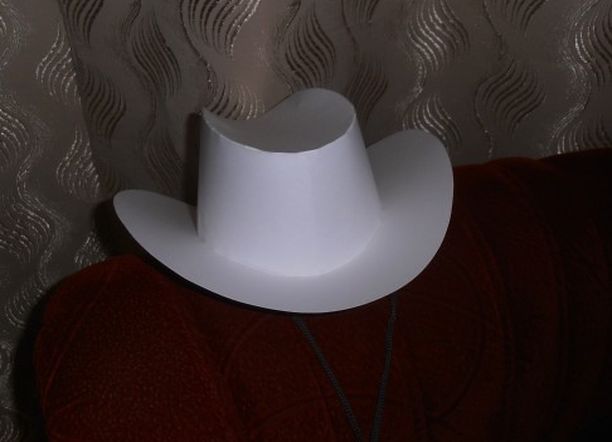
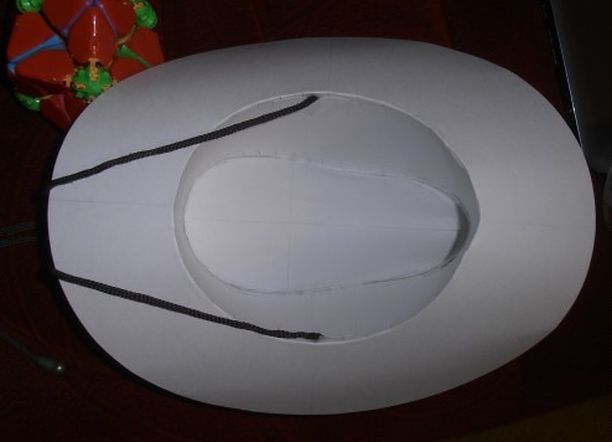
- In order to model a cowboy hat from paper, as always, you need to make a pattern. To do this, we make appropriate measurements, draw and cut out the elements of the hat from the paper.
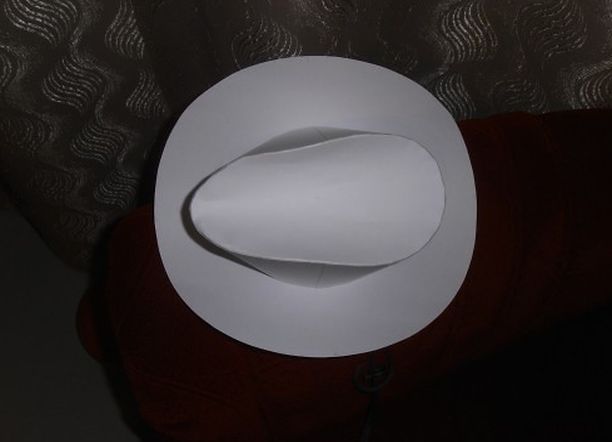
- Now glue the box with the fields, and then the crown and the bottom. Inside the hat on the edges on both sides we glue the shoelaces.
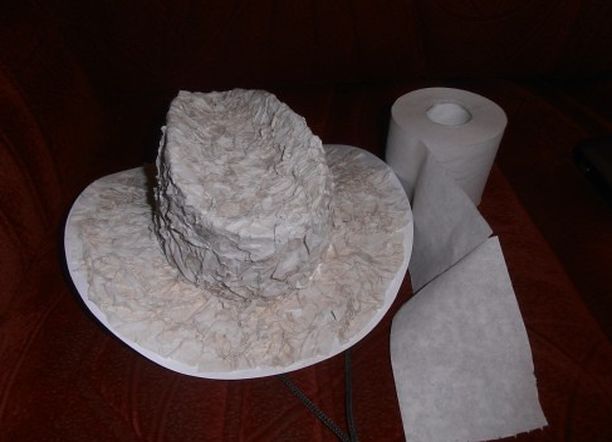
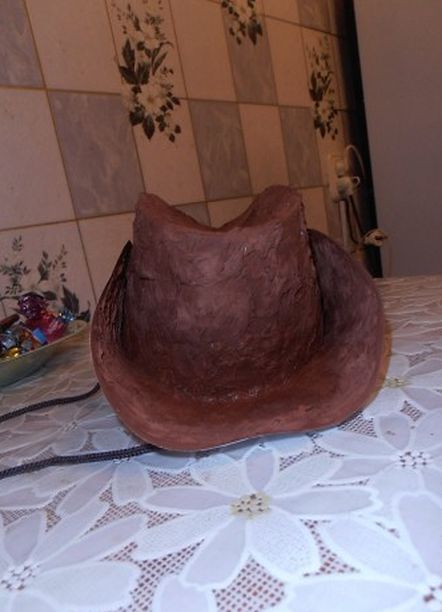
- A small section of the finished hat is covered with PVA glue and "drapes" with toilet paper. Thus, we gradually process the entire outer surface of the cowboy hat. After the glue has completely dried, we paint the hat with brown gouache and let it dry.
All! The cowboy's paper hat is ready!
As you can see, there are quite a few ways to make a cowboy hat by your own hands. Well, and which way you will like it for you - this is purely your business!
Also, you can create other images yourself, for example, an Indian or a pirate .