More and more popular, both in men's and women's wardrobes, are bow ties, which returned to us from the time of the distant 60's. This accessory is appropriate for office dresscoats , and for a walk in the family circle or the birthday of friends. And another huge plus of a bow tie - it can be sewn with your own hands.
How to sew a bow tie?
There are two variants of a bow-tie - tied and fastened. The main advantage of a tied butterfly tie - it actually does not have a size, but it has one big minus - long tails-strings spoil the whole look. Therefore, if you do not have the opportunity to cover the back of your head with long hair, it is better to make an accessory with a clasp.
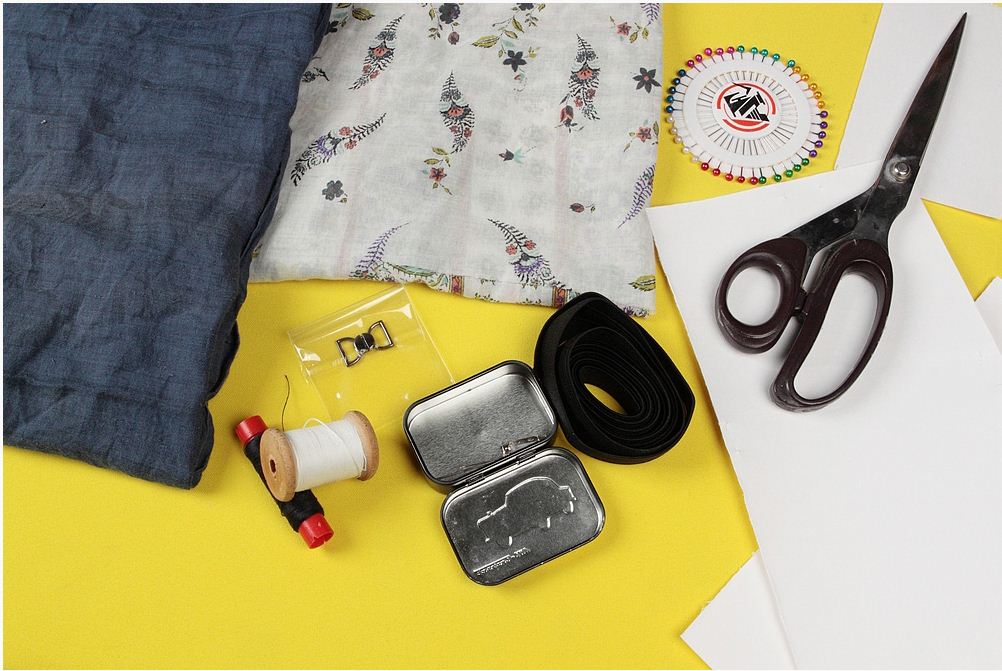
So, for sewing a bow-tie with your own hands, we need the following:
- two pieces of cloth of different colors;
- black elastic band 2 cm wide;
- a bow tie;
- thread with needles;
- scissors;
- Iron, preferably with a function of steam impact.
Having prepared all of the above, let's get to work.
Bow tie with your own hands - master class
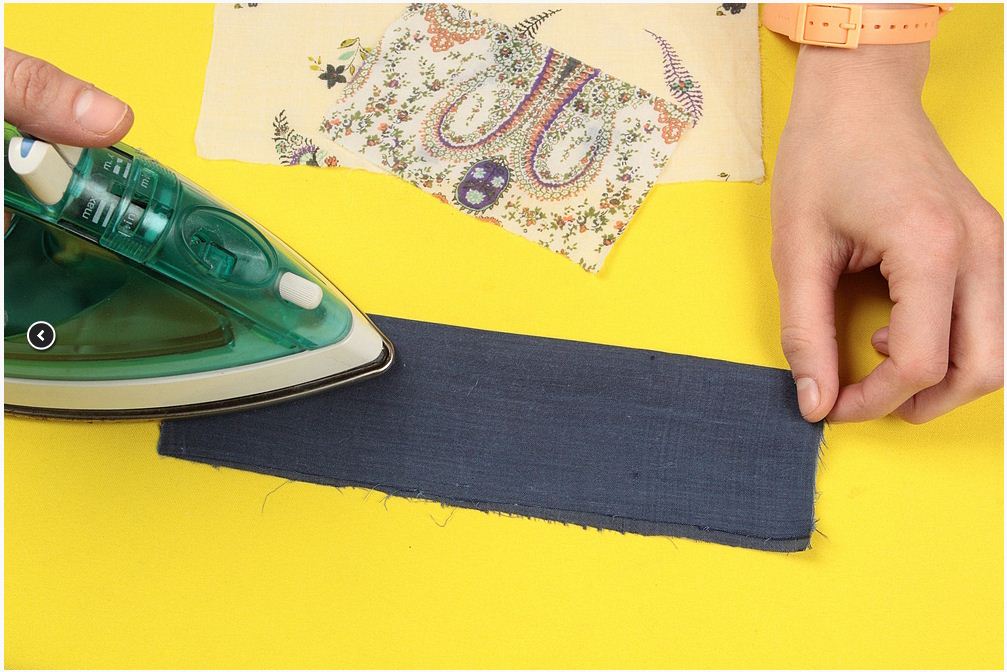
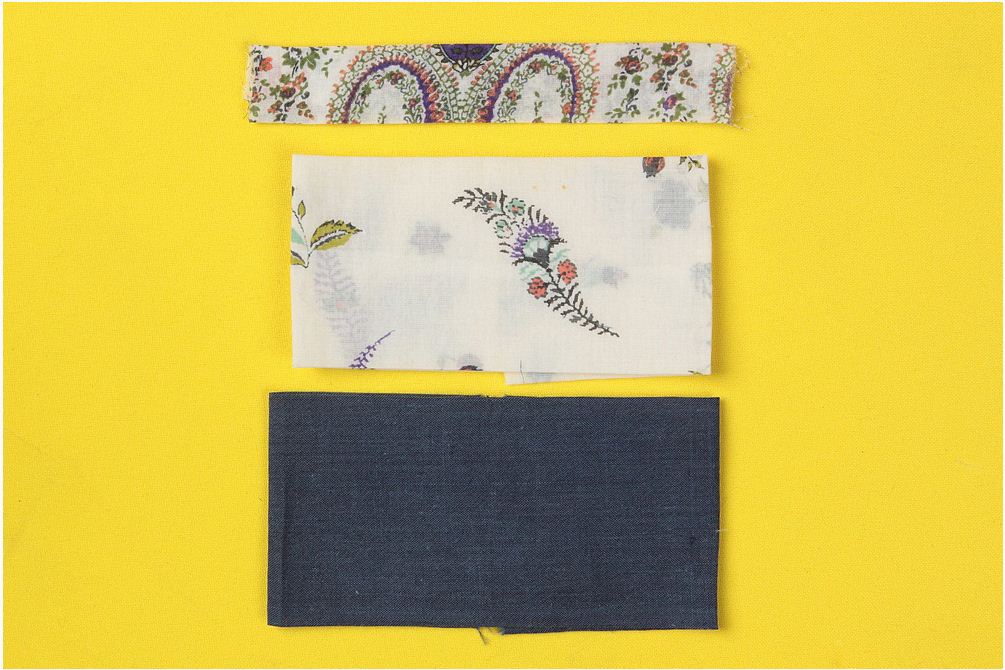
- First of all, we will produce three patterns for a bow tie with dimensions of 8x13 cm, 11.5x22 cm, 13x23.5 cm. With the help of pins, pin them to pieces of fabric and carefully cut out.
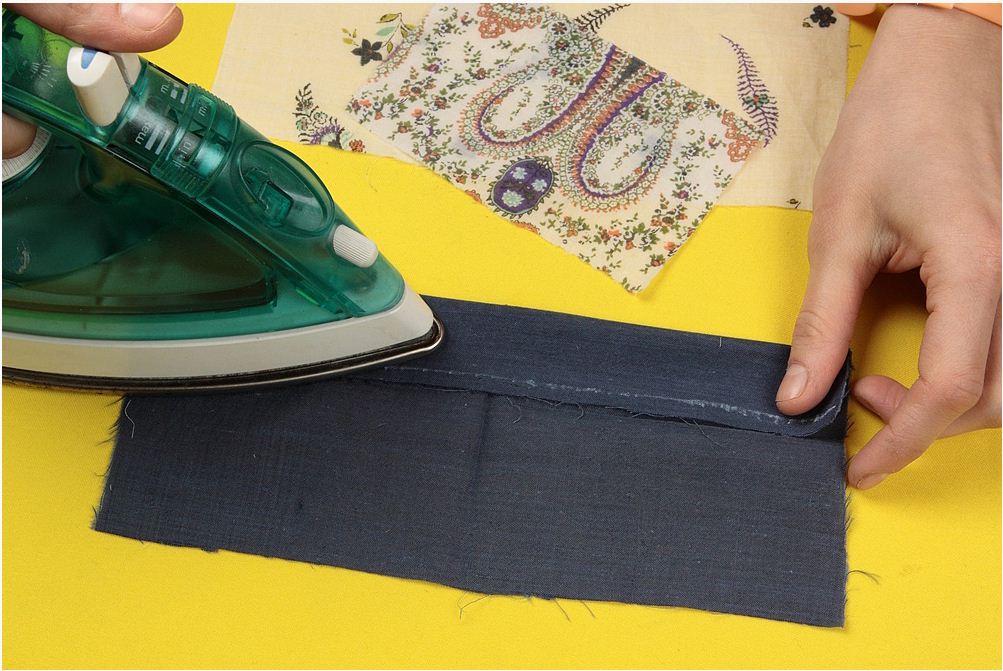
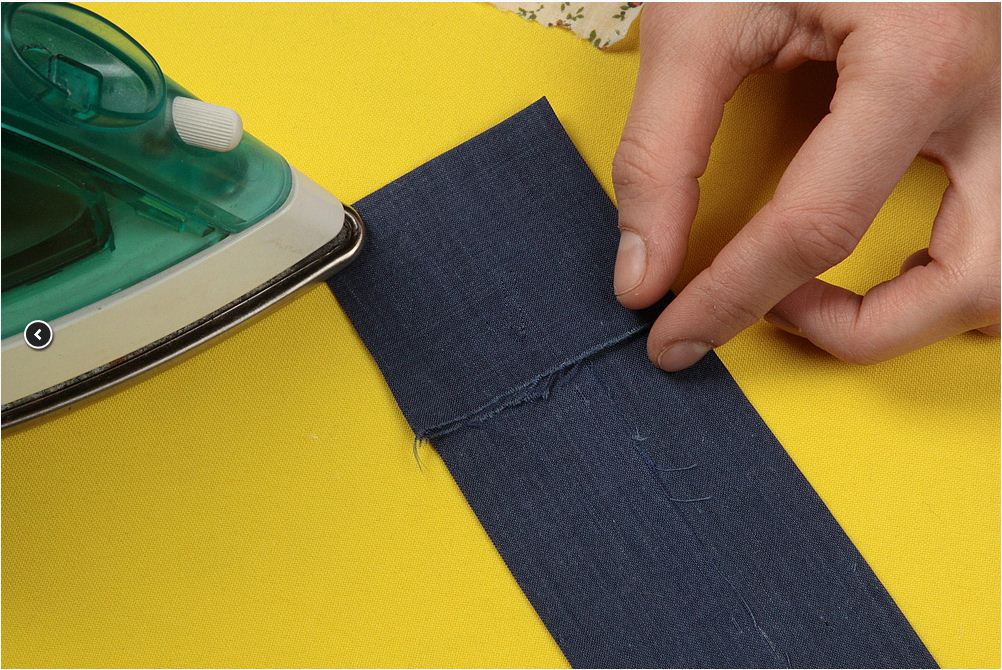
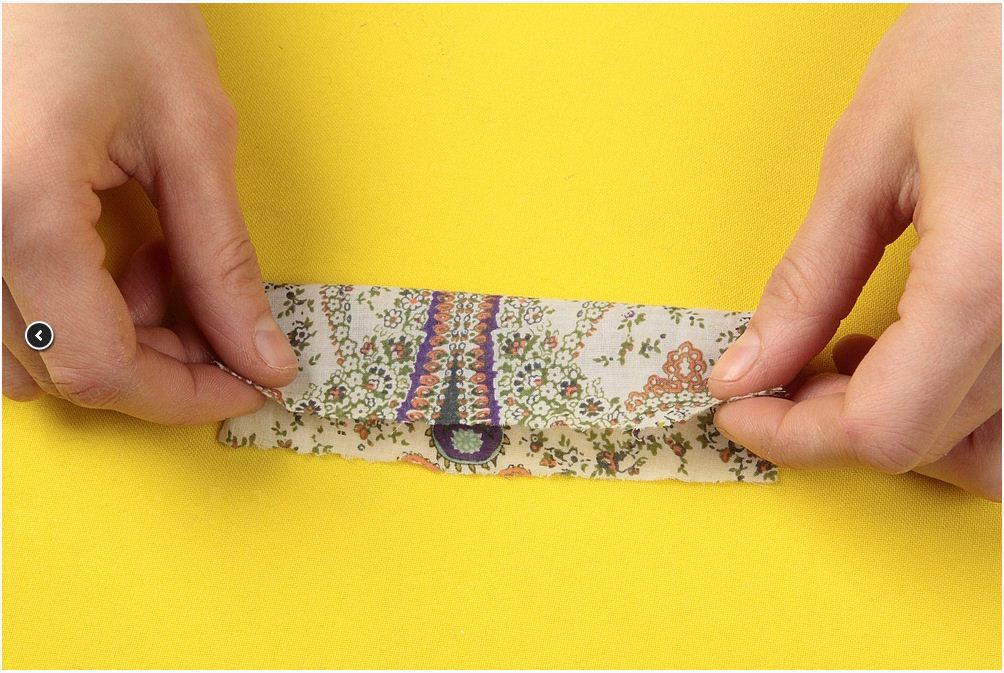
- We get three blanks. We will begin work with the largest billet - we take it and add it along.
- We iron with an iron, paying special attention to the bending point.
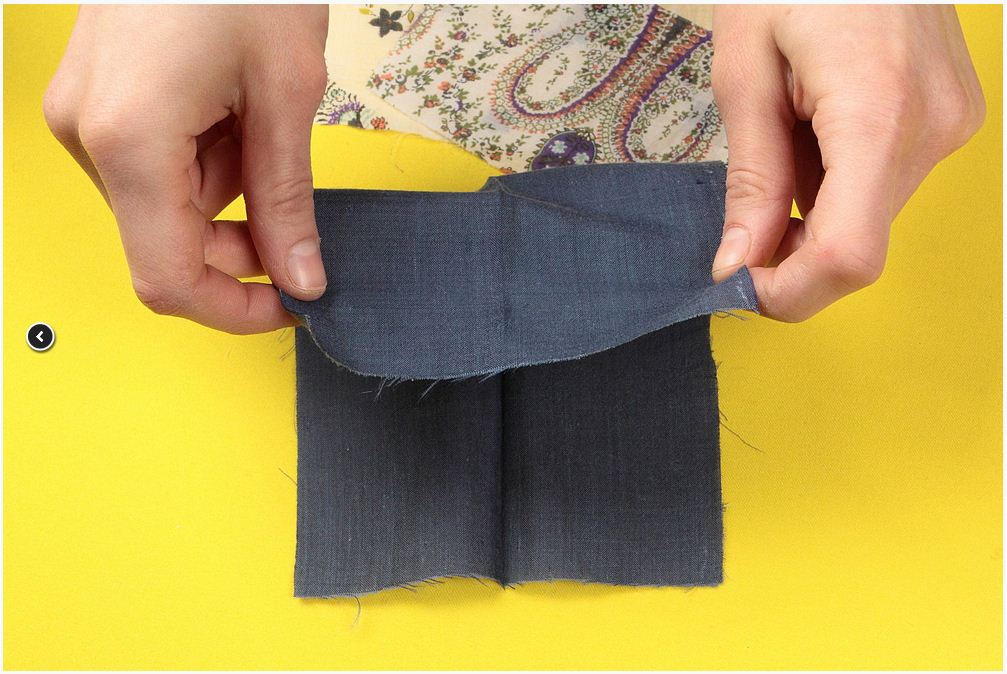
- Straighten the workpiece and fold it across.
- And again we smooth the workpiece with an iron.
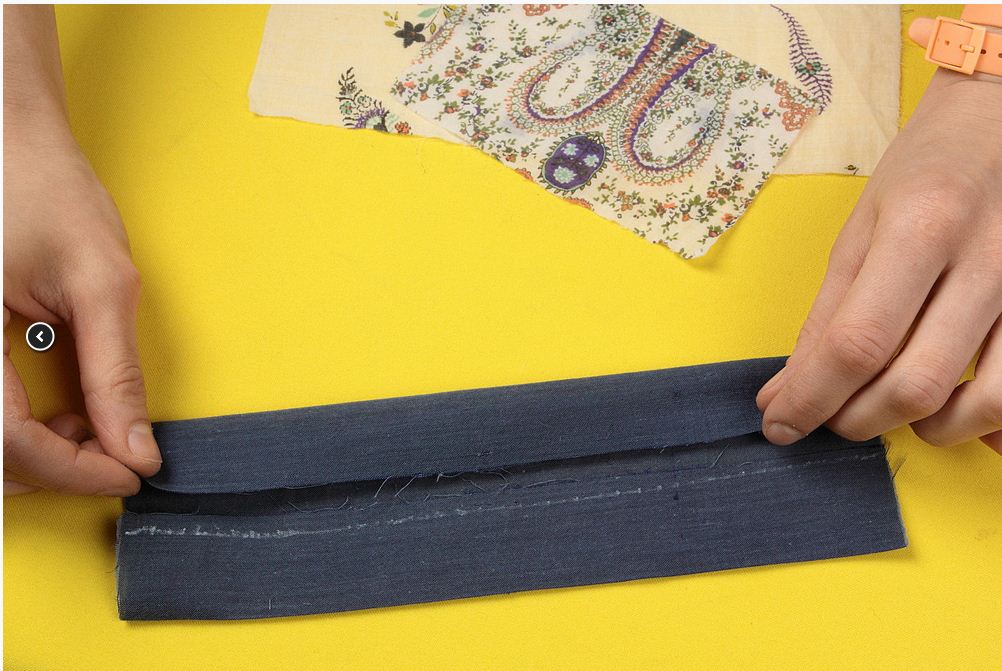
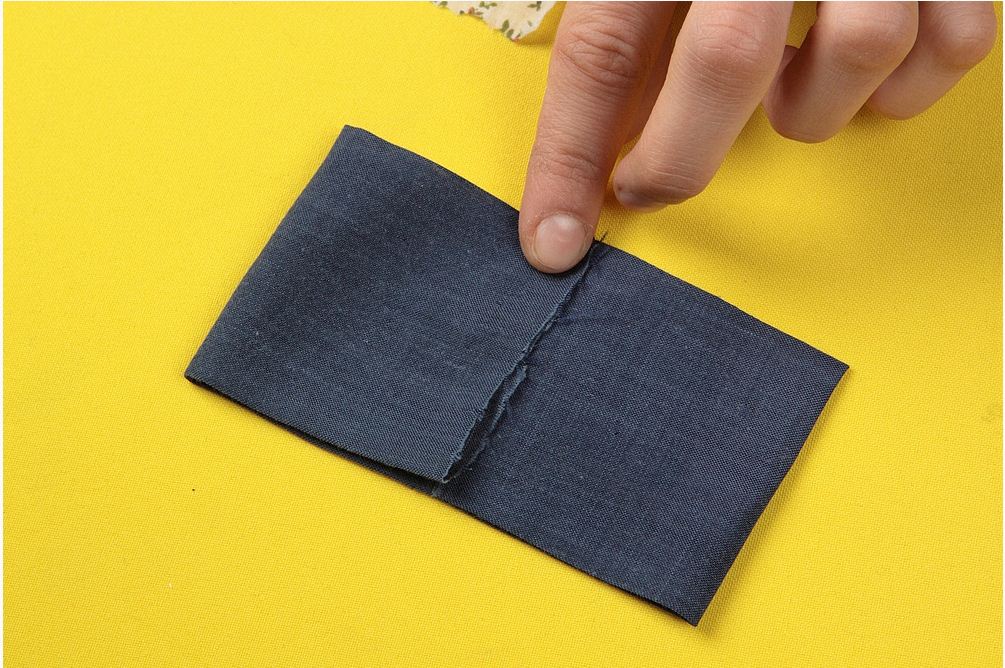
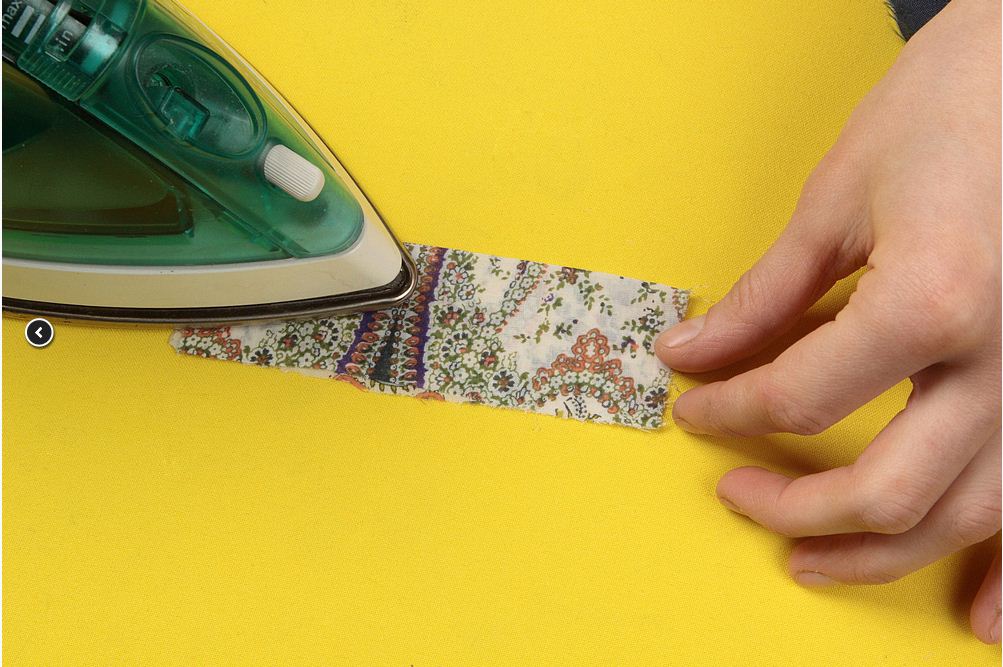
- Then we again fold the tissue flap along, leading the edge to the horizontal bend line.
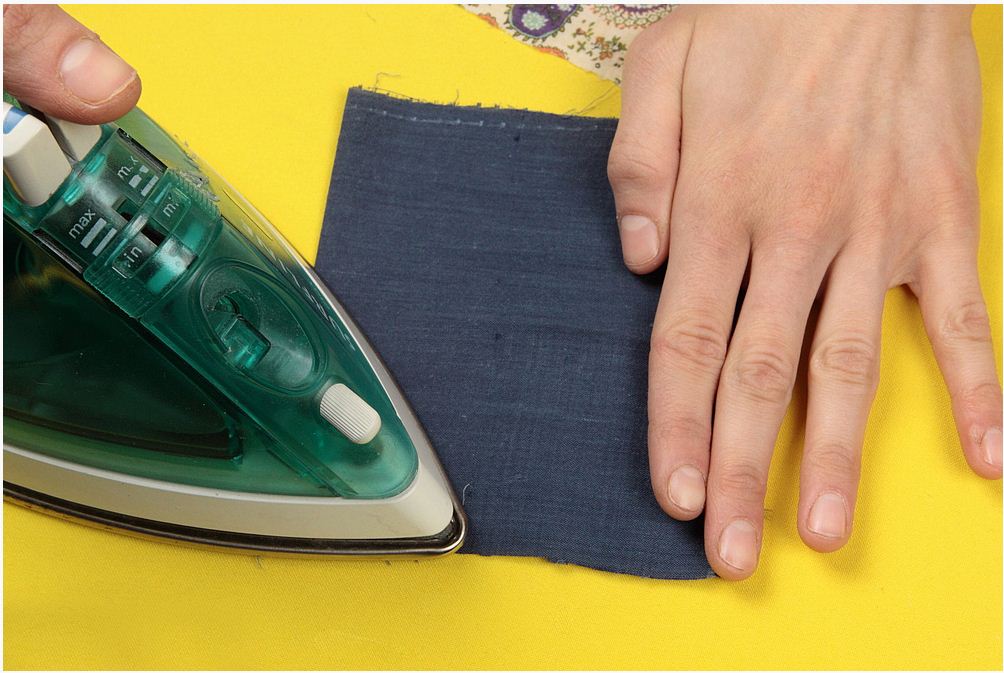
- We iron with iron.
- The same thing we do on the other hand - we fold the fabric.
- We iron the bending lines.
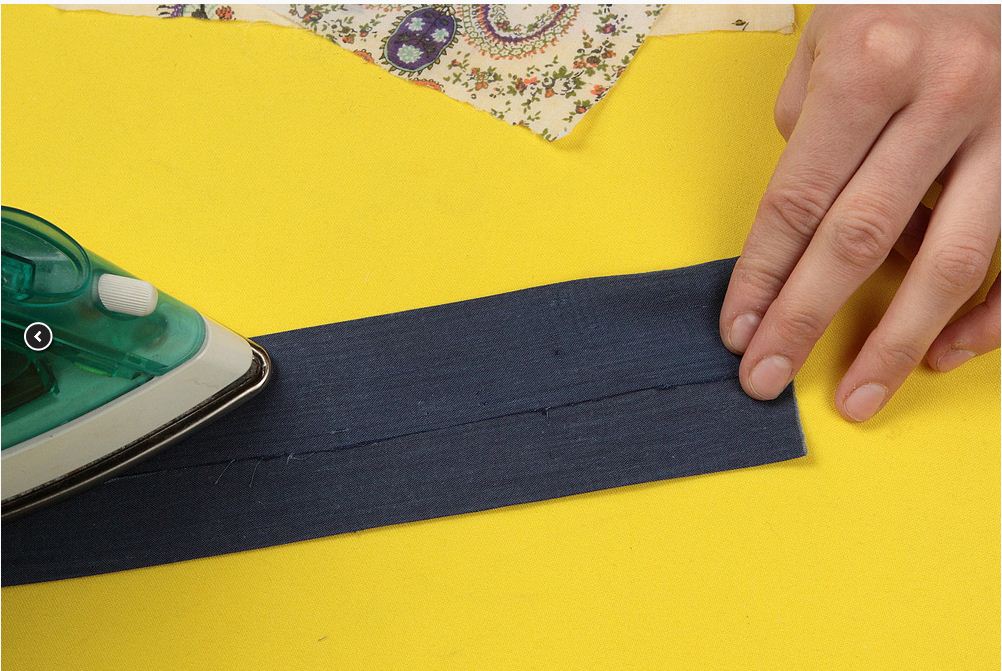
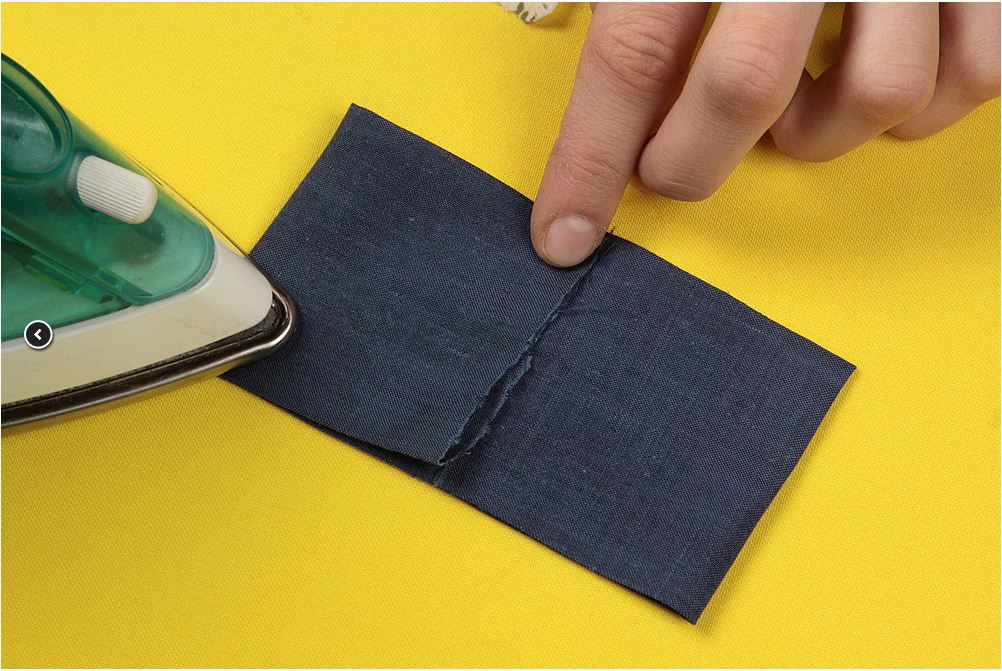
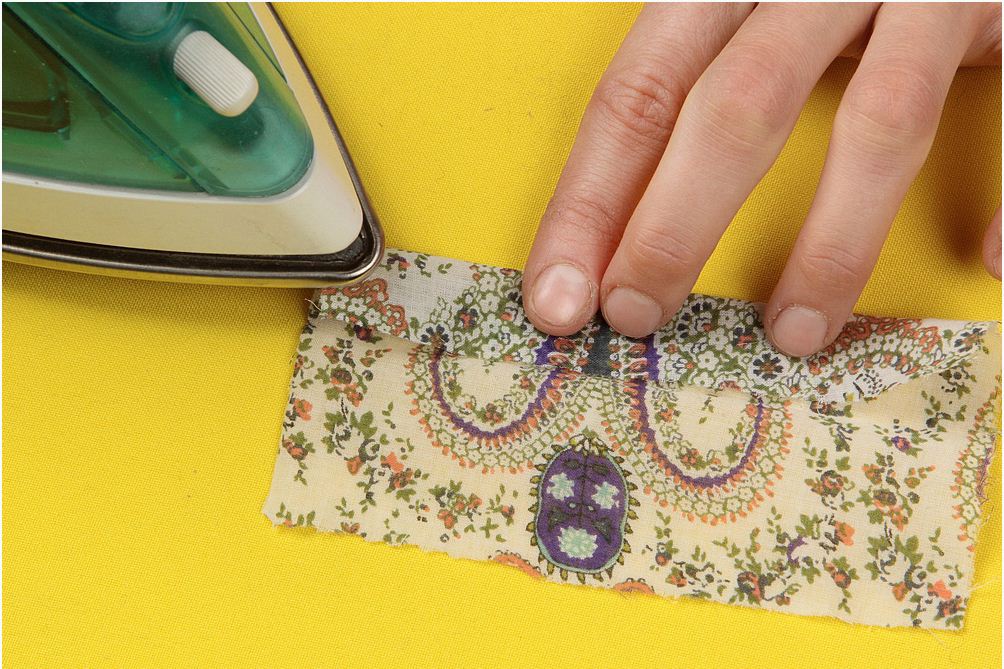
- Further, without unfolding the fabric, we fold the fabric across, bringing the edge to the line of vertical bending.
- We iron the fabric by fixing the position.
- We do the same on the other hand, overlap the fabric.
- And we iron again.
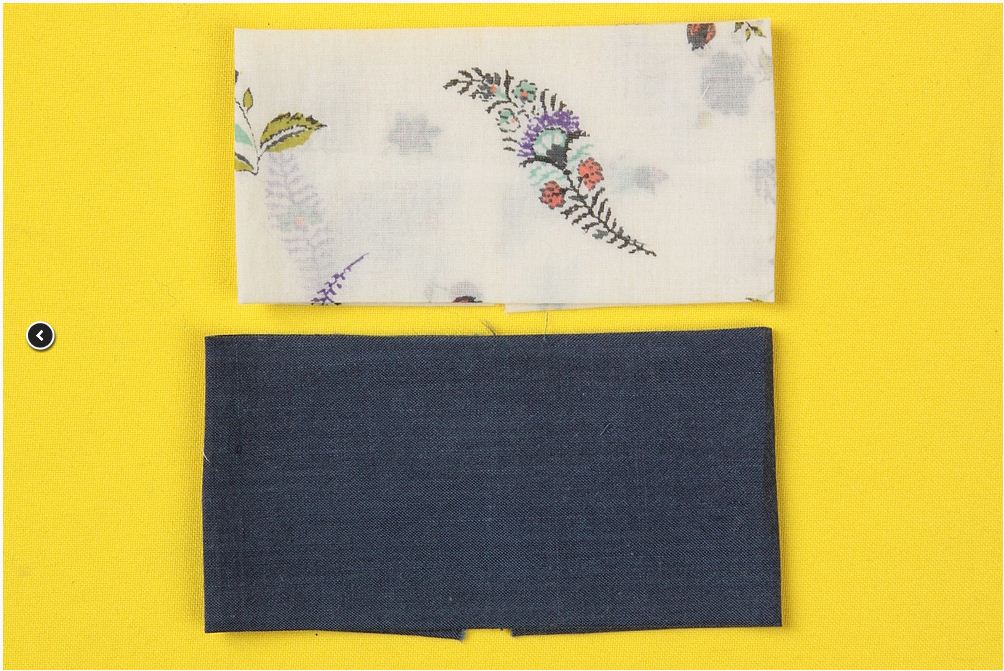
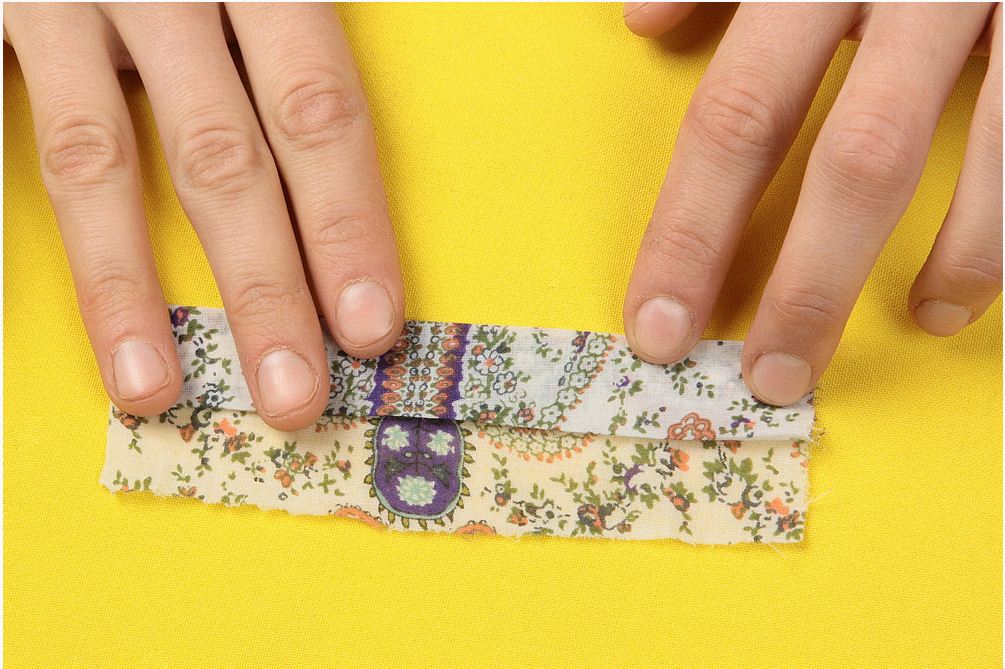
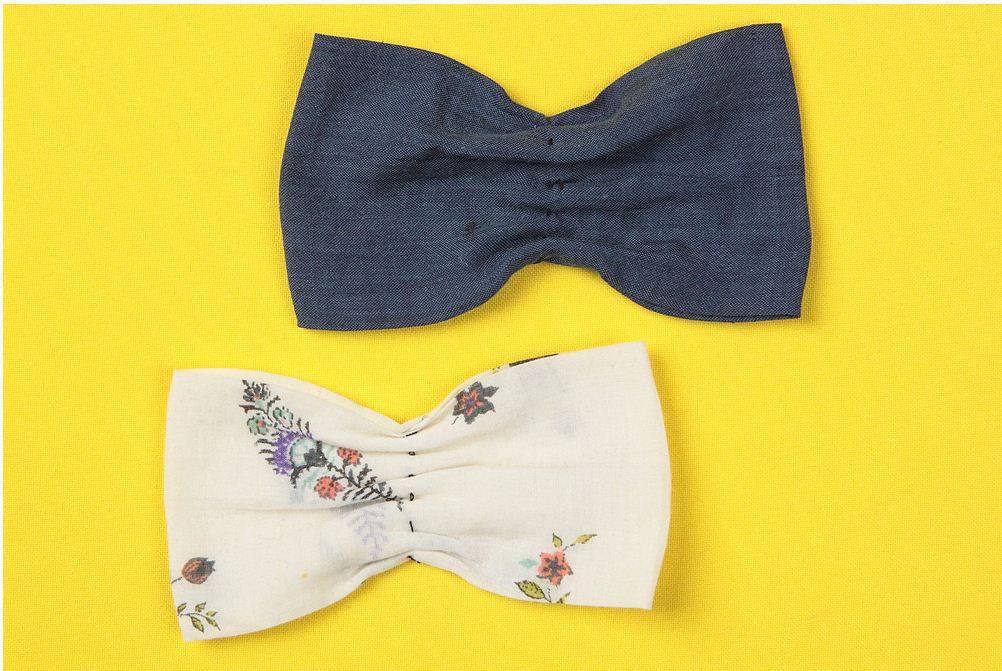
- Then we take the middle workpiece and add it in exactly the same way. We get two blanks.
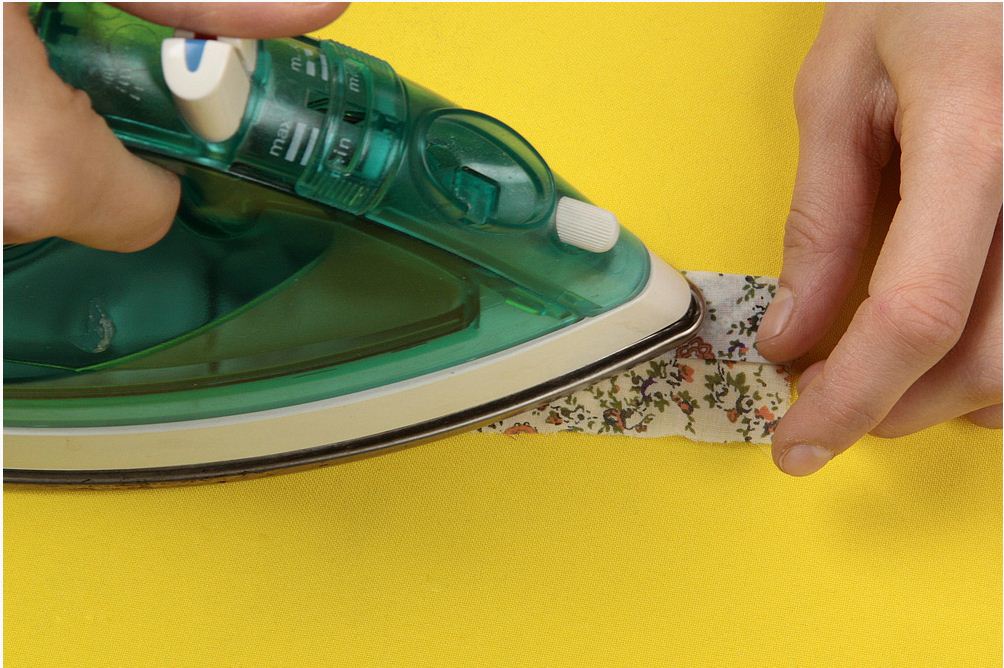
- Now let's take care of the smallest workpiece. Fold it along.
- We iron with iron.
- We unfold, we fold the edge to the bend line and iron it.
- Continue to fold the fabric in the same direction until we get the folded tape. Iron during ironing.
- We receive here such three preparations.
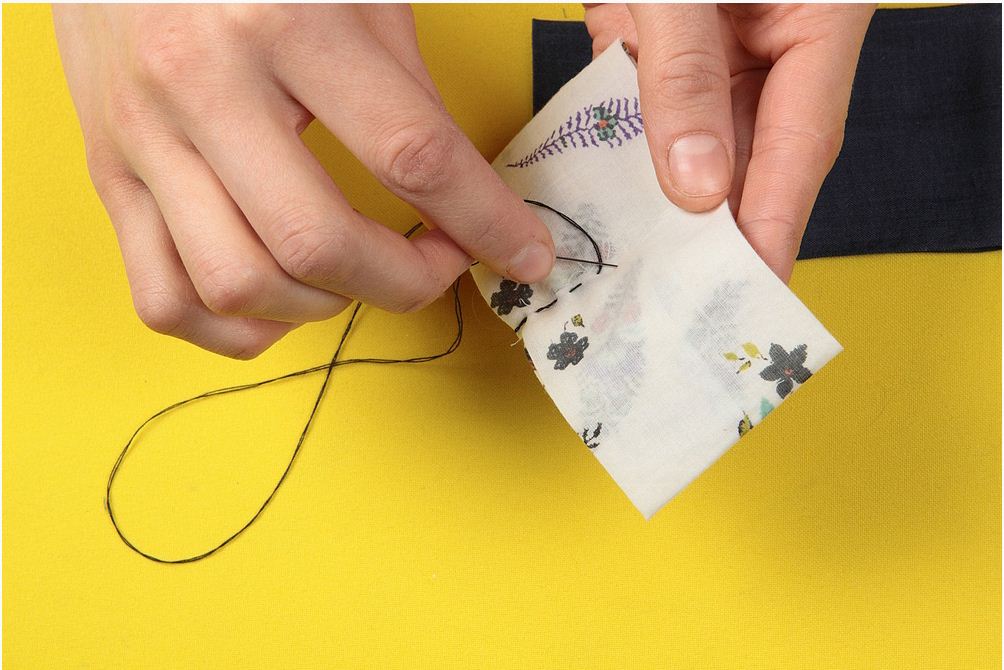
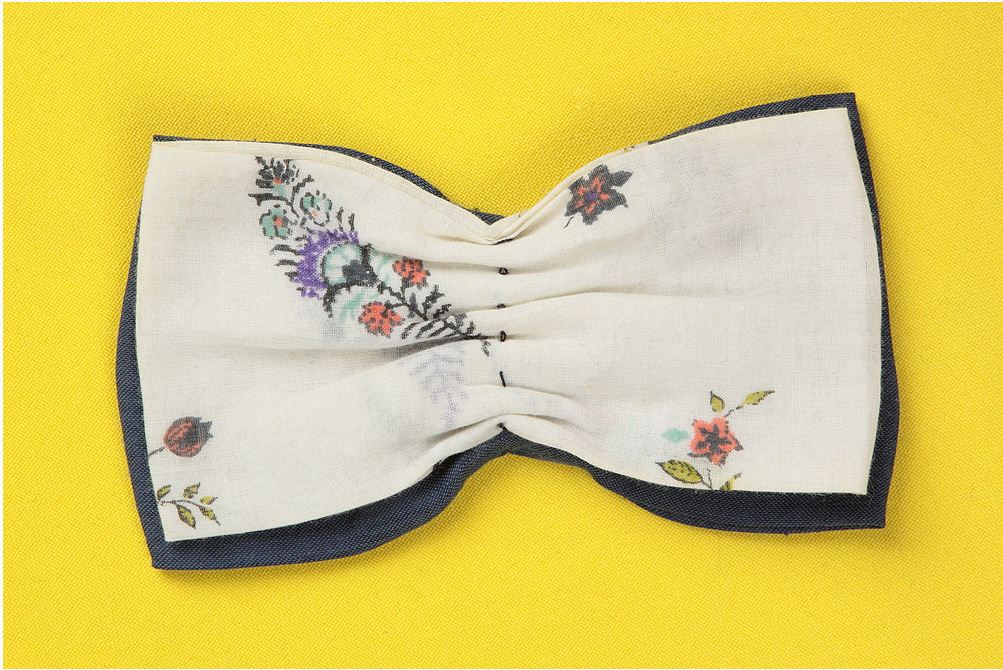
- Let's start sewing. We take the middle piece and with a simple suture sew it crosswise in the middle, slightly pulling it together.
- We tie a string to a knot and cut it off.
- In the same way we do with the biggest billet.
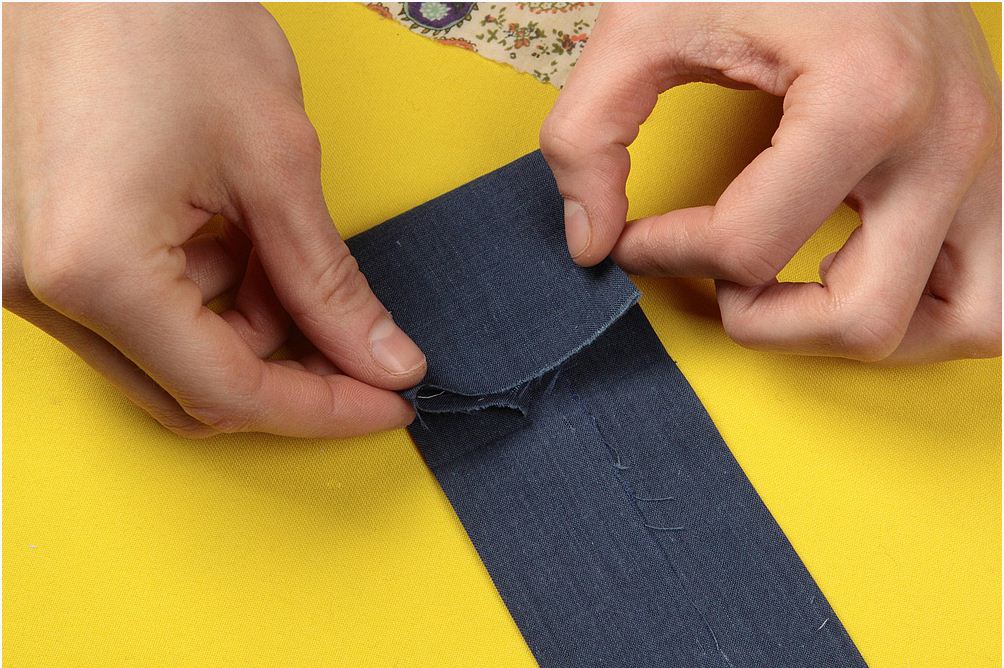
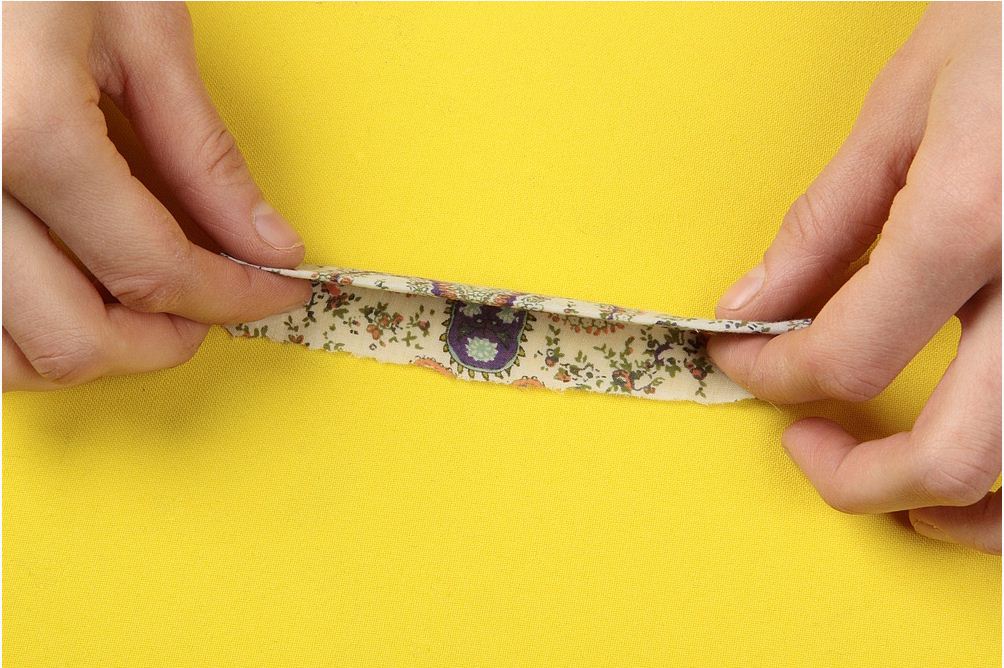
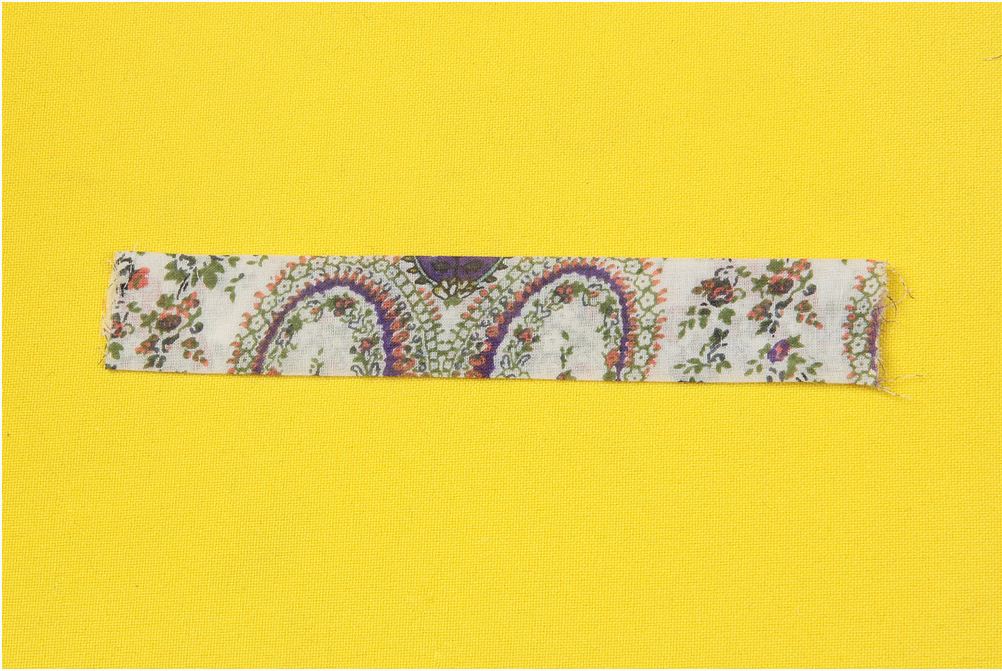
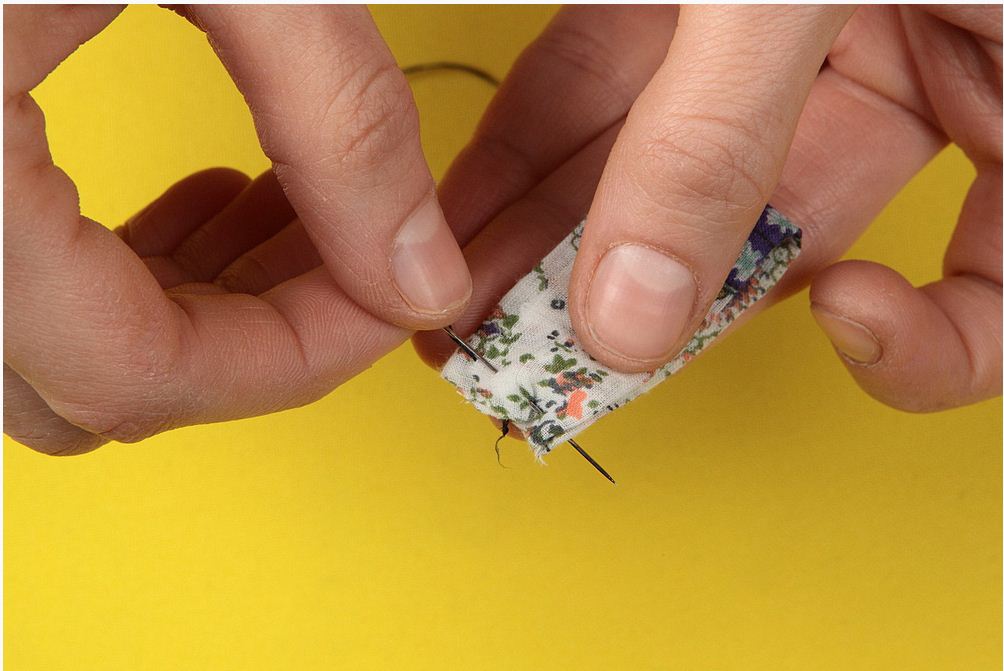
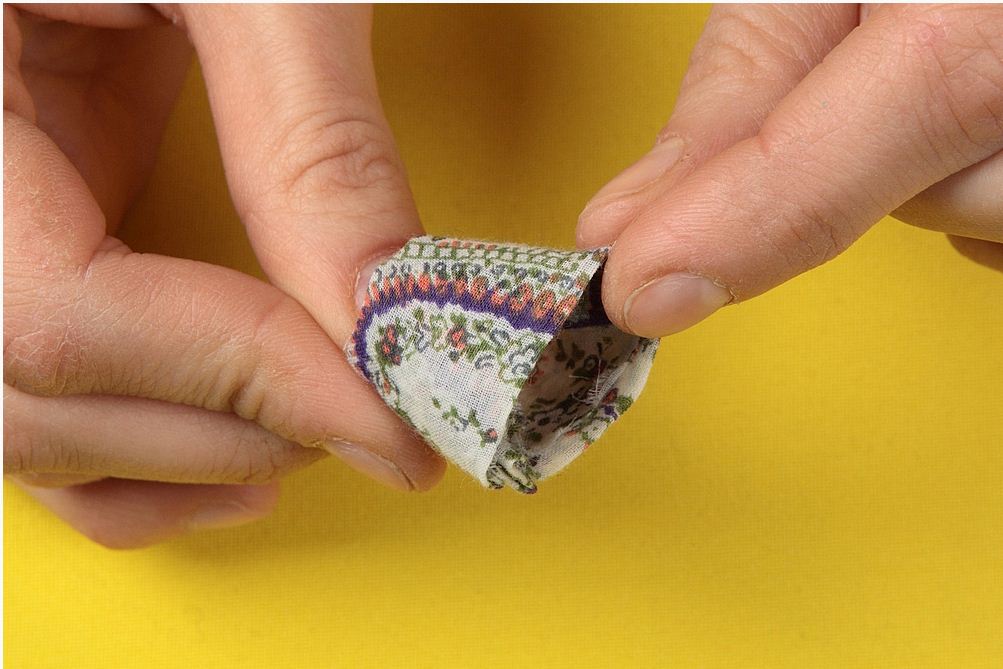
- We will deal with the smallest preform. First of all we sew the edges of it, the most common marking stitch will do.
- We get here such a rag ring from the last billet.
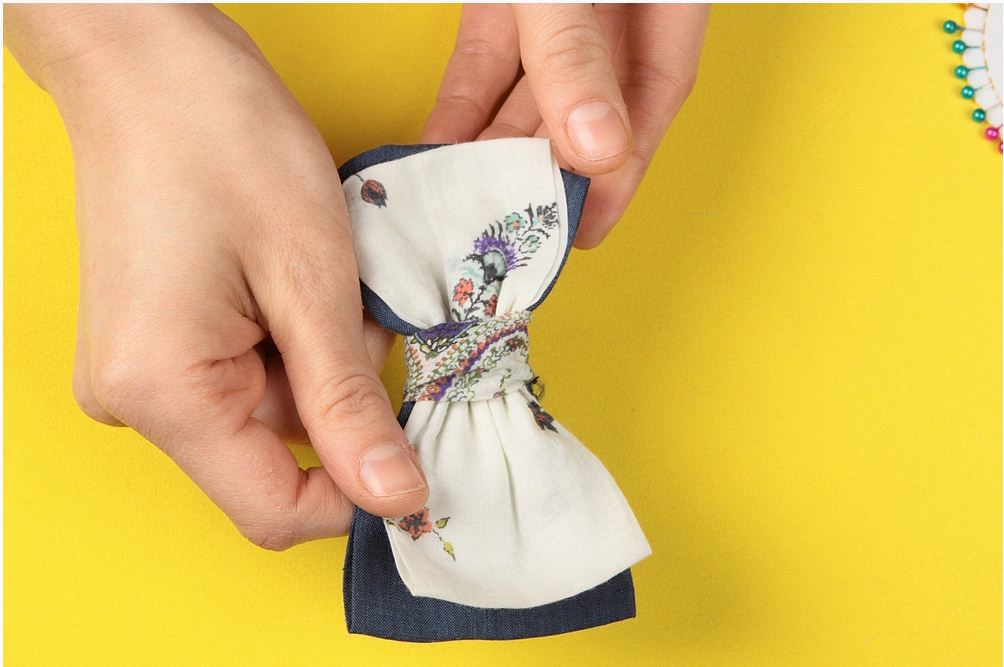
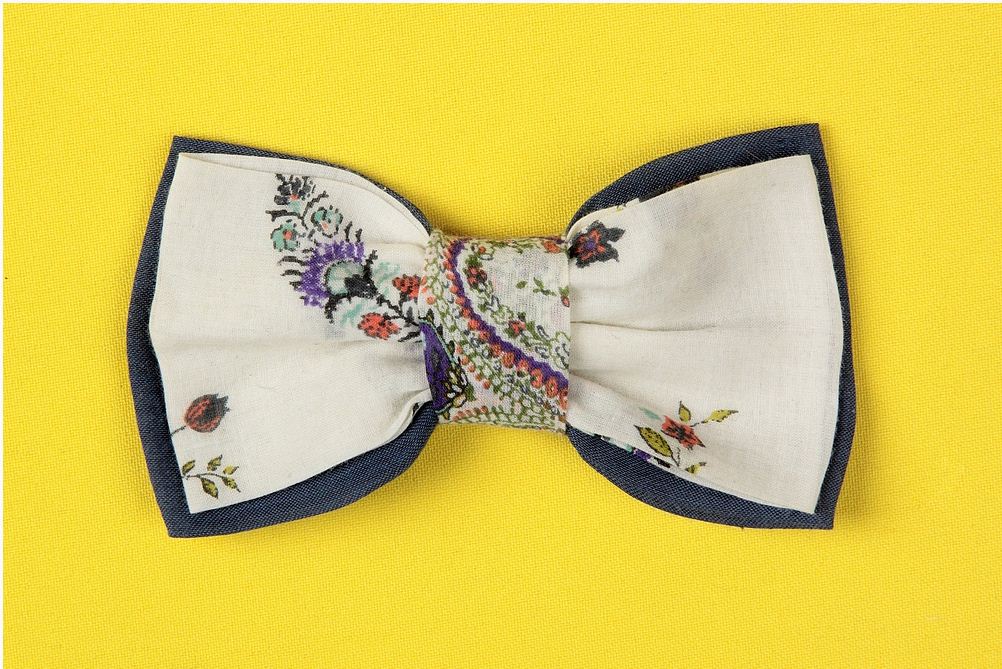
- Next, we put the middle workpiece on a large one, fix it with a thread and drag it with a rag ring made from a small workpiece.
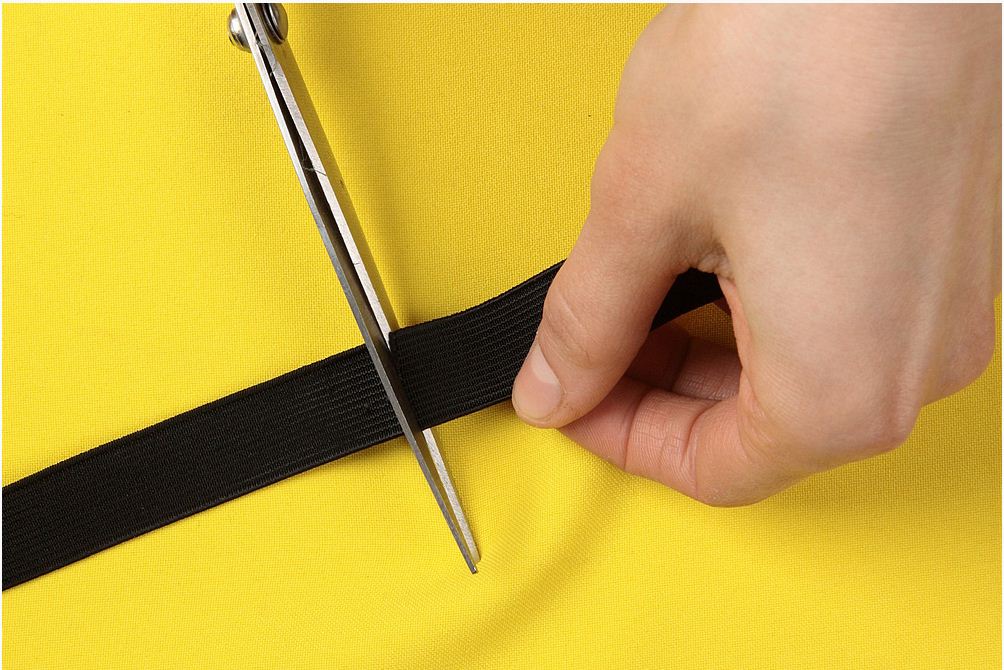
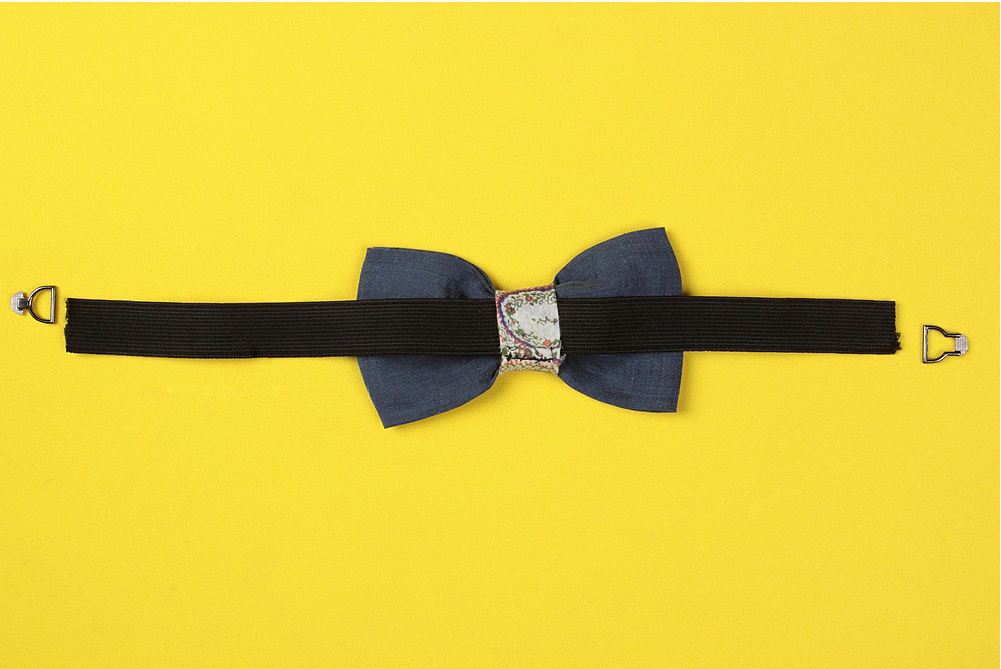
- Now we are going to make an elastic band and a fastener for a bow tie. To begin with, measure the size of the rubber for a bow tie, previously measuring the neck. We remember that the accessory should not compress the neck until the traces appear, in the same way it should not hang out either. We are looking for the golden mean.
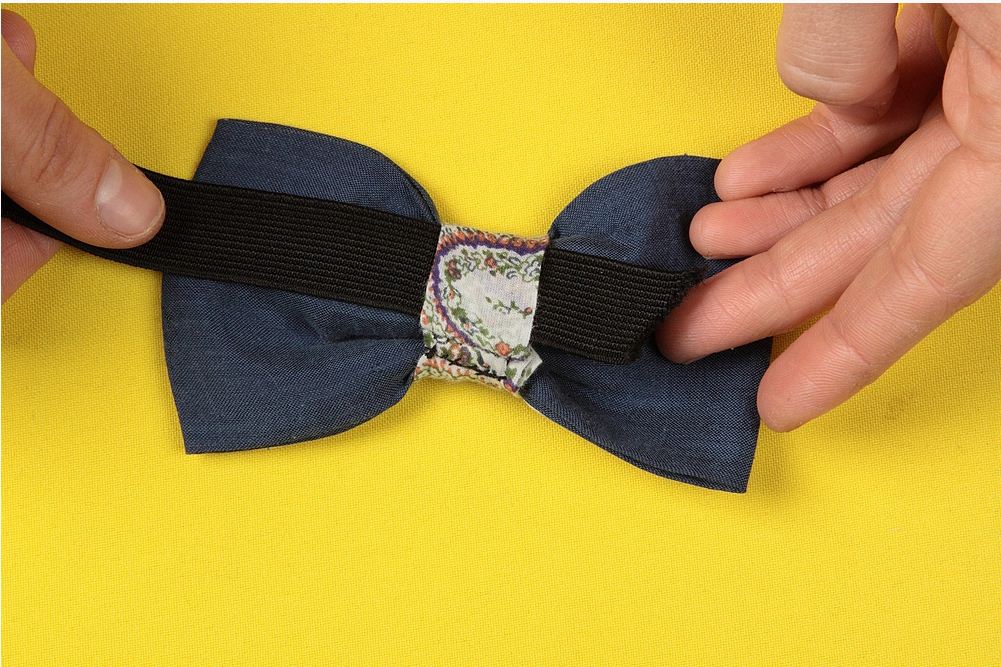
- We stretch the elastic under the rag ring.
- Next, gently, on securely sew the clasp to the elastic band. If there is such an opportunity, it is better to tuck the rubber band and make a line as a typewriter.
| | |
| | |
| | | |
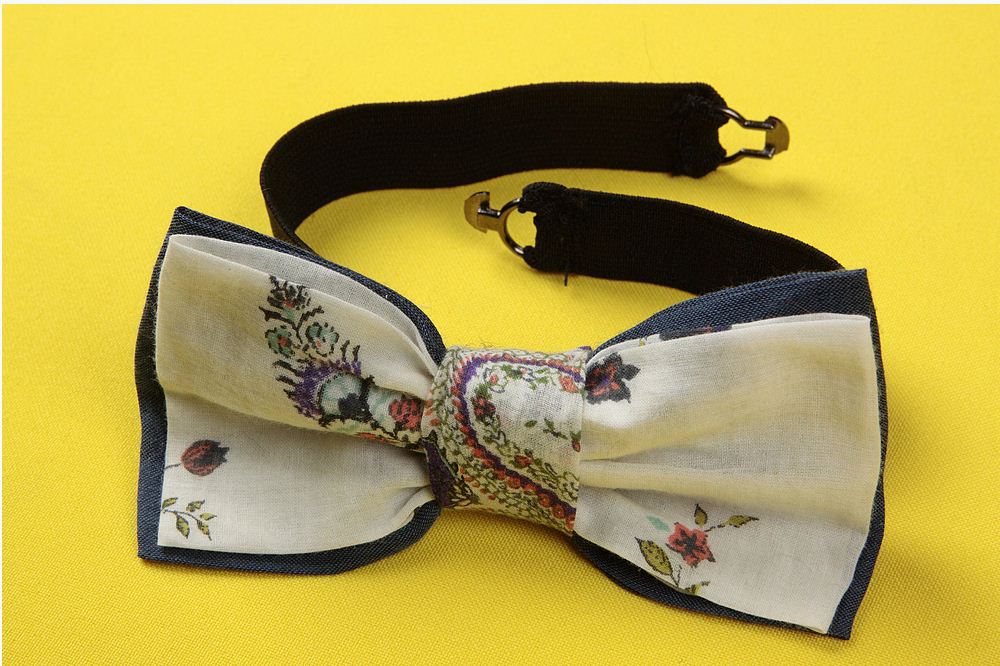
And, finally, we rightfully enjoy the result of our short, but rather laborious work. Bow tie with your own hands ready!
Also, you can sew a customary tie yourself.