In summer, almost every day we buy a bottle of water. From such a simple throwaway material, you can make a great fun for the child or a real weathervane with your own hands . Windmills from paper or plastic bottles are manufactured in different ways. It does not take long, and the child will be really interested in participating in the process and playing.
Suspended screwdrivers from bottles
For work we will need:
- clean two-liter bottle;
- colored insulating tape;
- scissors;
- centimeter;
- stationery knife;
- ball with a swivel bearing (these are often used for fishing).
Now consider a simple step-by-step instruction.
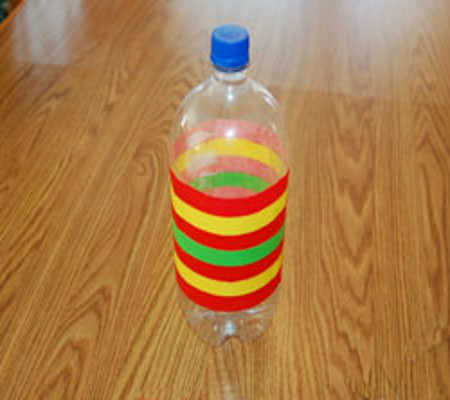
- The bottle is pre-rinsed thoroughly and all stickers are removed.
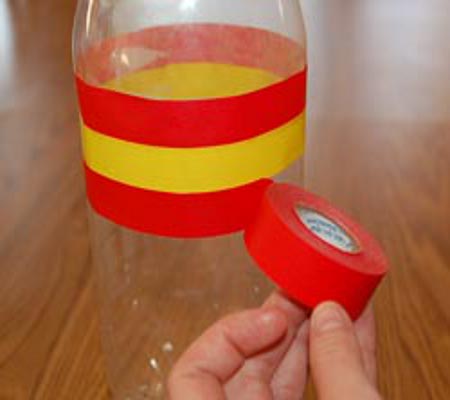
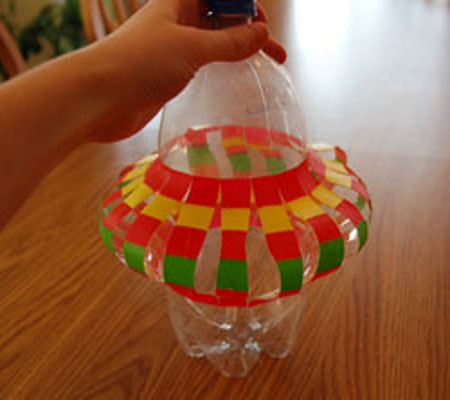
- Approximately in the middle of the color tape we glue the workpiece. With its help, you can hide the remnants of glue from the wrapper. The tape should only be applied to the straight part of the bottle.
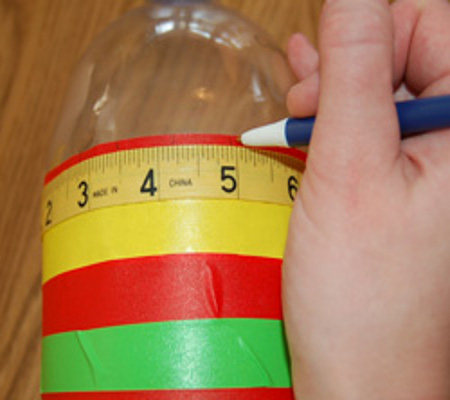
- Using a centimeter mark equal segments and draw vertical lines. The pieces are approximately one and a half centimeter wide.
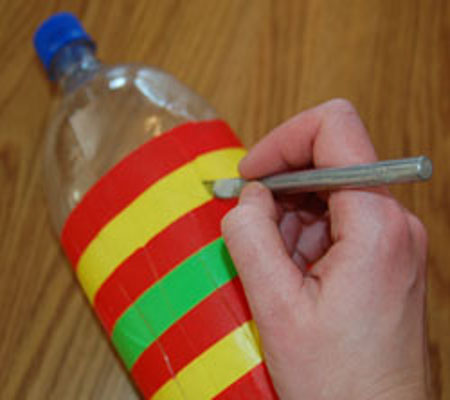
- Then, with a clerical knife, start gently from top to bottom. Try to make cuts exactly along the lines, otherwise in the end you will not get the expected result.
- The distance from the bottom should be at least 2 cm.
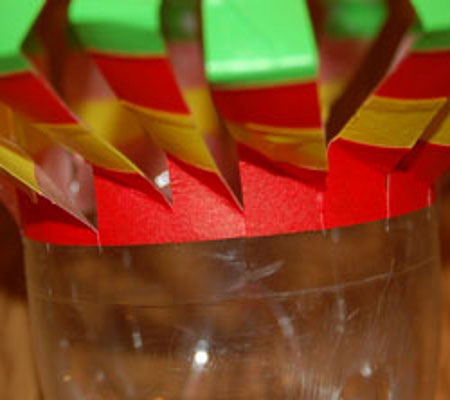
- Now a little pressing the workpiece for the turntable from plastic bottles. Gently squeeze the "rays".
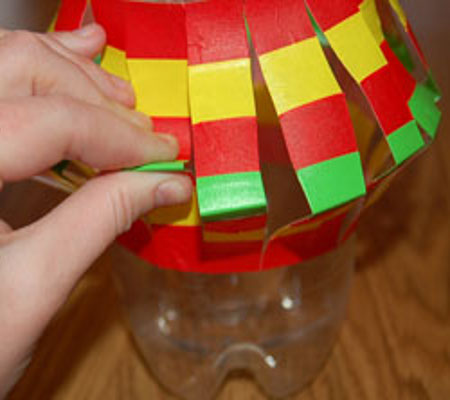
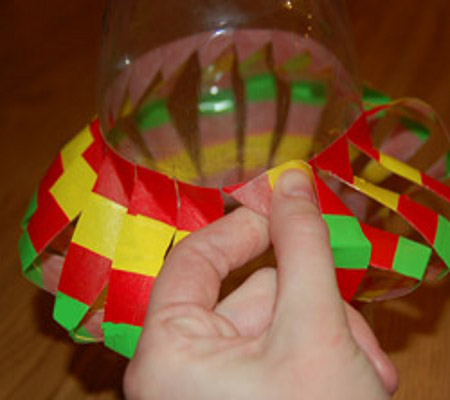
- Now these "rays" need to be given the right shape so that the wind can turn the turntable from the plastic bottle. To do this, each "ray" bend at an angle of 45 ° at the highest point.
- We do this in the lowest part, but in the other direction.
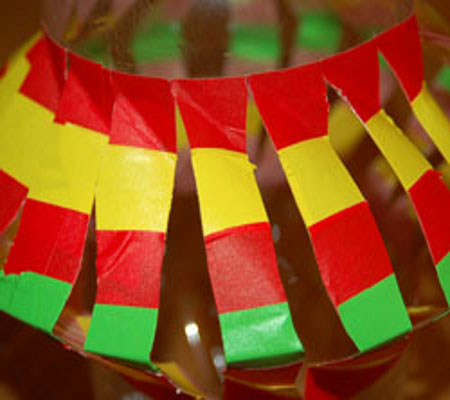
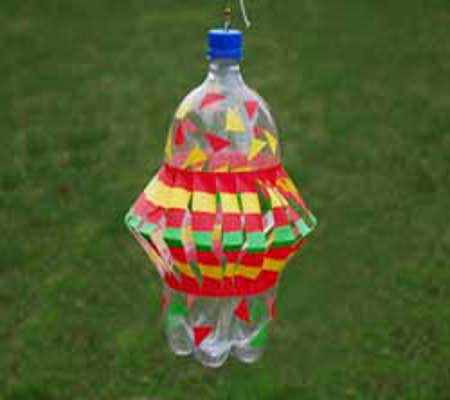
- Now it remains to decorate our windmills from plastic bottles with pieces of electrical tape.
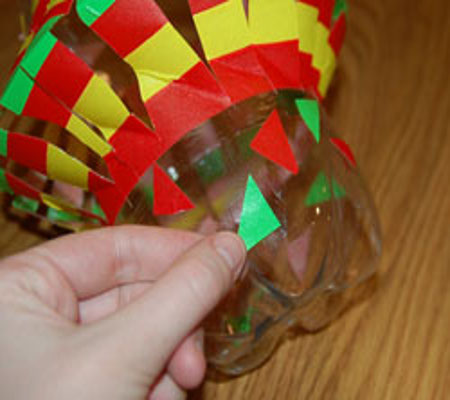
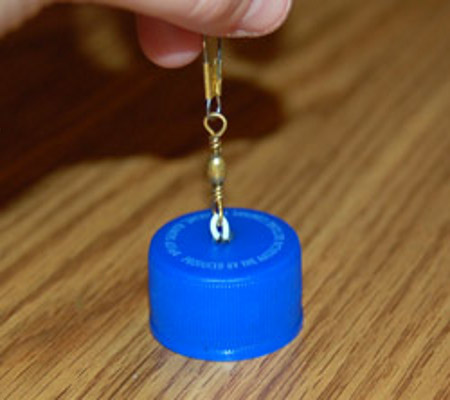
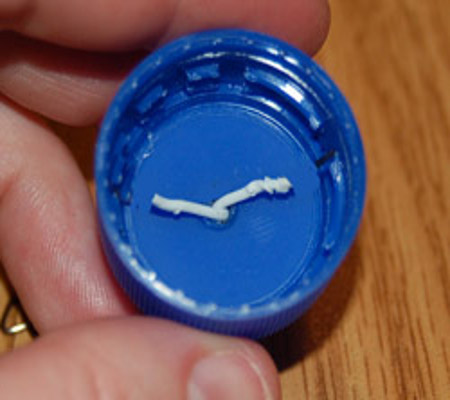
- In order to hang the turntable, in the lid we make a hole and insert the fastener there. We pass the loop from a piece of wire.
- The turntables are ready!
How quickly to make a turntable from a bottle?
A more traditional version on a fastener or a stick in the form of a screw is made even easier. To do this, you need:
- large transparent bottle;
- marker and clerical knife;
- paint.
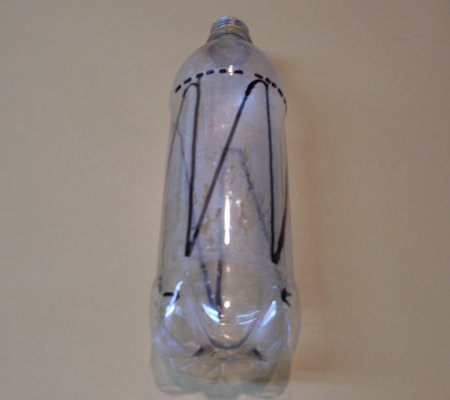
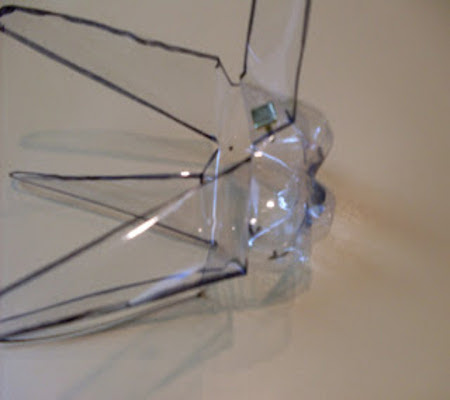
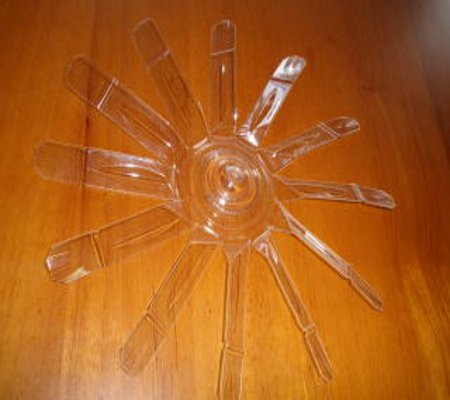
- In order to make a turntable from a plastic bottle, remove the sticker and divide it into five equal segments. We draw vertical lines. The upper part, where the flat surface begins to taper off, is cut off. In the photo, the border is indicated by a dotted line.
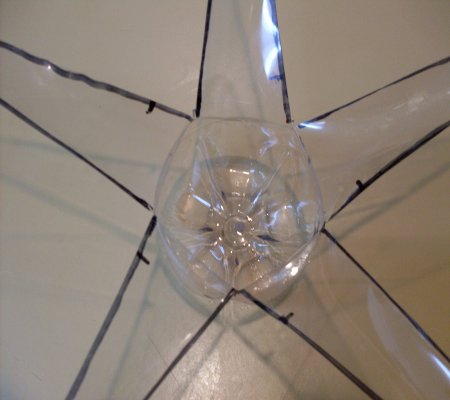
- Remove the upper part and cut the blades. On each part below make marks of the same length.
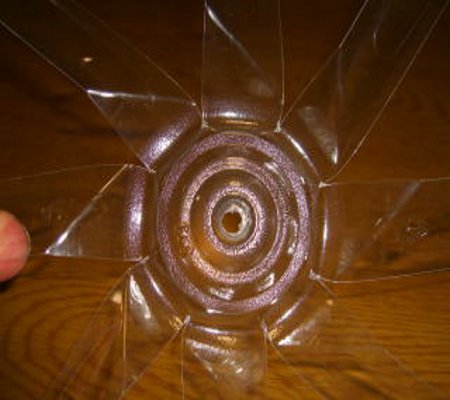
- Now we bend each blade along the line from the mark to the base.
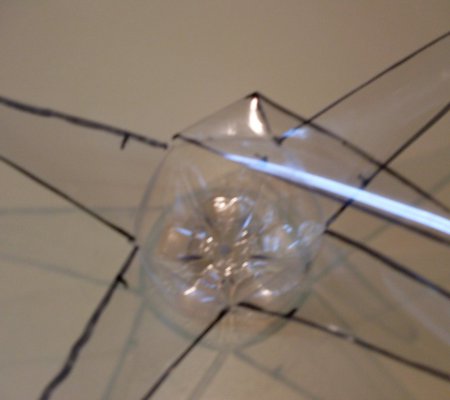
- We bend each blade in this way and punched the hole in order to fix its position in the future.
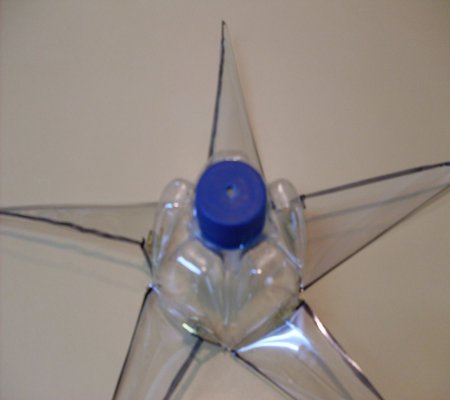
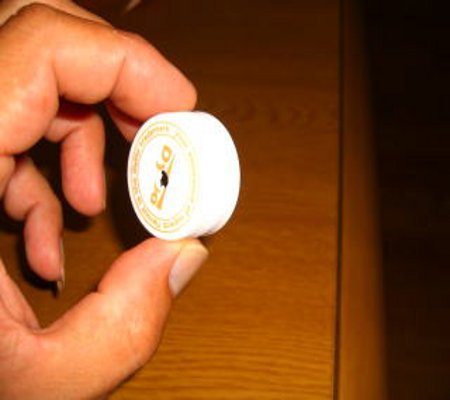
- Using a glue gun, attach the cap from the bottle to the center of the workpiece and select the hole to fix the turntable to the support.
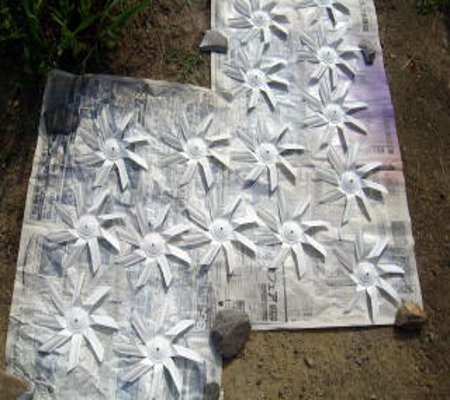
- We paint the workpiece and everything is ready.
Colorful turntable from a plastic bottle
A more complicated variant involves the use of several plastic bottles at once. Such mills are often installed on
- garden plots. For work it is necessary to prepare:
- two plastic bottles;
- four caps;
- three large beads;
- pliers, scissors, wire.
Consider a step-by-step master class, how you can make colorful turntables from plastic bottles.
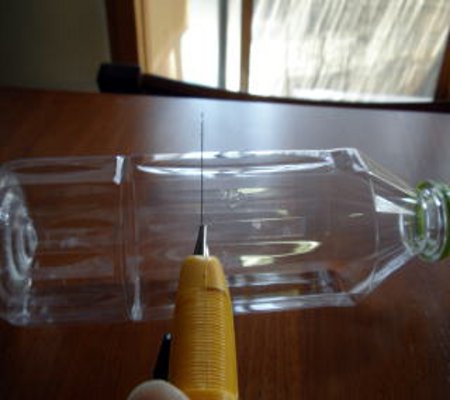
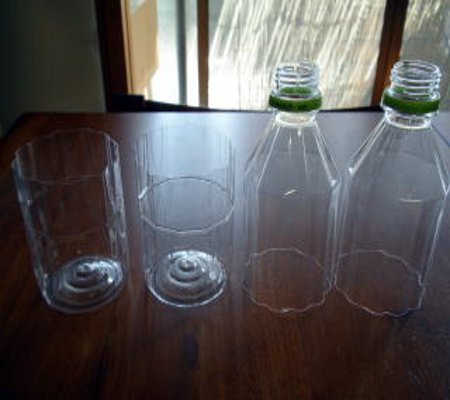
- Cut the bottle in half with a clerical or painting knife.
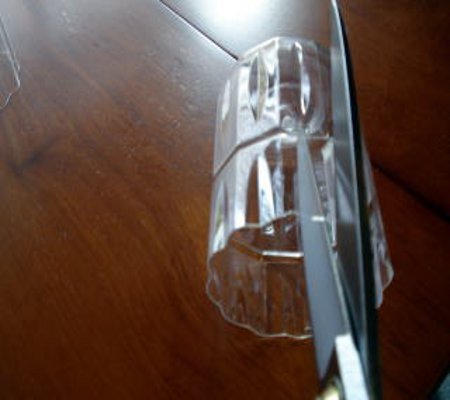
- Now we cut the blades of the windmill with scissors.
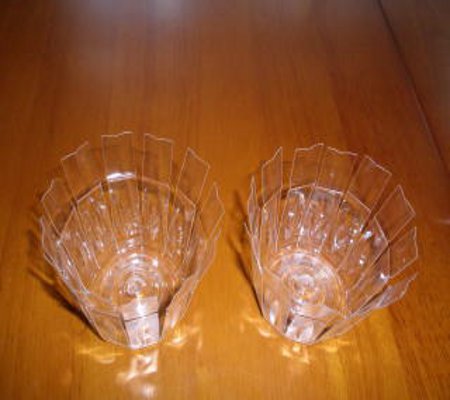
- We bend the blades at an angle of 45 ° in the middle of the length or at the base.
- This is what our procurement looks like at this stage.
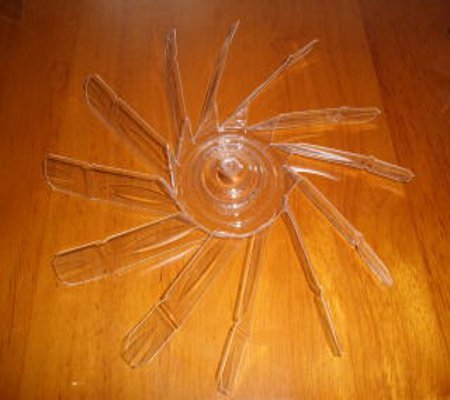
- Carefully smooth the blades.
- In the middle of the wings and the lid we make holes.
- We color the blanks using a can of paint.
- Adhesive gun fastens the lids to the bottom of the blades.
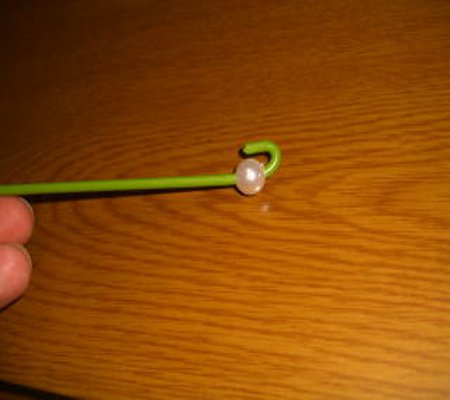
- We pass a wire into the bead.
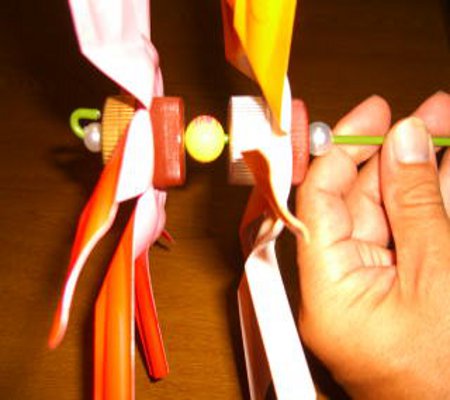
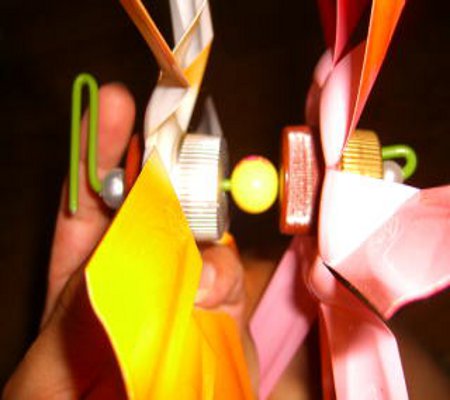
- We collect windmill: on the wire string one piece, then the second bead and one more workpiece.
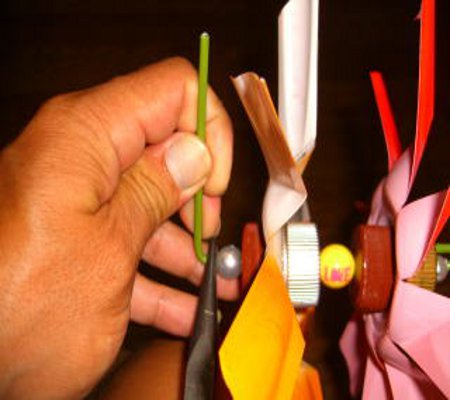
- Pliers bend the rest of the wire, thereby fixing the structure.
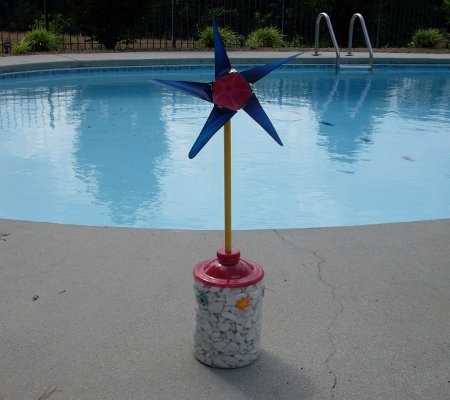
- The mill is ready!