To make out a multi-colored paper vase in the technique of quilling, as practice shows, it is not at all necessary to be a master. Making this craft requires perseverance and a few hours of free time. If both of these are available, then this master class for creating a volumetric vase in the quilling technique is for you!
Master Class
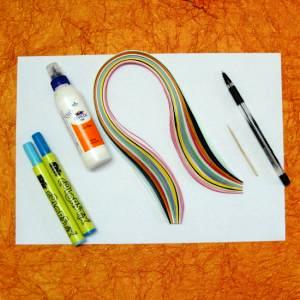
We will need:
- paper for quilling;
- glue;
- toothpick;
- plastic container;
- ruler.
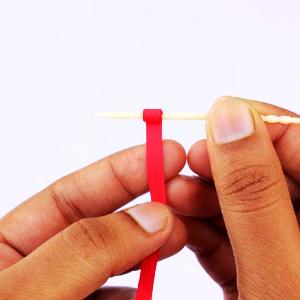
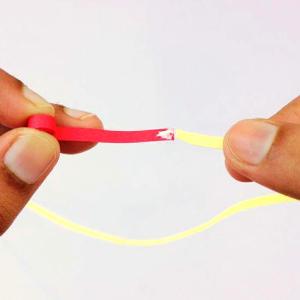
To make a volumetric vase, you need to prepare a few dozen round parts. To do this, tighten the strip of paper tightly on the toothpick, then lubricate its end with glue and lengthen the strip with a different color. Continue forming the part until it reaches the desired size. The dimensions of the parts should not be the same, and combine the colors of the strips to your liking.
| | |
| | |
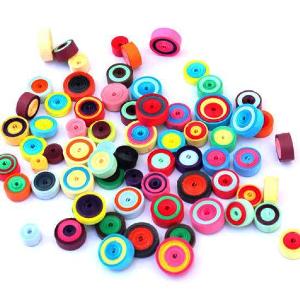
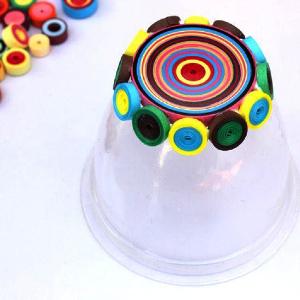
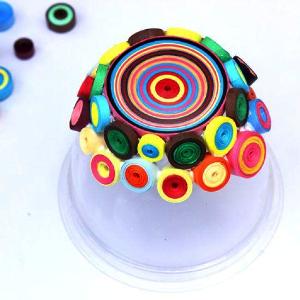
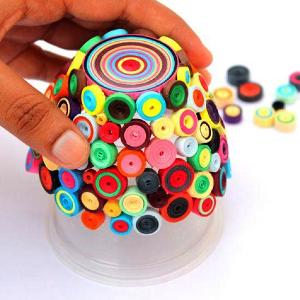
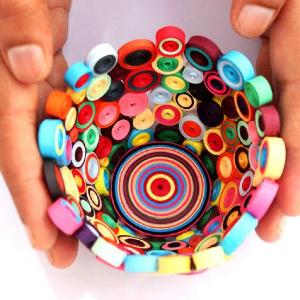
Choose a container, the shape of which you like. Turn it over, lay a large circle on the bottom, made on the same principle as the small parts. On the contour, grease it with glue and start gluing small circles, picking them up by color and size. It is not necessary to align the edges of the vase, in which case the asymmetry is appropriate. Try to locate the parts so that the gap between them is minimal. If desired, the edges of the vase can be decorated with figured details in the form of drops or petals made from the same quilling paper.
| | | |
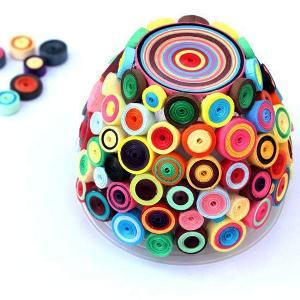
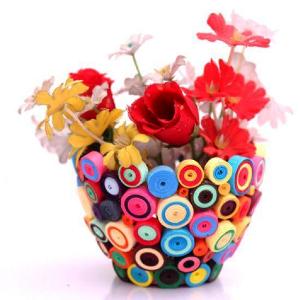
When the glue dries, carefully remove the craft from a plastic mold. This should be done very carefully, because it is likely to damage the vase. Now your vase, made by own hands in the quilling technique, is ready. Of course, it can not be called strong, but a bouquet of artificial flowers or dried flowers will easily survive. This unusual craftsmanship can be a worthy decoration of the interior.
| | | |