It is difficult to challenge the popularity of laminate . Qualitatively laid flooring pleases the eye and gives pleasure when walking. Due to the amazing similarity of the surface with natural materials and a huge assortment, it can be adapted anywhere in the dwelling. But if you do not know how to properly lay the laminate floor, most likely, you will be disappointed by the appearance of extraneous sounds.
How to put laminate in the room yourself?
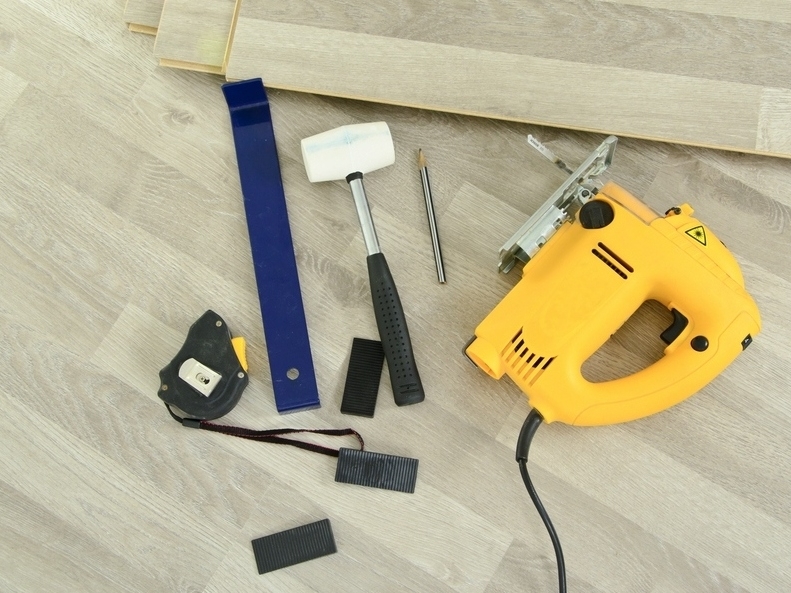
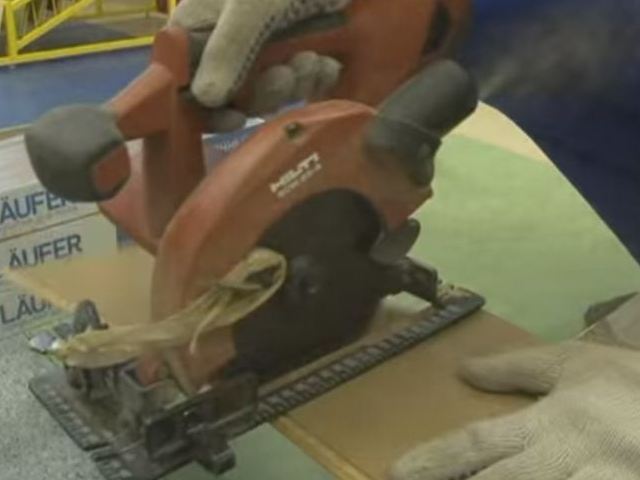
- We are engaged in the preparation of materials and tools, provided that the surface is perfectly flat. We buy a laminate and a substrate . We can not do without a bar, pencil, spacer wedges, roulette, jigsaw or saw. The substrate provides cushioning of the joints. It is permissible to use any material, its absence leads to unsatisfactory work quality.
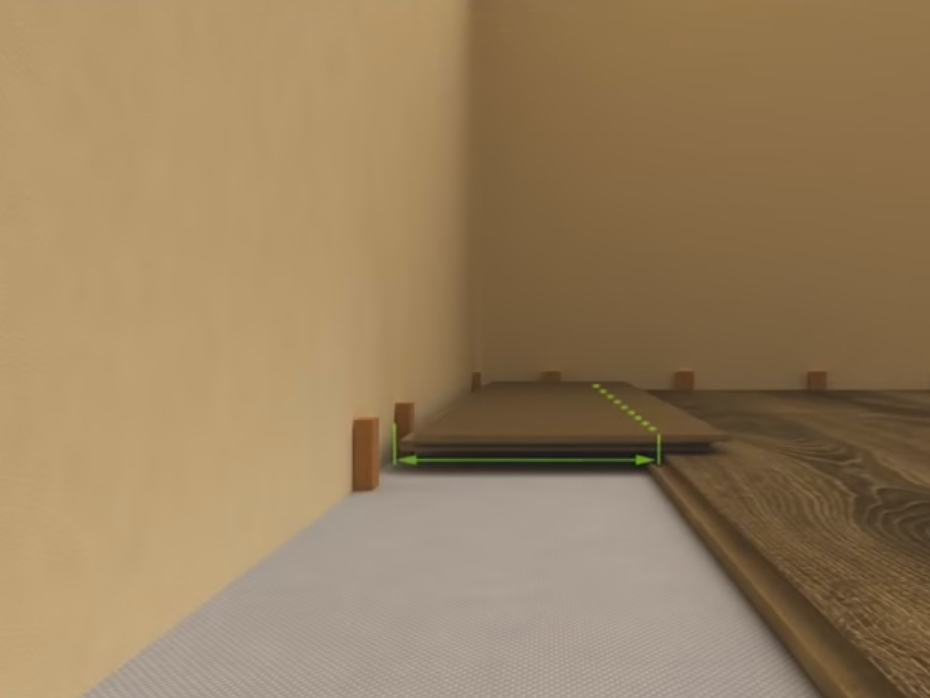
- We are engaged in measuring the width of the room and counting the stacked whole rows of laminate in the room. The gap between the wall and the board is 10 mm.
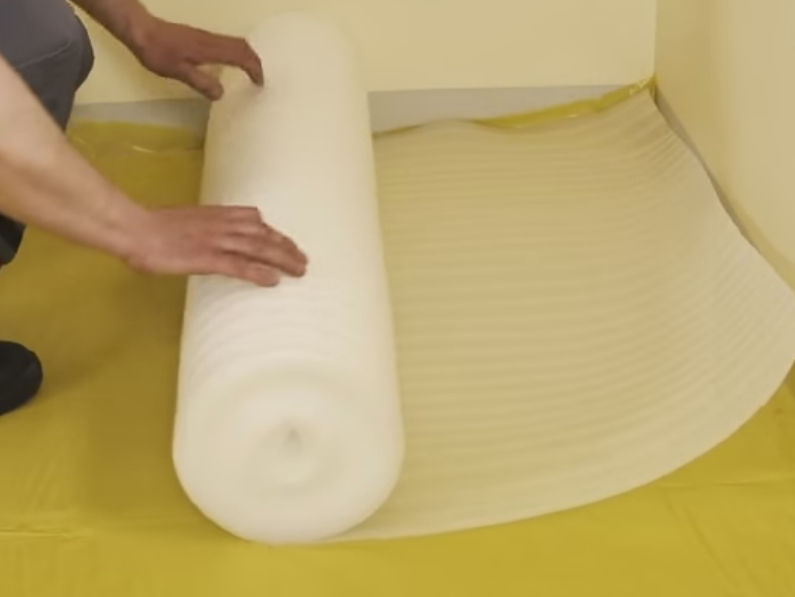
- On the waterproofing material, we lay the substrate, which we cut off near all the protrusions and obstacles.
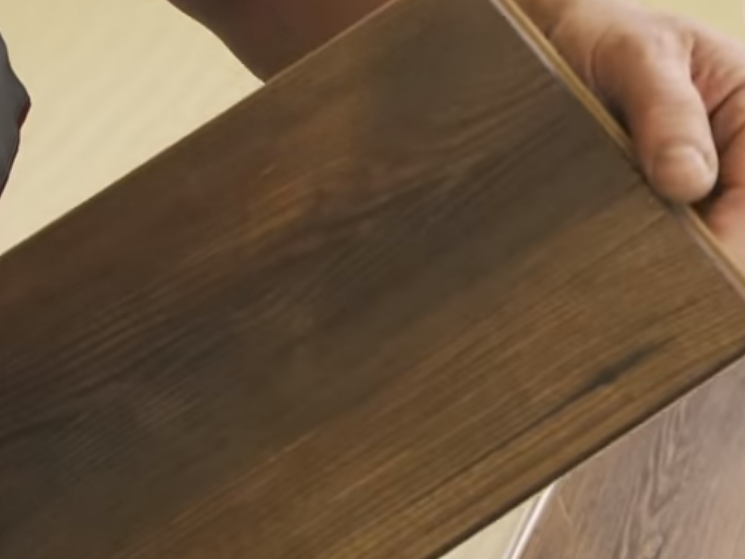
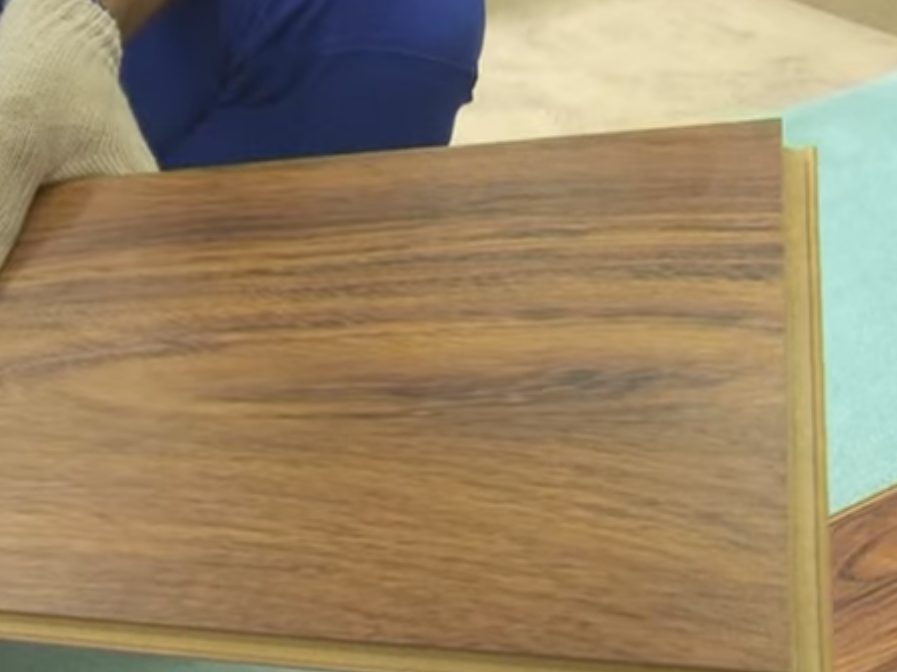
- We check the integrity of the laminate. It is important that the goods we bought were of high quality, eliminated deformations and cracks.
- We have to work with a quadrilateral lock, in which two long and two short parts are provided. To make it more convenient to assemble the structure, turn the products with the short side of the lock to the wall.
- Count the number of laminate boards, which can accommodate a single row. We cut the first product, reducing the width so that the last row is wide enough. This method will ensure the convenience of the connection in the lock.
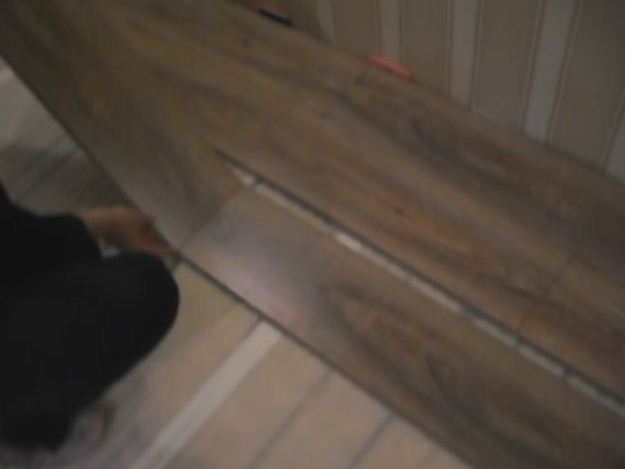
- We need to connect several boards in the places where the end locks are located. We try to get one board in the other, controlling the angle of 45 °, excluding the displacement of the products relative to each other.
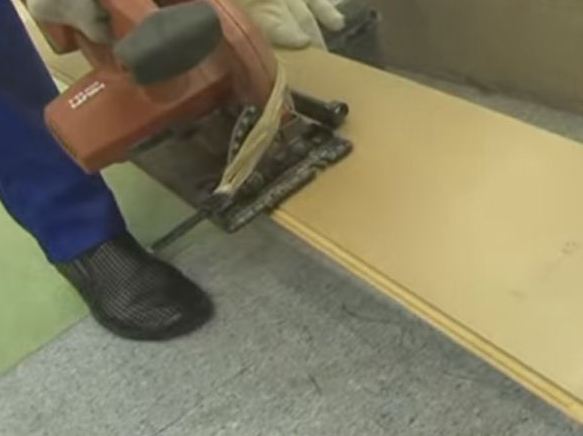
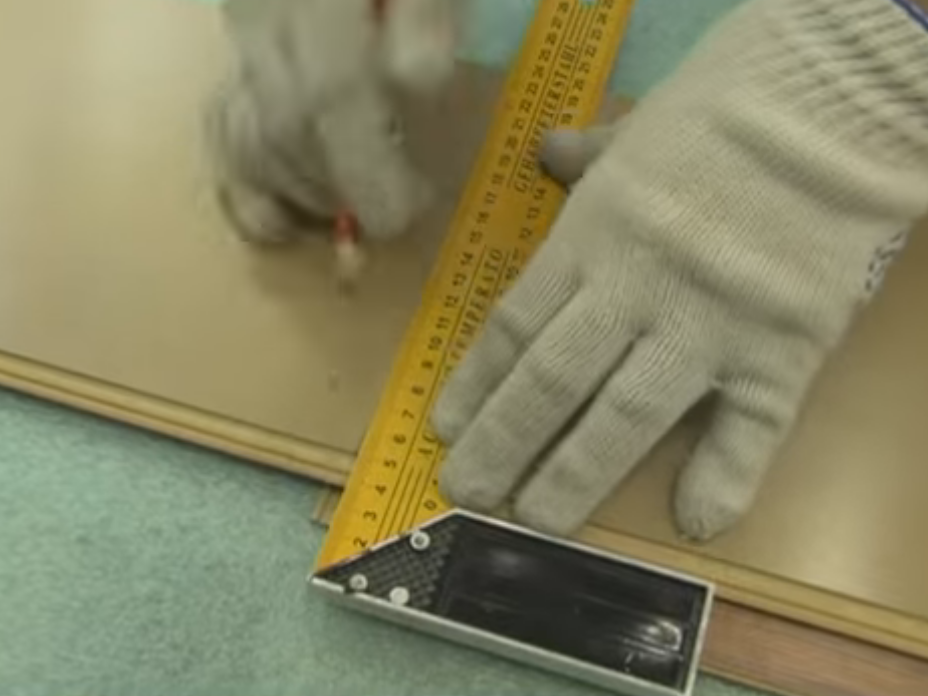
- Installation at the opposite wall begins with the measurement of the required length of the board. We turn the laminate board, we start the work at the wall, with the observance of the necessary distance, draw a line with a pencil using a square on which we cut off excess material.
- The right part is inserted in a row, it ends it. We begin the rest with a new series.
- In places where there is a ledge, on the board with a pencil we make a mark, taking into account the reserve for expansion and cut off an unnecessary part of the laminate.
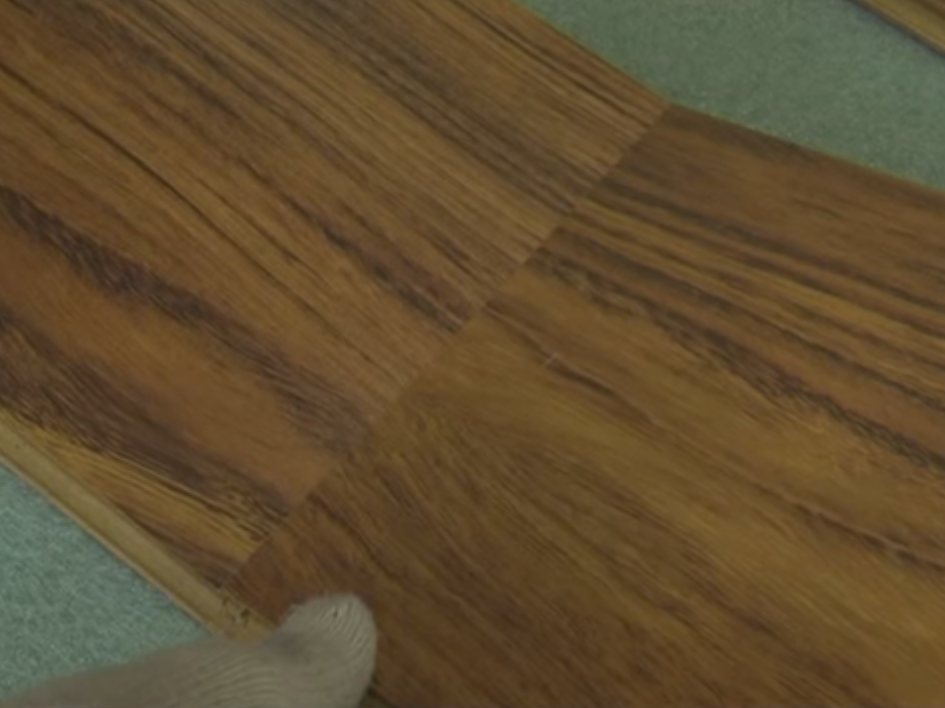
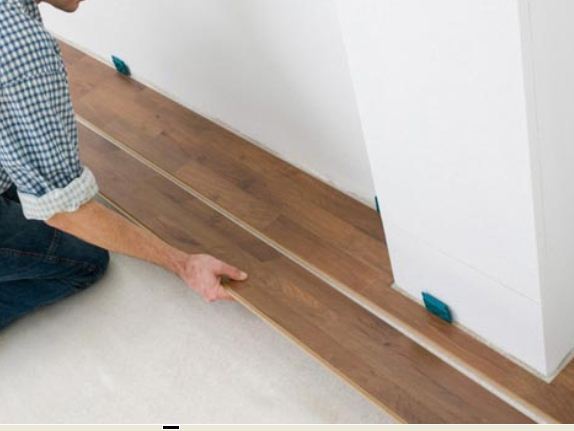
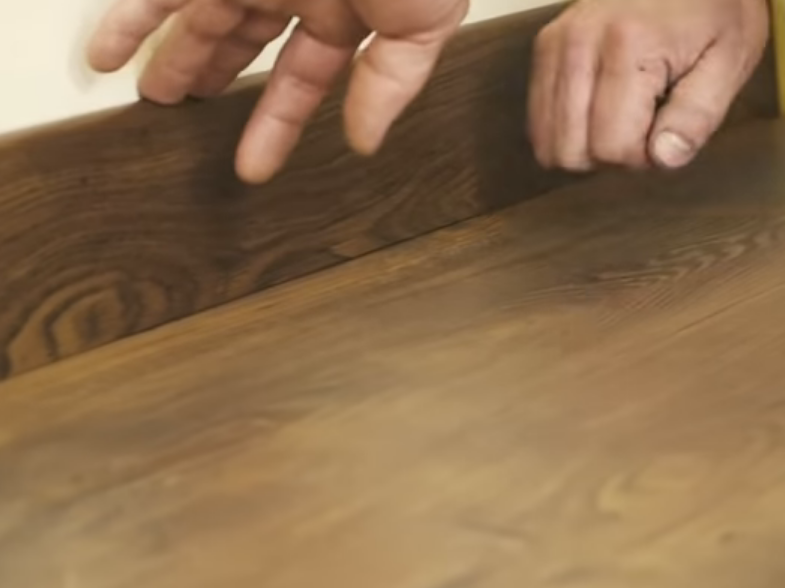
- Completely assembling the first row, we begin assembling the second row. Having collected it, we start the whole second row in the first row. To do this, raise it and join the rows of the laminate at an angle. Similarly, we arrive at the assembly of the remaining rows.
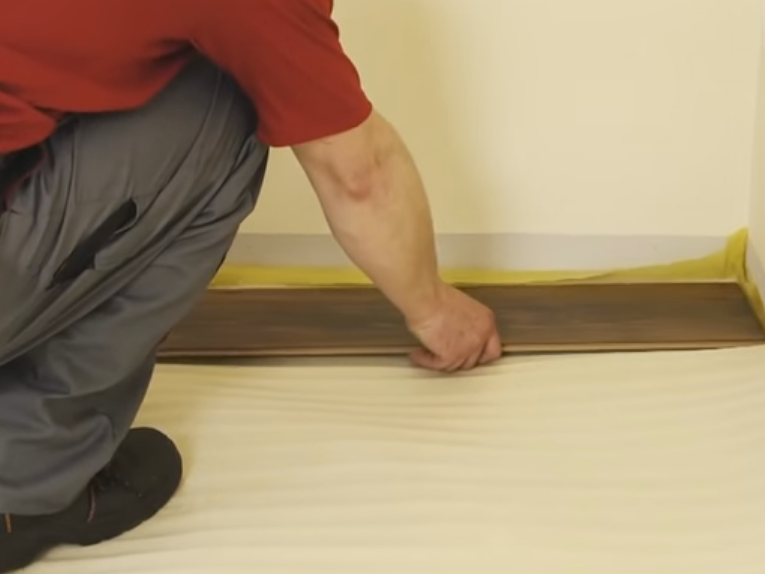
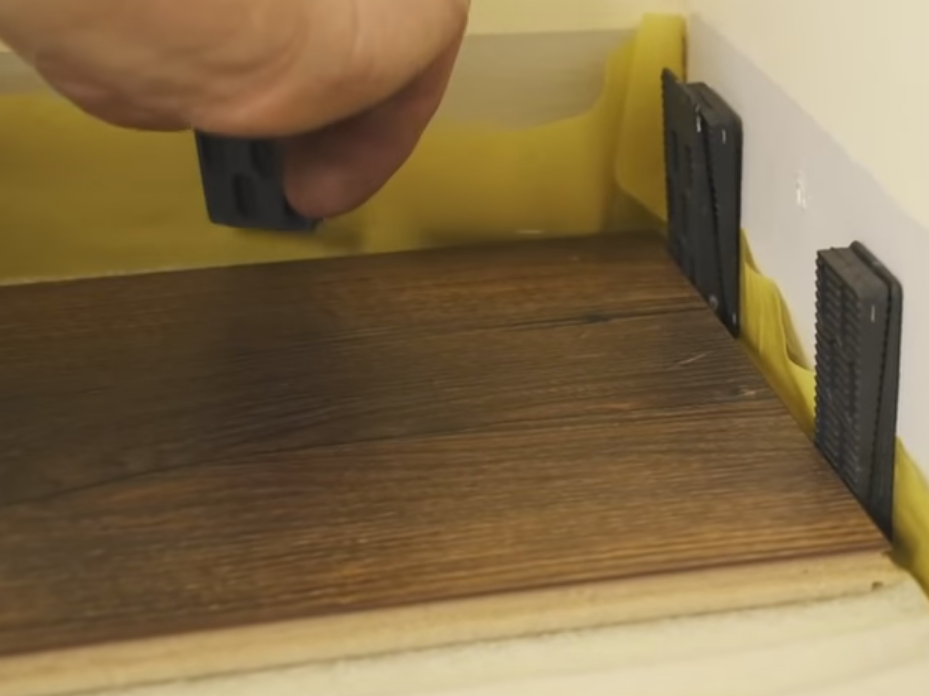
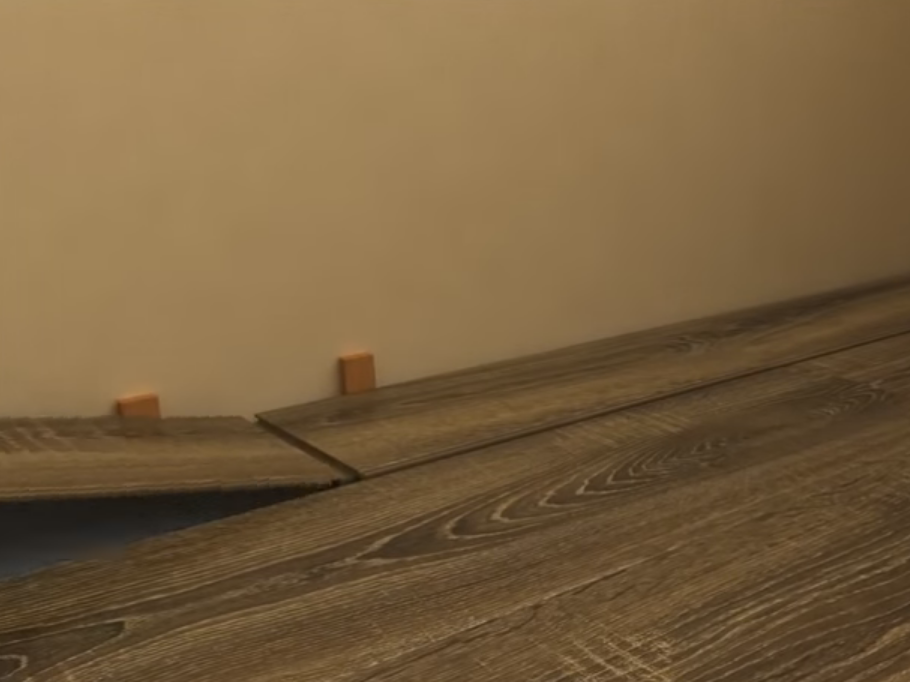
- The first row and the wall are separated by spacer wedges. This is the distance needed to extend the board. In addition, it prevents the products from moving to the wall.
- To understand how to lay a laminate better, many compare the installation with brickwork. The places of the end lock connections of adjacent rows should be displaced relative to each other not less than 30 cm, otherwise the fixing of the boards will be weak.
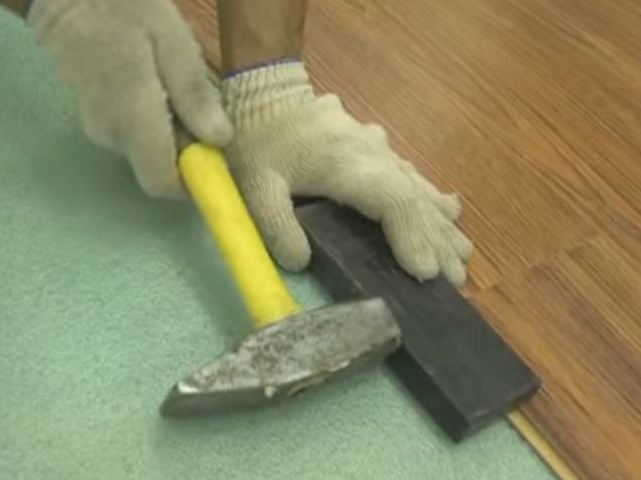
- To locks sat tightly and the assembly was qualitative, we use a tapping. For this we use a punch with a hammer.
- Begin the installation of the last row starting with the measurement of the width of the laminate board. The short side of her castle must enter the long one. Laminate turn to make a mark on it, on which we will cut off, a little back from the wall.
- We stack the last row.
- We take out the spacer wedges.
- Close the gap, using the plinth.
Laying of the laminate, in which a lock is provided, is somewhat different in assembly. The laminate joins one board, which makes the work much faster.