Attractive appearance, practicality, long service life, ease of installation - all this applies to laminate flooring - a universal floor covering.
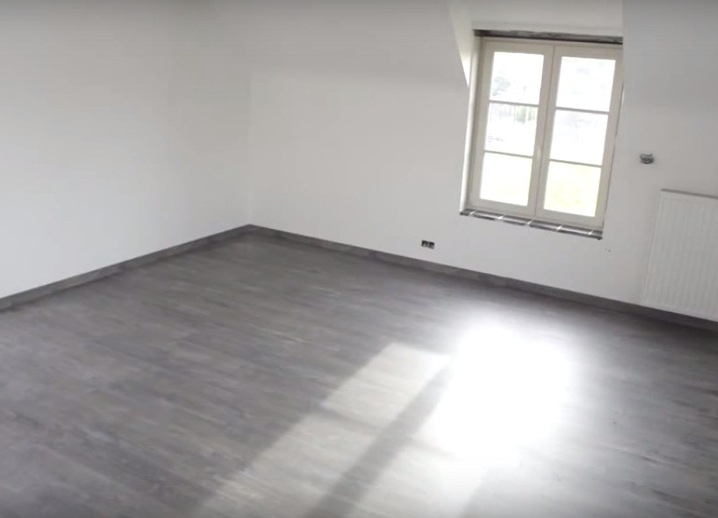
With regard to the window opening, the laminate is placed in different ways. Joints will be unobtrusive when perpendicular to the wall with a window. Thus, the seams coincide with the direction of the sun's rays. With a parallel arrangement, the seams will be more noticeable. Diagonal layout looks interesting, but there are a lot of cutting, accordingly there will be more leftovers.
How to properly lay laminate with your own hands: preparatory work
The algorithm is extremely simple, sticking to it, you easily put the laminate in the right room.
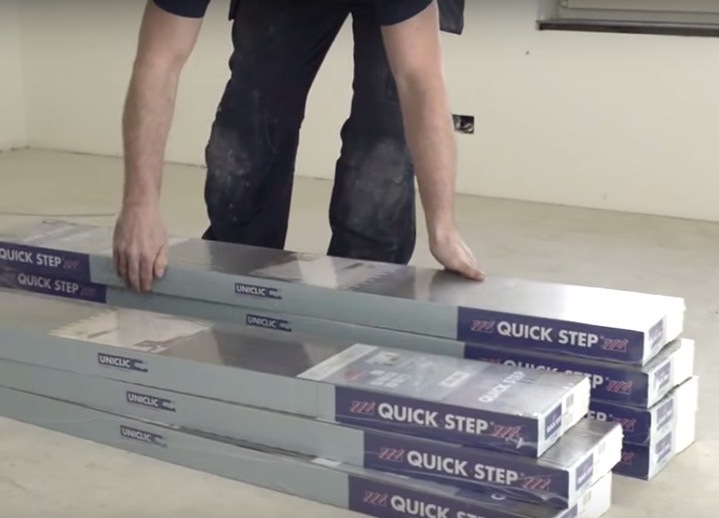
- First of all, before starting work, the material should stay in this room for at least 2 days. This time will allow the product to adapt to the temperature and humidity conditions.
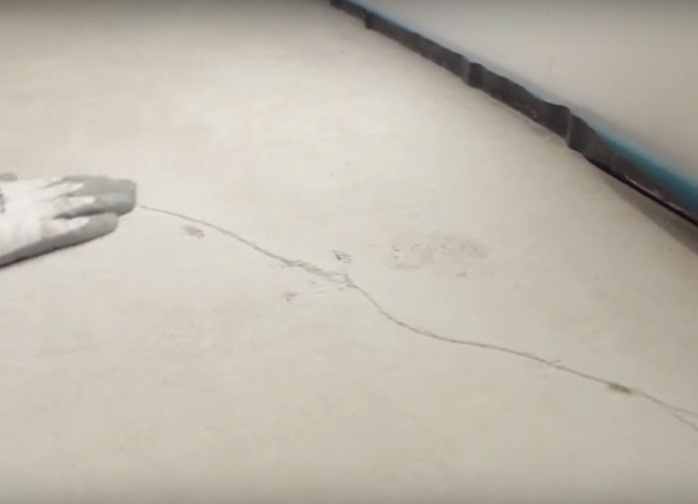
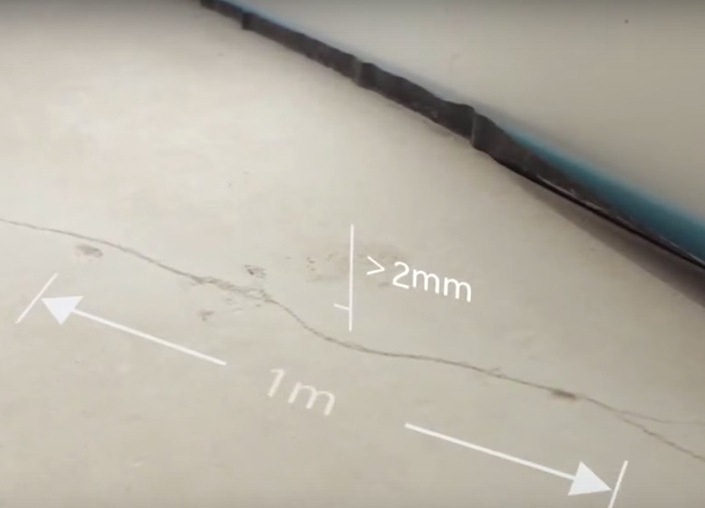
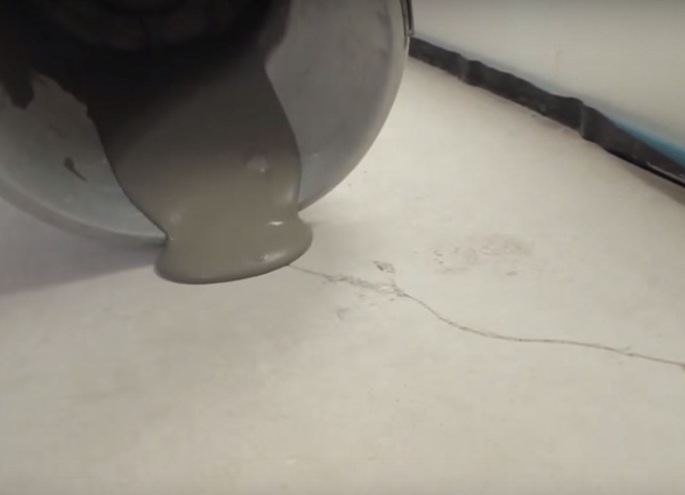
- During this time, you can prepare the existing flooring. Check for cracks. In our case, we see a crack greater than 2 mm longer than a meter, we see the area even more deformed.
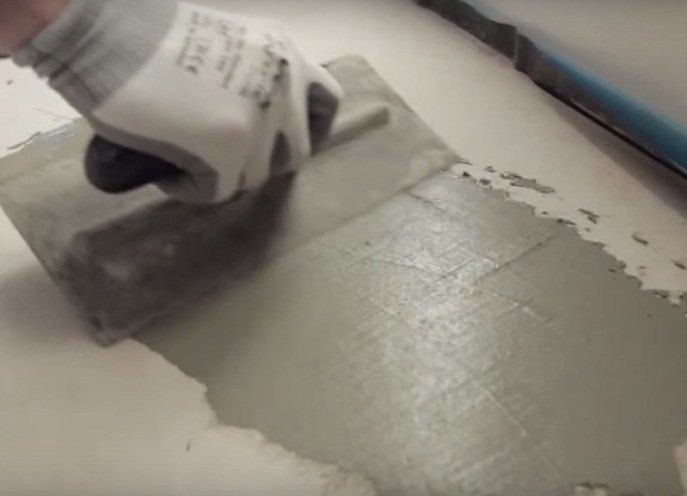
- It is necessary to seal the crack with a solution.
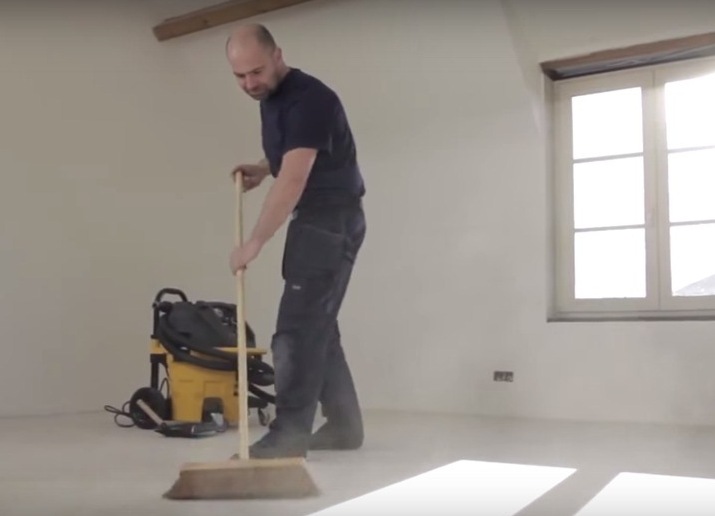
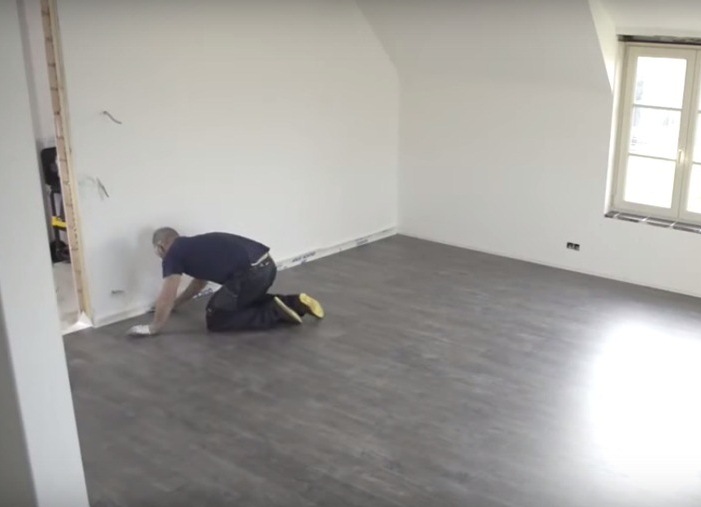
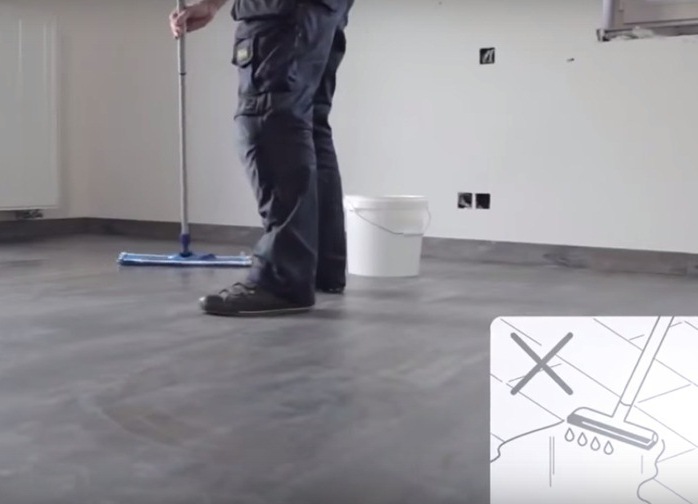
- The floor should be not only even, but clean: sweep or vacuum the surface.
How to lay the laminate on your own with linoleum? It's very simple, it does not need to be ripped off, so the instruction will be the same for this case.
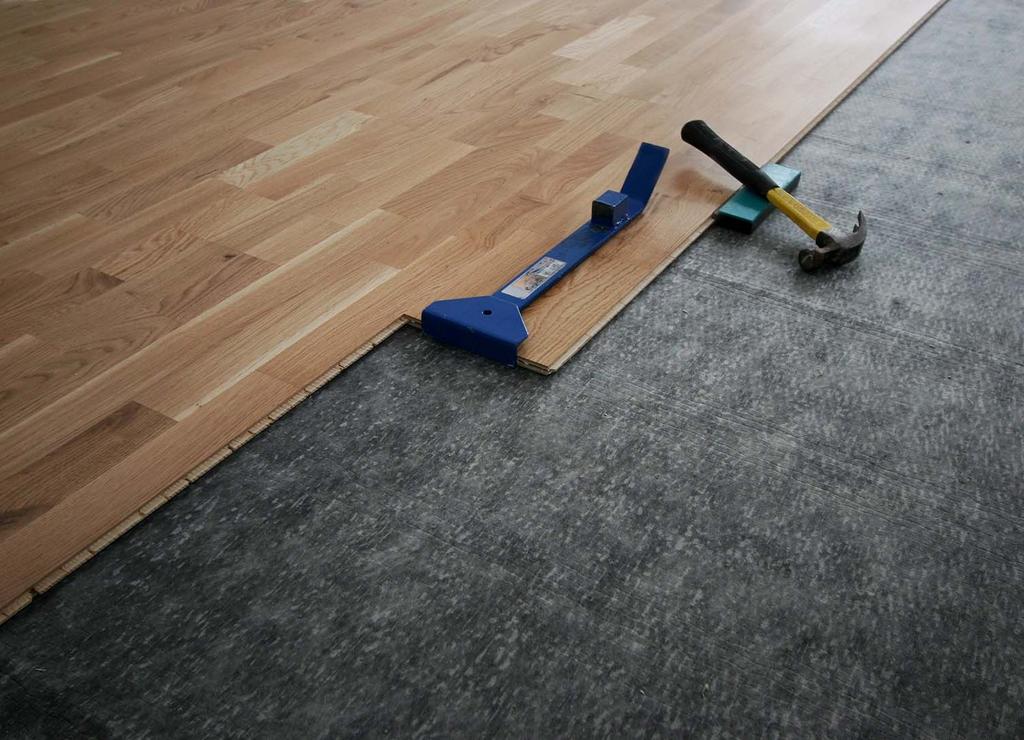
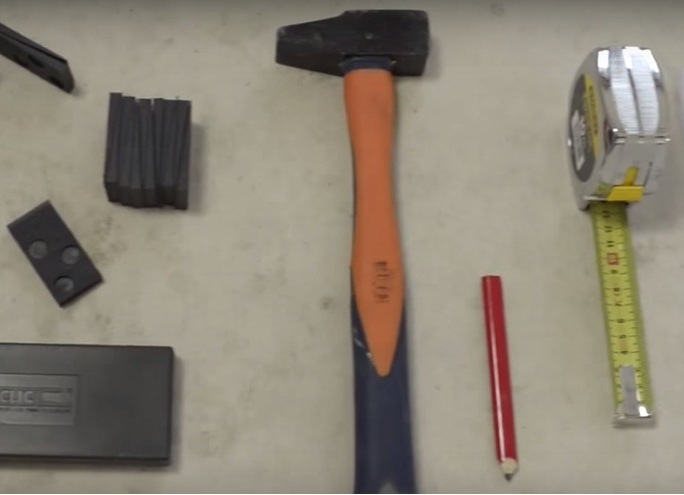
- Here are the main auxiliary tools for installing floor covering: wedges, hammer, tape measure, molds for laminating the laminate, you need an electric jigsaw for cutting.
How to lay a laminate with your own hands: detailed instructions
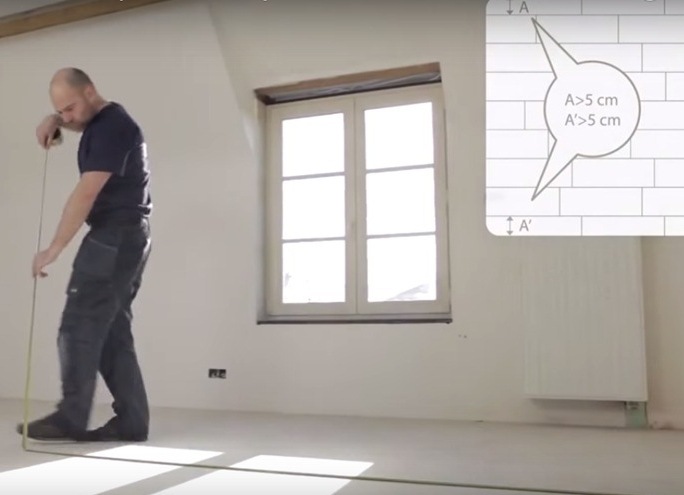
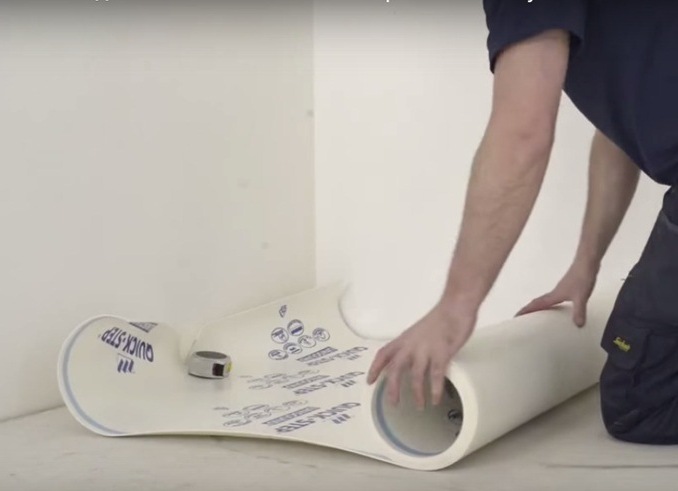
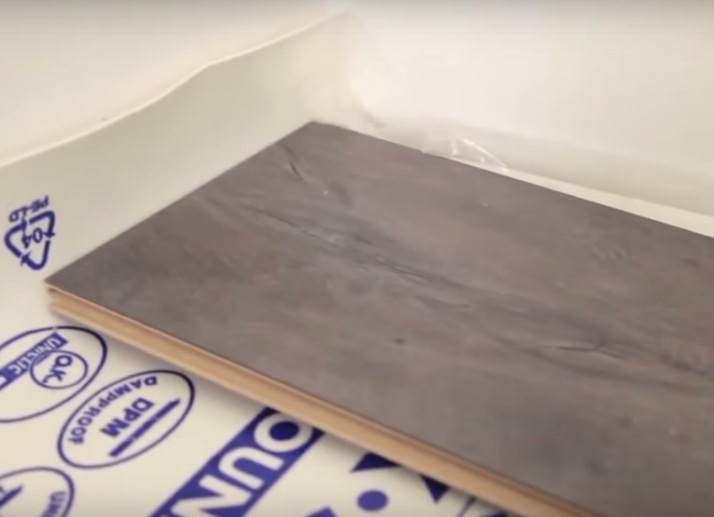
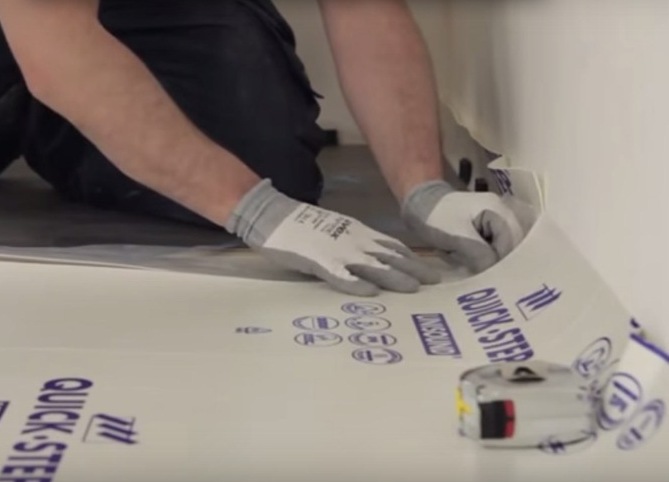
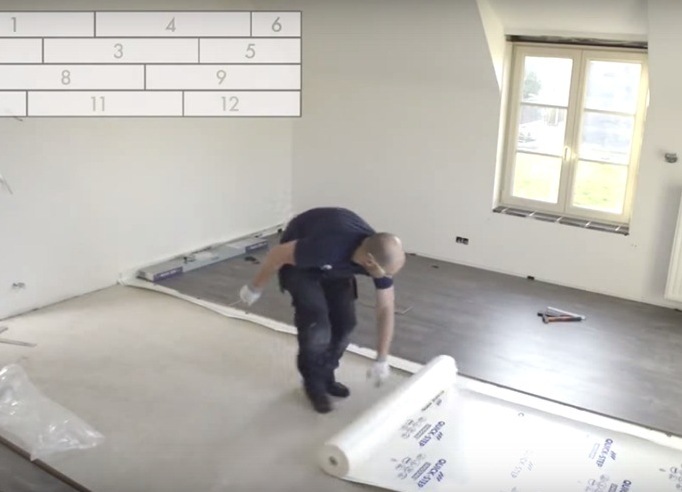
- Now make the measurements. Remember that the strip near the wall should not be less than 50 mm. Spread the substrate with the approach to the wall.
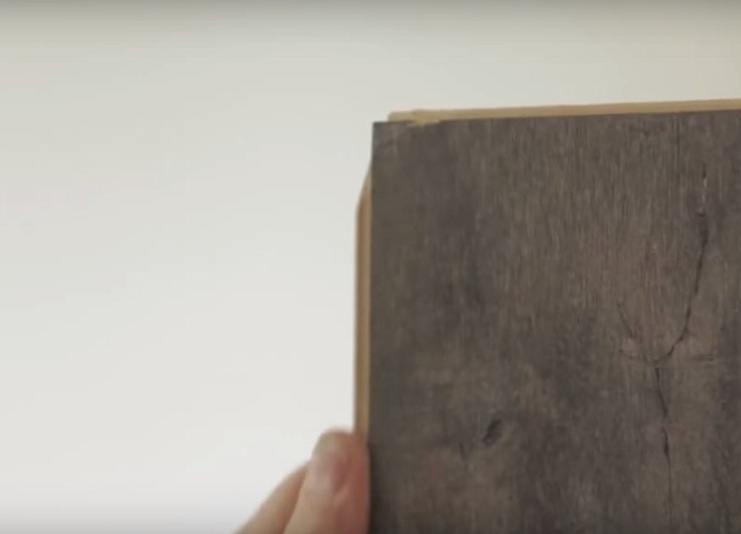
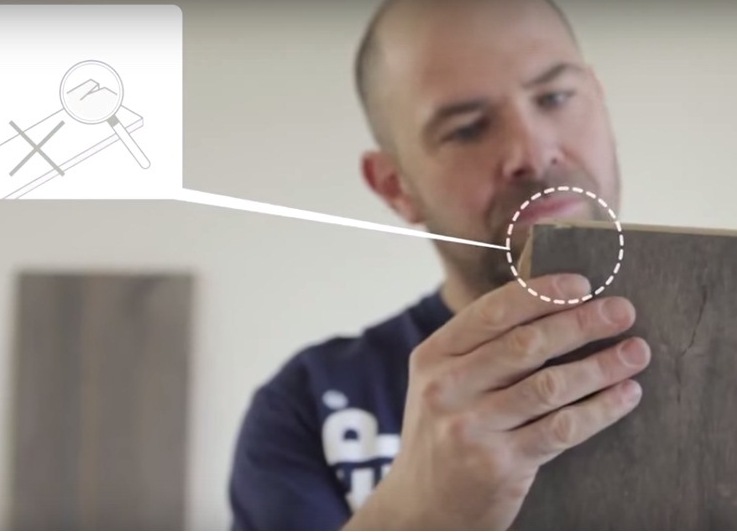
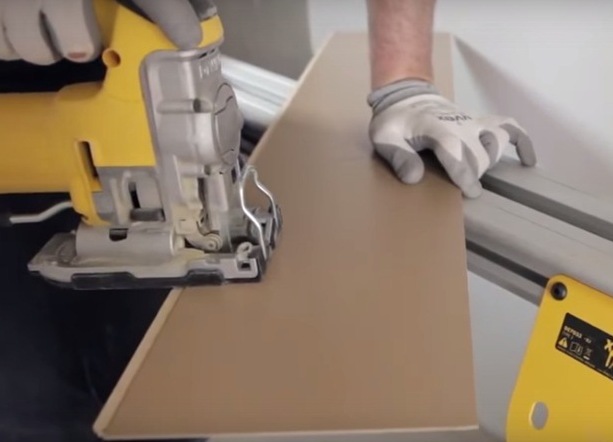
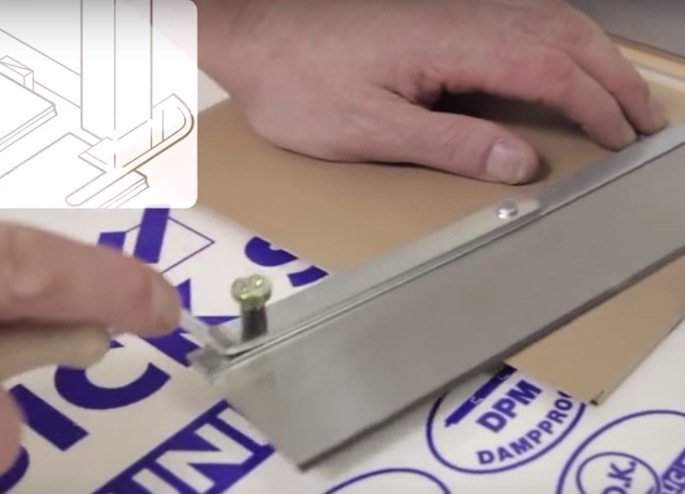
- Check the plates for defects. Grooves on the side adjacent to the wall should be cut off.
| | | |
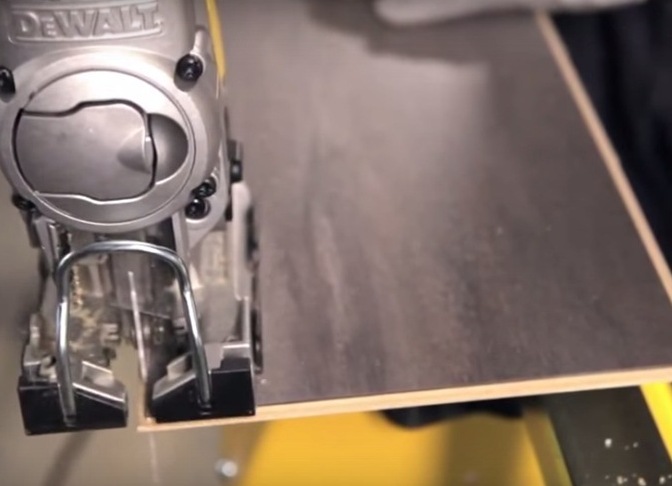
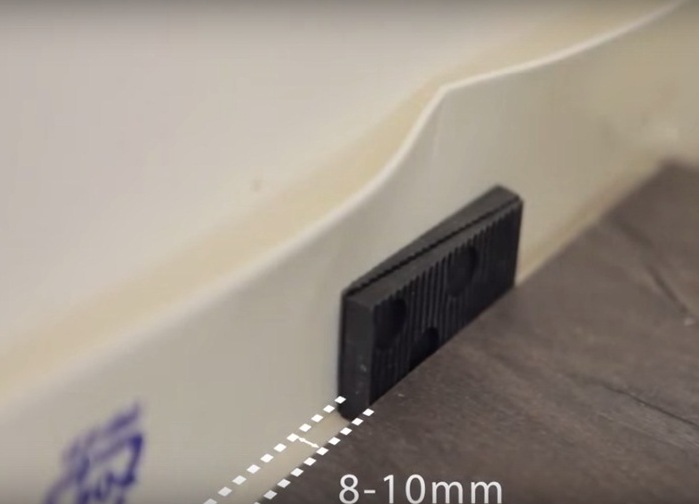
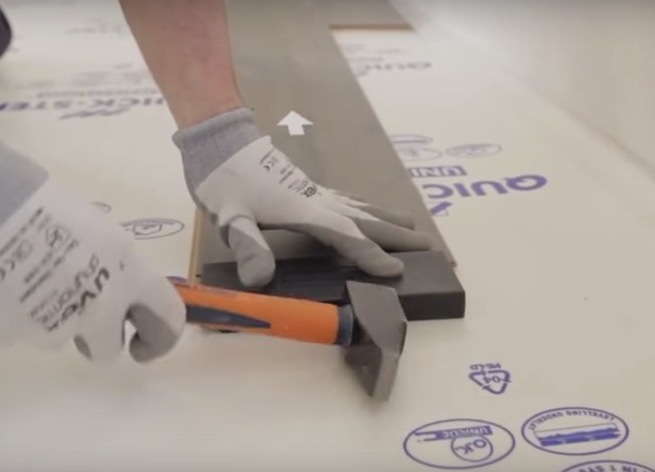
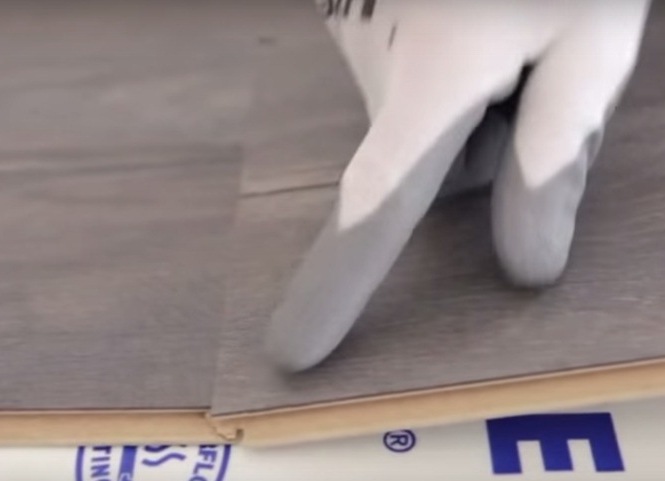
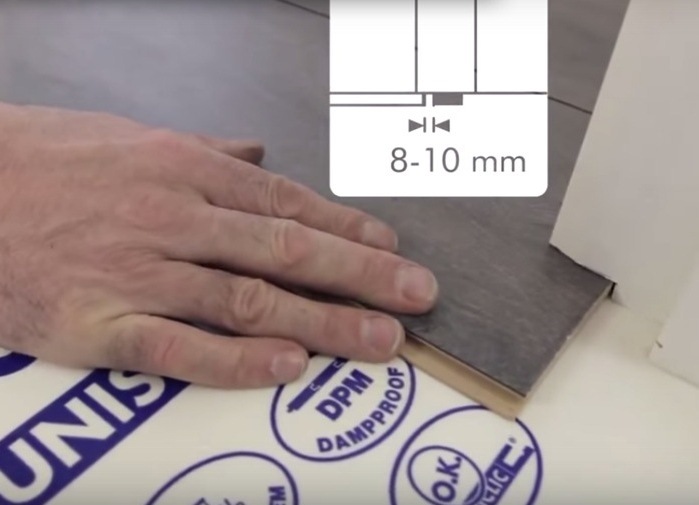
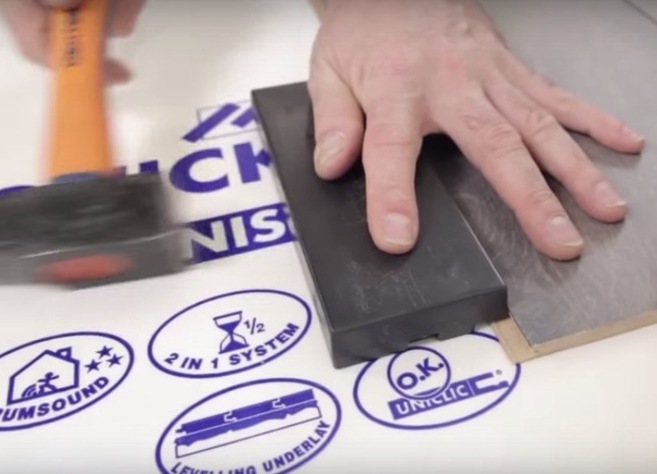
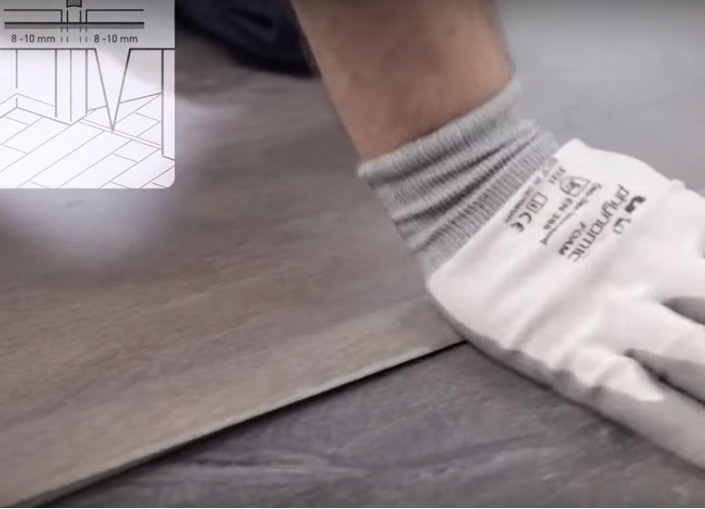
- A mandatory attribute when laying are the wedges. The laminate is quickly mounted, as the joints are represented by special locks. Insert the panel at an angle to the adjacent one and carefully align. It is important to correctly calculate the length of the elements. Trimming is done with an electric jigsaw. For 100% "adhesion" laminate is hammered with a hammer and a special nozzle.
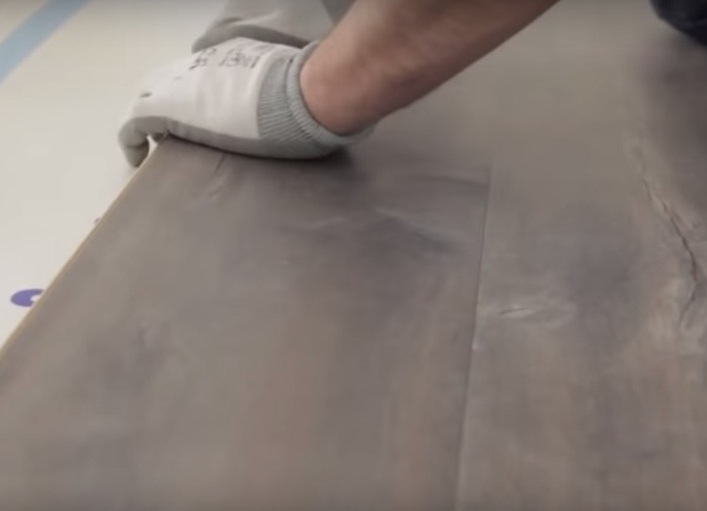
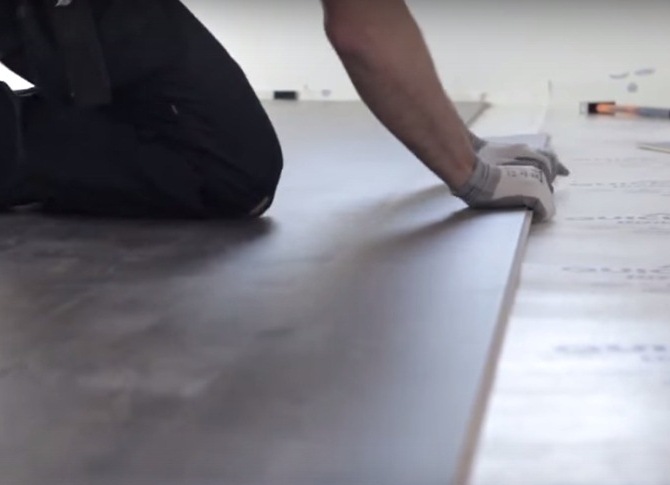
- When you need to fix the panels on both sides, first connect the end pieces at an angle and align, then the same on the longitudinal side. Also padding is required.
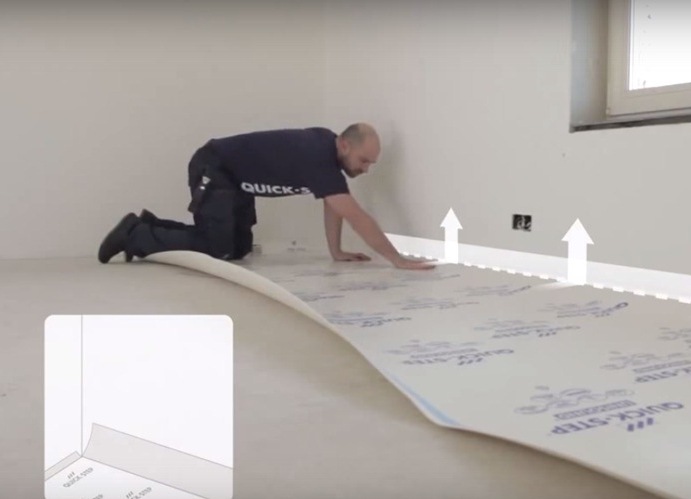
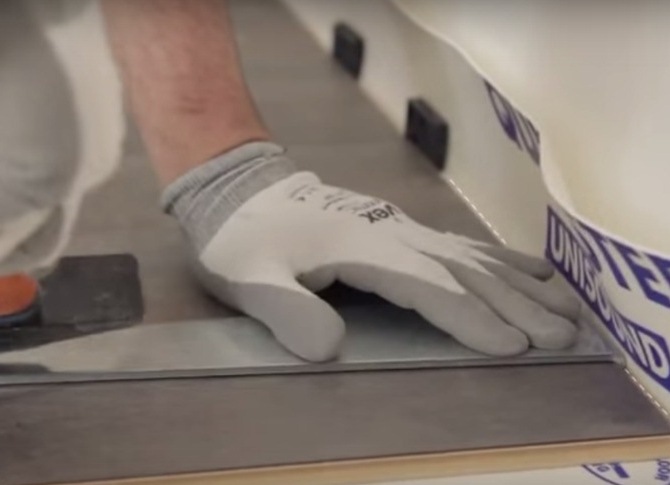
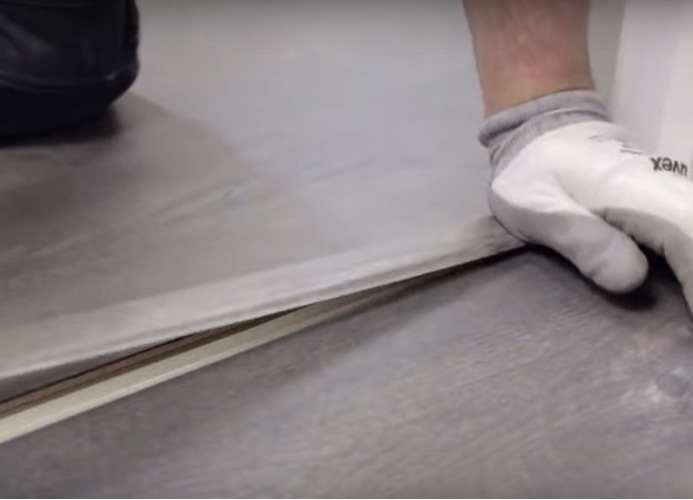
- The substrate should be along the entire squaring of the laminate flooring. To be attached to each other will be a special adhesive tape.
- By the same principle we continue the clutch. Above, the picture shows the possible sequence of laying the laminate.
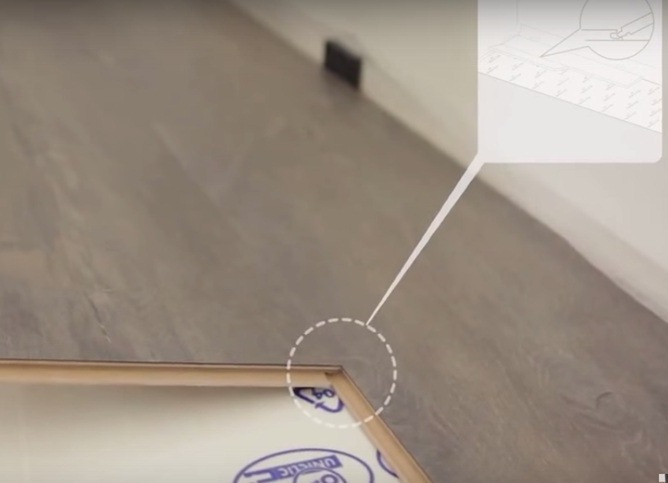
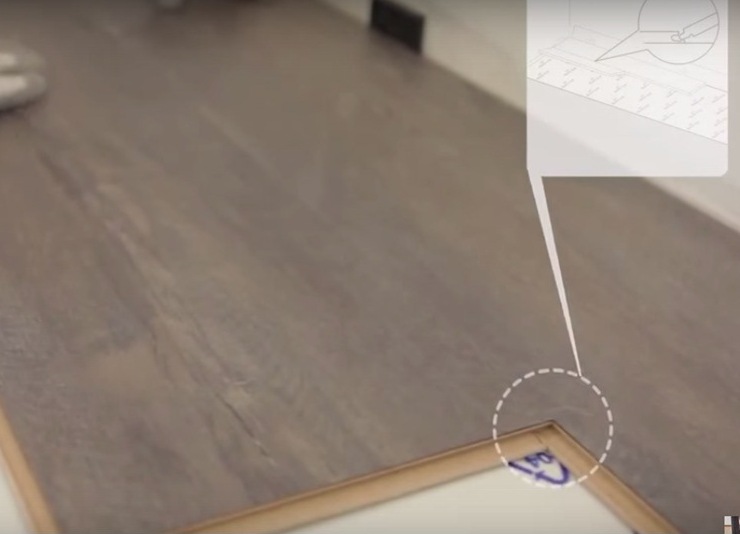
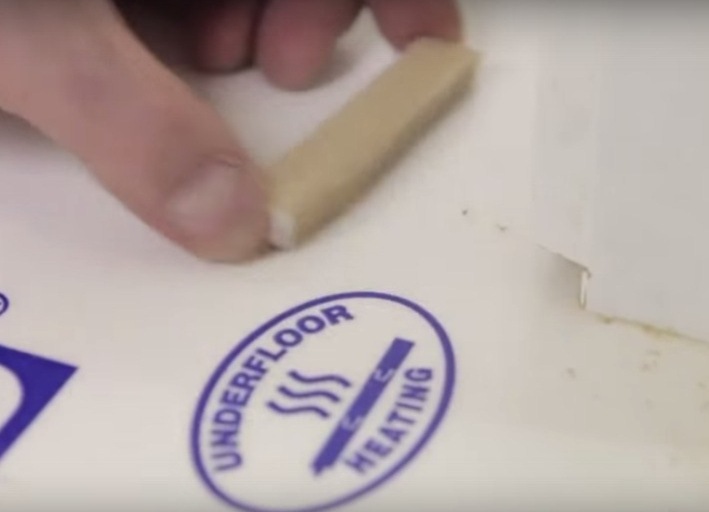
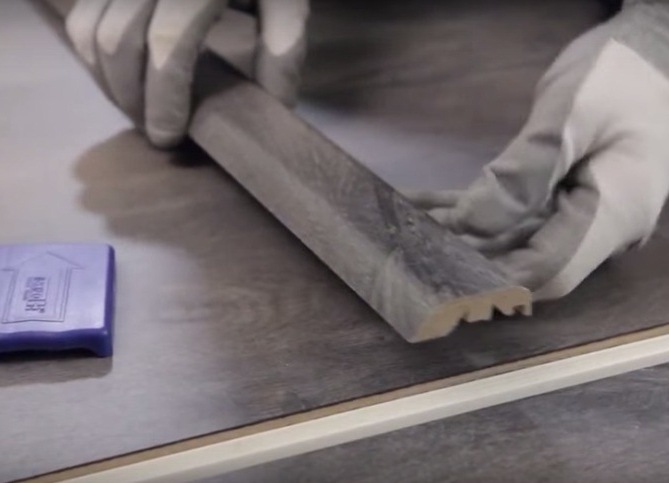
- When it comes to openings, it is very important to aesthetically decorate the joint. To do this, you need to trim the base near the opening. Then there with a gap of up to 1 cm will enter the panel. It must be beaten up.
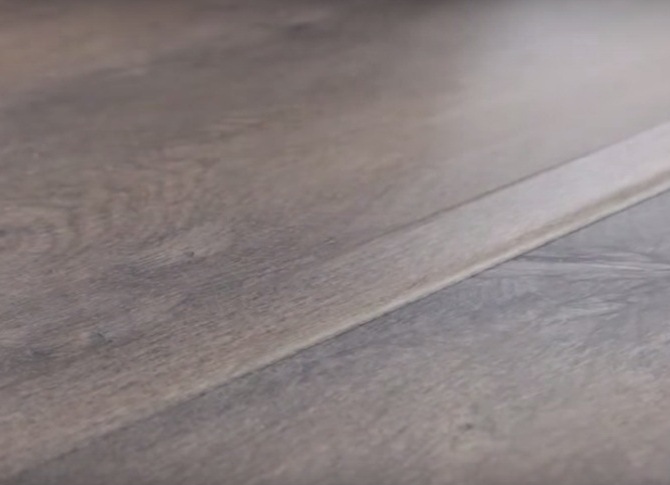
- We continue our work. Pay special attention to the sleds. In fact, they need to be sized and pressed.
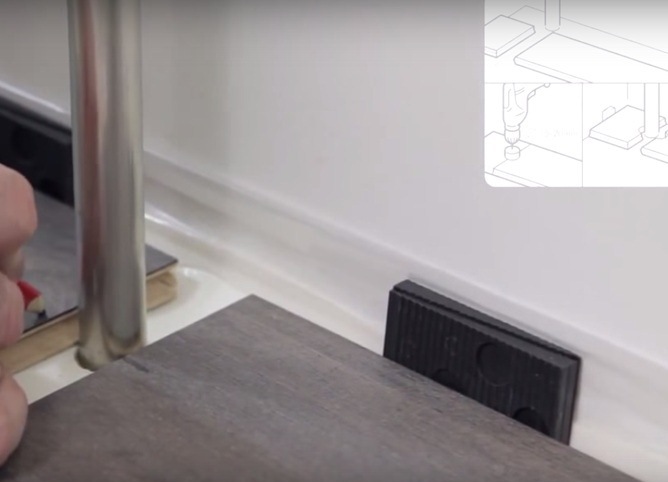
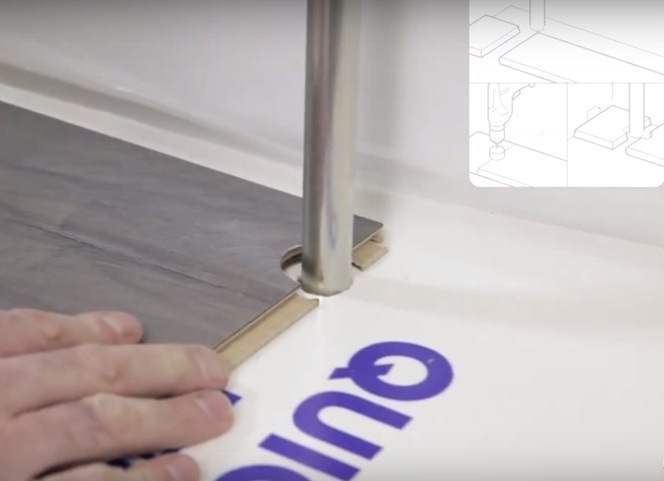
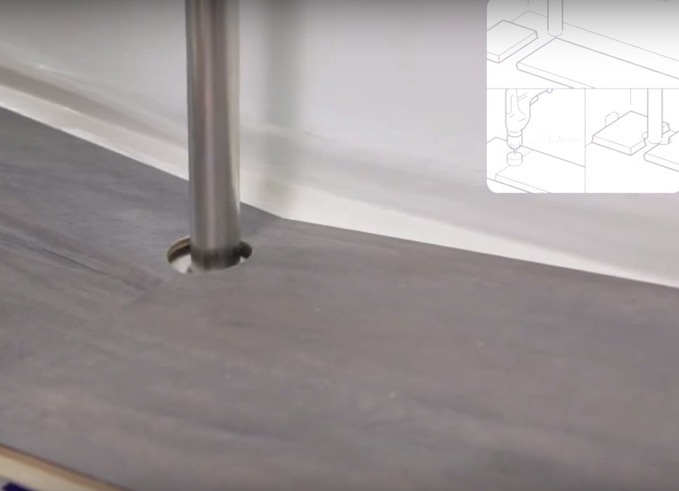
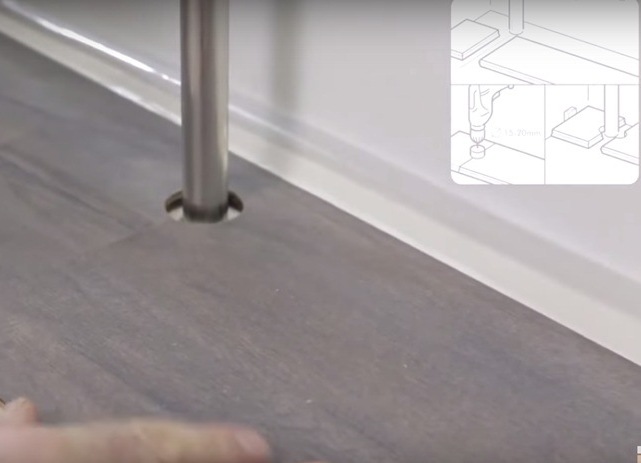
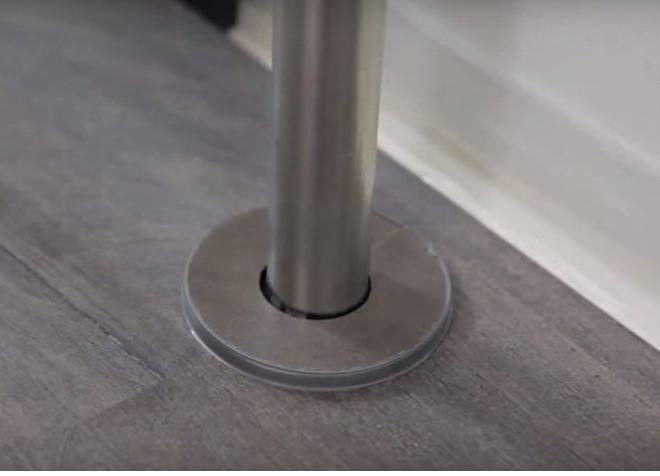
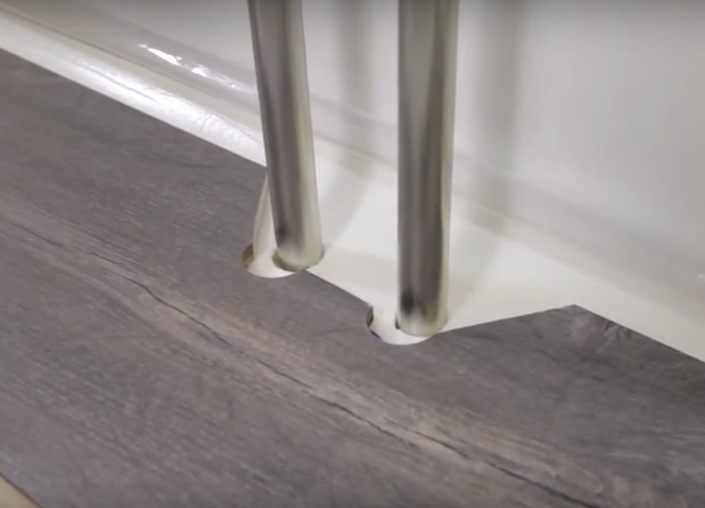
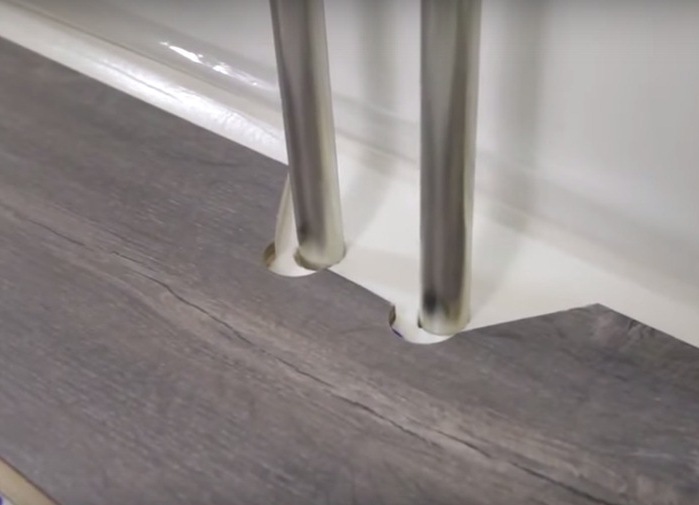
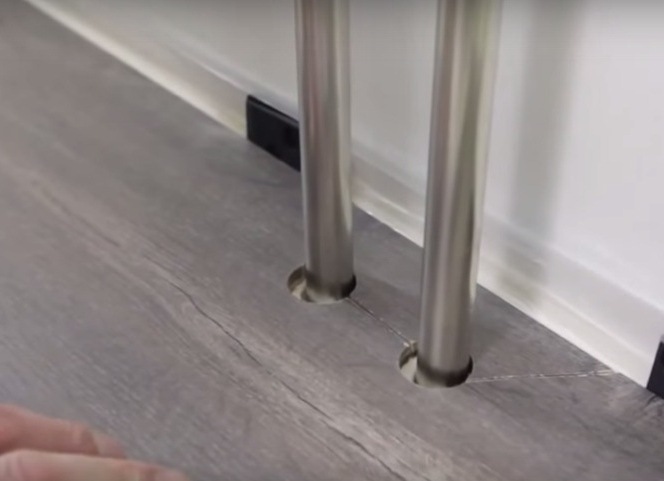
- The outline of pipes is done in this way: marking, slotting holes, sewing by stroke.
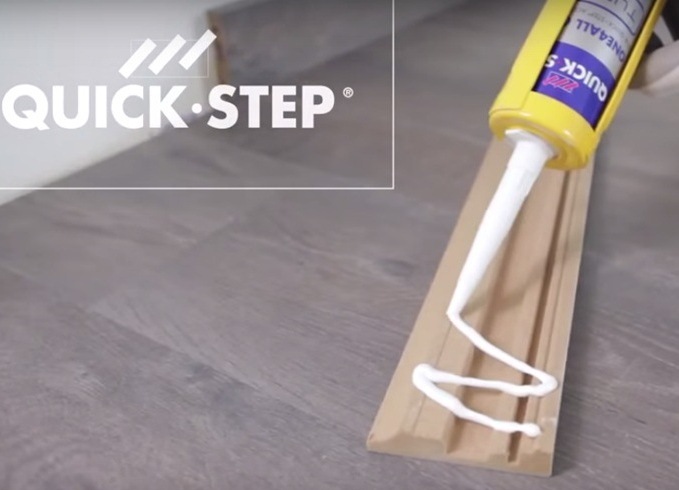
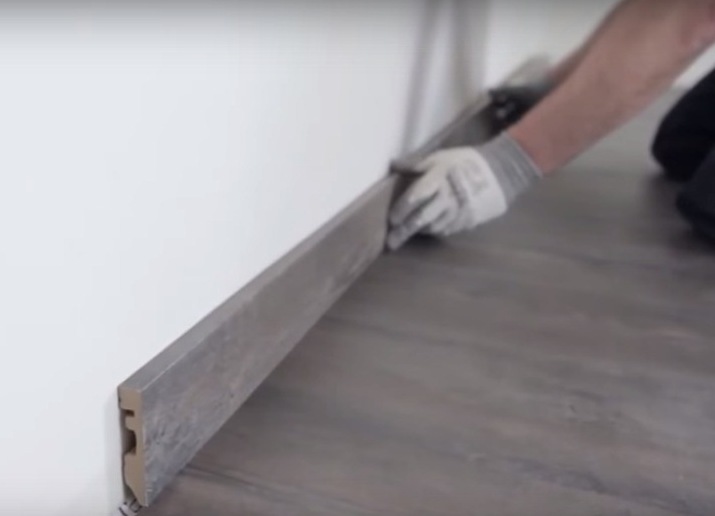
- When the laminate is finished, remove the wedges, cut the backing, fix the skirting.
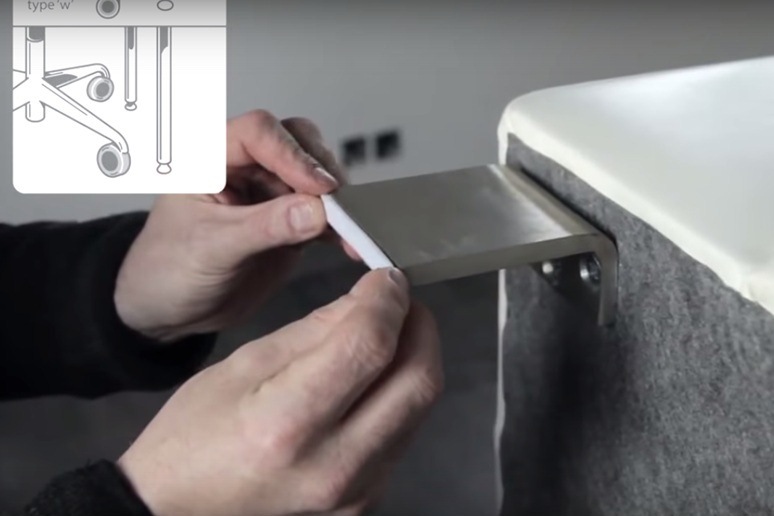
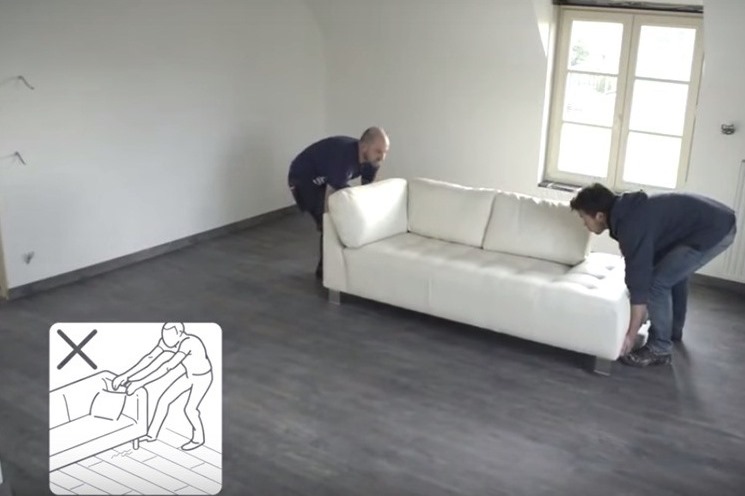
- Caring for a coating is necessary with the help of wet wiping. On the legs of furniture it is better to wear protective nozzles, the furniture must be transferred, and not moved.