More and more popular is gaining such a kind of needlework as weaving their rubberies. What do not just invent the masters. Sometimes it's just marvelous that ordinary masterpieces turn out real masterpieces in the form of handbags, cases for mobile phones and even garments.
But we are going to talk about how to weave a bracelet "Sidewalk" made of rubber bands, which teen girls like to do. Such unusual and bright accessories can be worn by yourself and given to your girl-friends. To master this technique, you need to start with a simple chain, and after that you will move on to more complex patterns.
The technique of weaving the "Sidewalk" bracelet from rubber bands is quite simple, especially if you have a visual aid in front of you, where the work progress is explained step by step. To get started, you will need a few gums of different colors, a special plaiting machine and the hook attached to it, similar to how lace patterns are knit, and also a plastic fastener with which the bracelet will hold on to your hand, but you can replace it with ordinary wire if desired .
Bracelet from rubber bands "Sidewalk" - a master class
How to learn how to weave bracelets from rubber bands "Sidewalk"? Simple enough! For this we need about 100 pieces of rubber - 50 of the same color and 50 of the other, but this number is arbitrary - it all depends on the size of the wrist, on which the bracelet will be made. The shades can be chosen at their discretion, the main thing is that they are beautifully combined with each other.
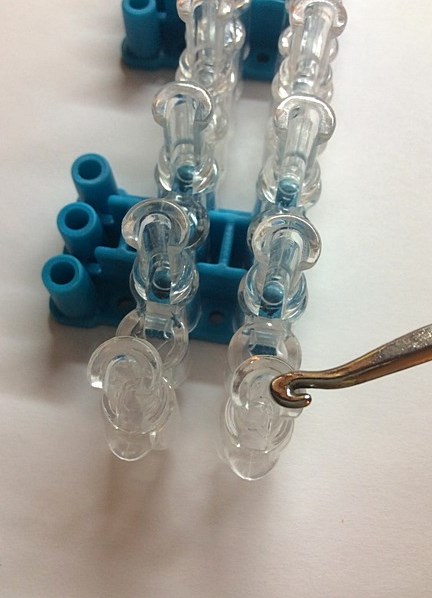
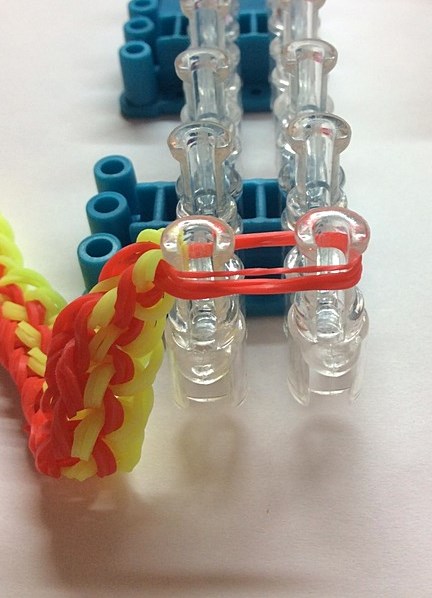
To work, you need a machine called Rainbow loom - a special plastic device with pins, which will be put on rubber.
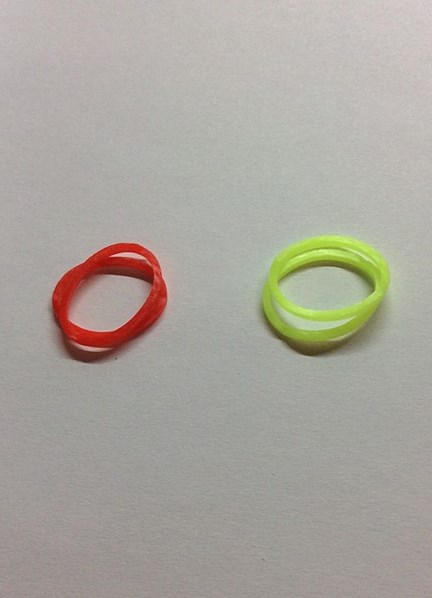
In our case, we took the rubber bands of red and yellow.
Performance:
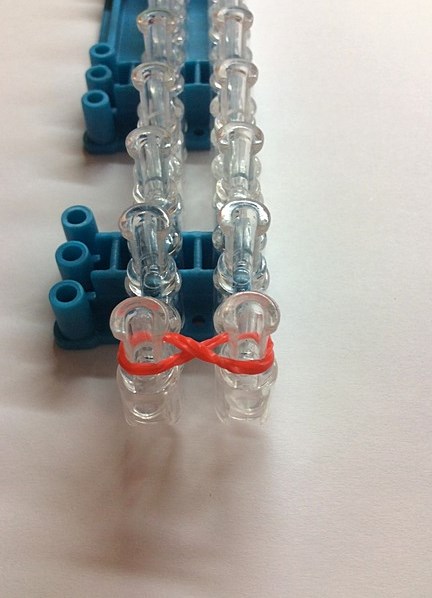
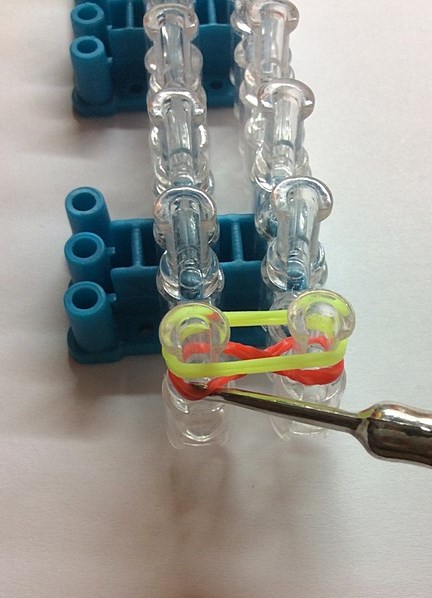
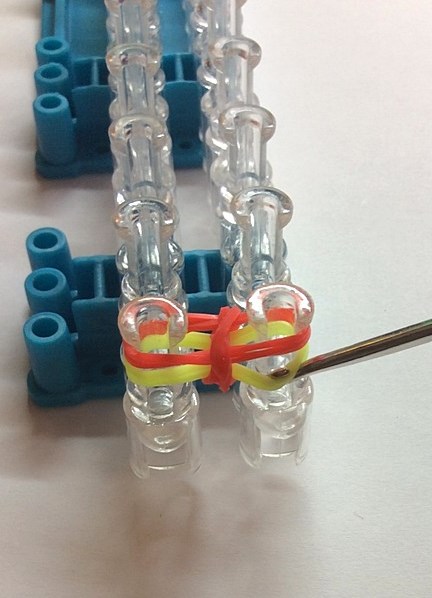
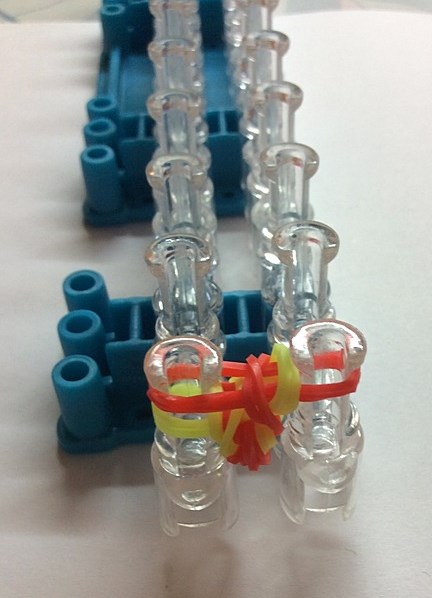
- For work we need only the first two extreme columns, with which we will work. We take two red gum, and twisting them with a figure eight dress.
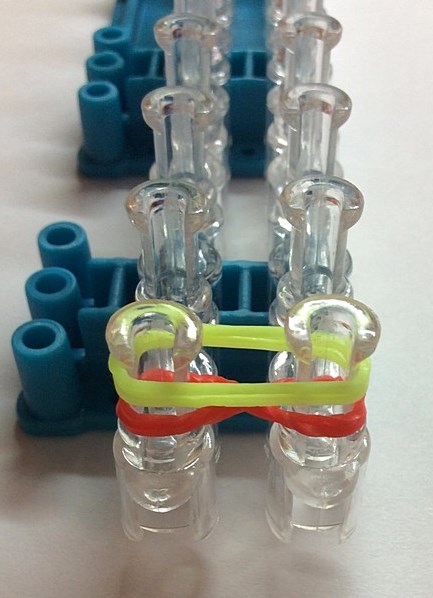
- On top of the red dress a pair of yellow rubber bands, without twisting.
- Now on the left, using the hook, we hook up the bottom pair of red rubber bands.
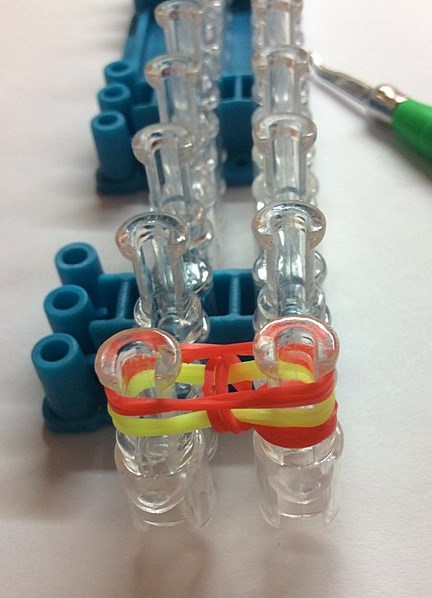
- And stretching them under the yellow, move to the middle.
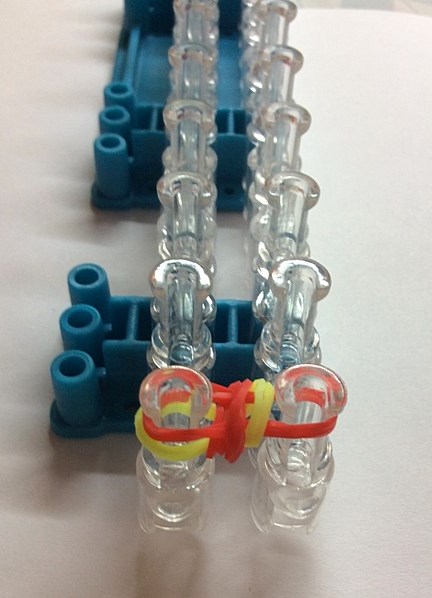
- We dress the next two red gum.
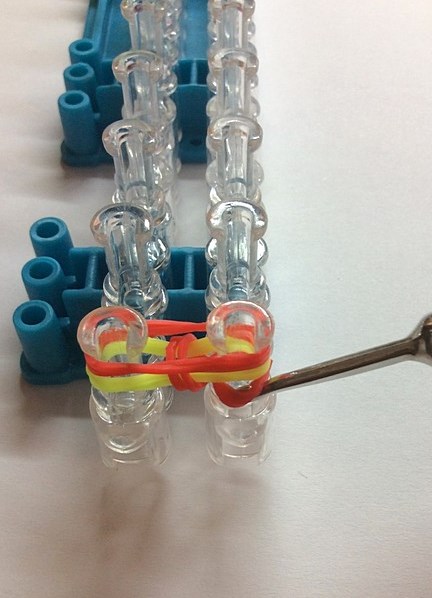
- Having picked up the bottom remaining elastic bands of red color, we throw them from above in the middle.
- Well, here, the beginning is necessary!
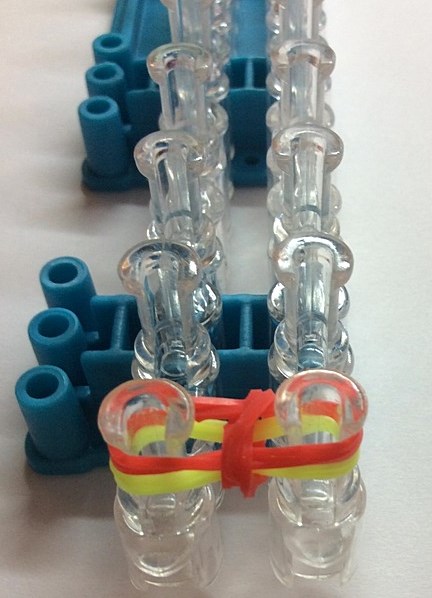
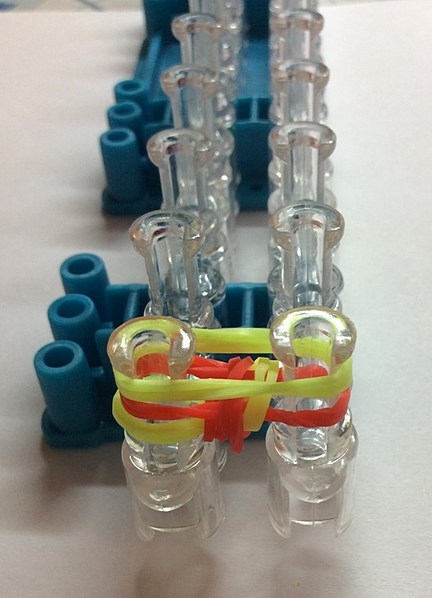
- Now in the same column we pick up the two lower yellow gums.
- And throw the yellow again in the middle with a hook.
- Again it was the turn of two yellow rubber bands.
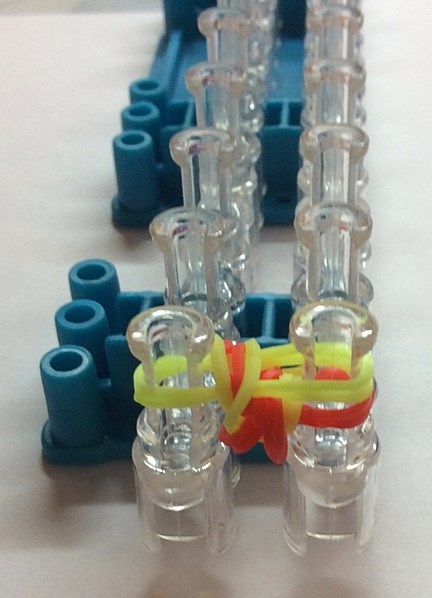
- On the left, remove the lower pair (yellow) and move them as always, in the middle.
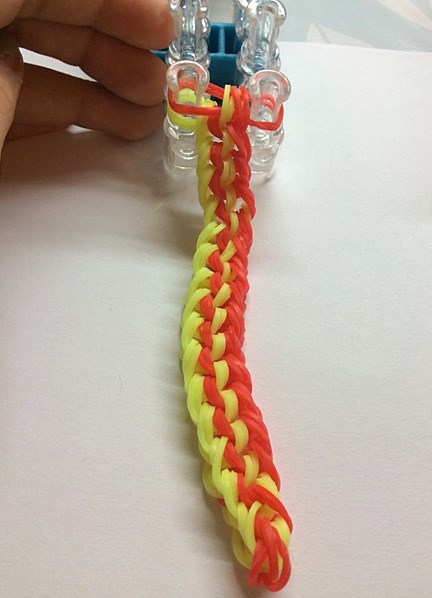
- I think further actions are understandable - we constantly alternate yellow with red elastic bands, building a column.
- Here's a bracelet should be.
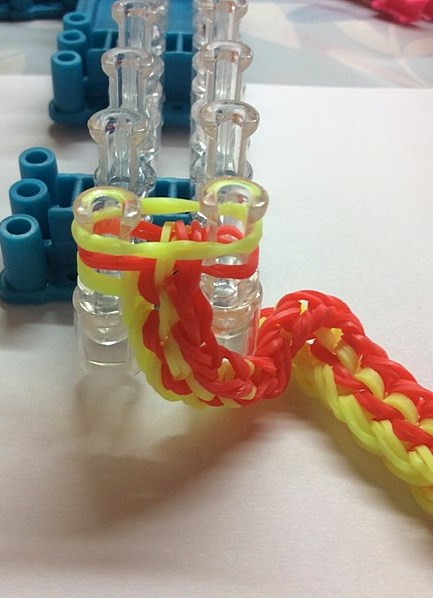
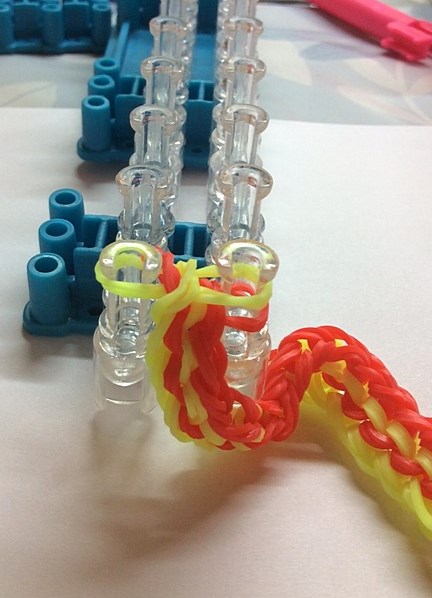
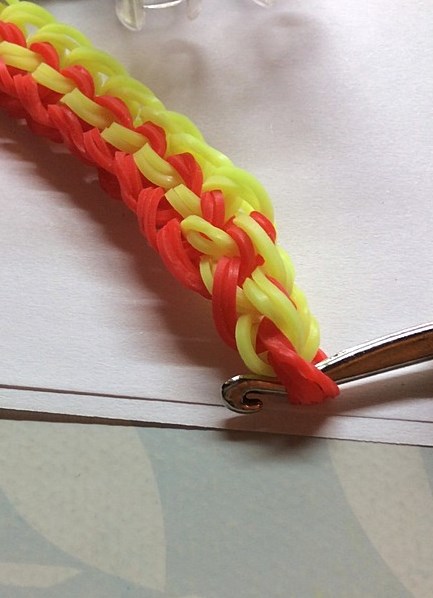
How now to finish the bracelet from the rubber bands "Sidewalk", so that it does not disintegrate, and it could be put on your hand? This will require again a pair of yellow rubber bands. Let's start:
- We dress them, not twisting, on two columns.
- Now we remove the bottom pair from the left column and fix it in the center.
- From here, and not from the other, as before, we remove the lower pair again.
- On the other column we only had a pair of yellow rubber bands. We take the lowest of the two, and we throw it into the middle.
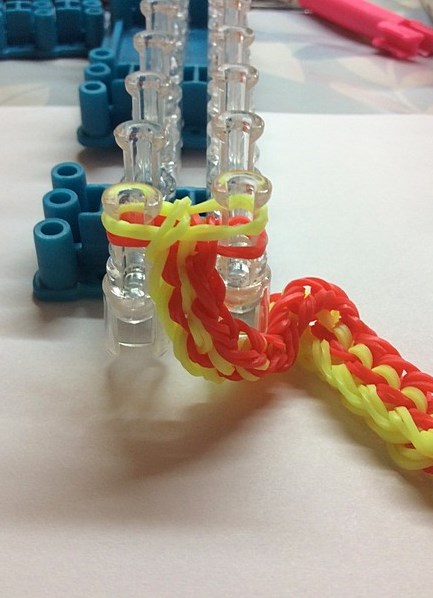
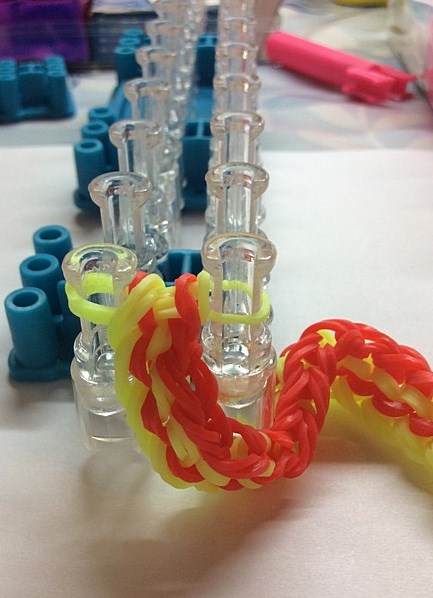
- Now we throw all the bands on one bar.
- That it was more convenient to finish work, we pull the last four yellow elastic bands on two bars.
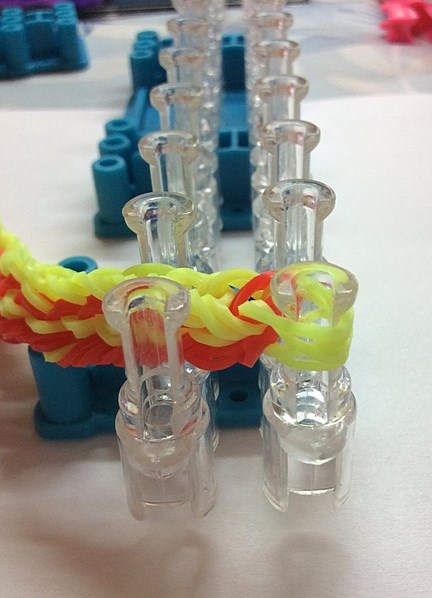
- We put on them a plastic clip, which goes in a complete set for weaving.
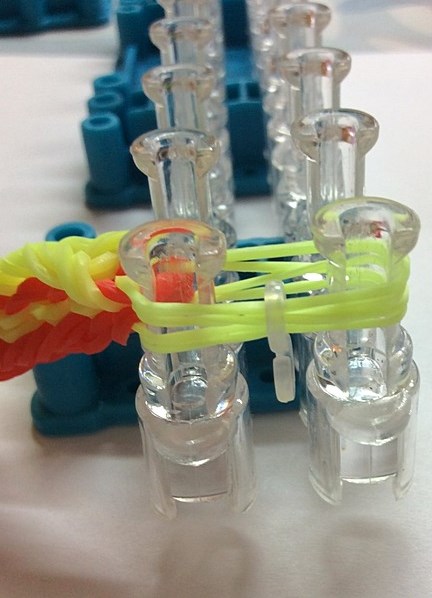
- The same is done with the other edge, first picking up the hard rubber bands with a hook.
- Pulling the edge on two bars, we hook the plastic clip and here.
Now we have learned how to weave a bracelet from the rubber bands "Sidewalk" according to a simple scheme, but there are a lot of other beautiful patterns - Hollywood , ladder, dragon scales , fish tail - which can be easily mastered and changed every day.