Basically, this attribute is sewed for children , but such pillows can please your loved one as well. And you can just sew them for yourself, decorate your room with them. Believe me, decorative cushions-letters look very cool and bring home cosiness and harmony. How to make volumetric pillows of the letter with own hands? We study together with us.
Master-class on the making of personalized letters-pillows
To sew three-dimensional cushion letters you will need:
- the cloth;
- thread in the color of the fabric;
- filler (sintepuh, hollofayber, sintepon);
- disk knife, conventional scissors;
- centimeter tape and ruler;
- Needles and pins for intermediate stages of work;
- sewing machine.
- Building a Pattern
- We cut to the fabric
- Assemblage of details
- Cushion packing
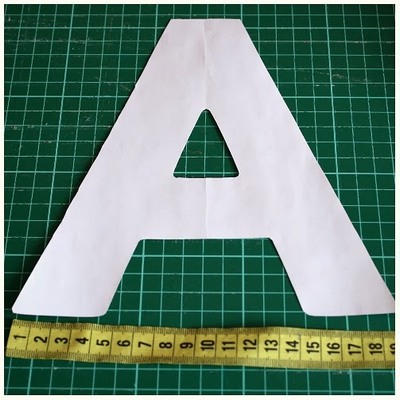
The process begins with the construction of the pattern of the first letter. To do this, on a sheet of paper, draw the desired letter of the desired size. The letter can be done with rounded corners or with straight lines, it itself can be a curve, a funny shape - all within your imagination.
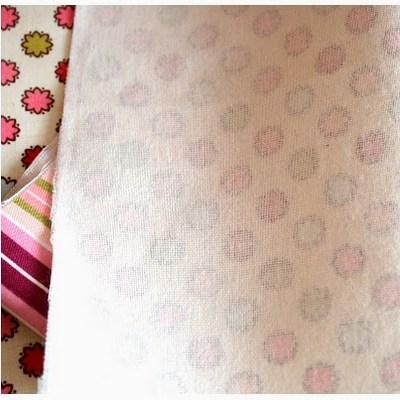
Next you need to decide on the choice of fabric. You can use the one that is at your fingertips. Of course, it is desirable that it is a dense matter: upholstery, plush, fleece, cotton. The coloring of the fabric can also be anything. You can combine it with the color of the wallpaper in the room or with the color of the upholstery of the sofa. And you can, on the contrary, choose something contrast - it will look original and catchy.
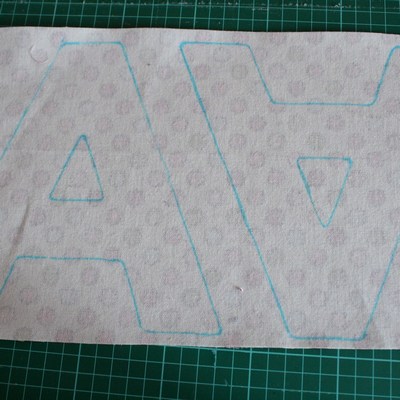
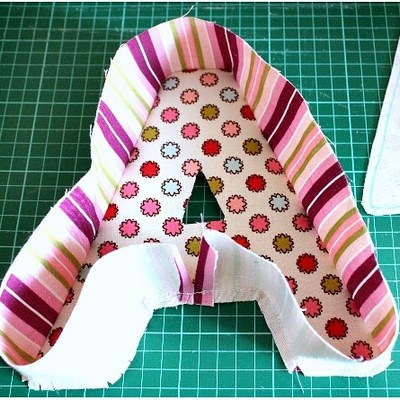
The next stage will be the cutting of the future letter on the matter. On the fabric, you need to cut out two parts - the front and back facades of the letter. To save time, you need to fold two pieces of fabric face to face, from above put a pattern of paper and cut the letter, not forgetting the allowances for seams. It is convenient to use a knife for cutting at this stage.
From the same or different in coloring fabric we cut out the lateral parts of the future letter. In this case, the width of this bar is calculated from the calculation: the desired width of the letter +2 cm for allowances. It is also convenient to use a disk knife.
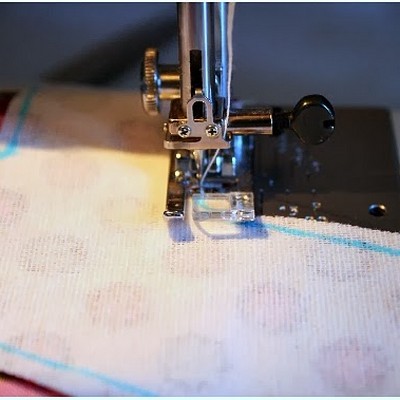
When all the details of the letter are cut, proceed to assemble them. First of all, we sew one of the sidewalls to the front facade. You can make a note, or you can just pile details with pins. At the corners do not forget to make cuts, while in the outer corners of the incisions are made on the fabric of the sidewalls, whereas on the inner corners, the fabric of the facade part needs to be cut. If this is not done, in the corners of the fabric after the eversion will "pull" and the letter will come out a curve.
When you scribble the details on the typewriter , pay great attention to the corners - it is these places with improper stitching that can become problematic.
| | |
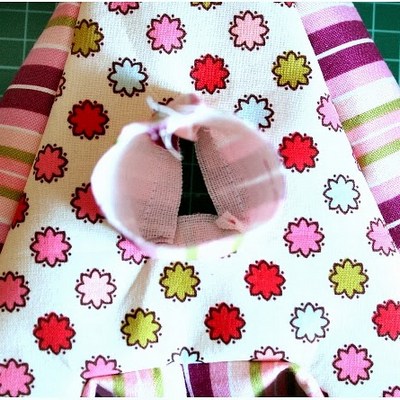
If the letter has holes - for example, it's A, B, P, O, then you need to sew the side of the hole to the edge of the hole and only then go on sewing the back of the letter. All the same scheme - we plan, we make cuts, we spend it. In this case, the hole details are sewn on the machine in the last place.
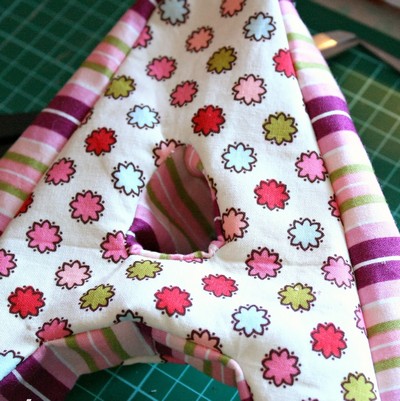
On the curved places of the letter you need to make additional notches on the allowances, otherwise the letter after the twisting will warp. We twist the fabric, straighten the corners with a stick or pencil. After that you can proceed to packing.
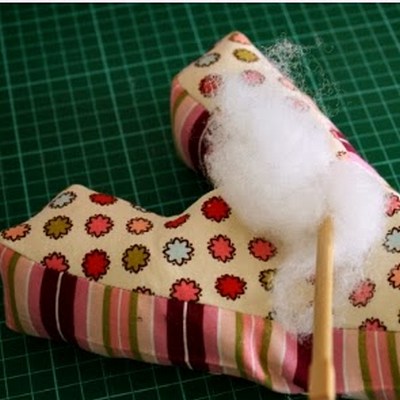
Cushion can be filled with any soft filler, but it is preferable to use sintepuh or holofayber. Pillows with such filler perfectly retain their shape and quickly dry after washing.
Fill the pillow tightly, leaving no voids and pay attention to the corners and the furthest details. When the pillow is well stuffed, manually sew the hole through which it was filled.
Finally, clean the cushion from the filler fibers, iron it. You can decorate the finished pillow with ribbons, braid, buttons - it's really a matter of fantasy. Pillow, the letter is ready!
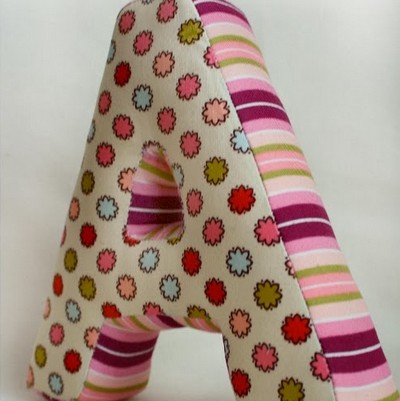
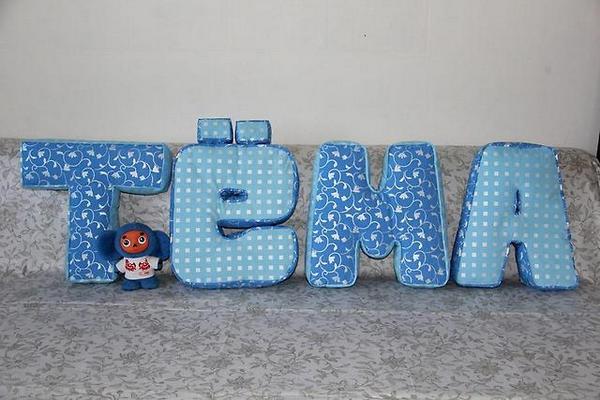
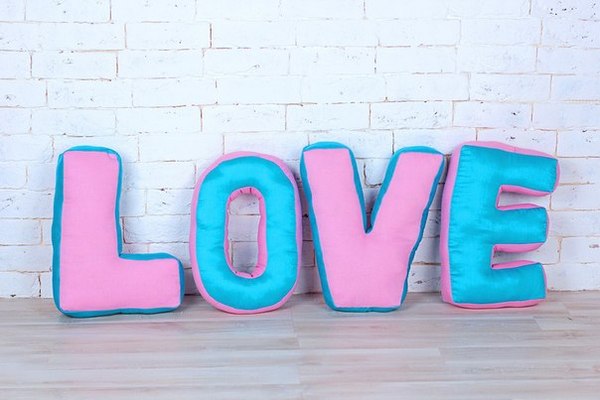
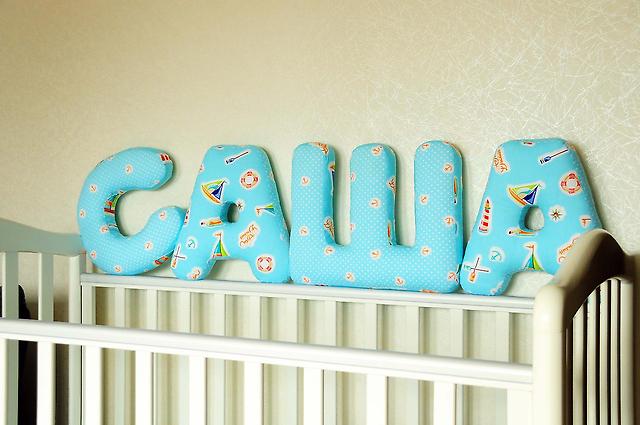
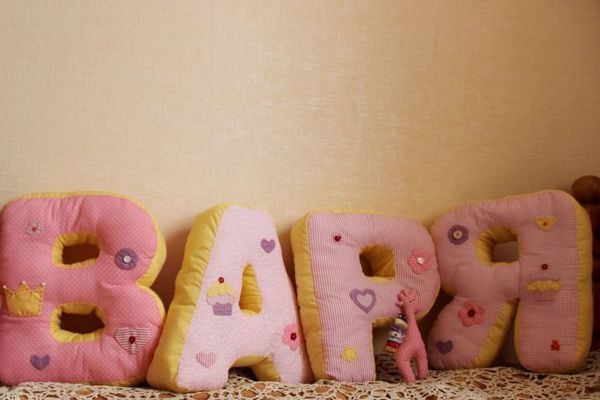
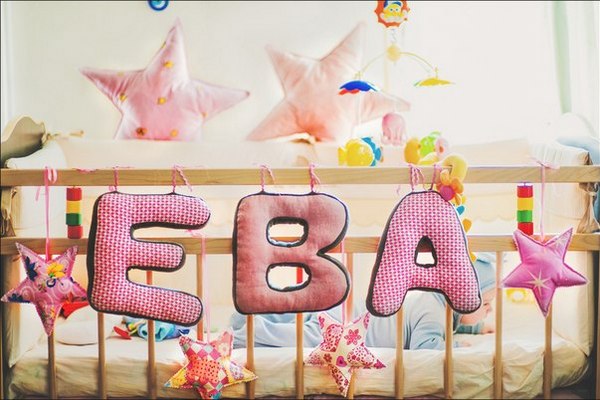
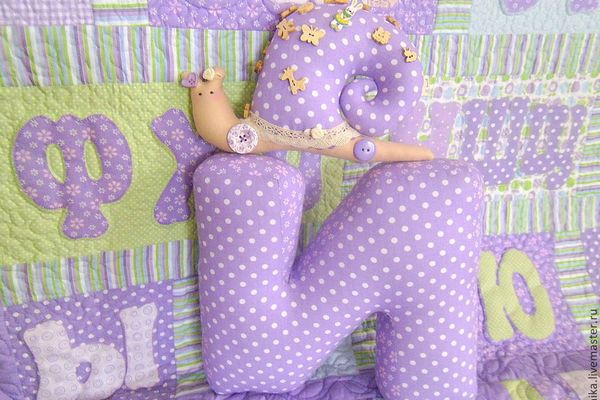
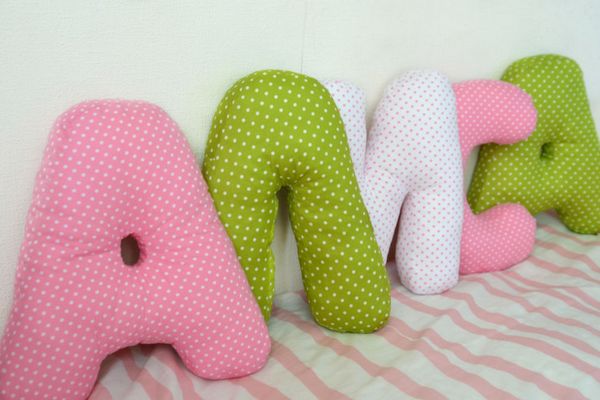
Examples of beautiful pillows-letters from different materials for the children's room you can see in our gallery.
| | | |
| | | |
| | | |