It happens that it's quite warm outside, but it's raining all day. Often bad weather is delayed for several days. This is not an excuse to deprive the child of a walk. You can buy a baby umbrella , but we can make a raincoat for your baby with your own hands.
To sew a children's raincoat with our own hands, we will need:
- raincoat or mixed fabric;
- tape in the tone of the fabric (or contrasting in color);
- elastic band-braid;
- 2 large and 2 medium buttons are the same in appearance;
- sewing accessories;
- sewing machine.
Pattern of children's raincoat
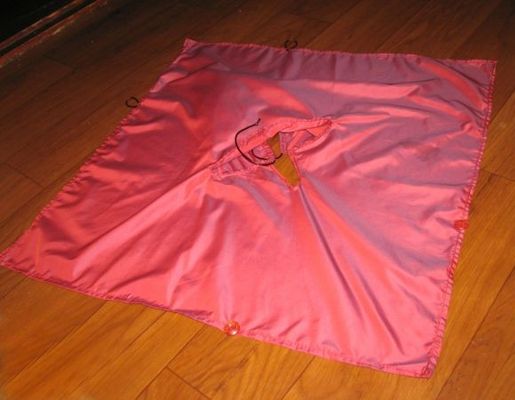
The pattern of the raincoat is very simple. To build it, we need one measure - the child must stand up, stretching his arms out to the sides. We measure the distance from the base of the middle finger of one hand to the base of the finger of the other hand. On the fabric, we construct a square that is diagonally equal to the resulting distance. On the planned line of the diagonal we make a cut for the neck and cut a little along the perpendicular line. We cut out a rectangle for a hood with a height of 30 cm, with a half width of 27-28 cm, from a double-folded fabric.
How to sew a baby raincoat?
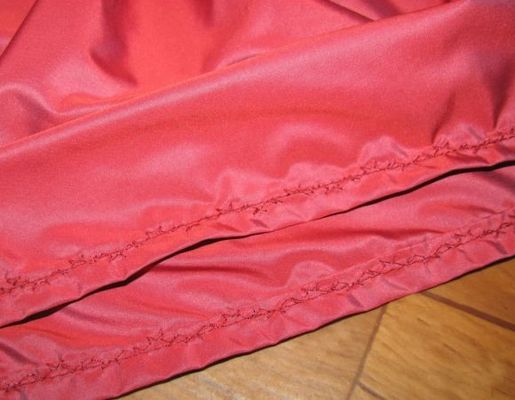
- The edges are tucked in at 1.5 cm, we plan and execute a neat line.
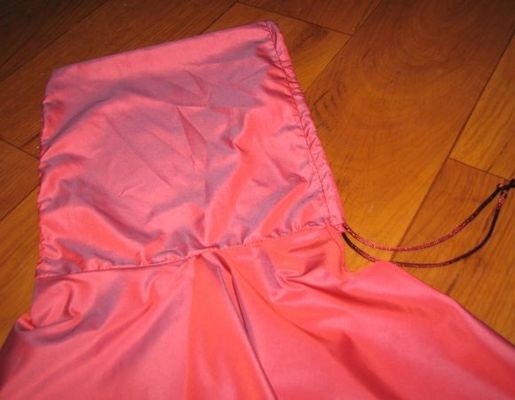
- We turn on the three sides of the hood in order to insert the elastic band, we make a stitch. We connect the hood on the bottom edge with a raincoat.
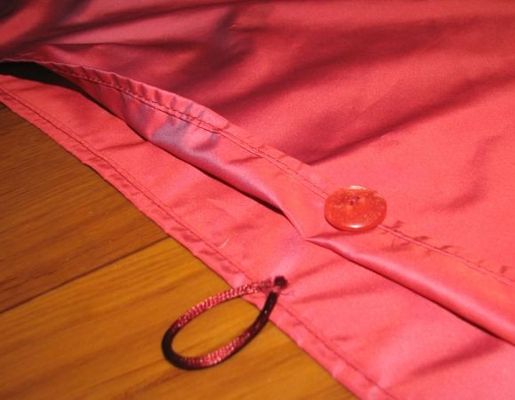
- In the center of both sides of the square we sew the middle buttons, on the other hand we make loops. Thus, the raincoat-cape is connected on the sides.
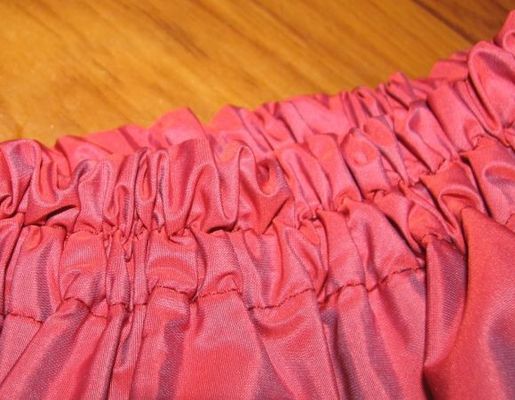
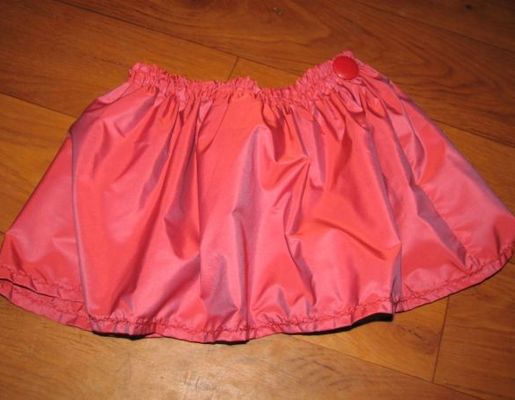
- From the same waterproof cloth, complete with a raincoat for a child, you can sew a skirt with your own hands. To do this, cut out the rectangle of the desired length. We make the back seam, turn the bottom. In the upper part, we make stitches and insert a rubber band into 2 - 3 rows.
- On the sides in the belt area we sew large buttons. By fastening on the hinges from the top of the raincoat, we get a one-piece product.
Comfortable and beautiful raincoat for the young fashionista is ready!