Every little girl dreams of visiting a fairy tale at least once in her life, and such a wonderful opportunity is given to children by children's morning performances, where the baby can become anyone - a fairy fairy, a princess, or a pretty charming little mouse.
Very many babies like the image of the Snow Maiden - the granddaughter of a kind Grandfather Frost and his young assistant. In order to visit the image of the Snow Maiden on a children's matinee, the parents will have to work a little, after decorating a snow-white dress, embroidered with beads and snowflakes, elegant white shoes and, of course, making a kokoshnik with their own hands, without which it is difficult to imagine the granddaughter of Santa Claus.
How to make a kokoshnik yourself?
Making kokoshnika for Snegurochka own hands is not much different from the traditional Russian.
To make a kokoshnika with our own hands, we need this:
- silvery dense brocade fabric;
- steel povoloka, holding the form;
- dense cardboard;
- glue moment-crystal;
- Beads and sequin ribbon for decoration kokoshnika;
- tulle fabric for a bow.
Having prepared everything, we can finally get down to work.
Making kokoshnika - master class
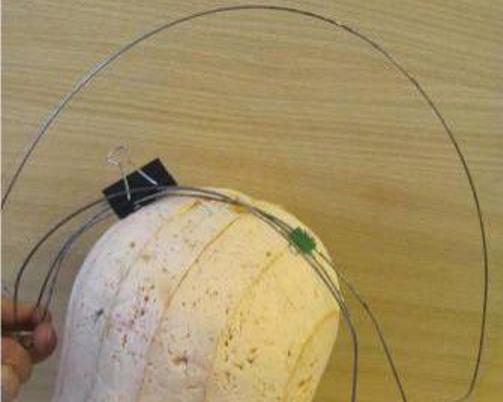
- For the beginning we are defined with appearance, and also the sizes of the future product, having removed preliminary measurements from a head of the child. Getting started with bending wire. We curl the frame of the future kokoshnika, do not forget about the rim.
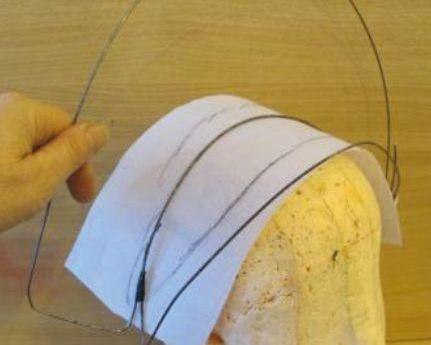
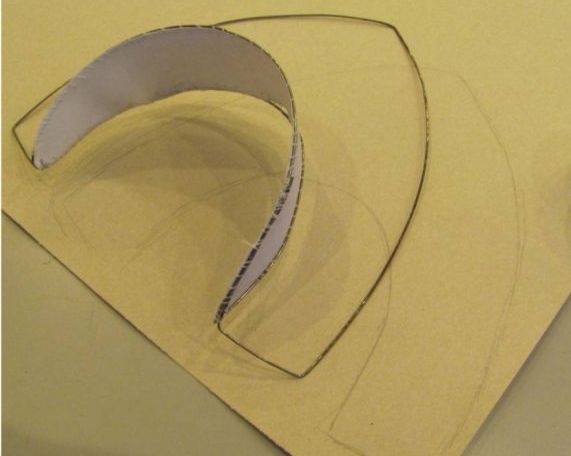
- Now let's deal with the rim of the kokoshnik with our own hands - we'll make it out of thick paper or cardboard. Cut out the cardboard according to the size of the wire billet.
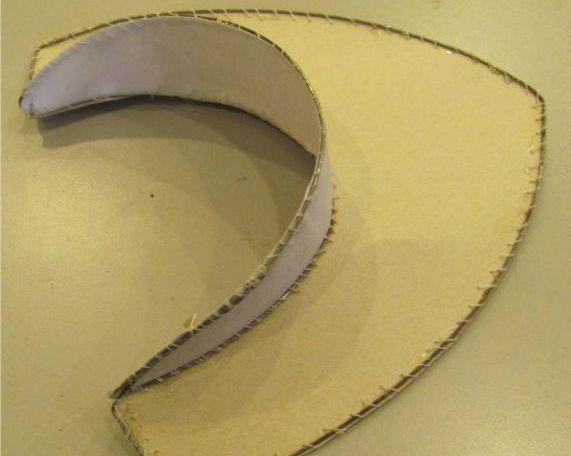
- In order to ensure that the bezel is as reliable as possible, we first glue the wire to the cardboard, and then carefully sew it with a thin but strong thread. Of course, you need to do this with your hands.
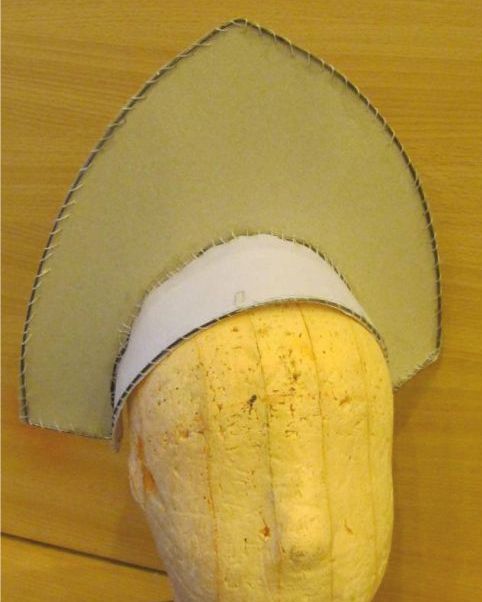
- The bezel is ready. We'll tackle the top of the kokoshnika with our own hands - we'll cut out the upper part of the thick paper.
- We cut out the top part and also sew to the wire frame, preliminary gluing it.
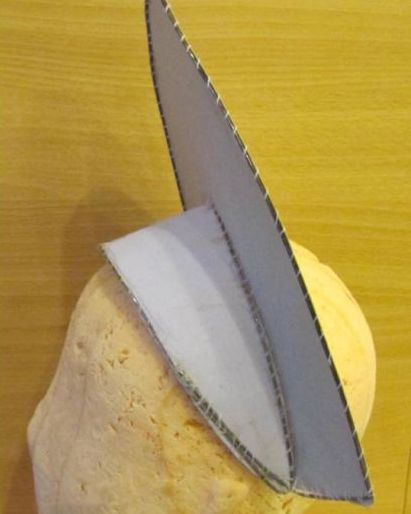
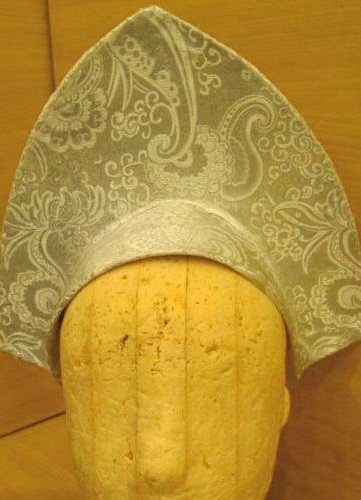
- We get as a result of this here is the basis of our future kokoshnik.
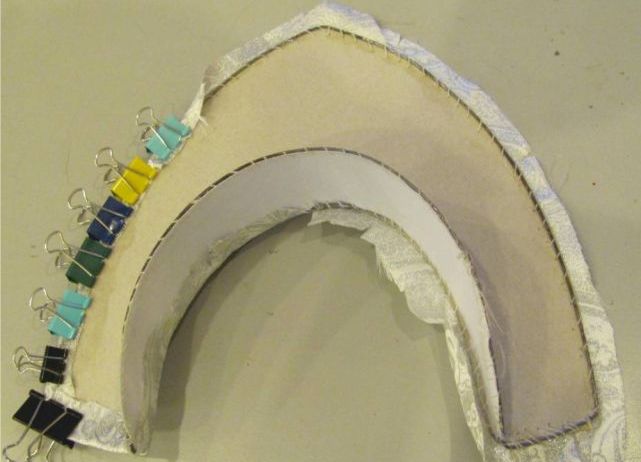
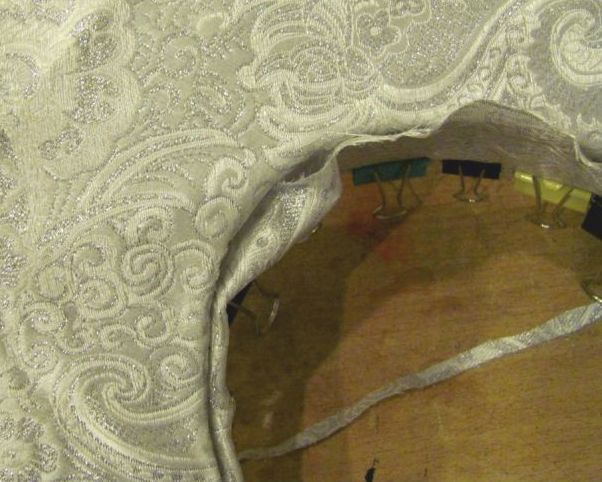
- Now we will finish the kokoshnika with a brocade cloth. Let's start with the back part, although in principle you can start with any element, orient yourself according to your convenience. Cut the fabric on the back with a good allowance.
- Then we glue the fabric around the perimeter of the back part of the kokoshnik, paying special attention to the allowance. The slightest inaccuracy, and the contour of the kokoshnik will be uneven, which can spoil the whole appearance of the future attire. To fix the tissue that has not yet grasped with glue, we use clerical clamps - it's reliable and incredibly convenient.
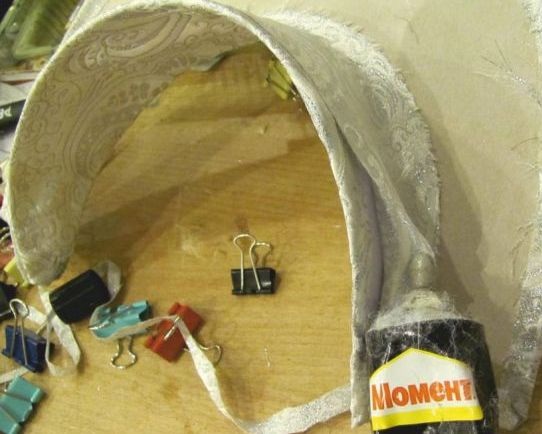
- Then we paste the bottom part of the rim with the same allowance.
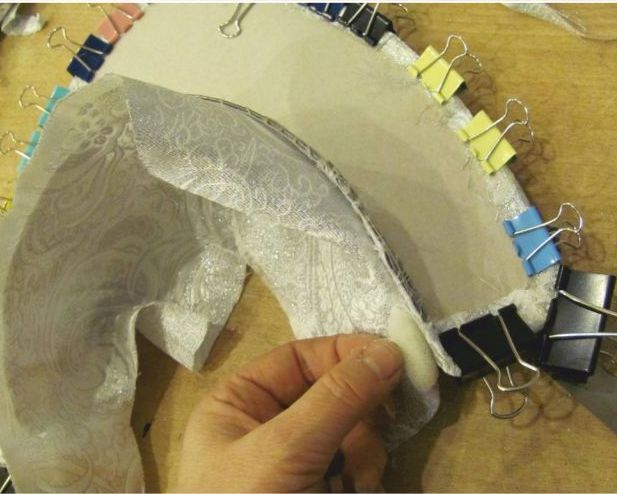
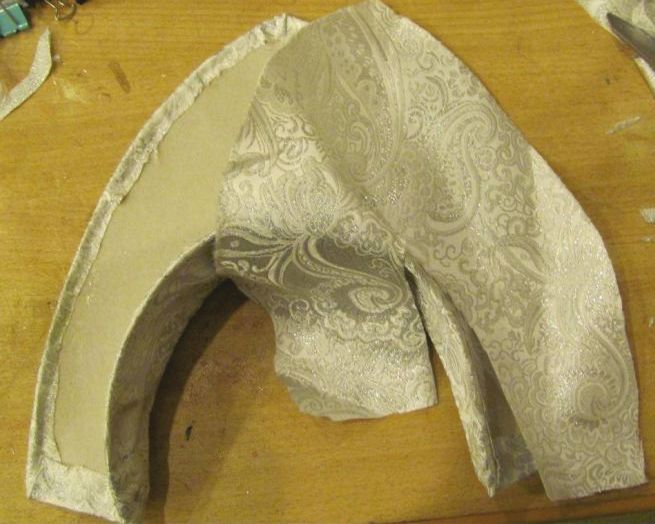
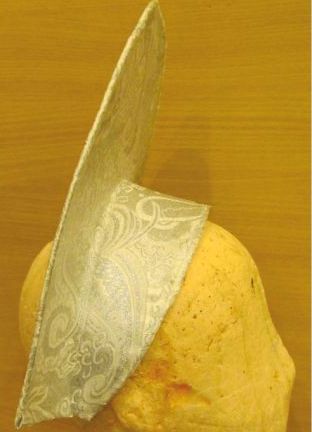
- We proceed to finish the front part of our kokoshnik. In contrast to the finishing of the rear elements, here we prepare the fabric without allowances, we cut it strictly into the edge. Naturally, cutting brocade must be as carefully as possible, taking into account the characteristics of this loose fabric, for this you need to take a good sewing scissors.
- In some places, our joint seams are very noticeable, but it's not scary, there's still decoration.
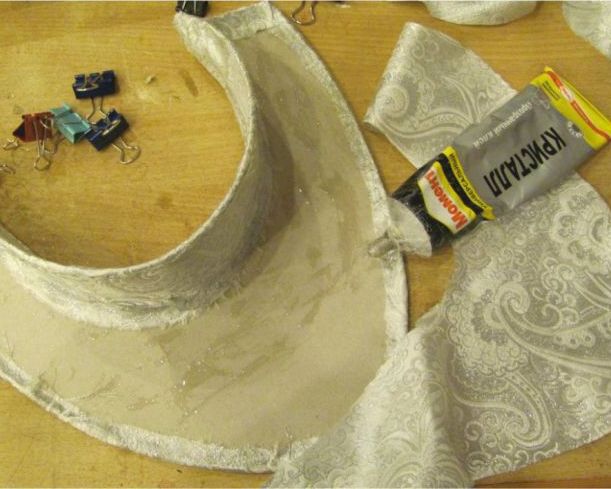
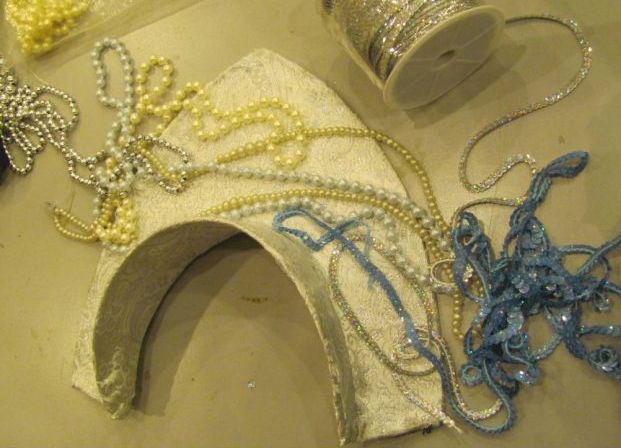
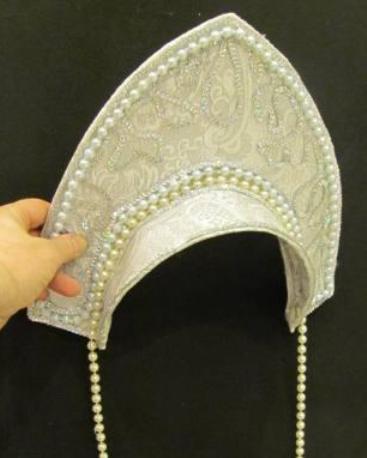
- This is how our kokoshnik looks in the intermediate stage of manufacturing. Ahead is the most interesting and creative work - decoration.
- Let's start decorating. Here you can use anything you like - beads, beads, tulle, tulle fabrics and scraps, patches and stuff.
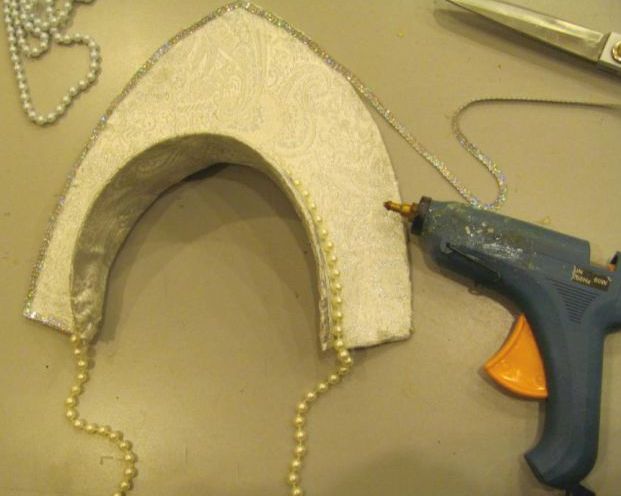
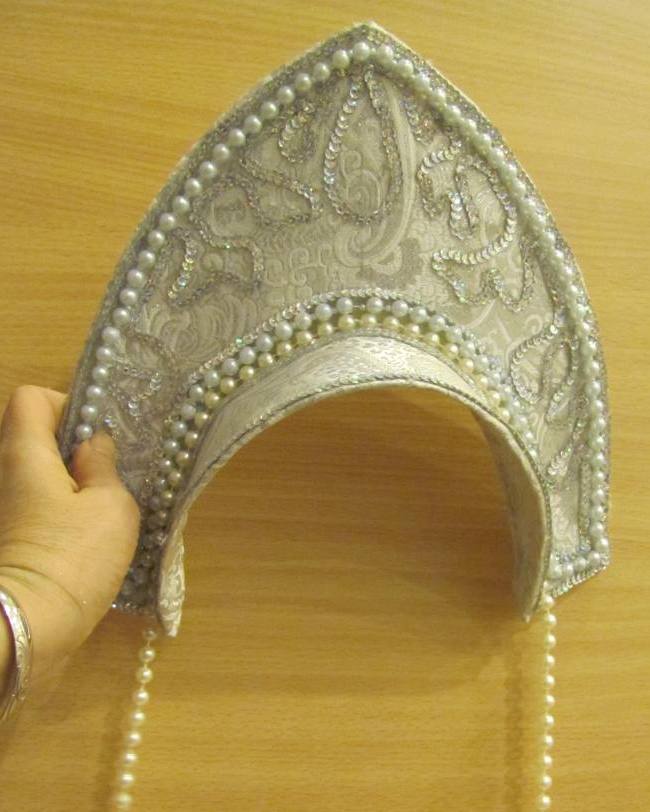
- First of all, we put the patch tape on the contour of the kokoshnik. If possible, it is better to use a glue gun.
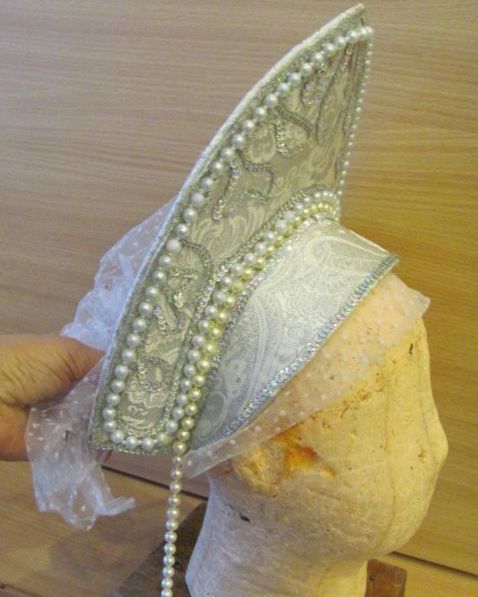
- And then we pasted with beads, fat. For beads, the glue can be small, so just in case, we advise you to sew them to the fabric in some places.
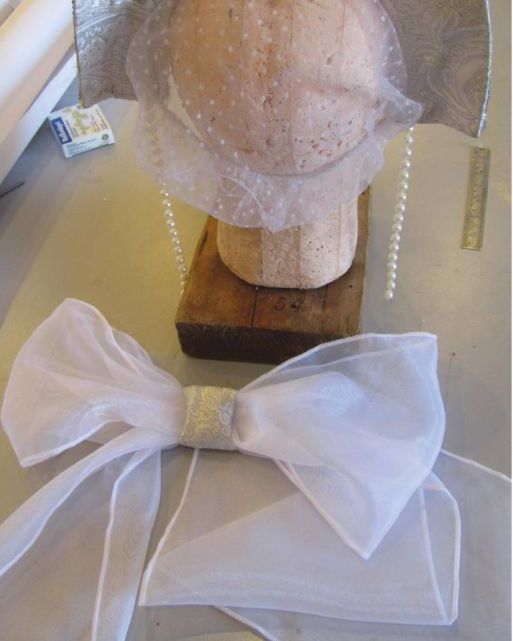
- And in the end we will make of a tulle fabric a beautiful magnificent bow and we will paste it behind to a product. Kokoshnik with his own hands is ready!
| | |
| | |
| | |
| | | |
| | | |
| | |
| | |
| | |
With your own hands, you can make a Ukrainian national hat - a wreath of flowers .