Classic material, which has been popular for many years - is a tile . It is used in bathrooms, bathrooms, in the kitchen. Produce the laying of tiles on the floor and walls. It is universal and has many positive properties: environmental friendliness, practicality, durability, moisture resistance, fire resistance, etc. Today, a wide range of products is available on the market, allowing to implement any design ideas. There are several ways of laying tiles. We suggest to consider one of the most popular and the most simple, which even the beginner can master.
Laying of tile with own hands
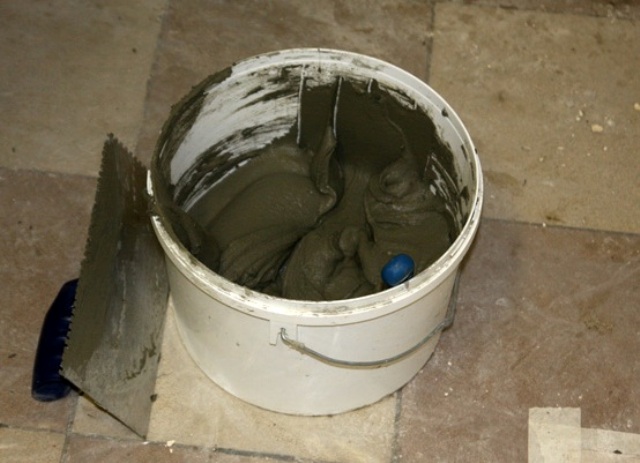
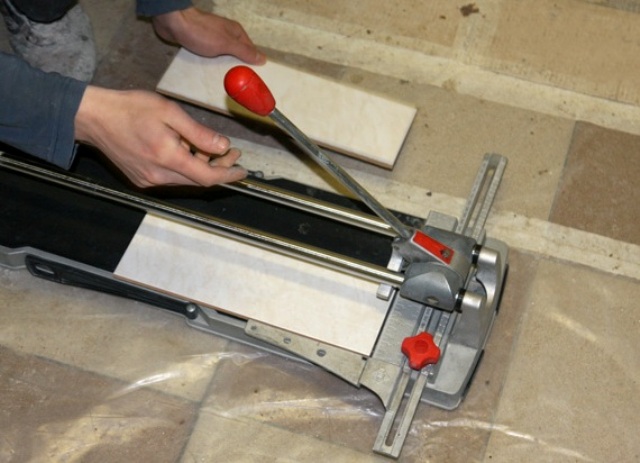
First of all, you need to prepare the necessary materials and tools for work. This, of course, tiles, it needs to be bought with a margin of 10-15% more, since the part will be scrapped and pruned, glue - preferably not the cheapest, crosses, grout. From the tools you will need: a level, a tape measure, a platen, a tile cutter, a simple spatula, a denticle and a rubber spatula.
Laying of tiles is a very important event. In the event that it will not be laid out exactly, all will have to be knocked down and begin the process anew. In contrast, for example from putty it is not so simple. To avoid this, it is necessary to observe the rules for laying tiles.
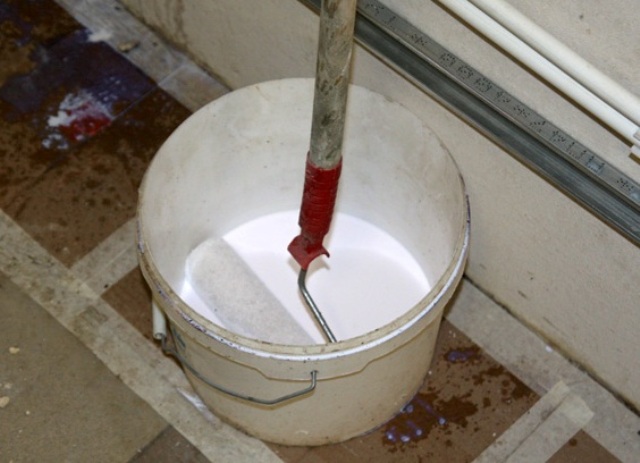
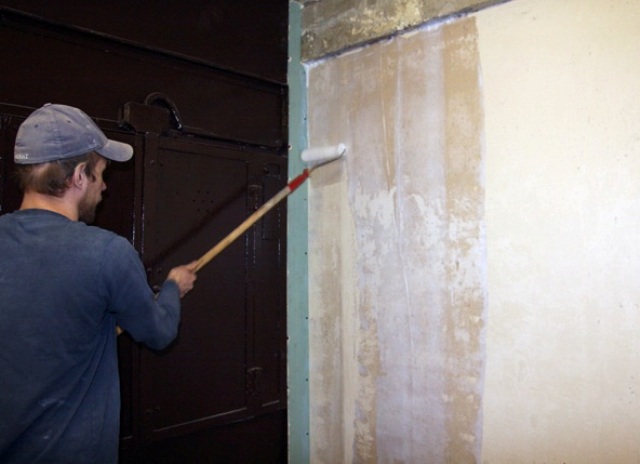
- The wall must be perfectly even, without the remains of old paint and glue. We primed it with a roller. A simple primer, which is in every store, will do. Now wait a couple of hours when it dries.
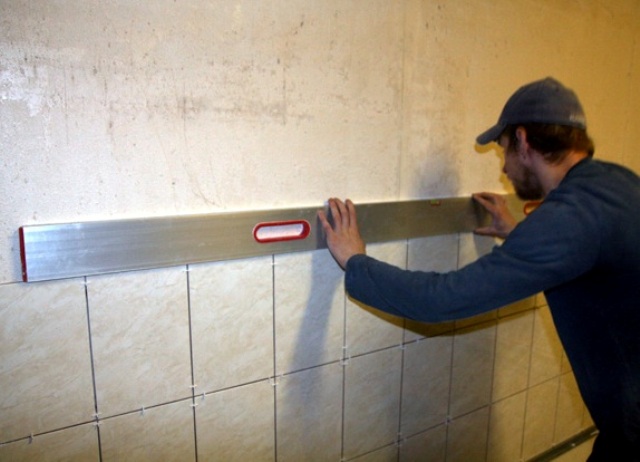
- The most difficult thing when laying tiles is to lay out the first row exactly, do not be afraid to spend a lot of time on it, all the subsequent ones will be guided by it. Correct laying of this series of tiles will greatly facilitate all work. If it is exactly laid and the rest will go "like clockwork."
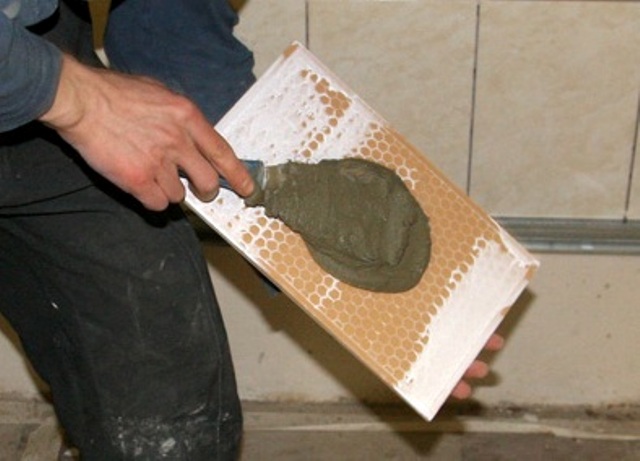
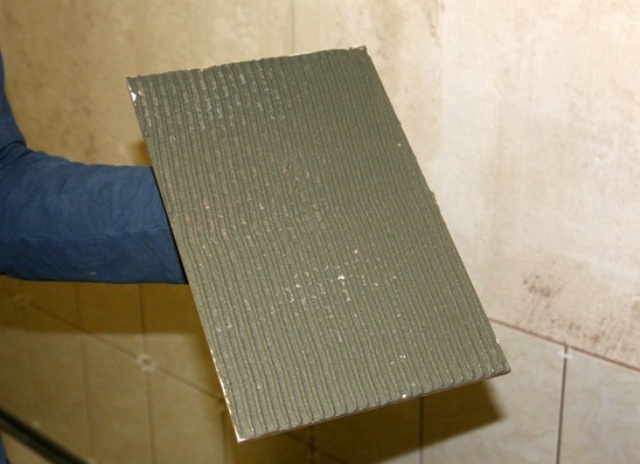
- Now you can proceed to the main stage of laying. We prepare the glue for the tiles on the basis of the manufacturer's instructions. We put it on the tile with a smooth spatula.
- Remove the excess with a notched trowel.
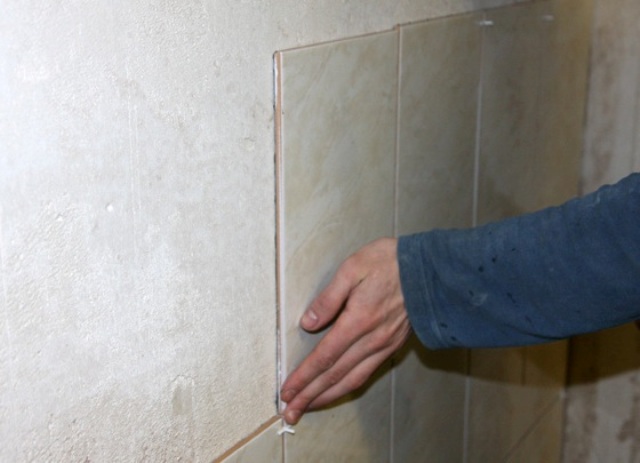
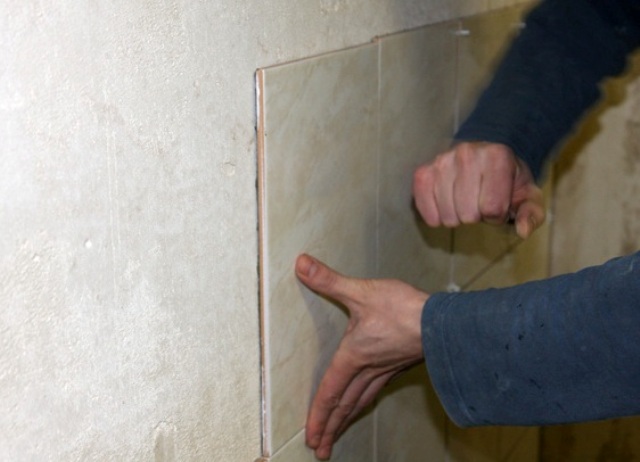
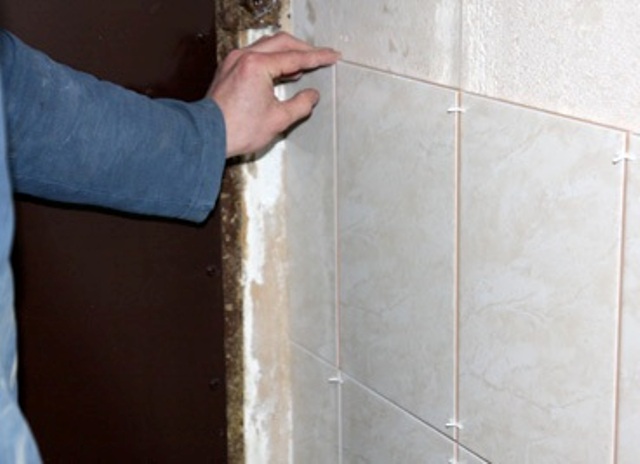
- We lay the tile on the wall, tightly installing on the profile and pressing, you can knock on it a little. Then check the level horizontally and vertically, so that everything is smooth. Make sure that the glue under the tiles everywhere is in equal quantity and there are no voids.
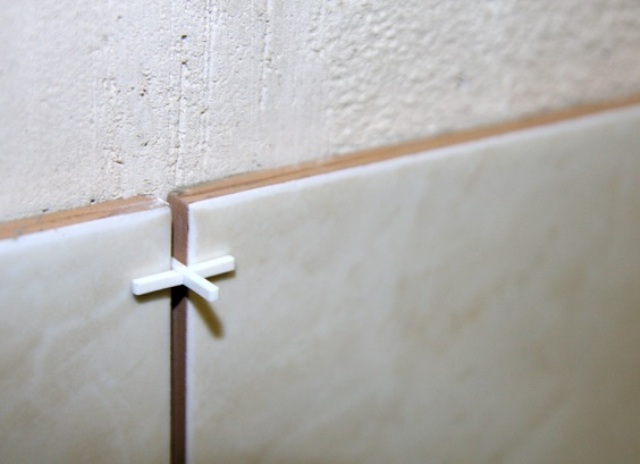
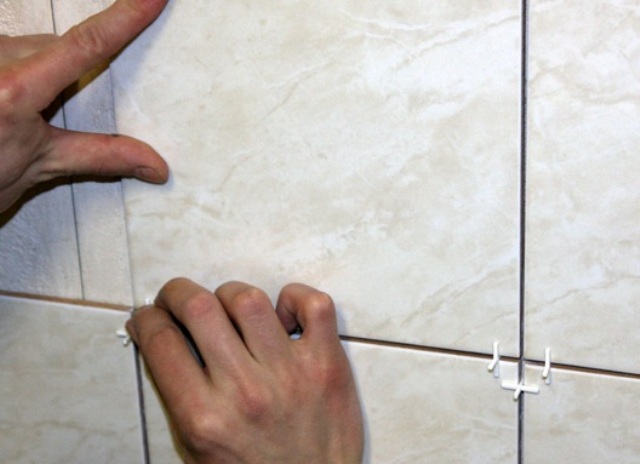
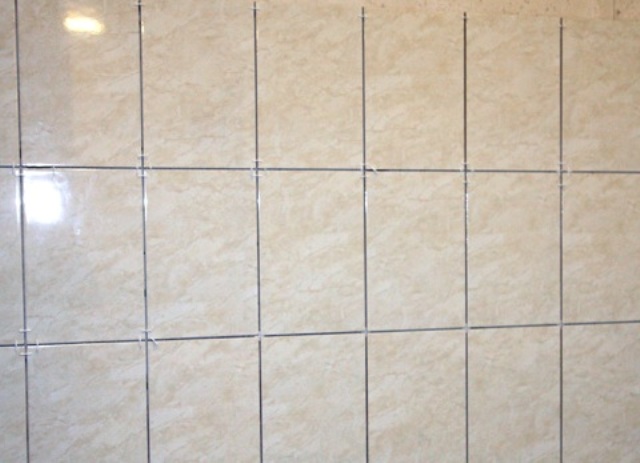
- For even distances between the tiles, we insert crosses - these are spacers.
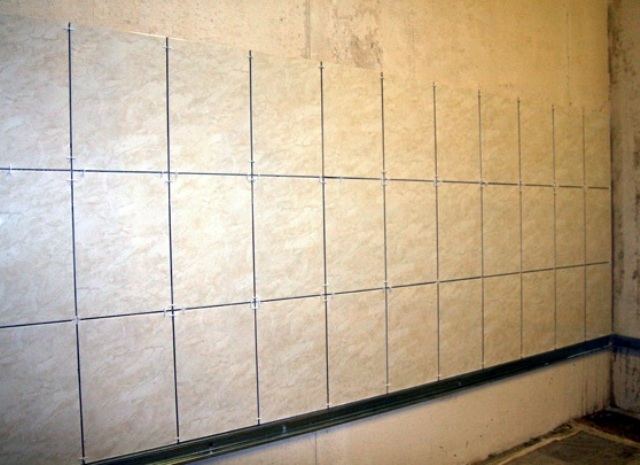
- In the same way, we spread all the rows of tiles, checking each time with a level, whether everything is perfectly laid.
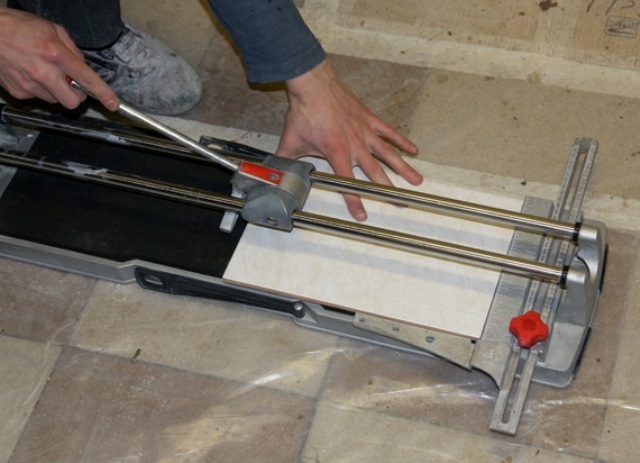
- The first tile sometimes does not become completely, so it will have to be cut with a tile cutter.
- The main work has been completed, now you should wait one day to keep the tile firmly on the wall and the glue stayed well.
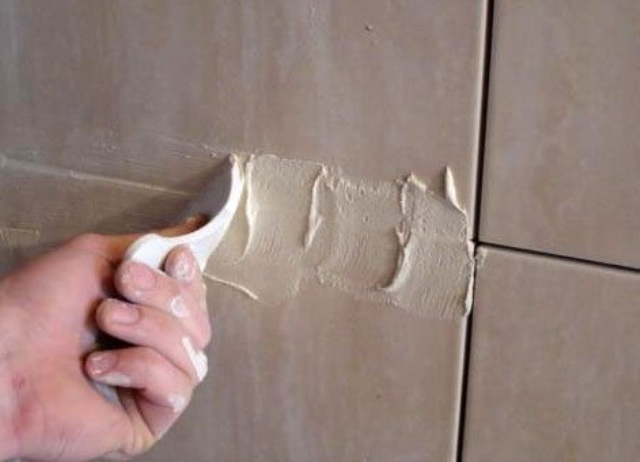
- The final stage of all laying work is the grouting of the joints between the tiles. We spread the grout according to the instructions given on the jar and apply it with a rubber spatula to the spaces between the tiles. It is important to monitor the uniform distribution of the solution. Surplus is removed with a damp cloth, preferably at once, so as not to have difficulty with rubbing.
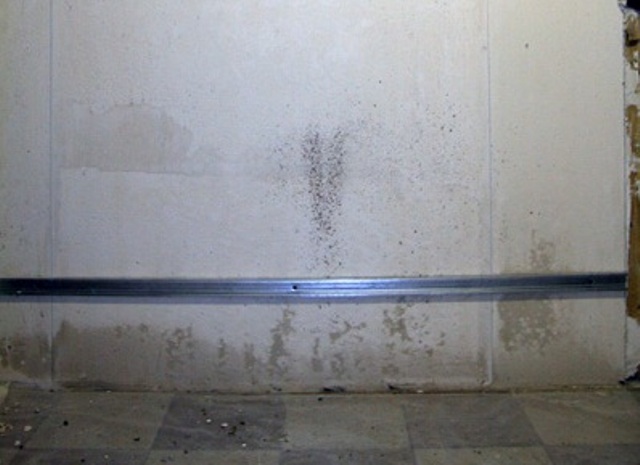
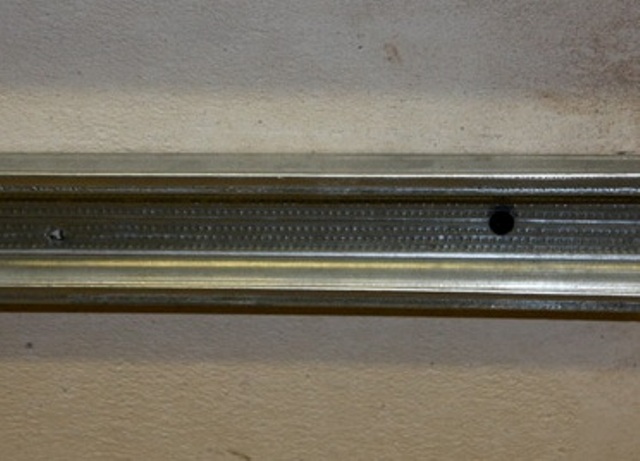
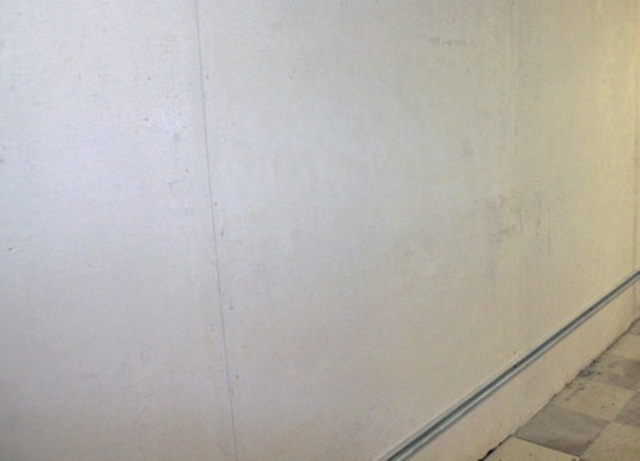
To do this, apply one tile to the wall and mark on the top edge, where it ends. We draw along this mark a line along the entire wall with the help of a level. Here we need to attach an aluminum profile. If it does not, the tile will go.
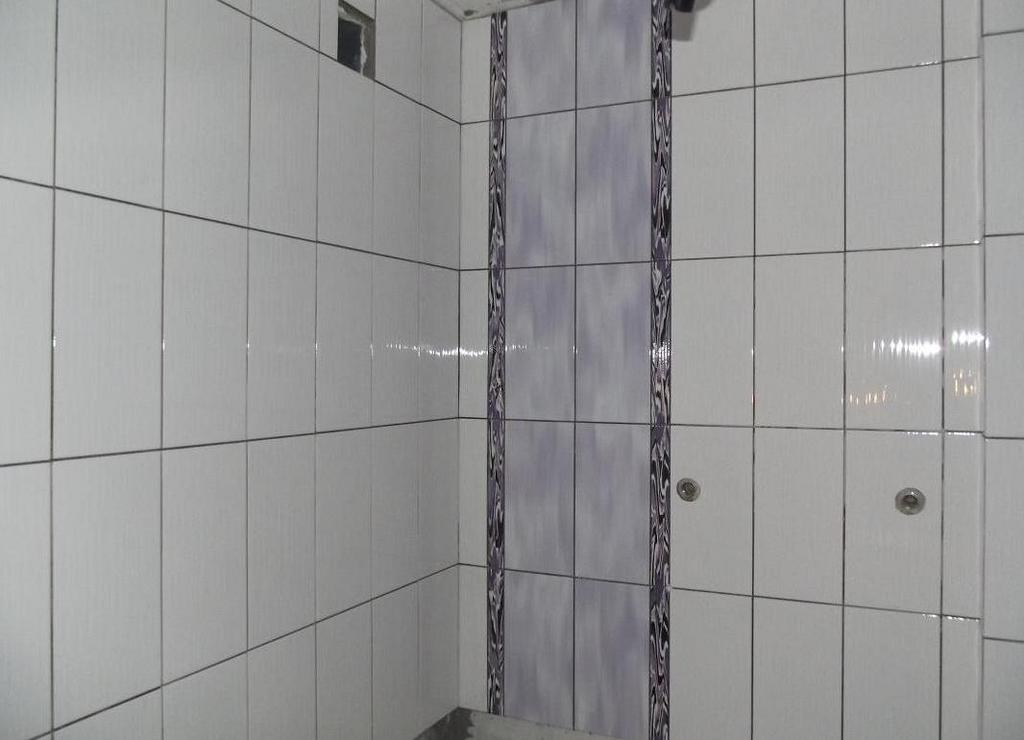
This is the independent laying of tiles on the wall is completed. If you acted completely according to our recommendations, everything should turn out smoothly and keep reliably. With the technology of laying tiles, the result will please you.