On the eve of the holiday, we begin not only to choose gifts , but also to think how to make them more personal and sincere so that the recipient understands how dear to us.
Sometimes it's enough to add a postcard to the gift, and it's better that it's not a stamped store card, but something more interesting. For example, you can make a New Year's scrapbooking-card with your own hands. If you have never created a postcard before - it does not matter. With the help of our master class, this can be done by everyone.
So, today we are making a New Year's card with our own hands.
New Year's card in the technique of scrapbooking - a master class
Necessary tools and materials:
- cardboard, scrapbooking paper, beer cardboard;
- pictures for decoration;
- cutting;
- sandpaper;
- ink pad, acrylic paint;
- adhesive, double-sided adhesive tape;
- Scissors, clerical knife, ruler;
- sewing machine.
Performance:
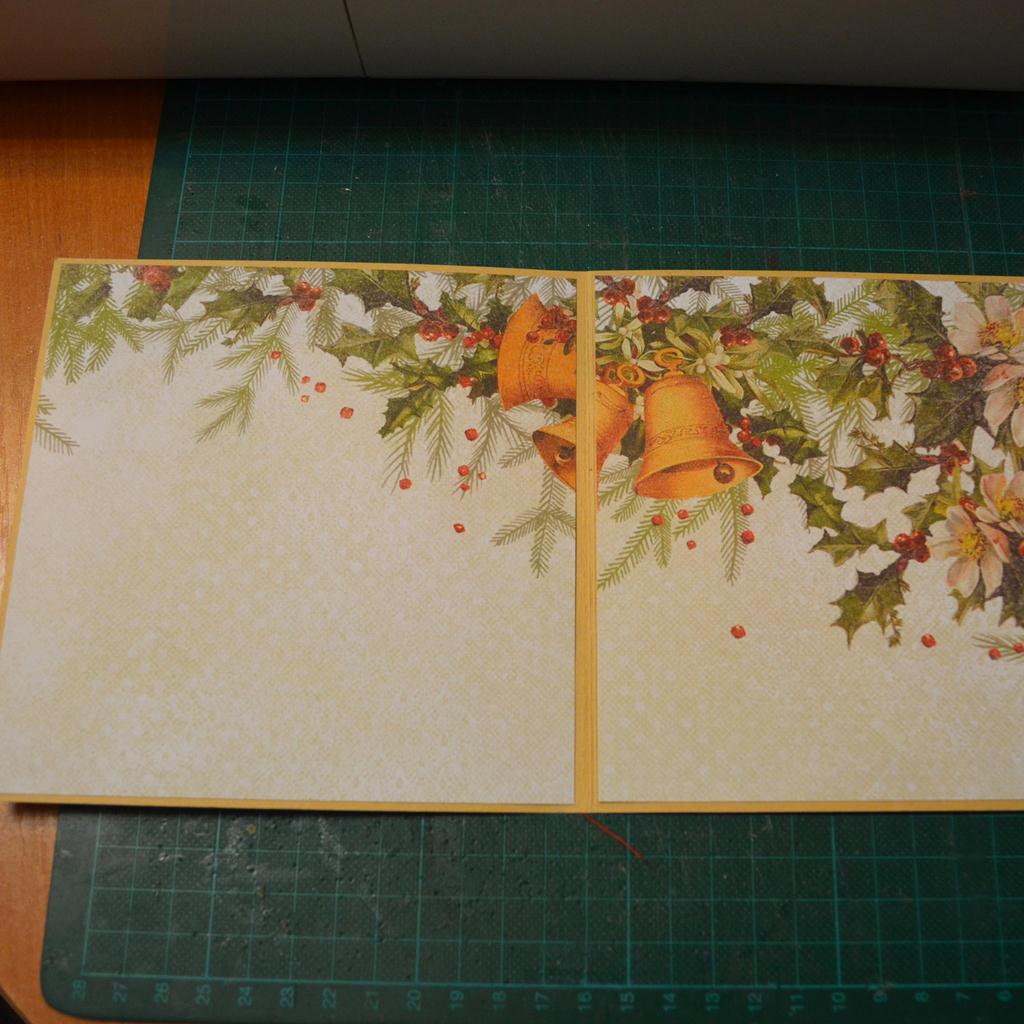
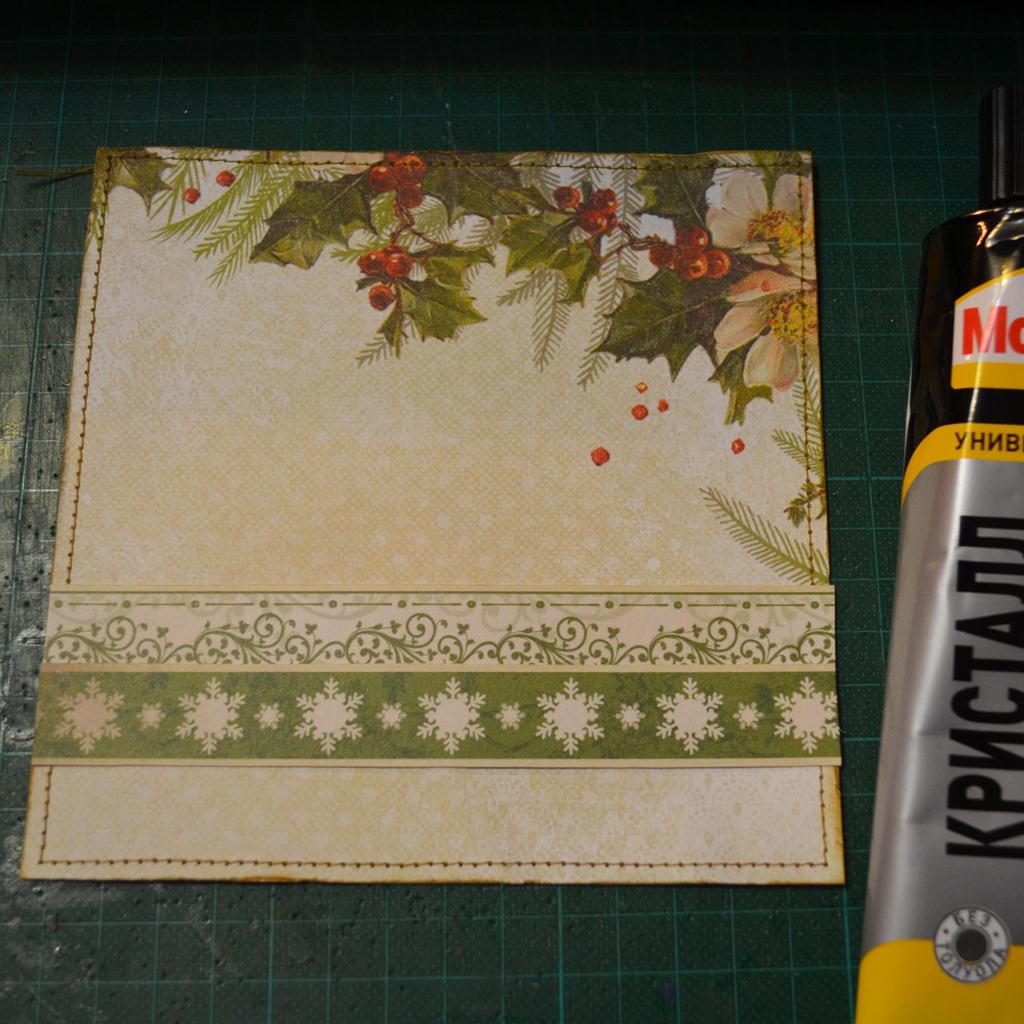
- Paper and cardboard are cut into pieces of suitable size (I made a cardboard 15x30 and four squares of paper 14.5x14.5). Two pieces of paper immediately glue in the middle and stitch.
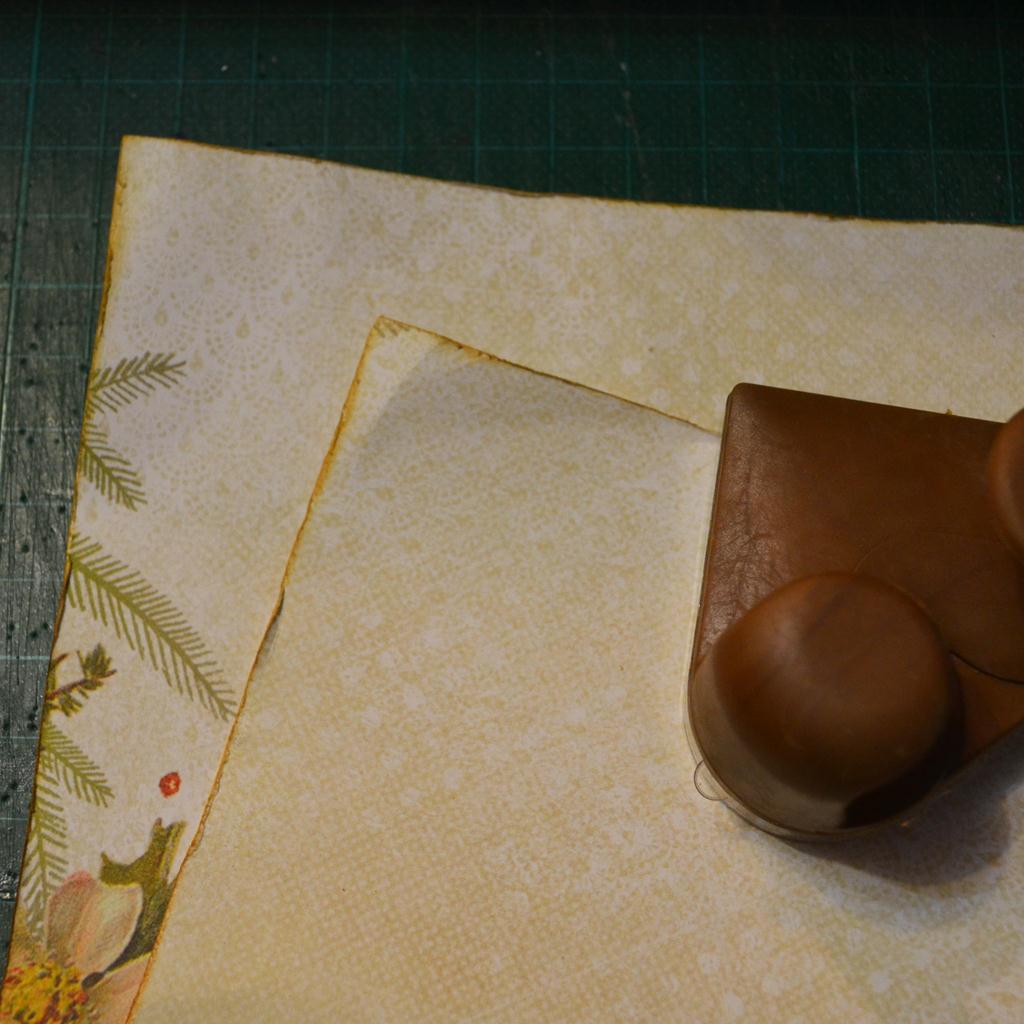
- The two remaining paper squares are rubbed on the edge of the nest and shaded with a pad.
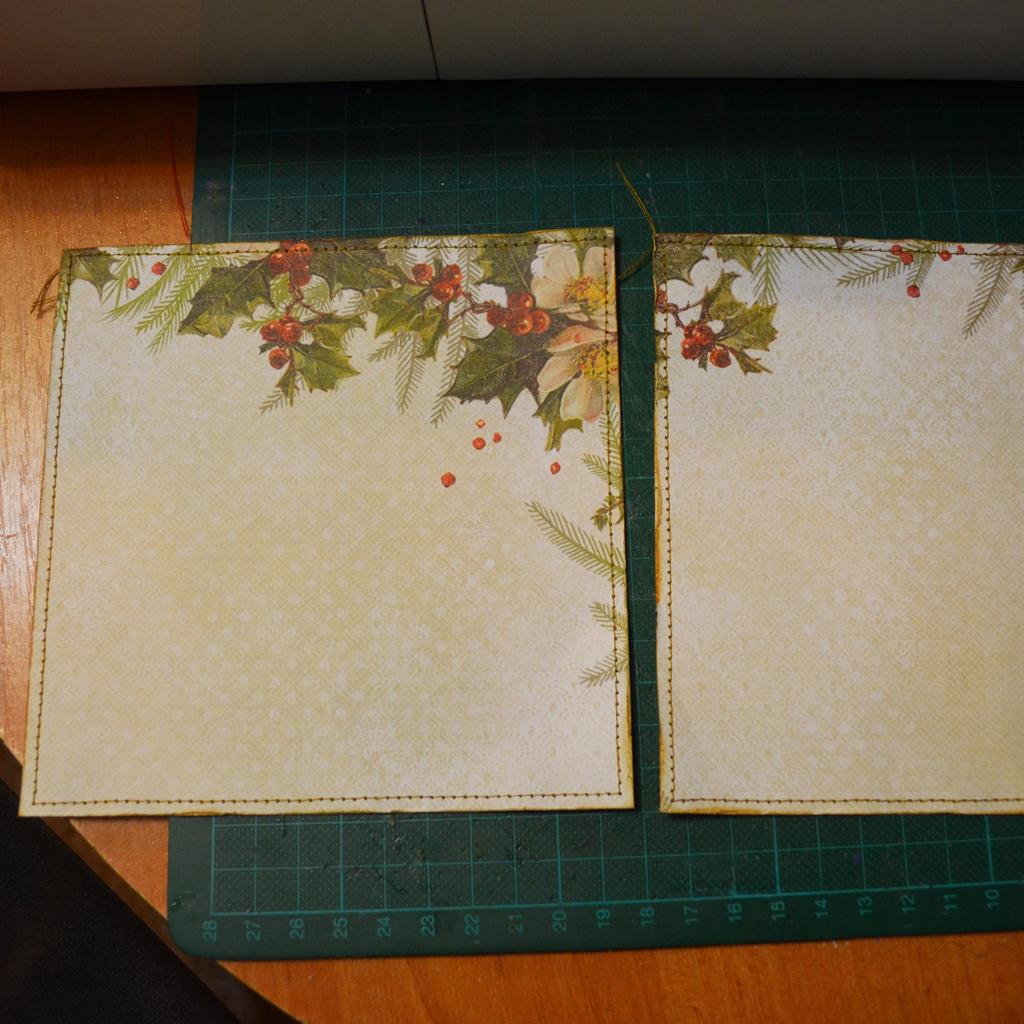
- Then we sew and glue one of them onto the back side of the base.
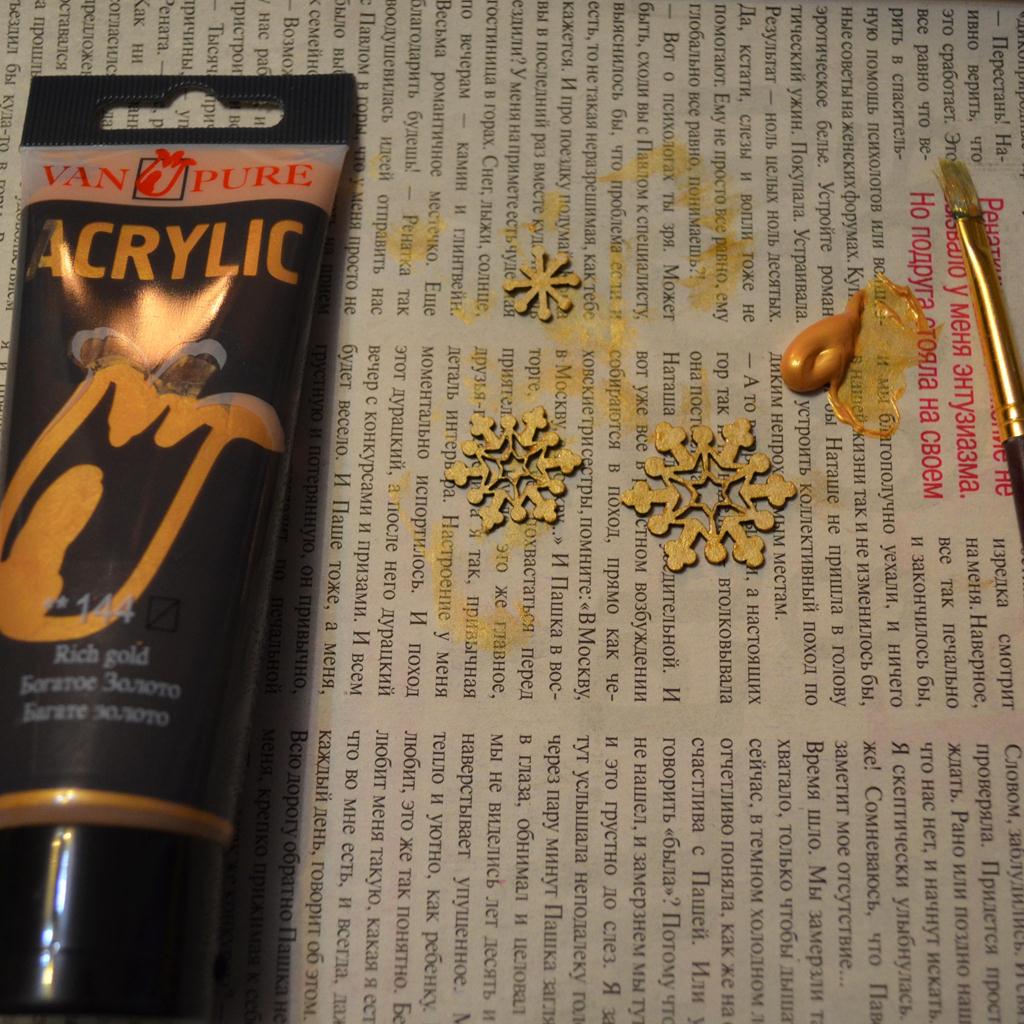
- Cutting dyeing with acrylic paint and postponed until completely dry.
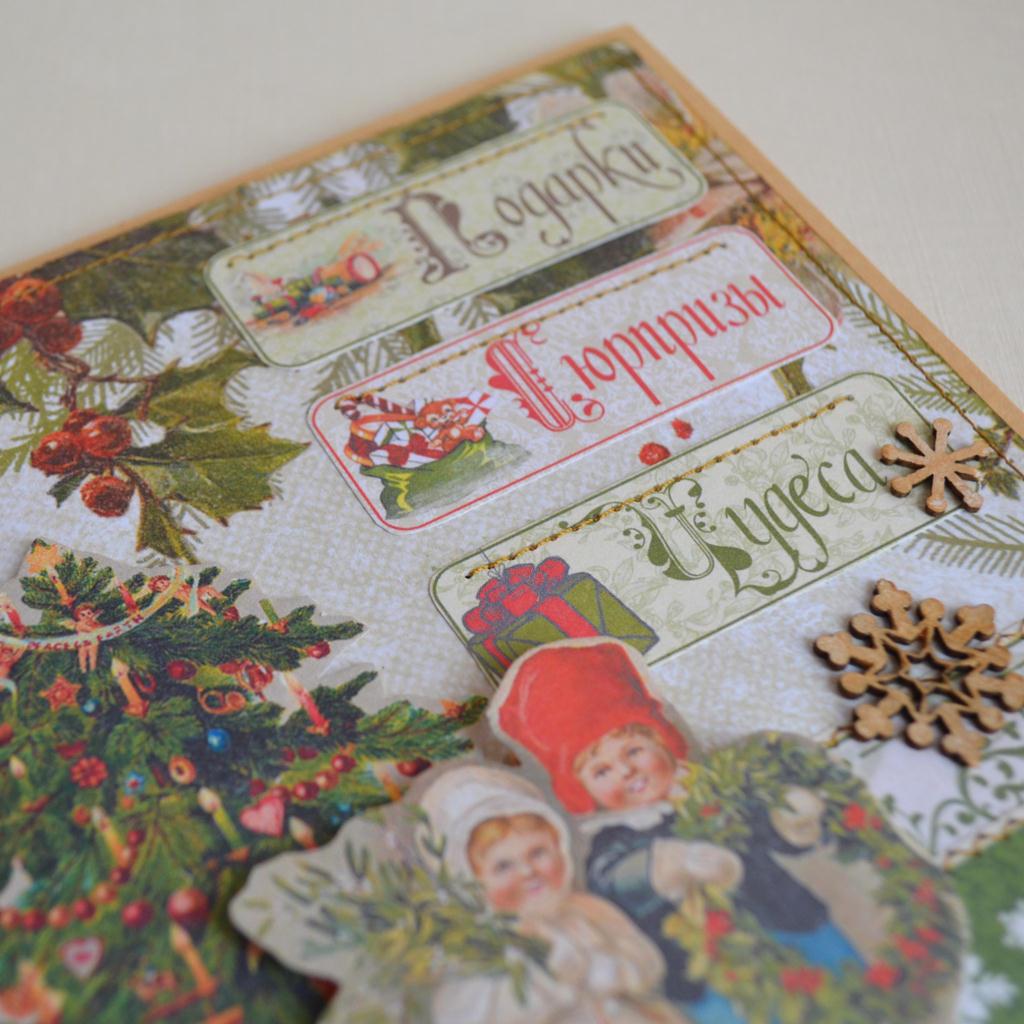
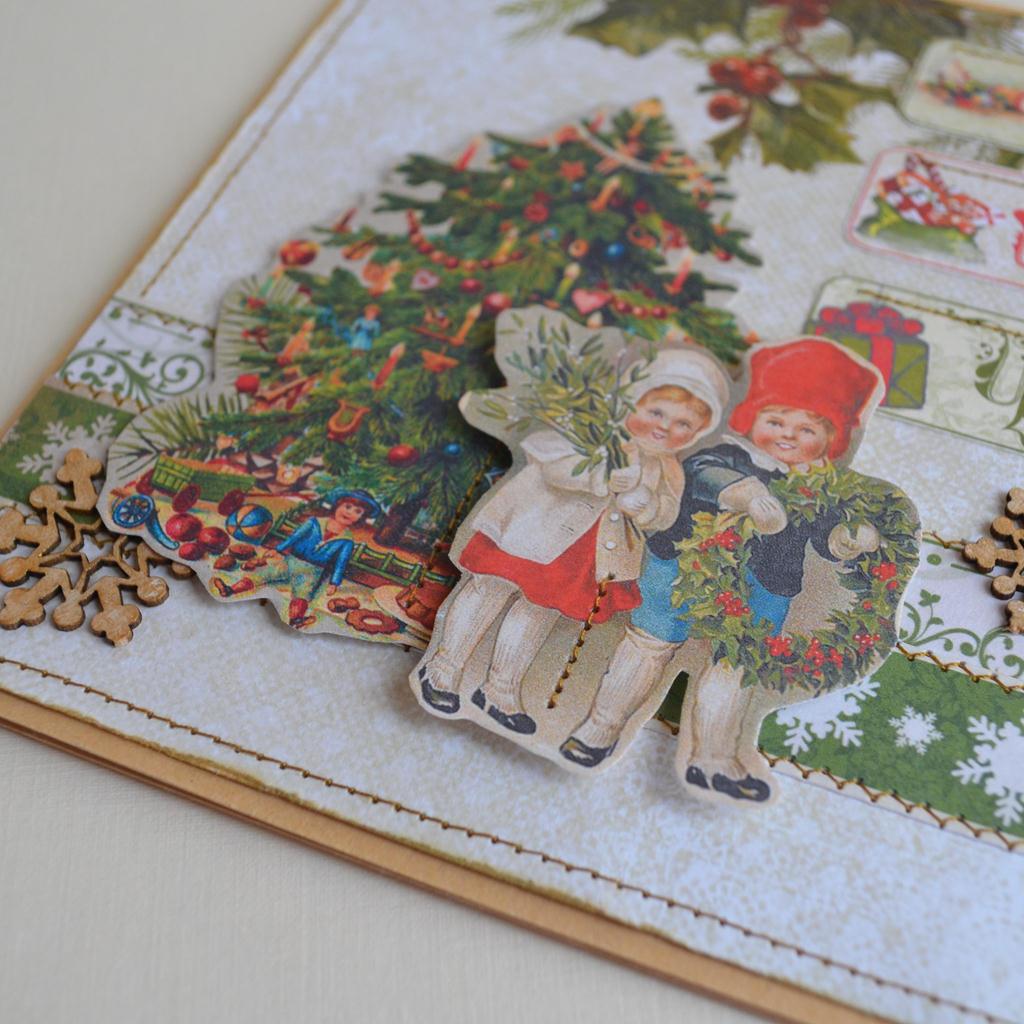
- On the lower part we paste a pair of curbs and overlap them with a zigzag.
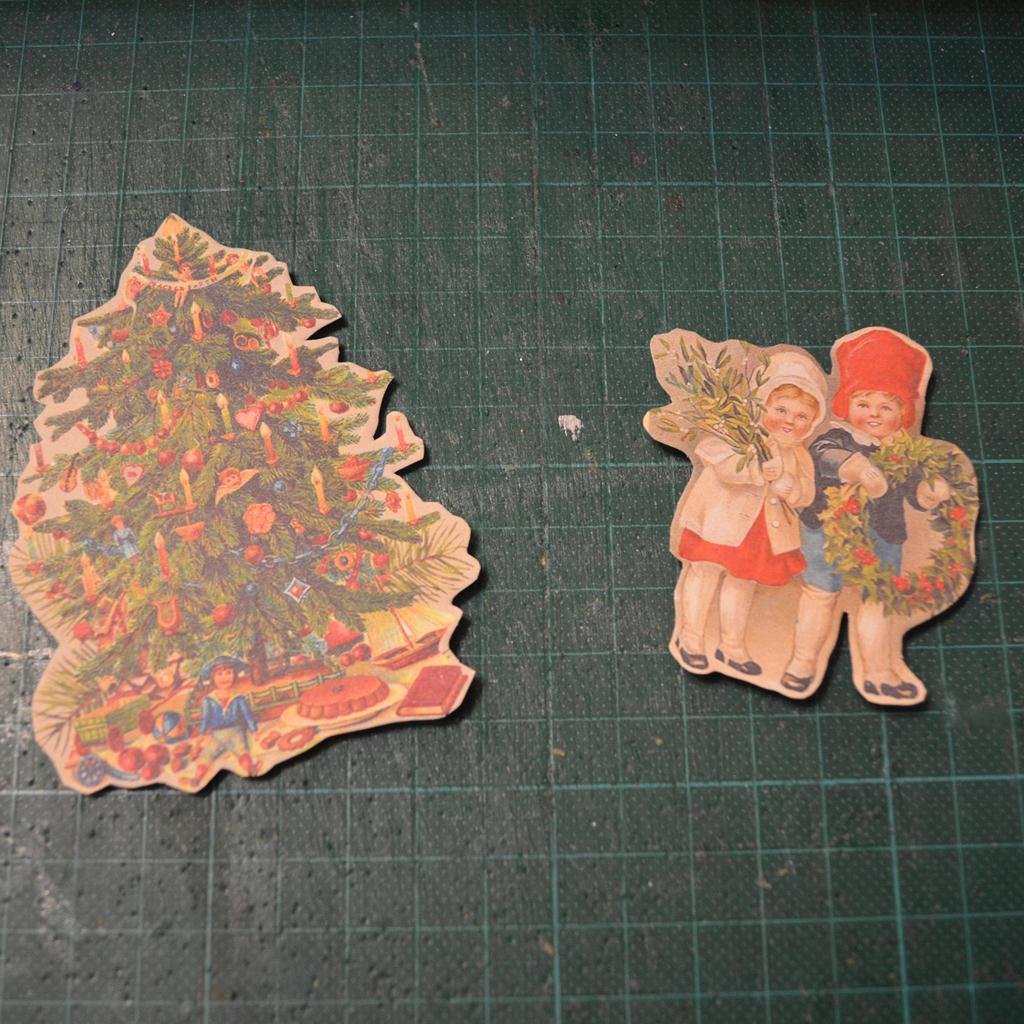
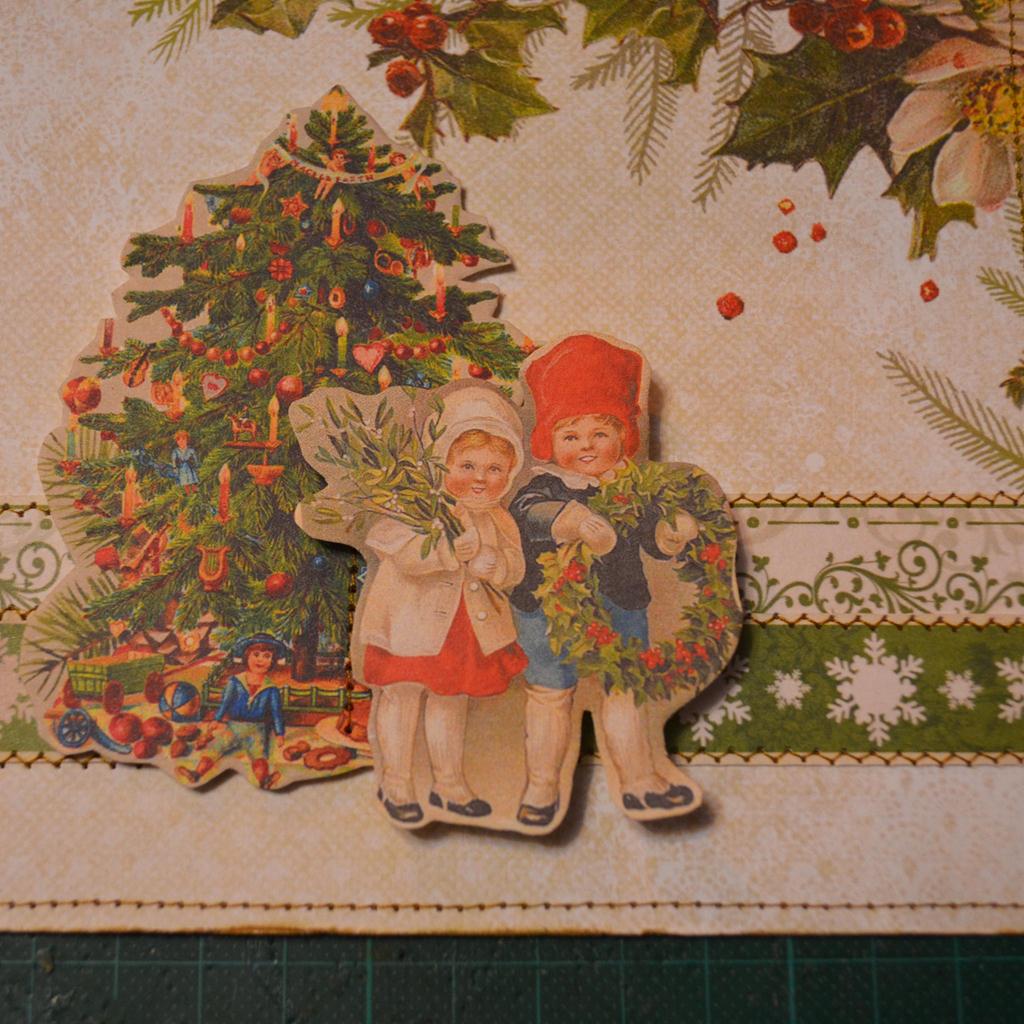
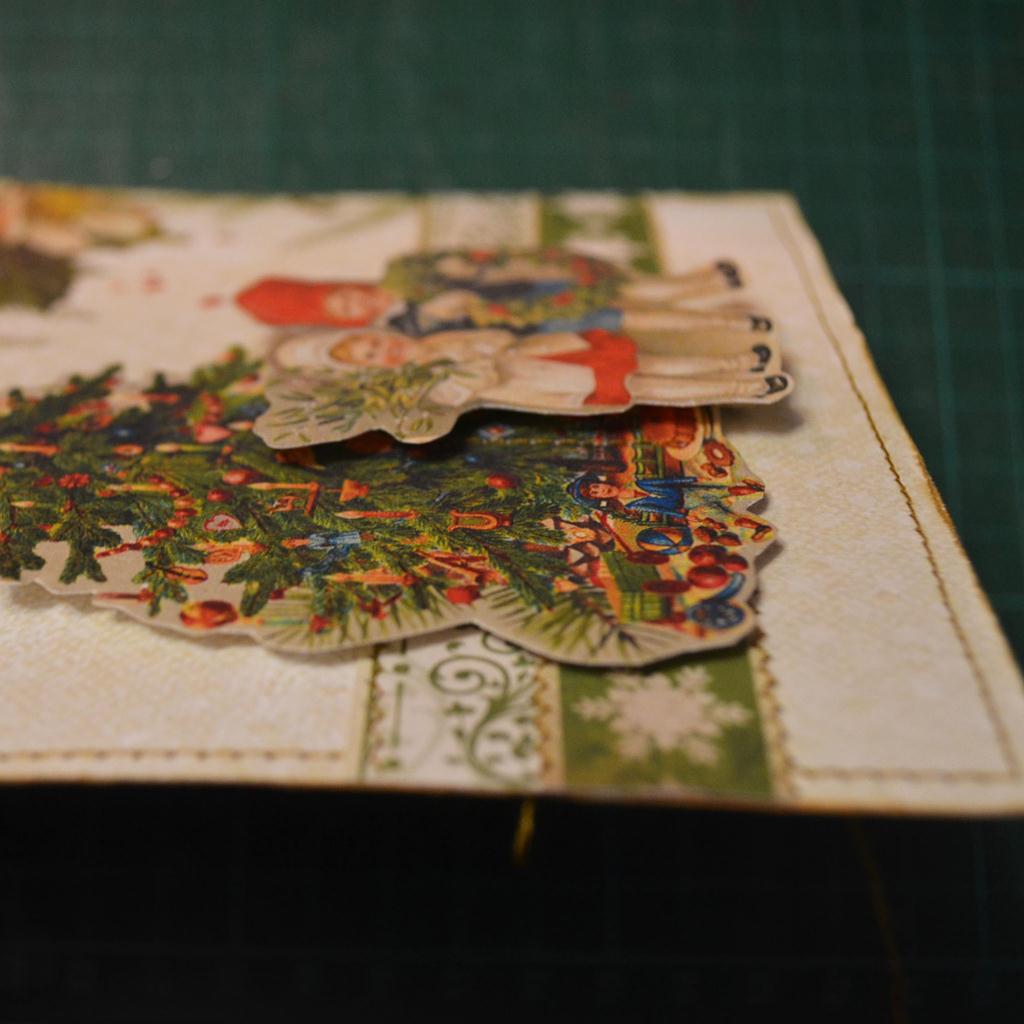
- Now select the pictures (I stopped at the New Year tree and a couple of kids).
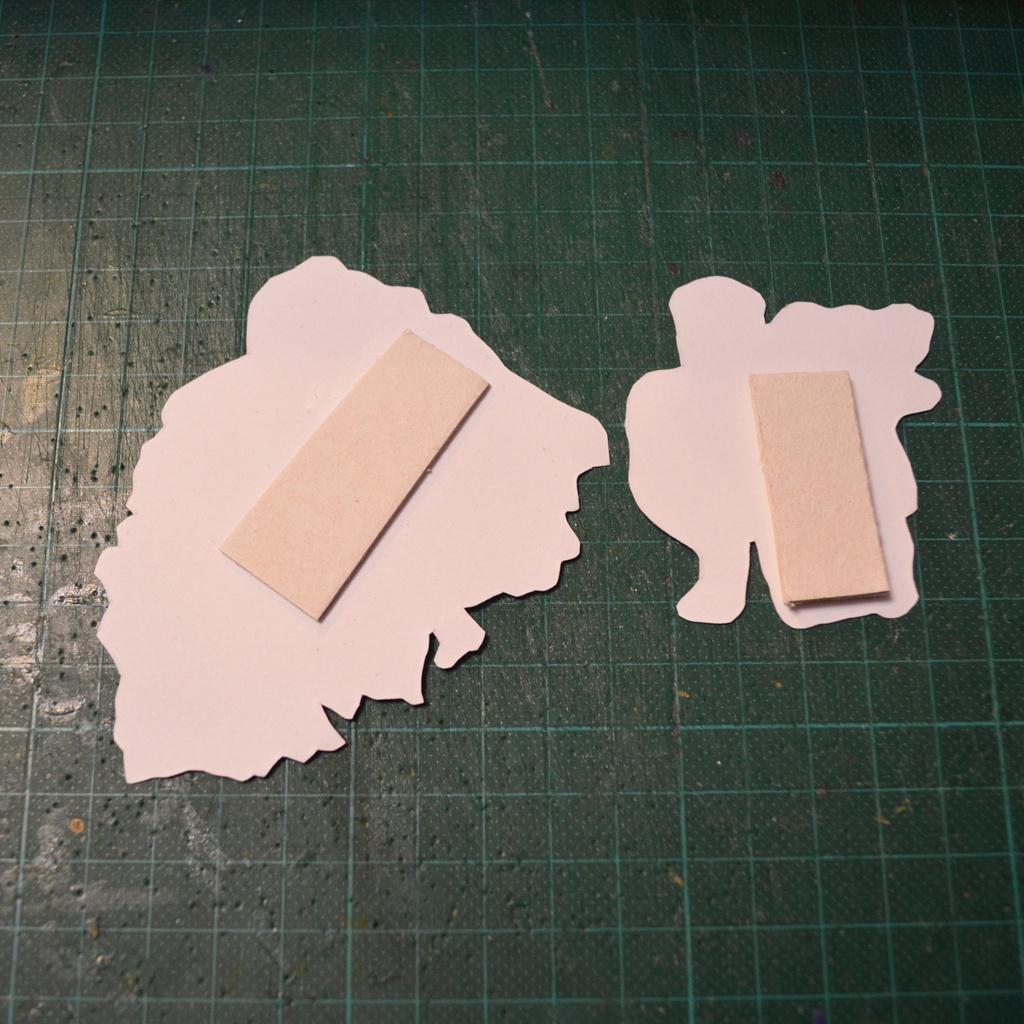
- To make the volume paste on the back of the beer cardboard - on the Christmas tree 1 layer, and a couple of two.
- We paste the pictures on paper and slightly strengthen the stitch. A double layer of beer cardboard on one of the pictures was needed to add extra volume.
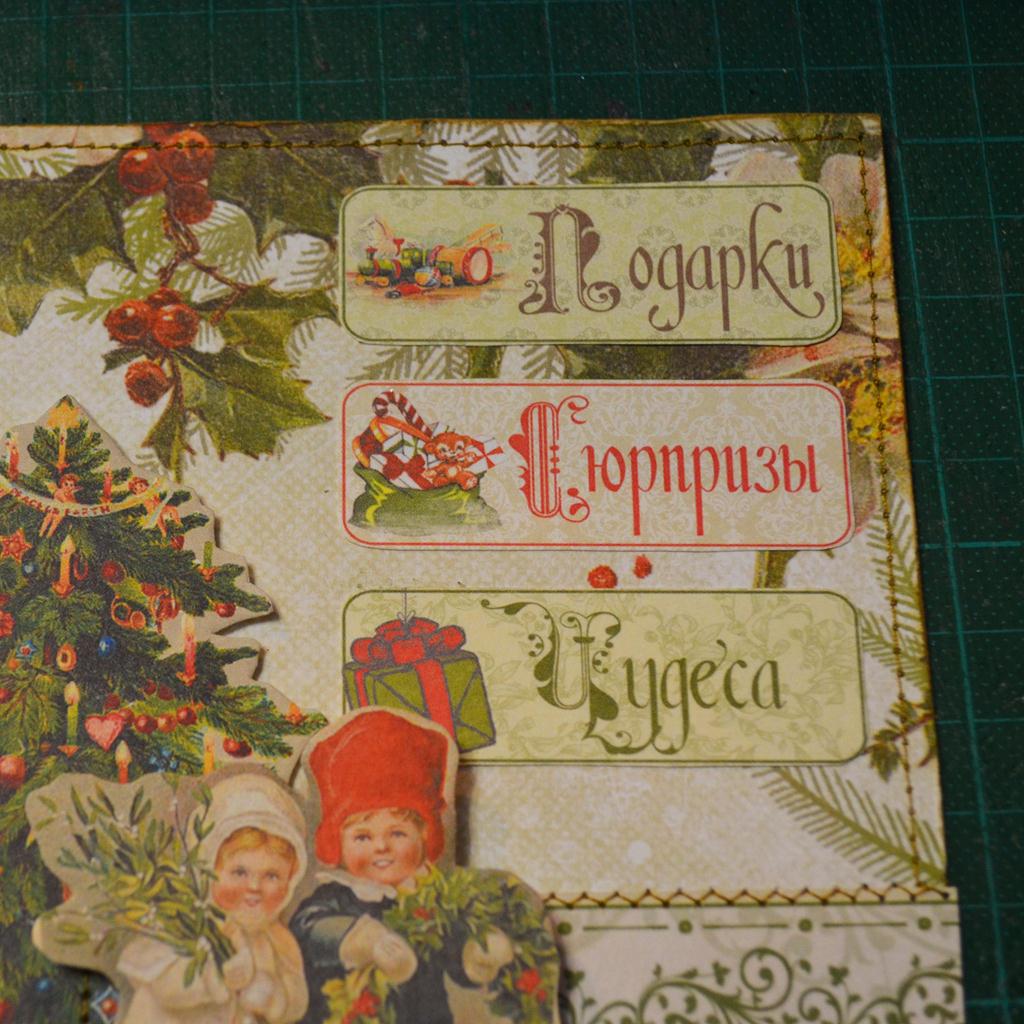
- On the side, you can add a few pictures with words symbolizing a wonderful winter holiday.
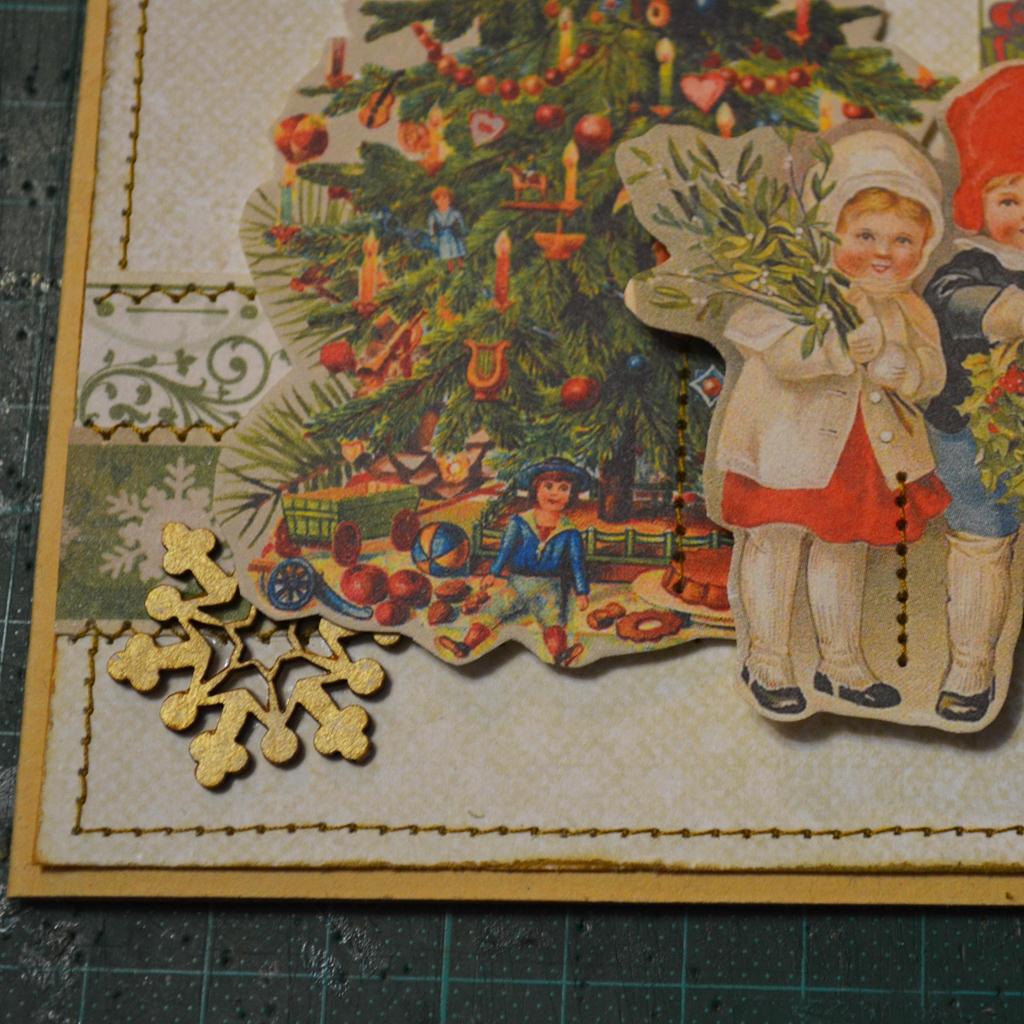
- In the end, we paste snowflakes and fix the front part of the postcard.
| | |
| | |
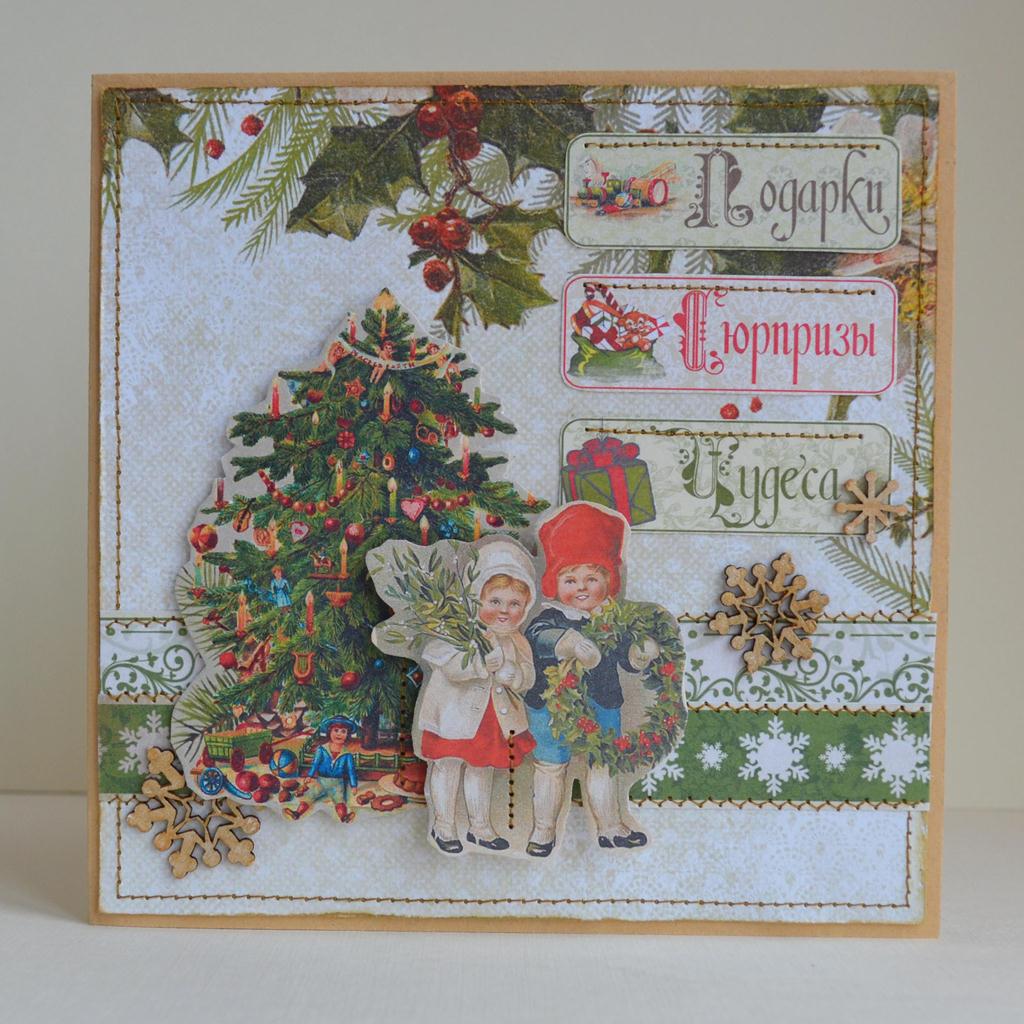
Wiping and vintage pictures will give our postcard a certain charm of antiquity, and volumetric ornaments will cause the desire not only to consider, but also to touch, enjoying the fruits of your labor.
| | | |
The author of the master class - Nikishova Maria