The atmosphere of any holiday depends largely on the decoration of the room in which it is held. Value play both the main details of the interior, and decorative details. Very often festive decorators began to use paper pompons of different sizes, for example, for decorating the room for a birthday . Given their lightness and volume, you can create a very festive and unusual interior. In addition, to make pompoms do not take much time and in the financial plan they will cost very little.
What paper do pom-poms do?
For making pompoms you need light and thin paper. Effective pompons are obtained from cigarette, packing and crepe paper, and pompons made from corrugated paper are more accessible in terms of purchasing material. The latter is very convenient for holidays because of the variable color scheme.
How to make pompons from paper (option 1)?
For the production of large pompons, you can take a whole sheet of corrugated paper. The more luxuriantly you need a pompon, the more a piece of paper should be in length.
To make a pompom we will need:
- sheets of fine packaging or corrugated paper;
- thread;
- scissors.
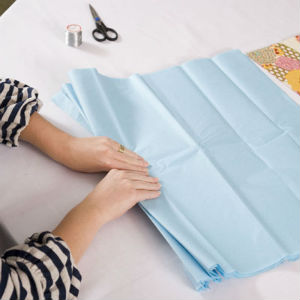
- A sheet of paper of the required width is stacked. The height of the stack is adjustable, depending on the desired pompom.
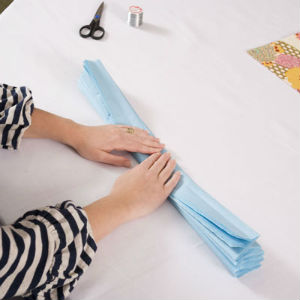
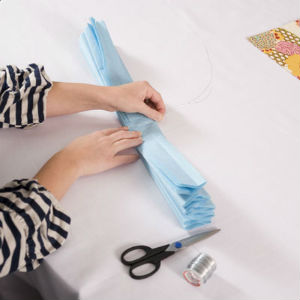
- We connect the resulting accordion with a strong thread right in the middle.
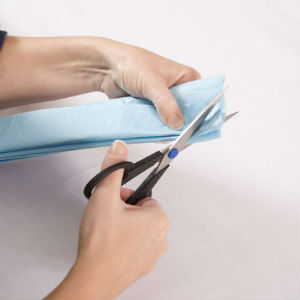
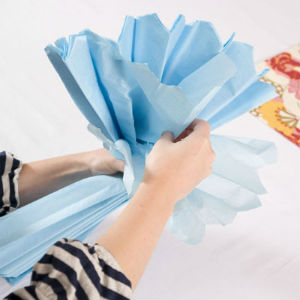
- Cut the edges of the accordion. You can do this in different ways, depending on the desired effect. So, the edges can be rounded, sharp or reminiscent of the edges of the pompoms from the filaments. In this case, we simply cut them, forming a likeness of a trapezoid.
- The last stage of manufacturing pompoms is to open the accordion. Raspushiv it, as we need it, we get a simple, but spectacular decoration.
| | |
| | |
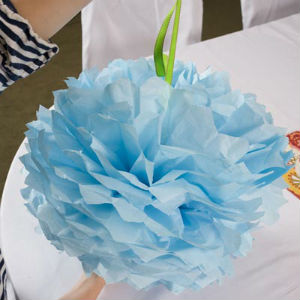
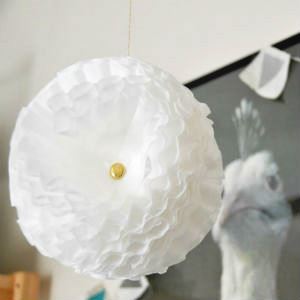
Pompons of paper can simply be put on furniture, and you can attach to the ceiling, so that it soars in the air. To do this, you will need a fishing line or tape, if you want the mount to be visible. Fixing the tape or fishing line to the pompon on one side, the other we attach to special hooks on Velcro that leave no traces. The latter can be purchased at any store of household or construction trifles.
Paper pom-poms with your own hands (option 2)
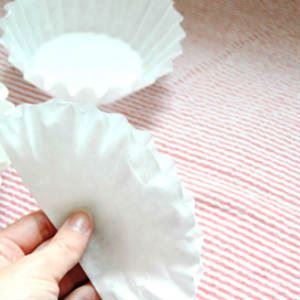
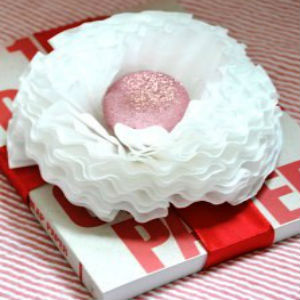
For the production of pom-poms, paper filters for coffee can be used. Pompons are small. They can be used not only in the decor of the room, but also decorate with a pompon box with a gift .
To make a pompon from paper we will need:
- filters for coffee;
- metal hairpin;
- An awl or any device for making holes in the paper;
- hot glue;
- thread, fishing line or tape.
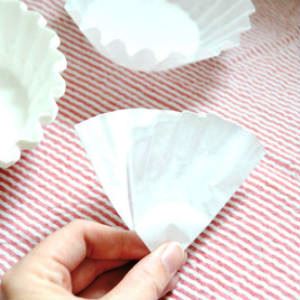
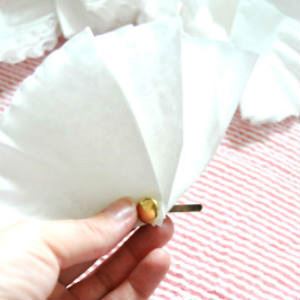
- The filter for coffee is added so that a quarter of a circle is obtained. We make a hole in the paper and insert a metal stud into it.
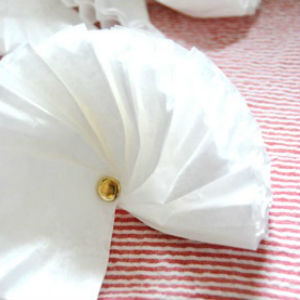
- We string, thus, the other filters, independently adjusting the necessary splendor of the future pompom. This will be half the future product.
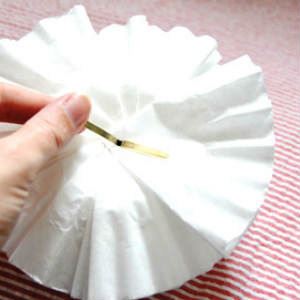
- Having similarly done the second part of the pompon, glue both halves with the back side with hot glue.
- We attach a thread, fishing line or tape to the pompon, having preliminarily measured the length required by us.
| | | |
| | |
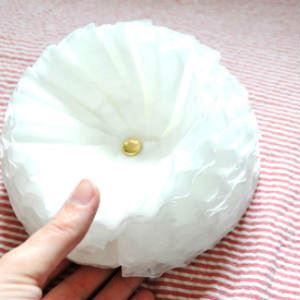
In order to make a pompom for a gift, we stop at the stage of making one halve. Fixing the filters so that they do not fall off the hairpin, from the front of the pompon we glue the bead. Pompom for the gift is ready!
Master-class: pompons made of paper (option 3)
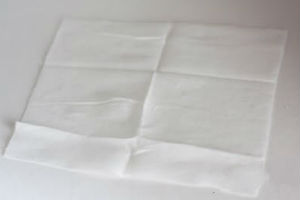
For the production of small and bright pompons, you can use not only paper, but also wet wipes. In order to make both materials unusual, you must first work on them.
So, we need:
- Wet wipes or wrapping paper, on which you can paint;
- paints, preferably acrylic;
- brush;
- scissors;
- pencil;
- thread.
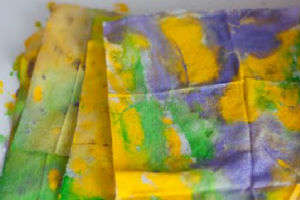
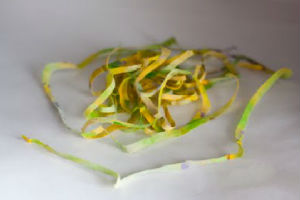
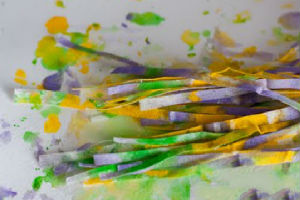
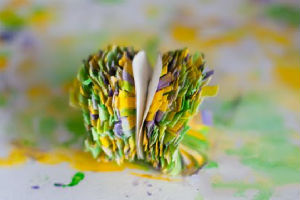
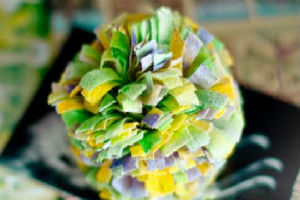
- We take napkins or paper, cut in the form of a square. We paint them with acrylic paints, making bright divorces from the colors we need.
- Paper or napkins are left until completely dry and then cut into strips of the correct width. You can also carefully cut the whole strip, cutting it around the perimeter of the workpiece.
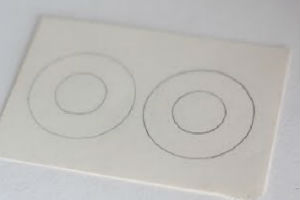
- On the cardboard we draw a template for making a pompon. In this case, the diameter of the outer side is made equal to 4 cm, and the inner - 2.5 cm. We cut out the shape.
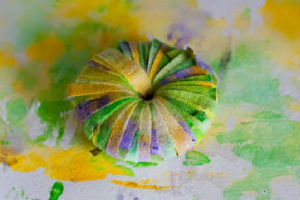
- We wind the strip on the pompon form or carefully insert small strips into it. In the first case, the pompon is cut, inserting scissors between two cardboard forms.
- We connect the stripes exactly in the middle, pushing the cardboard patterns. We remove them and straighten them, giving them the right shape. We trim the pompom, if necessary, and it's ready!
| | |
| | |
| | |
| | |