Today, warming homes has become an incredibly topical solution to the problem of heat loss. And they insulate both facades of high-rise buildings and private buildings. Many owners of dachas also try to improve their homes. The technology of facade insulation with expanded polystyrene gives us the opportunity to keep warm in winter and cool in summer.
Warming of facades with expanded polystyrene
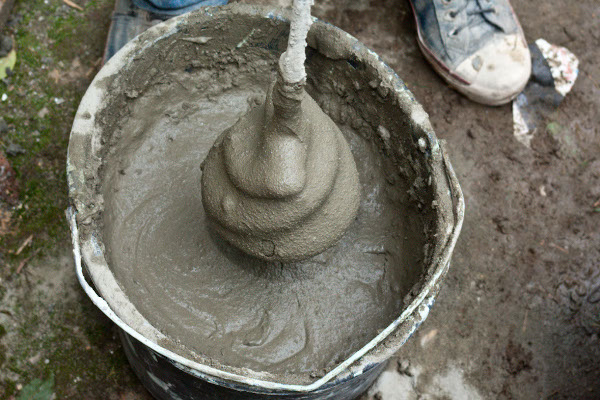
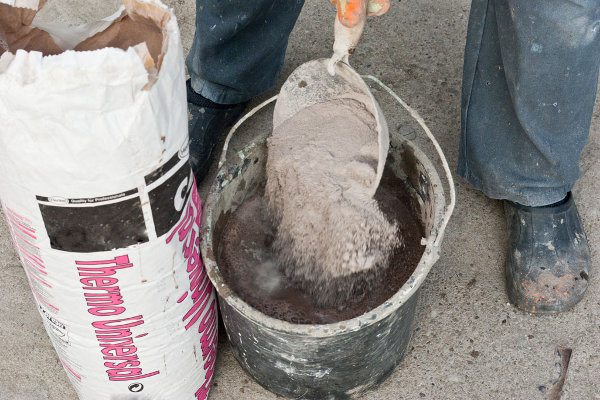
- The first stage of warming the facade of the house with expanded polystyrene is the preparation of a glue solution for fixing the plates. As a rule, in one construction market, the entire line of work is immediately represented, which includes adhesive for the plates, the plates themselves and the reinforcing mesh, as well as a special putty to fix this mesh. Mix the solution with a nozzle on the drill.
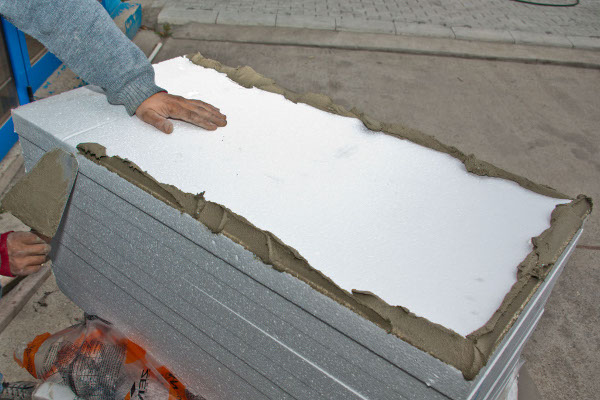
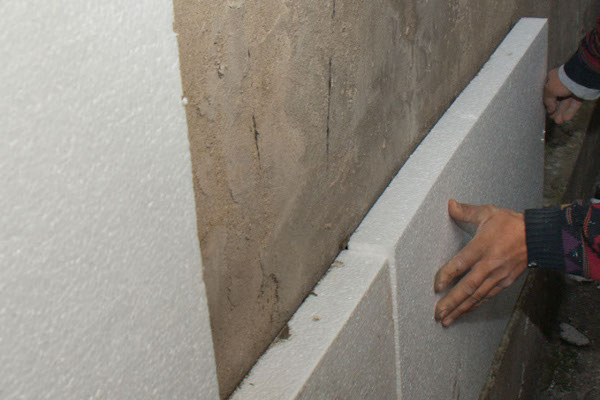
- Next, we begin the insulation of facades with expanded polystyrene, namely, we apply glue composition around the perimeter of the plate. Sometimes you have to deal with very uneven walls. In this situation, experts recommend applying several points of glue in the central part of the plate.
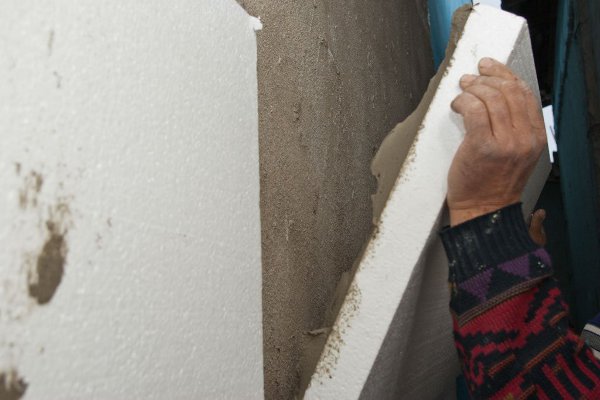
- Now we begin to press the plates with glue to the wall. We start from the lower left corner. In the first row the slabs are arranged horizontally, then we will lay the vertical upper tier. Using the level, we check the quality of laying the plates in a row.
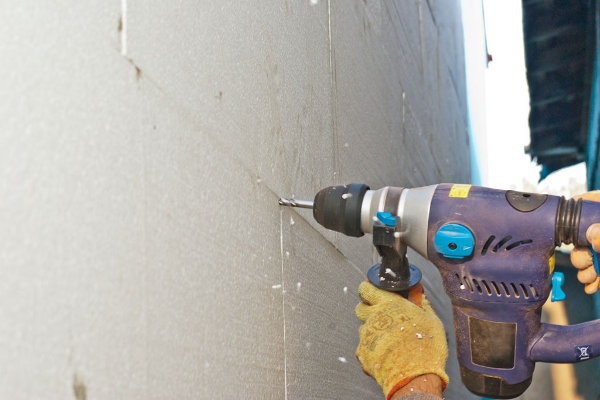
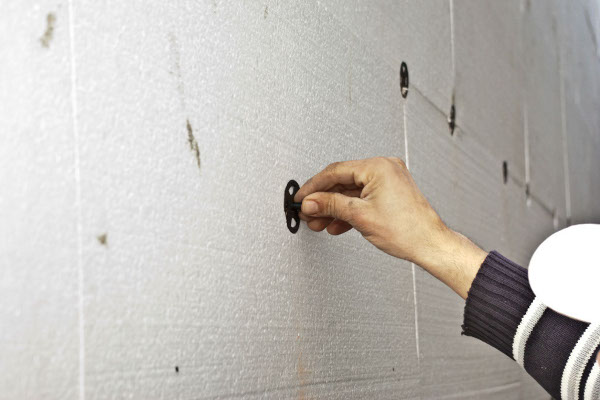
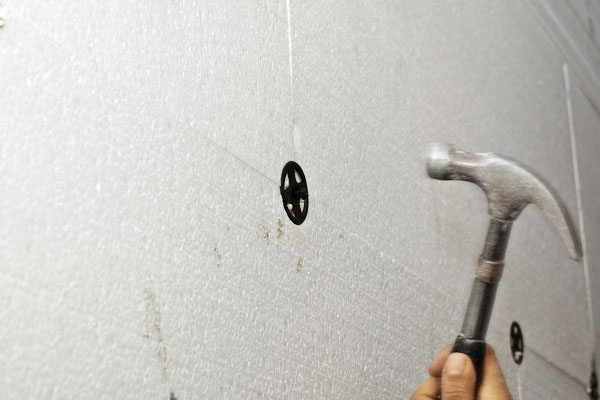
- According to the technology of insulation of the facade with expanded polystyrene, we give the plates to seize and the glue to dry for about two days. Then we begin the second stage of fixation. In addition, we will punched holes for so-called umbrellas. They are placed in the joints of the plates, as well as in the central part of each plate.
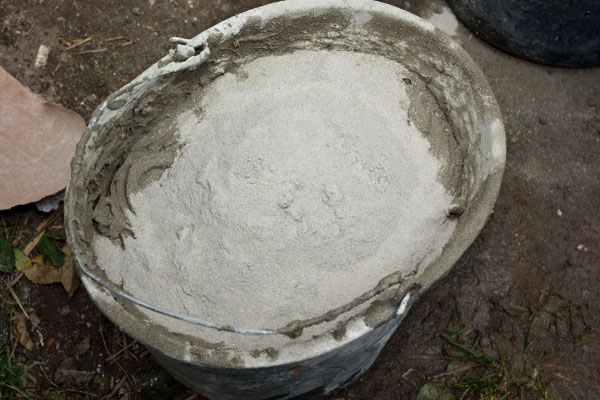
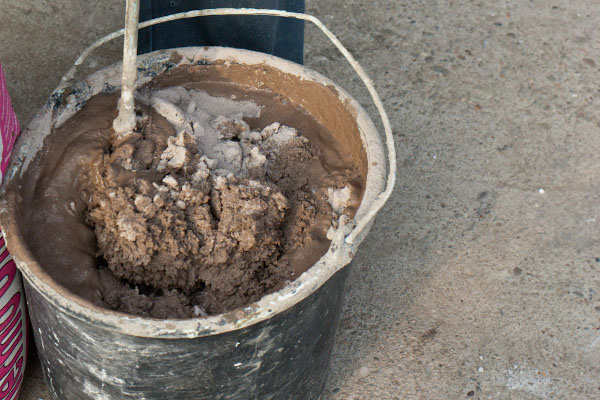
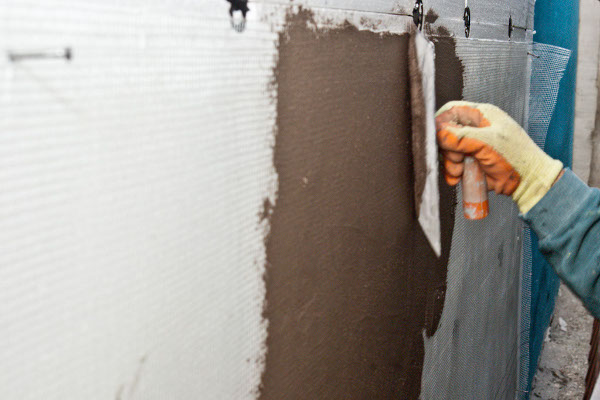
- Now we begin to level the wall and strengthen the reinforcing mesh. For this stage of warming the facade of the house with expanded polystyrene, we dilute the mixture with a drill. Specialists recommend first simply pour the dry mixture in the specified proportions, and only after a couple of minutes begin to mix. This will make it possible to obtain a more uniform pasty mixture for fixing the mesh.
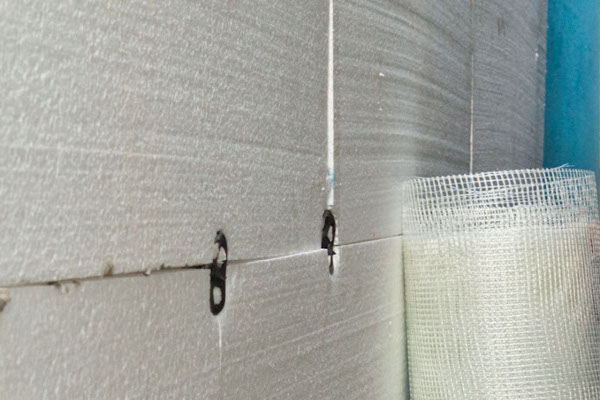
- Again we will begin work from the bottom of the wall. We roll the grid horizontally and measure the desired length. It is important that the stack is stretched, and no creases are formed. For a while, we will take the grid to the wall with small nails.
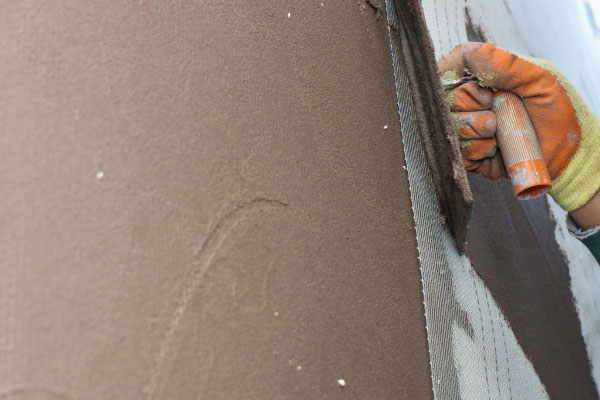
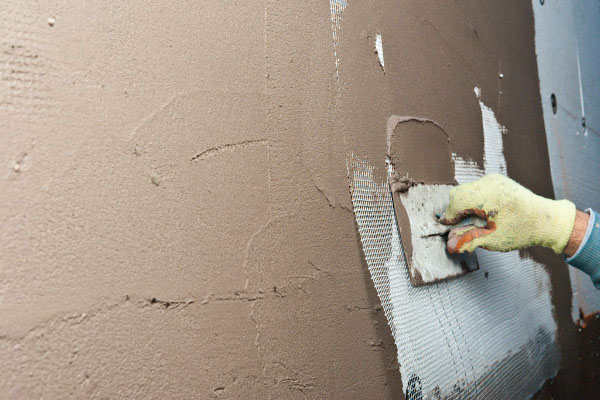
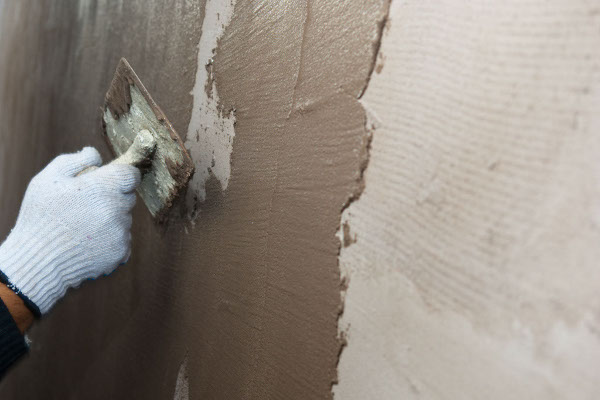
- Next, start in circular motions to apply putty and level the wall.
- In the upper part we will have the grid already vertical, like the plates themselves. The overlap between the grid sheets should be about a couple of centimeters.
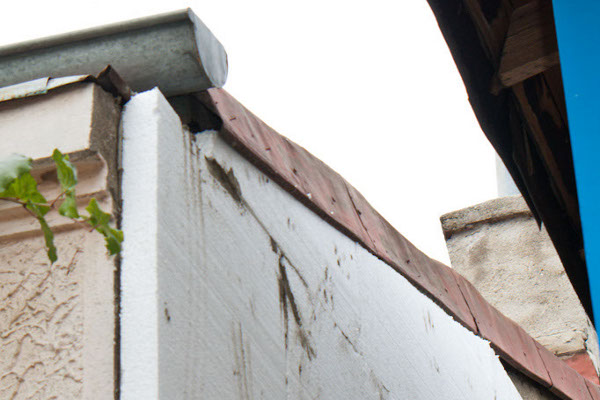
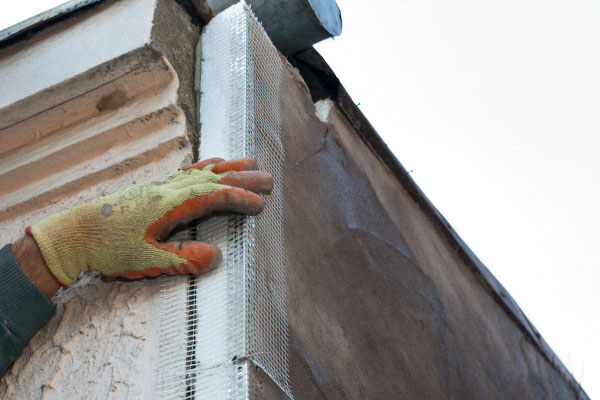
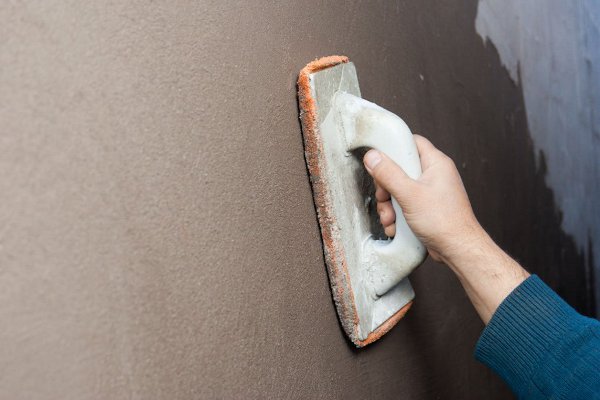
- Be sure to attach the mesh in the corner parts of the wall. Let the wall dry for about two days, then we put the second layer. Further small parts of the wall are moistened and leveled using a sanding pad. At this the insulation of the facades with expanded polystyrene is completed.
| | |
| | |
| | |
| | |
| | |
| | |
| | |
| | | |
| | |