If you are a beginner in needlework, then you can try to learn the weaving from elastic bands by the example of such simple bracelets as "Fish tail" , "Ladder" or, for example, "Quadrofish". The latter looks very interesting, but it's very easy to beat. Let's find out how to make it yourself.
How to weave bracelets from rubber bands "Quadrofish"?
First, you will need a machine. It will be enough to have a small machine in two rows, since we only need four bars. This is also indicated by the very name of the bracelet - the word "quadro" means, as you know, the number four.
So, before you start, remove the third row of the machine, so that only two of them remain - so it will be more convenient. Arrange the machine itself so that it is deployed by open bars to you.
Prepare in advance the rubber bands, having arranged them into two groups in colors. The minimum number of shades that you can use is two, but possibly more (this should be an even number to alternate colors with each other). The choice will depend on your own imagination, creative tasks and plans.
We will become acquainted with the course of work on weaving the usual bracelet "Quadrofish" made of rubber bands:
- Stretch the first rubber band on all four posts.
- Remove it from one of the bars (any) and twist around it, creating a so-called figure-eight, or a crosshair.
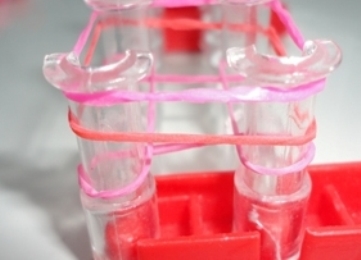
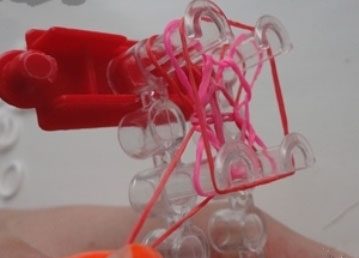
- Do the same with the remaining three bars. As a result of these actions, all four working posts on the machine will look like this.
- We take the second rubber band - it should be of a different color, unless you are going to weave a single-colored bracelet - and put it on all four bars, as in step 1. Notice that you do not need to do eight in the Quadrafish model, just like in most bracelets of rubber, only the very first elastic is twisted.
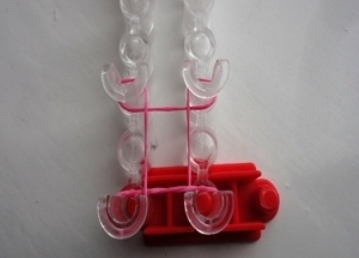
- Immediately put on the machine a third elastic band, identical in color to the first. In this example it is pink.
- At this stage you should have three rubber bands stretched out on four posts.
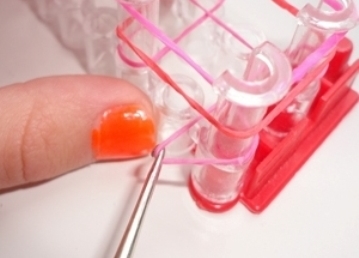
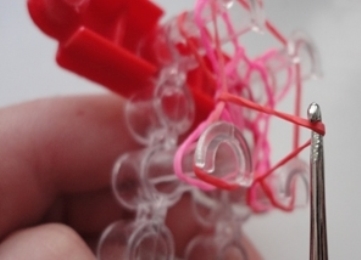
- Using a hook (special, designed for weaving of rubber bands, or a conventional knitting), pull out the bottom pink gum.
- We carry it across the column and let go, as if throwing inwards the weaving.
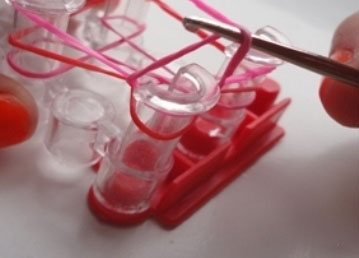
- Duplicate this action for the second column.
- And also for the two remaining ones.
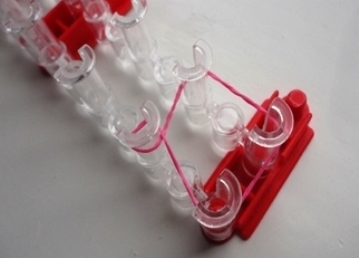
- We put on the machine the fourth rubber - again red (as you can see, the colors alternate through one). Then repeat the action described in paragraphs 7-8 of this master class.
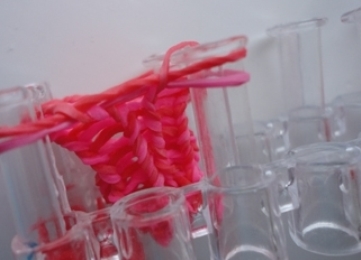
- Thus, on our machine each time there are three stretched elastic bands, the lower one of which we use the hook to translate into the center of the weaving.
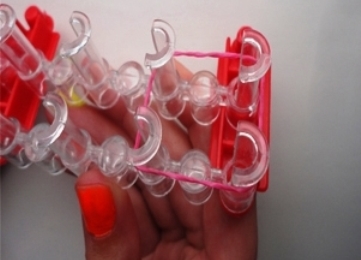
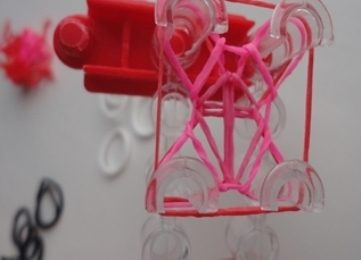
- As you can see, the bracelet grows in length, and its appearance somewhat resembles a three-dimensional cylinder or parallelepiped. Shave the bracelet to the desired length, periodically trying it on the arm. If you do not rub yourself, but as a gift, it is advisable to know in advance what the wrist circumference is for the person who will receive the bracelet.
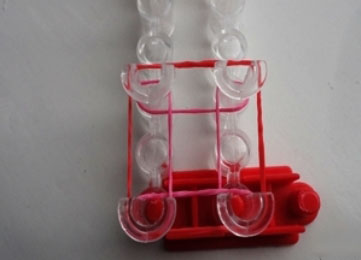
- And the final touch - we learn how to make the end of the braiding bracelet "Quadrofish". To do this, at the stage when three elastic bands are stretched on the machine, we throw them inside the bracelet, but do not put on a new rubber band. Pick up the second rubber and also move it inside from all four sides. And, when only one rubber band was left on the machine (preferably of the same color as the first one), remove it from the two bars so that it remains stretched on two opposite diagonals. So it will be easier to fix the clasp.
| | |
| | |