Everyone has become accustomed to the fact that it is possible to sew or tie any clothing. At the same time, many are very much surprised when they see knitted or made with their own hands buttons . But after reading this article, you will find out how easy it is.
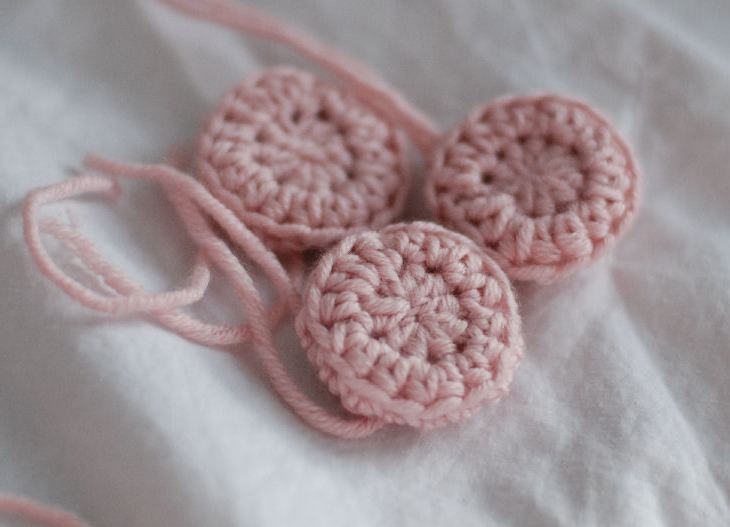
Master-class №1: knitting crochet buttons
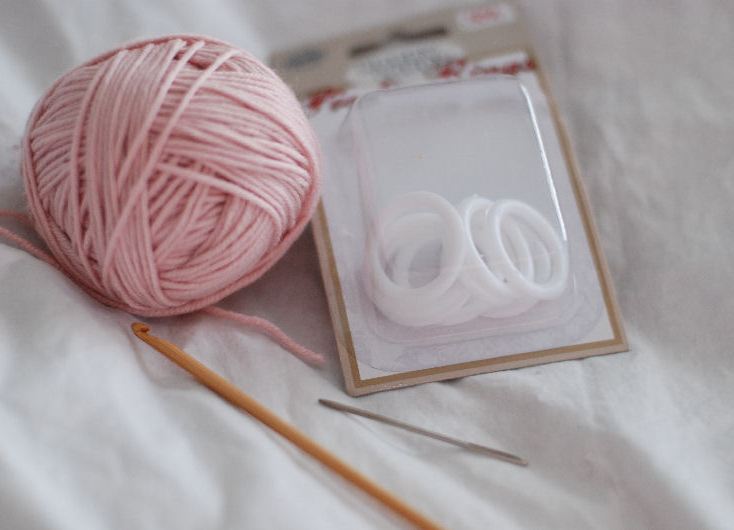
It will take:
- yarn;
- plastic rings;
- a needle with a large eye;
- hook.
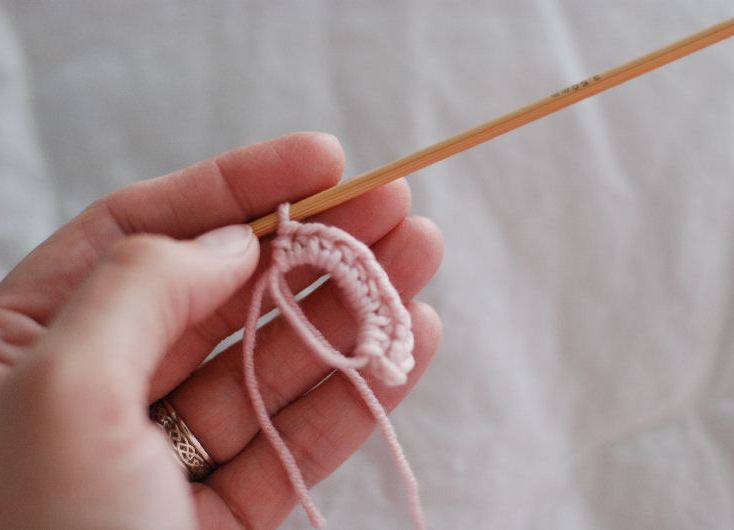
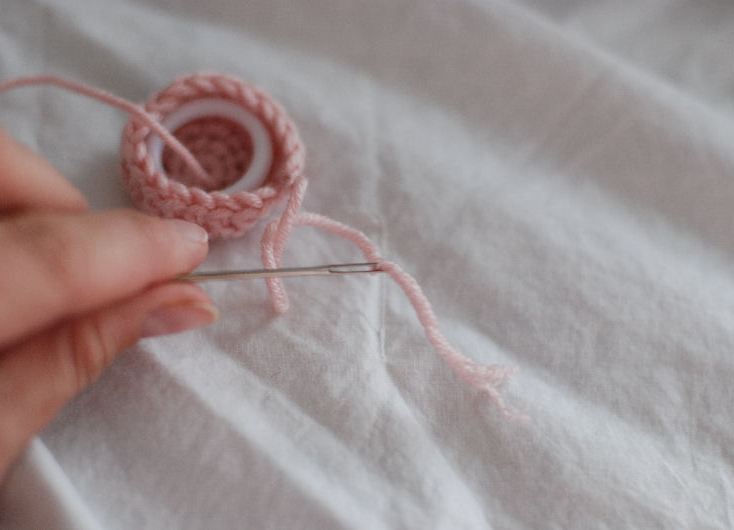
- Make an adjustable ring. On it we type 10 columns.
- When all the loops are imposed, tighten the ring and connect the latter with the first.
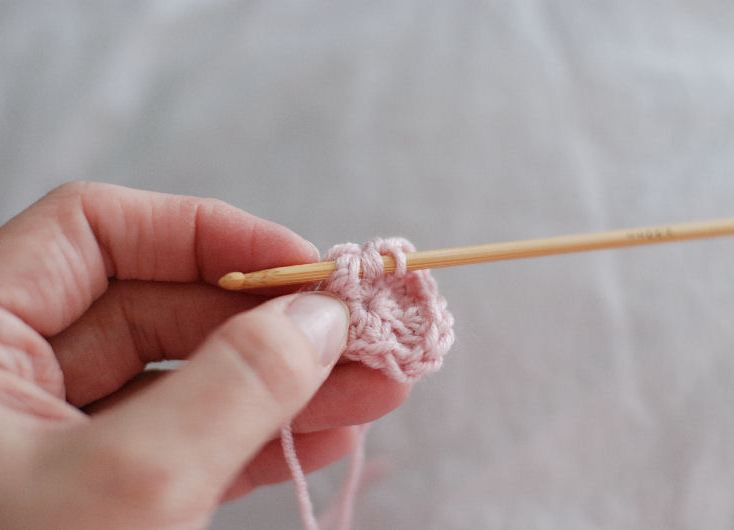
- The next row is sewn into each loop of the 2 column without a crochet.
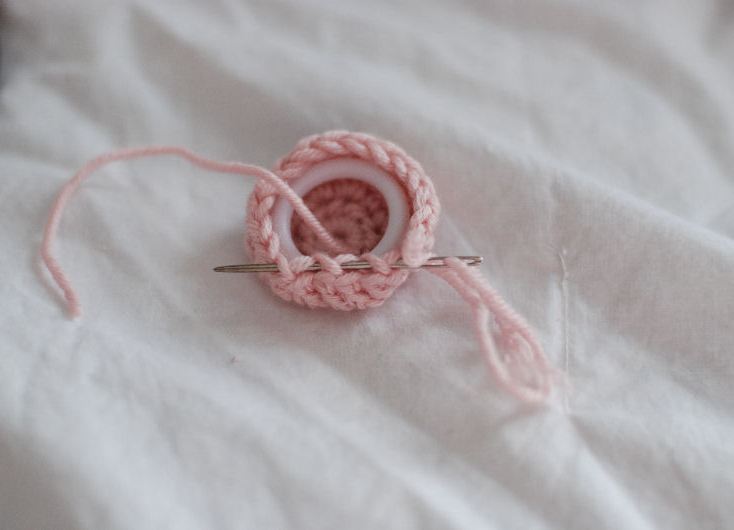
- The third row is made from columns with a crochet.
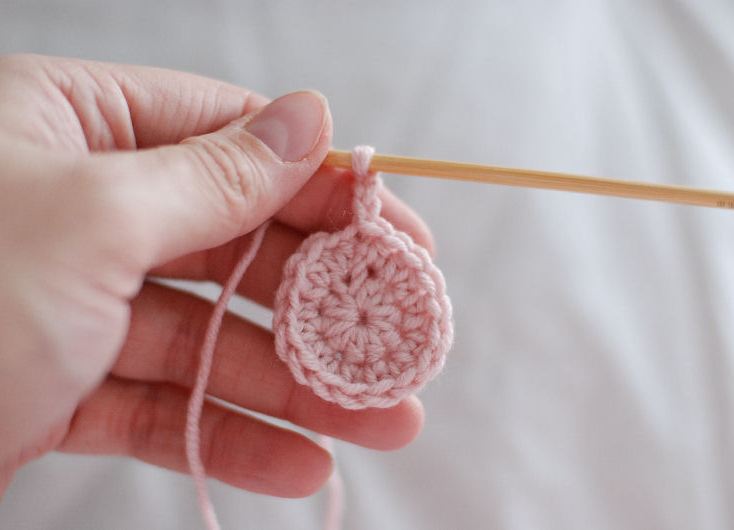
- Securing the thread, leave the tail of 10-15 cm in length.
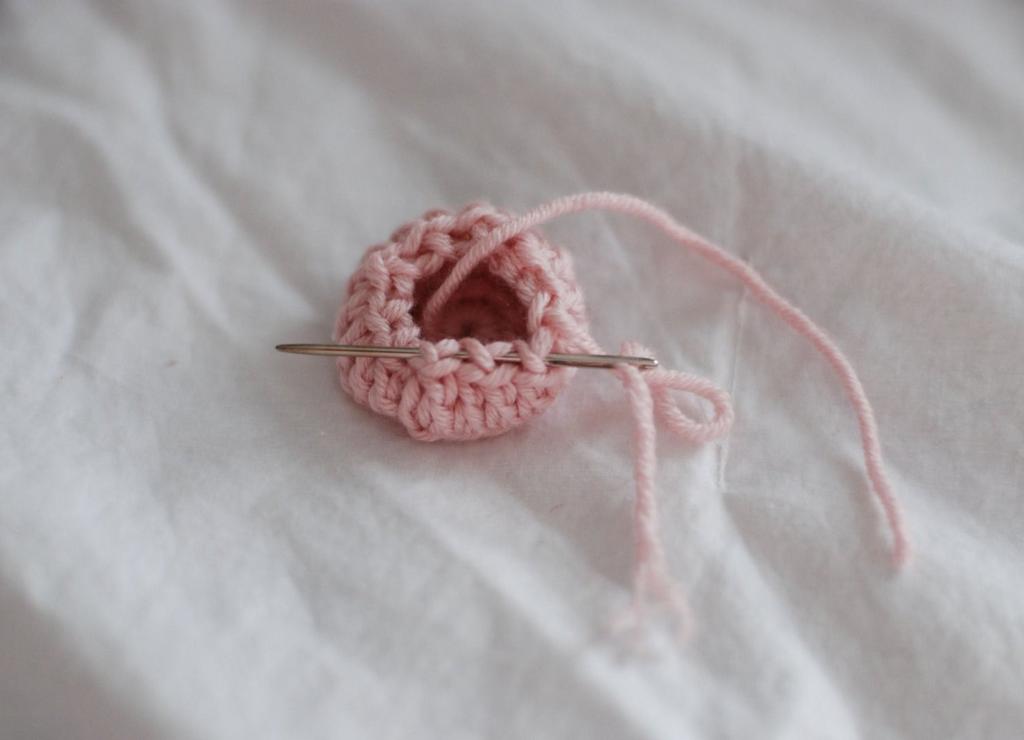
- We put a ring in the middle of our cap.
- We put the left end into the needle and, threading the thread through the upper hinges, tighten the edges.
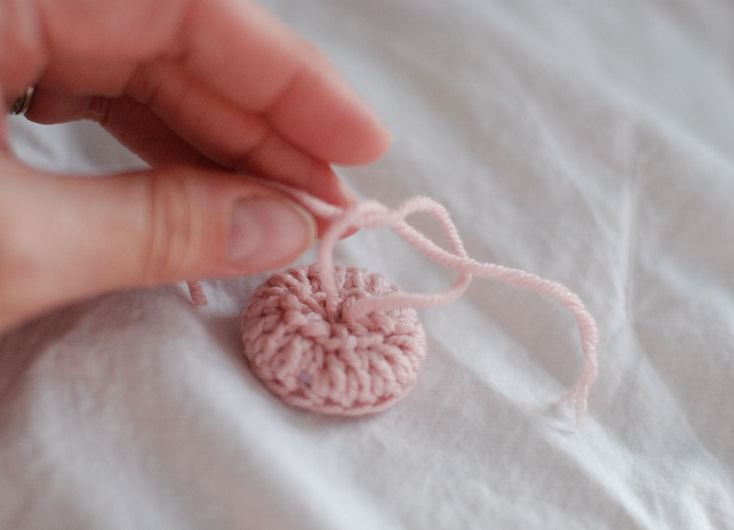
- We tie the tails sticking out of the middle.
- The button is ready.
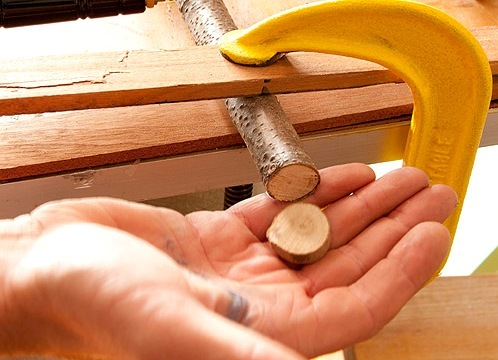
Master-class №2: How to make buttons from a tree
It will take:
- a straight twig 2-3 cm in diameter;
- holder;
- saw;
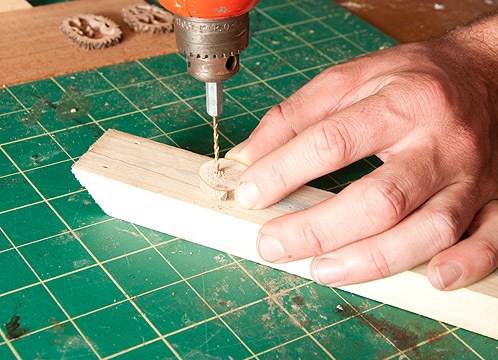
- drill with a thin drill;
- bar;
- stain.
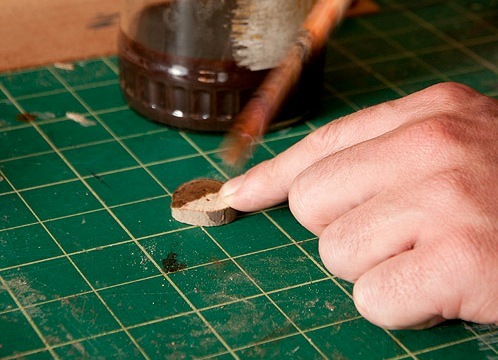
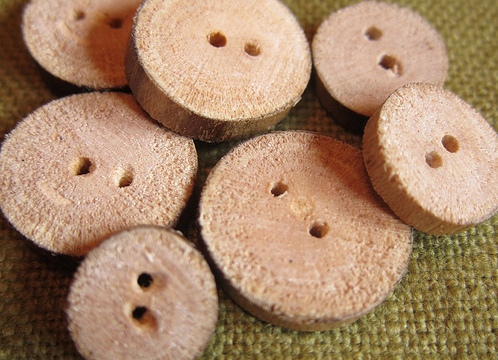
- We fix the stick in the holder and cut off pieces of 5-7 mm in width with a saw.
- We put the workpiece on a block and drill 2 holes.
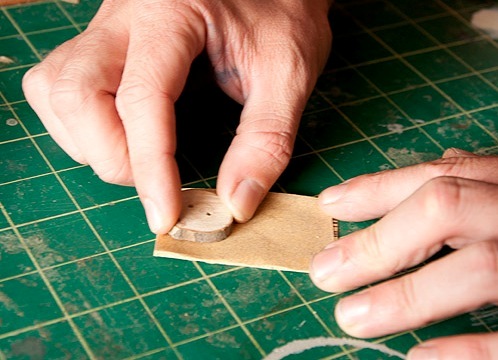
- We process each side with sandpaper to make the wood smooth.
- We cover with stain, let it dry and our buttons are ready.
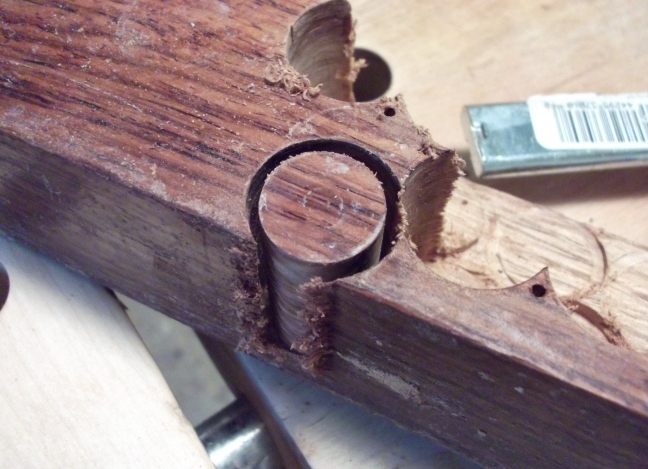
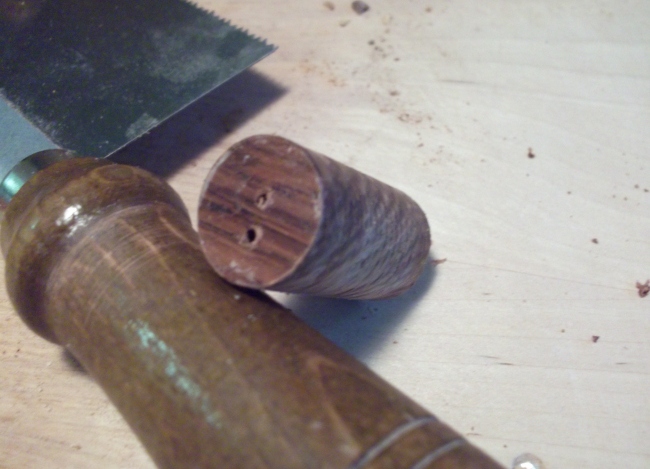
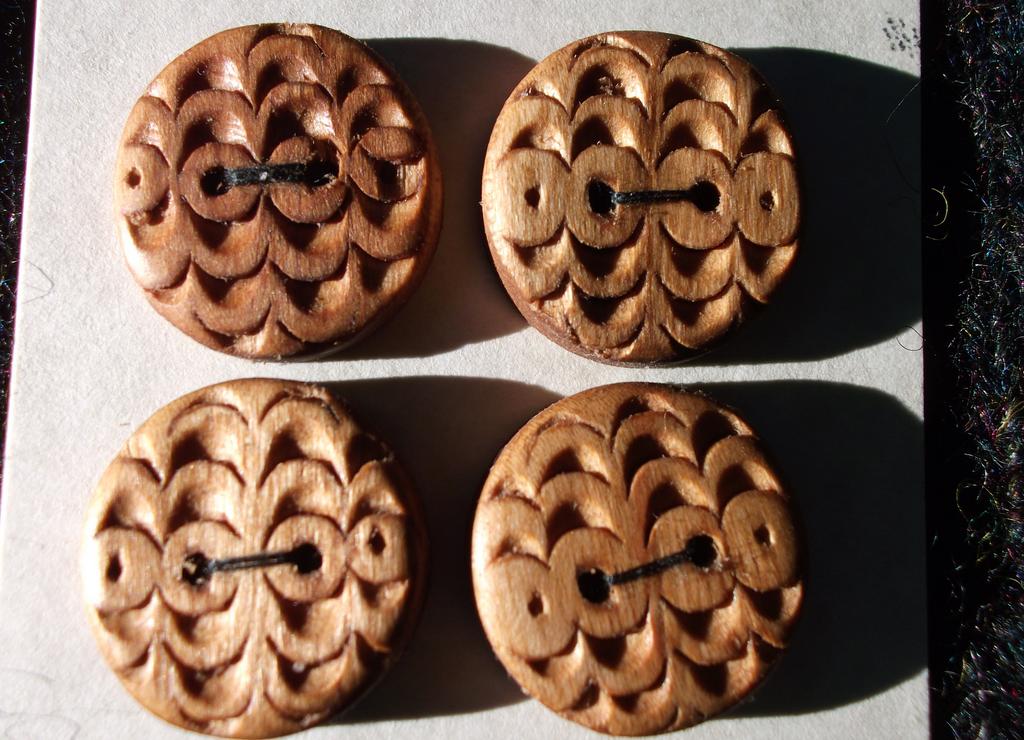
There is also a second way of making wooden buttons. To do this, we still need a circular saw and a thick block of dark wood.
- From the bar saw with a saw cylinder.
- Drill in it two holes.
- Using the cutter, we make a picture on the top of the button and cut off the cylinder.
- We cover with varnish and it can be sewn.