It would seem that a chocolate is such a trifle, but it's nice to sometimes get such a sweet present. Chocolate is able to cheer up and warm in bad weather. And even when it is packed in the original chocolate bar, it's just doomed to success;) I suggest you a master class in which I will show how to make a chocolate maker with my own hands.
Chocolate girl in scrapbooking technique
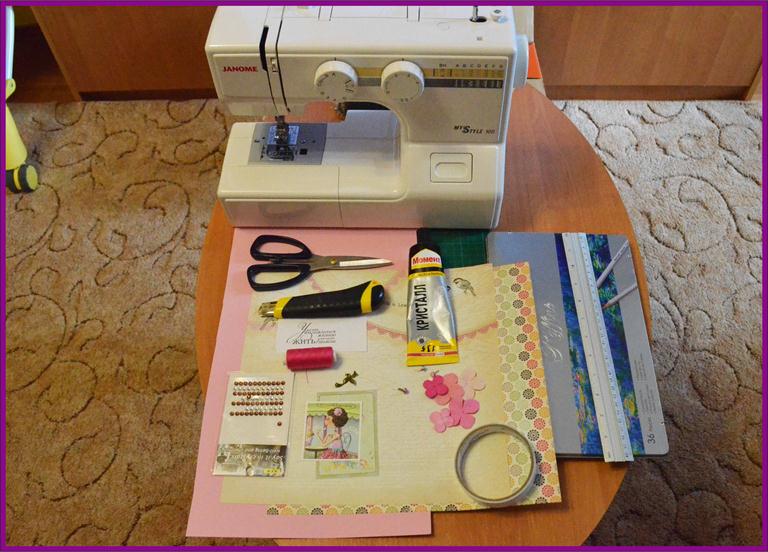
Necessary tools and materials:
- colored cardboard;
- paper for scrapbooking (two-sided or two sheets of one-sided);
- a picture or an inscription;
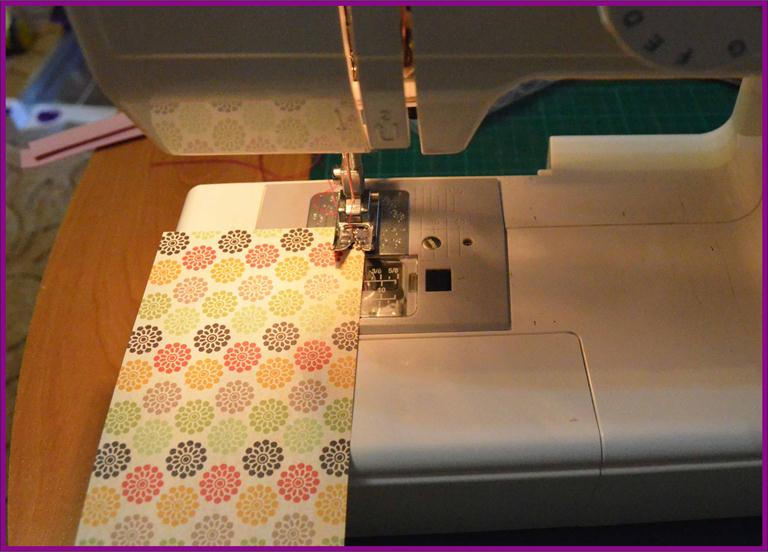
- sewing machine;
- Scissors, ruler, stationery knife;
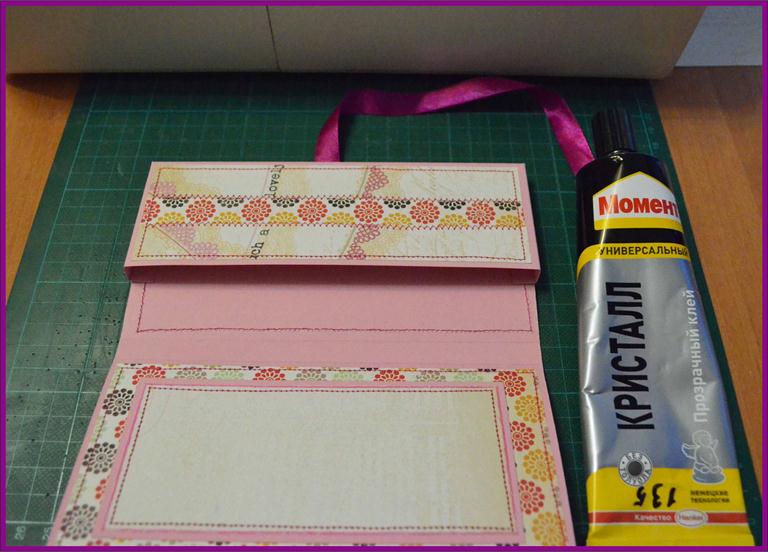
- glue "moment crystal", double-sided adhesive tape;
- pencils;
- ribbon;
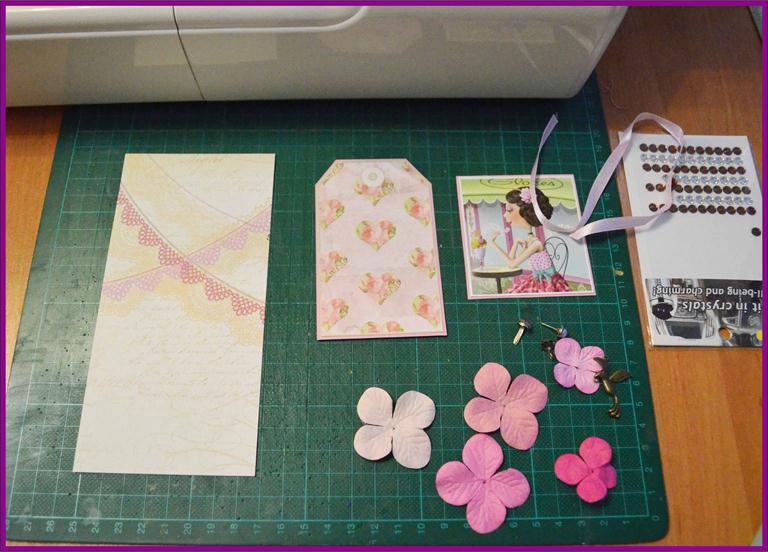
- flowers, broads, pendant, crystals on an adhesive basis.
In the manufacture of chocolates you can do without a sewing machine, but the sewing line is very adorned with the work.
Performance:
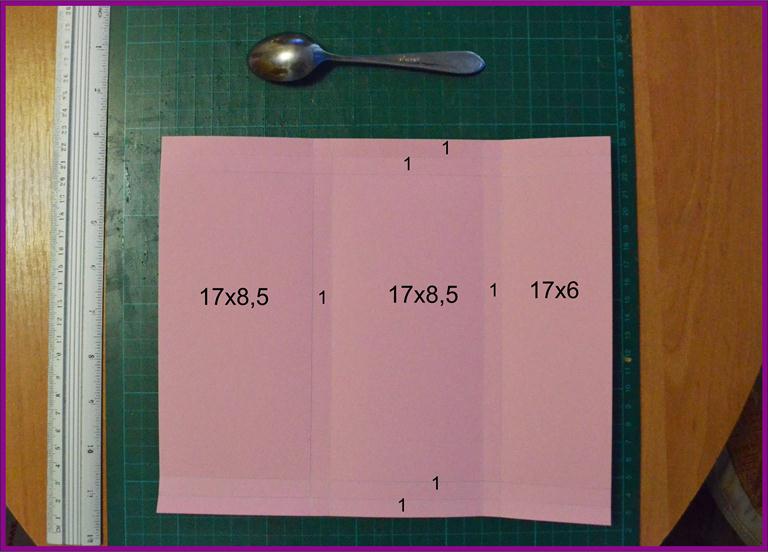
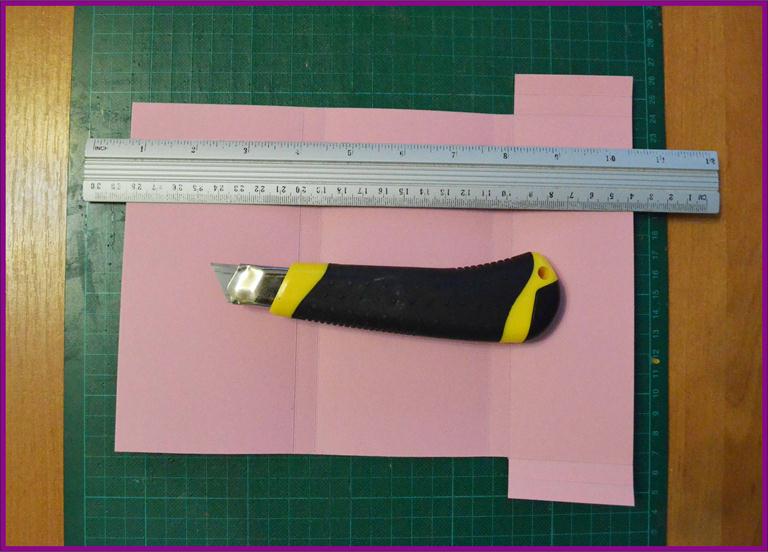
- First of all, with a ruler and a clerical knife, we cut the cardboard and paper into the parts of the right size.
- Next we make a creasing, determining the places of folds of our chocolate bar.
- And cut off the excess, leaving the part that will form the pocket holding the chocolate.
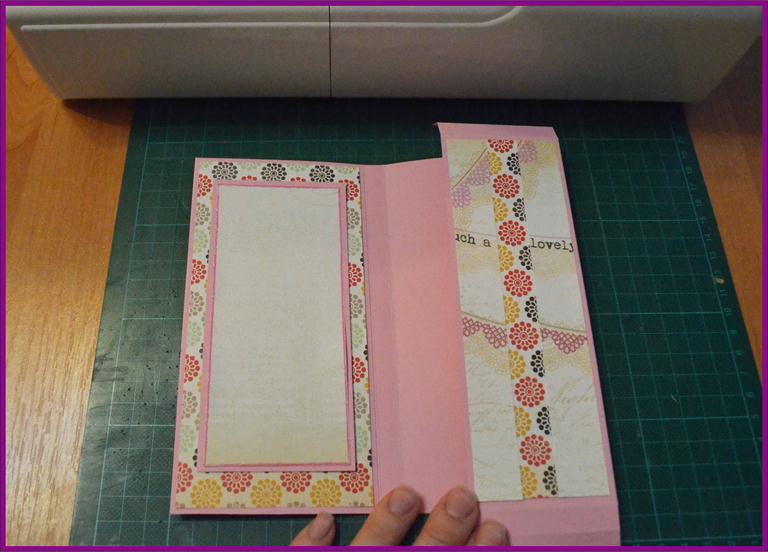
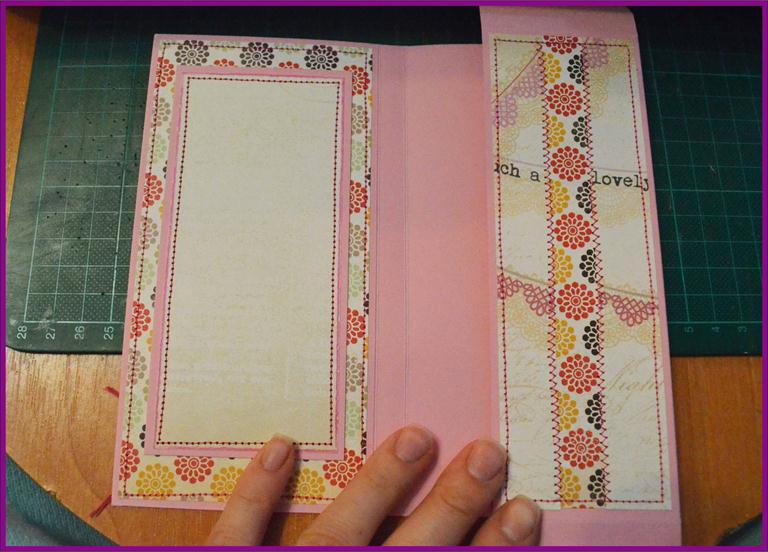
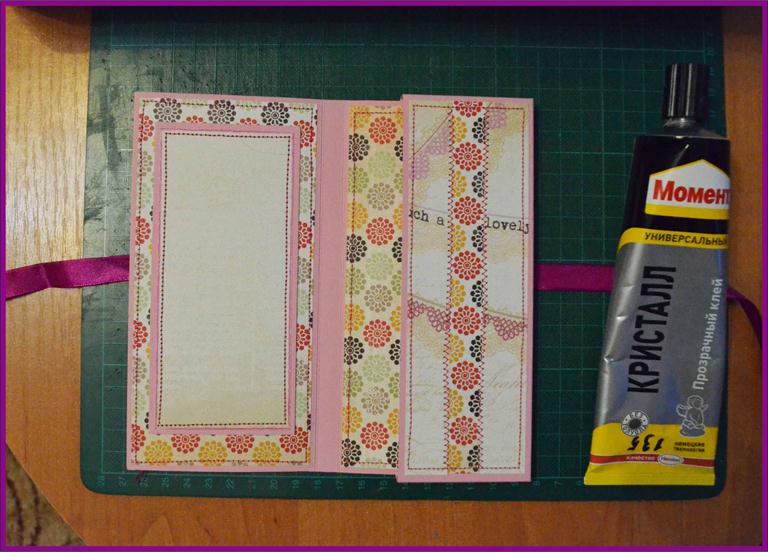
- Now proceed to the design of the middle - we will join the narrow strips into one rectangle (its width should be 5, 5 cm), and also paste a rectangle of light paper, which will serve as a place for the wish, preliminarily shading the edges with a colored pencil.
- We paste the prepared parts on the base.
- And then we are stitching.
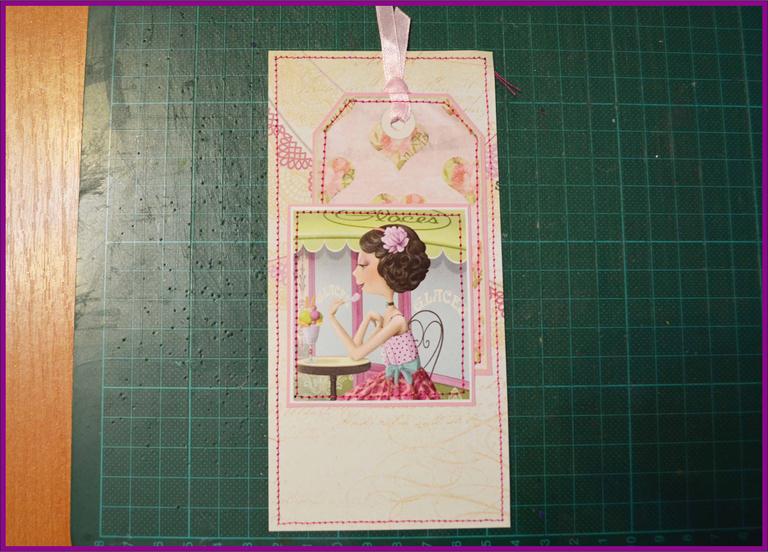
- Immediately sew and the last detail for the interior design, but not yet glued.
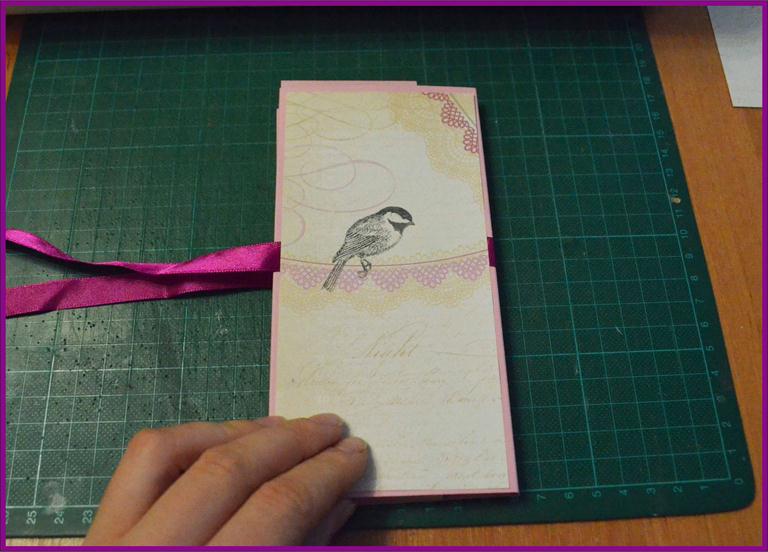
- Temporarily go to the design of the external part. We apply a ribbon, which will keep the chocolate bar closed.
- And sew paper to the back of the chocolate bar.
- Let's return to the inner part - using glue to fix the pocket for the chocolate.
- At the end of the middle we glue the last rectangle - we use glue to be able to correct it.
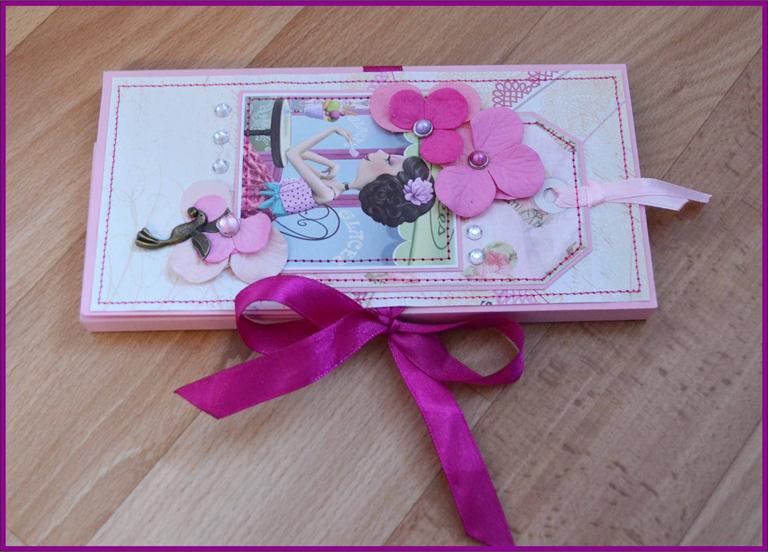
- Finally, we are nearing the end - we are making out the front part.
- We glue and sew central parts of the composition.
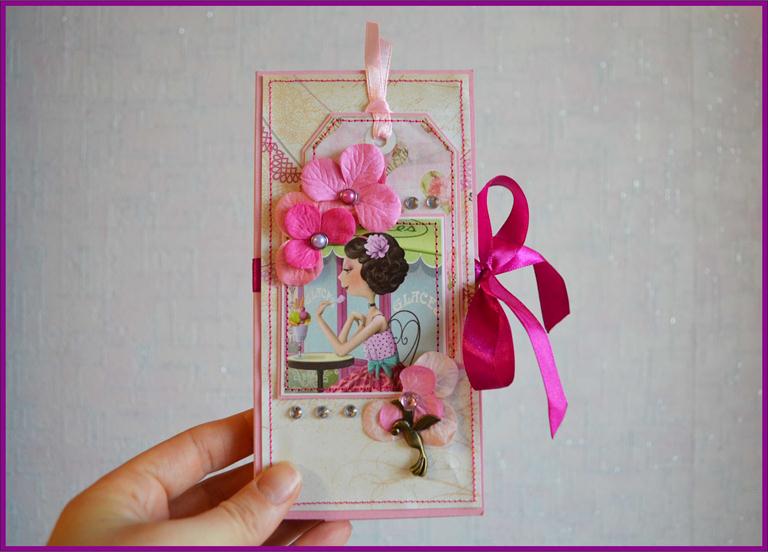
- And in the final we add decorative elements - flowers, pendants, broads, rhinestones - and fix the decorated part to the base.
| | |
The author of the master class is Maria Nikishova.