Decoupage called the technique of decorating surfaces with beautiful pictures. The very word comes from the French "cut". And in fact, the surface of the chosen thing is made out with different motifs, elements cut out of paper. And if you are still a beginner in this technique, we suggest that you do the decoupage with your own hands of flower pots. Pots for flowers are usually made of plastic or clay and painted in boring brown or white colors. But beautiful bright products cost a lot of money. In such situations decoupage of flower pots is an excellent solution, as they say, "cheap and angry": colorful "inhabitants" with a unique design will appear on your windowsill.
How to make decoupage of flower pot: necessary materials
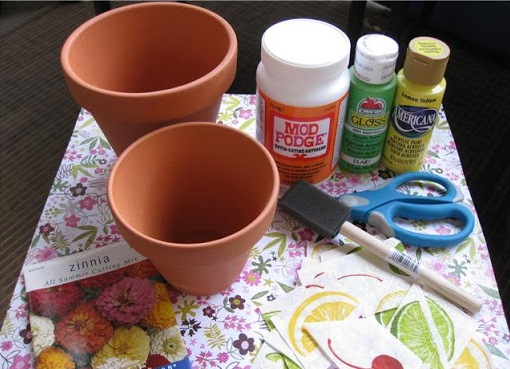
For work you need to prepare:
- Pot: Any one available in your household is suitable. Most often, amateurs produce decoupage of plastic flower pots, because they are the cheapest. If you want, you can do decapping of a clay pot - a container made of such material looks more thorough.
- Acrylic base of any color.
- Glue PVA, it must be diluted with water in a ratio of 1: 1.
- Brush.
- Lacquer.
- Paper with the elements that you want to decorate the pot. This can be the remaining wallpaper after repair, gift paper, magazines, advertising brochures - anything. It is convenient to carry out decoupage of flower pots with napkins, since they usually show colorful thematic drawings for every taste. And again napkins - a material inexpensive.
- Scissors.
- Sponge.
Decoupage of flower pots: a master class
So, let's start decorating pots in the now popular decoupage technique:
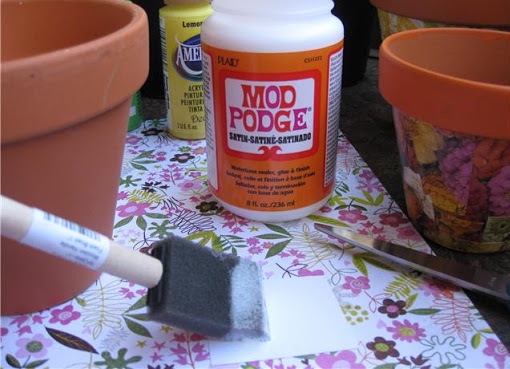
- Cut out of napkins or other paper material, small pieces with the selected motif. First, we apply glue to each element, and then attach the motif to the pot in random order. If you work with napkins, separate only the top layer, stick the images very carefully, you can use tweezers.
- We glue completely the outside surface of the pot, leaving the top intact. Then gently hold the sponge dipped in the glue, on top of the paper elements for better fixing.
- When the glue dries, apply a coat of lacquer.
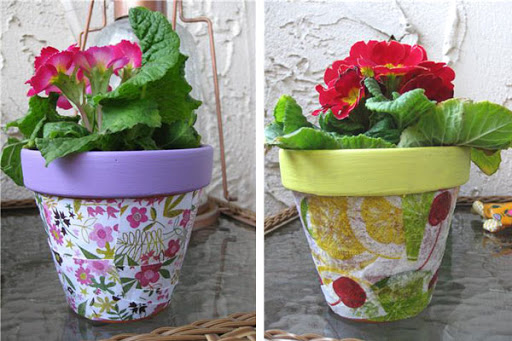
- Then apply a brush with acrylic paint on the top edge of our flower pot. When the first coat is applied, wait 15-20 minutes to dry and apply a second coat of paint.
- After completely drying in the pot, decorated with you, you can plant your favorite flower and send it to the window sill or give it to your girlfriend: it will be delighted!
| | |