Now in a fashion various unusual ornaments. Things quality made by own hands, emphasize the unusual nature of its owner. We suggest to get acquainted with the master class how to make a ring from an ordinary coin.
When making a ring from a coin, it is very important to select the coin first.
When selecting a coin, pay attention to the following parameters:
- security;
- strength;
- Colour;
- the size.
Do not pose a danger ring made of coins made of materials such as silver, brass, steel, bronze. One should be careful with coins containing nickel and copper, as they can cause skin diseases, allergies and poisoning of the body.
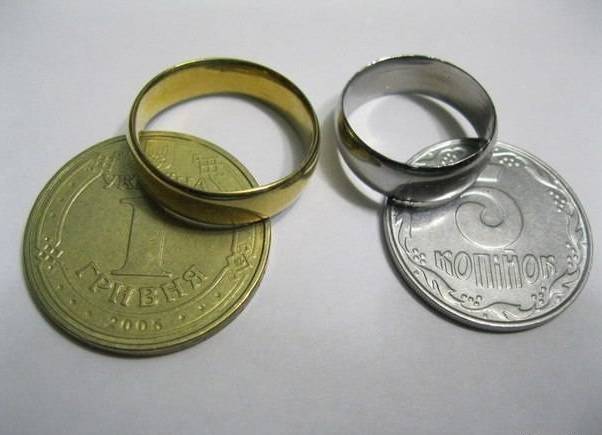
According to the color scheme, coins are bronze-yellow and silver-steel. Bronze-yellow coins include Russian 10 and 50 kopecks, 1, 5, 10 and 50 rubles and Ukrainian 25 and 50 kopecks, 1 and 2 hryvnia.
It is necessary to pay attention to the size of the coin, since it is impossible to make a ring of a large diameter from a small coin. Regardless of the year of issue in Russia, coins of such sizes: small ones - face value up to 1 ruble, medium - from 1 to 10 rubles; Large - 5, 10, 20, 25, 50 and 100 rubles. In Ukraine, the size of coins is as follows: the smallest - 1.2 and 10 kopecks, then 25 and 50 kopecks, the largest - 5 kopecks, 1, 2 and 5 hryvnia.
For example, 50 kopecks of the USSR until 1931 are made of silver, the US dollar of Sakagawae is made of bronze alloy and it is good to make large diameter rings from it, some EU coins are made of bronze alloys and various sizes.
A ring from a coin by own hands: a master class
You will need:
- coin;
- vise;
- electric tools with attachments for grinding and polishing;
- drill;
- a steel spoon;
- a metal platform playing the role of an anvil;
- fine-grained sandpaper.
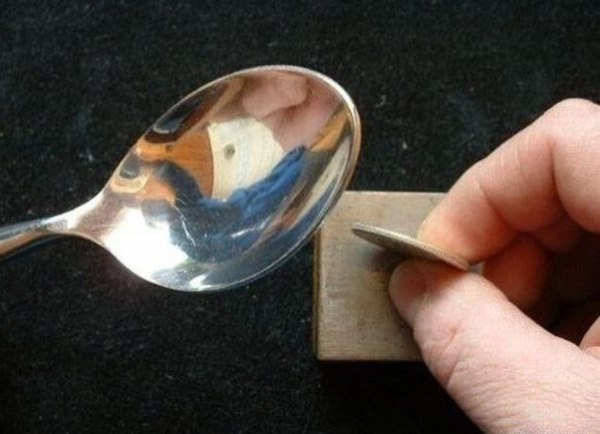
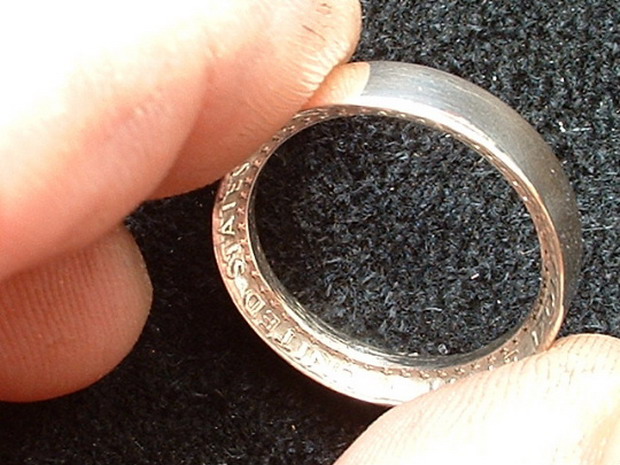
- We place the coin on the "anvil" with an edge, we apply a spoon to it with a convex part and with gentle impacts we pass uniformly around the edge of the coin. Periodically check the shape of the workpiece.
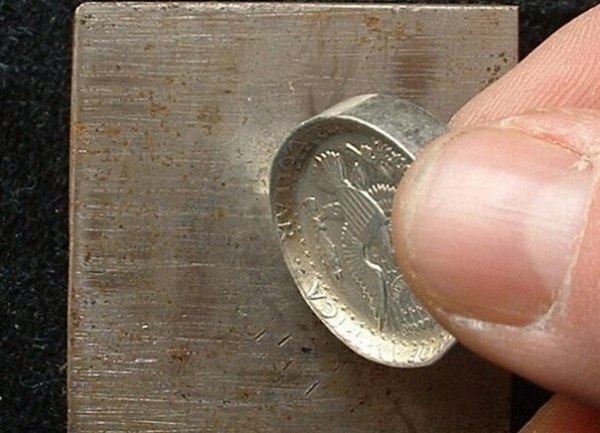
- We stop when the edge of the coin becomes necessary for our ring width.
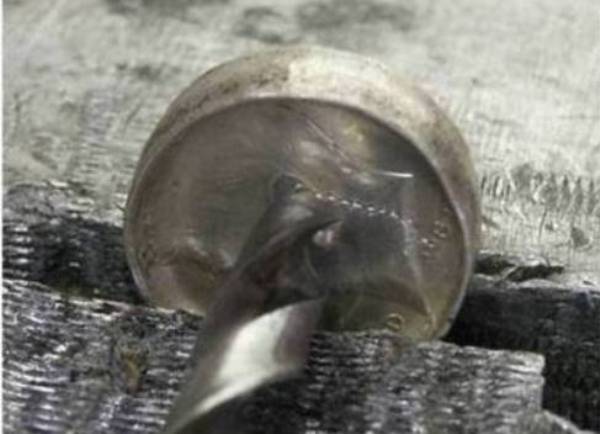
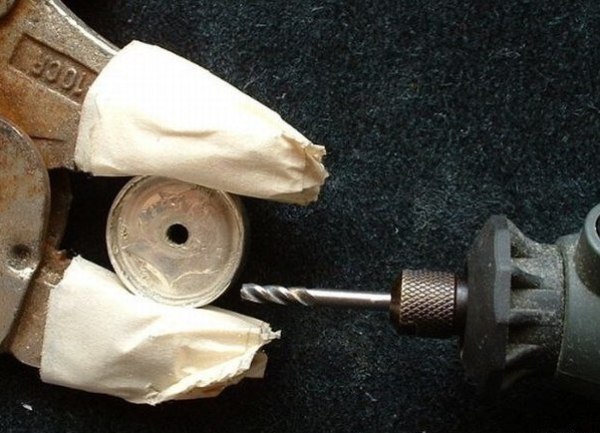
- Using a nail or a pointed object, we plan the center of the coin.
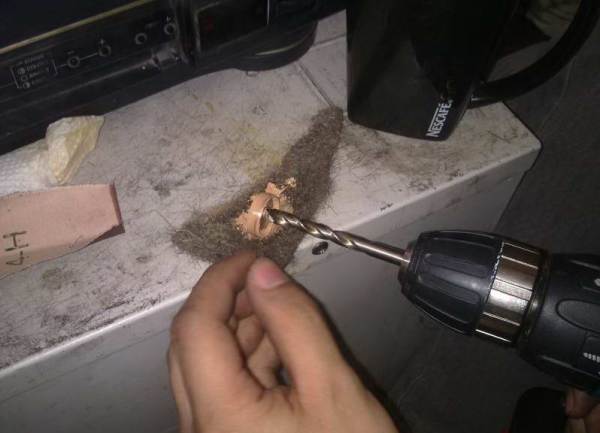
- Drill a small hole in the coin in the center, stop the drill immediately, as soon as its end passes through the coin. The drill will jam in the metal, which will allow us to perform the next step. Be careful, since the ring heats up when drilling and can be burned.
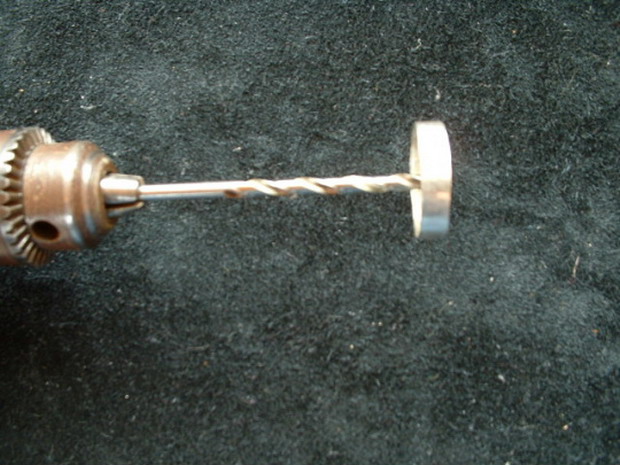
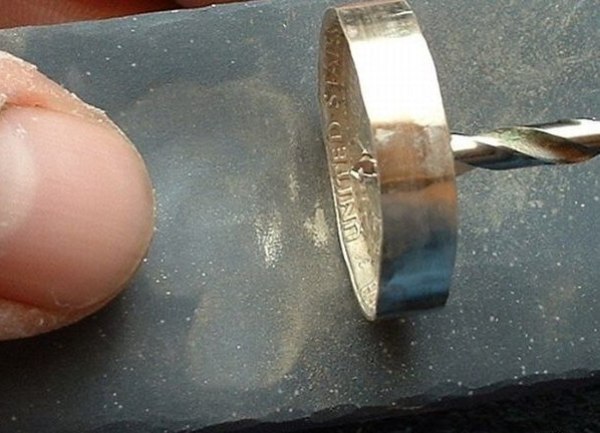
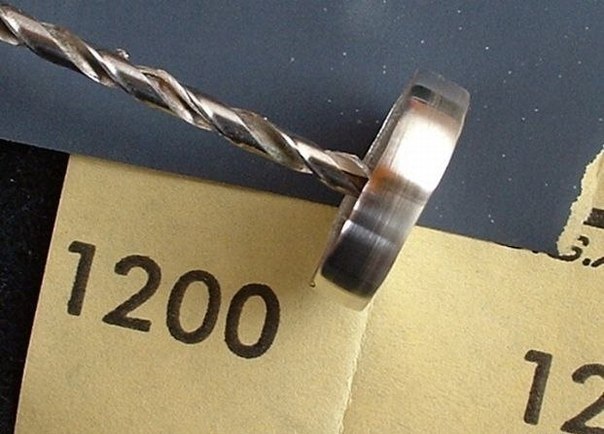
- We take a coarse-grained sandpaper, and, turning on the drill, so that the coin on the drill turns, we process the outer parts of the ring preform. Then we take a fine-grained sandpaper and repeat the treatment.
- We carry out the final processing of the external surface. To do this, we take the fabric, apply the abrasive compound and polish the surface. To obtain a mirror shine, we repeat this treatment several times.
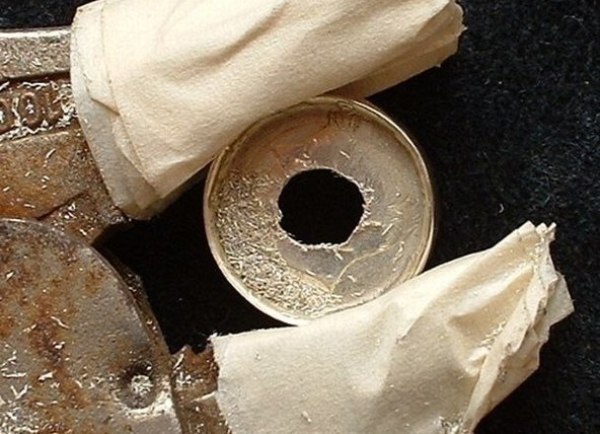
- We grip the coin in a vice, using the pads in the form of cardboard or paper to protect it from scratches and dents.
- We increase the hole in the coin with a drill or other device. This is the most difficult and painstaking stage of work, since there is a chance to spoil the coin. Doing everything should be neat, slowly, periodically checking the fixing of the coin.
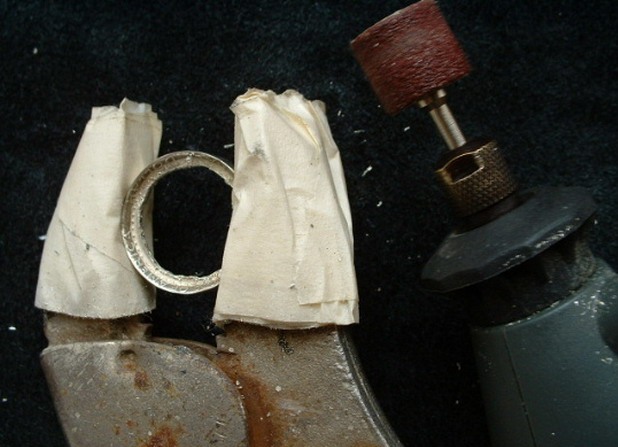
- Using an electric tool with a grinding roller, level the inner part of the ring. After this step, the edges of the product become rather sharp.
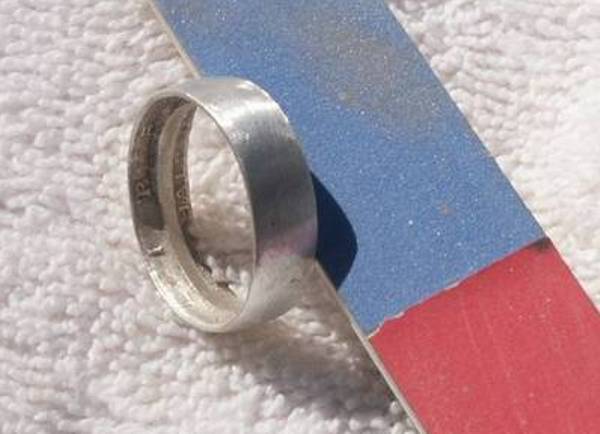
- We pass the file along the edges of the product from all sides at an angle of 45 degrees, until they become more rounded.
- Polishing nozzle with a small amount of abrasive material we grind the inner surface of the product, removing all the remaining roughness.
| | |
| | |
| | |
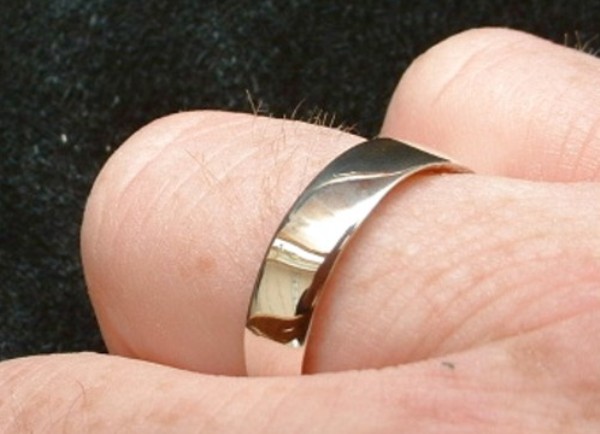
Our homemade ring of coins is ready.
As can be seen from the proposed master class, making rings from coins is not as complicated as it might seem at first glance. Also you can make rings by yourself and in other ways.