Embroidery "Richelieu" is a kind of openwork embroidery , in which the main elements of the pattern are sheathed (manually or on a sewing machine), and the gaps between them are cut out, creating a lace. For the first time this kind of needlework appeared in Italy during the Renaissance, and then moved to France, where it acquired a huge number of admirers. One of them was the famous Cardinal Richelieu, in honor of which this embroidery got its name.
Since the Renaissance, the Richelieu embroidery has experienced many ups and downs at the height of fashion, in order to eventually disappear again. Today, embroidery in the technique of "Richelieu" is experiencing another renaissance, decorating the dresses of famous designers. And in the homes of ordinary inhabitants of the embroidery "Richelieu" there is a place, because with her help you can create amazing beauty napkins. That is why today's master class will be devoted to the main techniques of embroidery in the technique of "Richelieu".
Hand embroidery "Richelieu" - a master class for beginners
- We transfer the design you like to the fabric, preferably from cotton or linen.
- We sew all the elements of the pattern along the contour with the seam "forward the needle". The thickness of the thread should be selected depending on the density of the tissue: for thick fabrics you will need thick silk threads, for delicate fabrics, thin you will need thread reel or floss. It is necessary to sew the contours in several rows, leaving small spaces between them.
- Having sewed the contour, we pass to the execution of the bridges - jumpers. For jumper threads, the working thread must be stretched between two rows of basting to the place where the bride will be located and toss it over the fabric to the next element. Then the working thread is passed into the gap between the rows of basting and comes back.
- The resulting "bridge" of filaments is covered with a stitch seam.
- After all the breeds were completed, the fabric beneath them is neatly cut through with sharp scissors.
- After this, it is necessary to gently sew other parts of the embroidery with a stitch, fix the thread and cut off excess fabric.
Embroidery "Richelieu" on the sewing machine - a master class for beginners
- To create a lace in the technique of "Richelieu" with a sewing machine , you need to stock up on everything you need: water-soluble and glutinous fleece, fabric and threads. Preparation for work consists in gluing to the fabric of non-woven fabrics. As a result, our workpiece is a kind of "sandwich" made of three layers: water-soluble fleece, glutinous fleece, fabric. This workpiece should be accurately fixed in the frame, trying not to warp it.
- We proceed to embroidery, sewing the drawing with threads of any suitable color. As a result, we get the following.
- After the whole drawing has been detached, a very important stage of work is coming: it is necessary to carefully cut out those parts of the pattern where there will be an openwork. In this case, it is necessary to cut only the tissue part of the "sandwich", without damaging the water-soluble nonwoven fabric. Scissors for this work must be taken very sharp and curved. Cut the fabric as close to the line as possible.
- After that, we begin to spend the brides, laying the lines along the water-soluble fleece.
- When the whole pattern is finished, it will only be necessary to wash the water-soluble wool from the warm water, dry the embroidery and iron it from the wrong side.
If you do not have the opportunity to buy a special water-soluble stabilizer-nonwoven, you can perform the "Richelieu" on the sewing machine in such a way: detach all the elements, including the brides, with a fine straight stitch, and then zigzag with a seaming thread. After that, the embroidery is starched and ironed until completely dry, and then cut openwork elements.
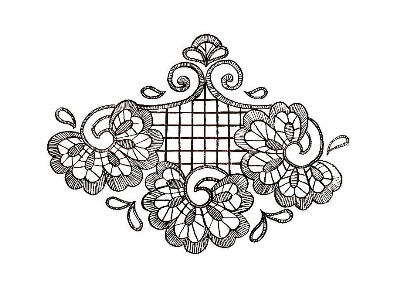
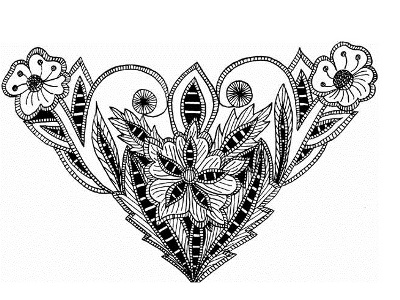
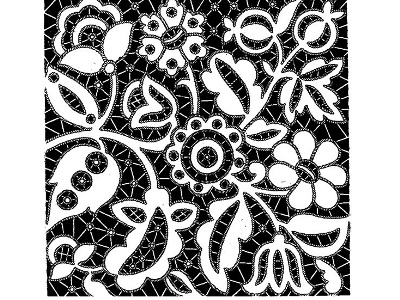
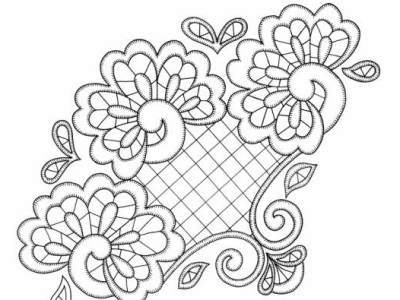
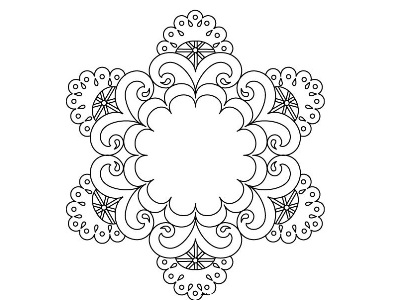
Patterns for embroidery "Richelieu" can be different, but the best look different plant ornaments.
| | | |
| | | |