One of the important elements in aquarium equipment is the filter. Many people think primarily about which one to choose : external or internal. If you are going to create a large volume, then the type does not matter. In other cases, it is better to use an external filter to save space. In specialized stores there is always ready equipment, but its cost is sometimes quite high. In this article, we propose to make an aquarium filter by our own hands.
How to make a filter yourself?
All the components that we will use to build an external filter with our own hands can be purchased at the construction market or in construction hypermarkets.
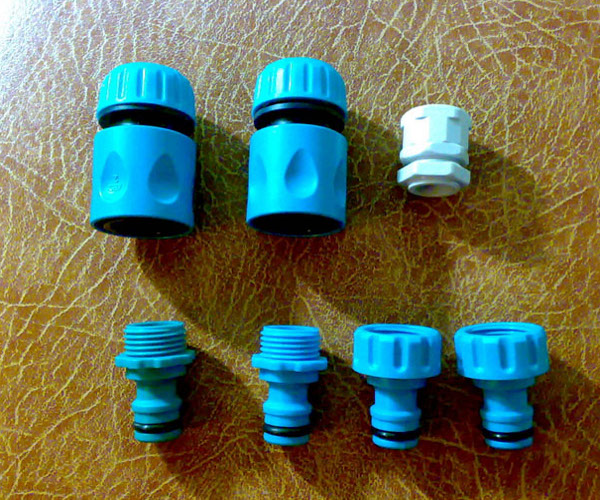
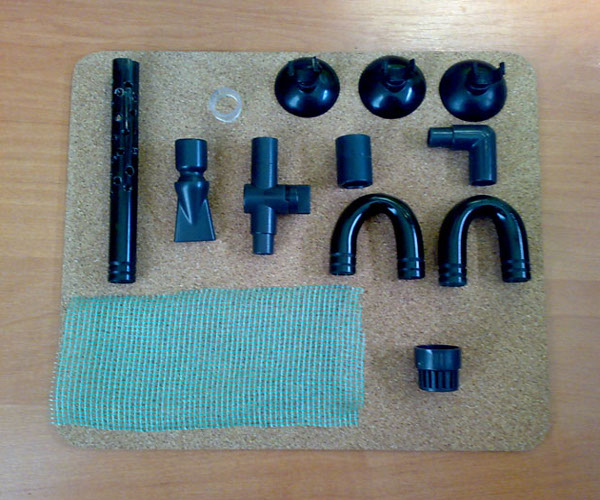
- First of all, we will need garden quick-release fittings with a seal. And also a filter with different nozzles, plugs with couplings and sockets.)
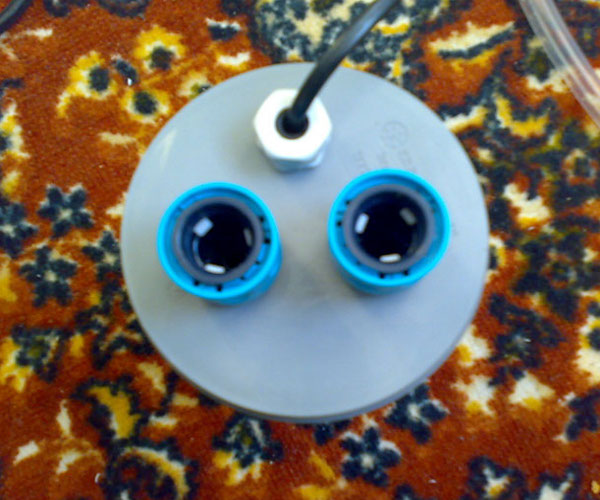
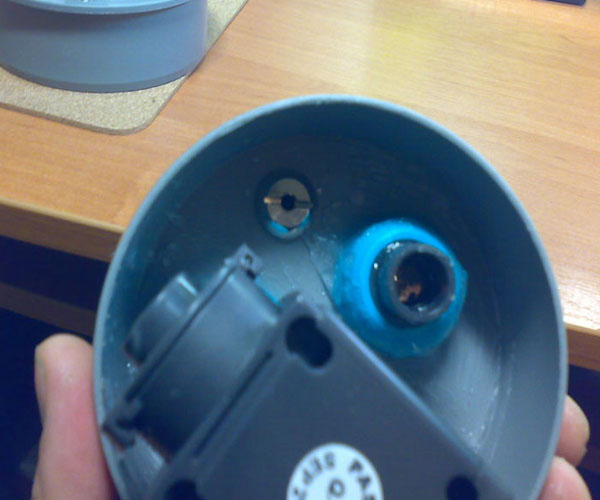
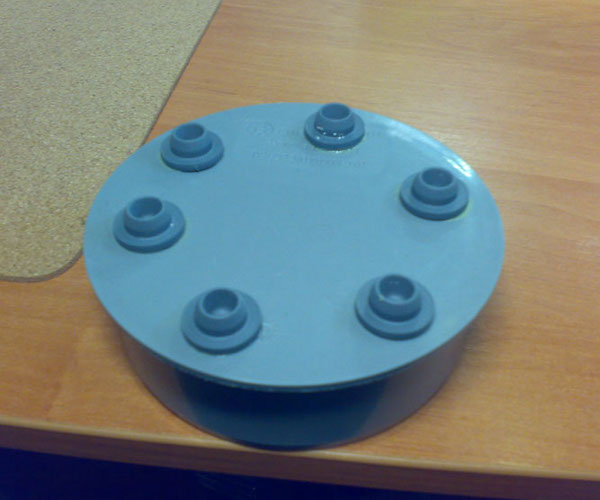
- In the plug we make holes for fittings, seal and nipple.
- We collect the first part of the external aquarium filter by our own hands: we install fittings and a seal with nipples, and then fix it with silicone.
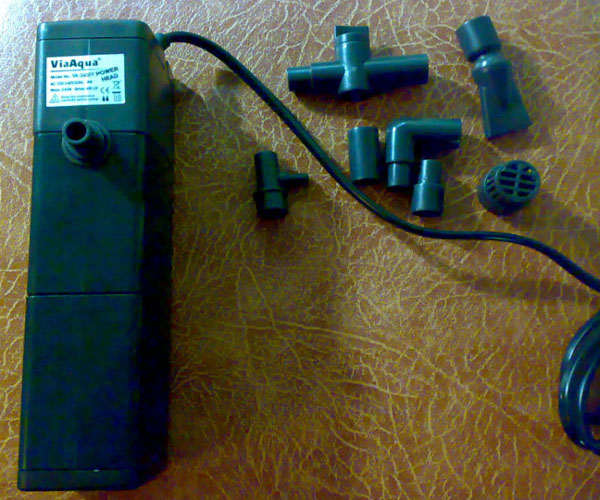
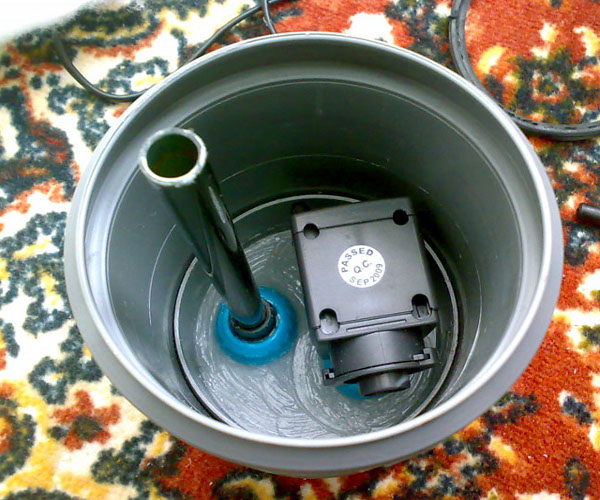
- In the kit with the filter there is a special pump, it is also fixed through the adapter. The "head" of the design is ready.
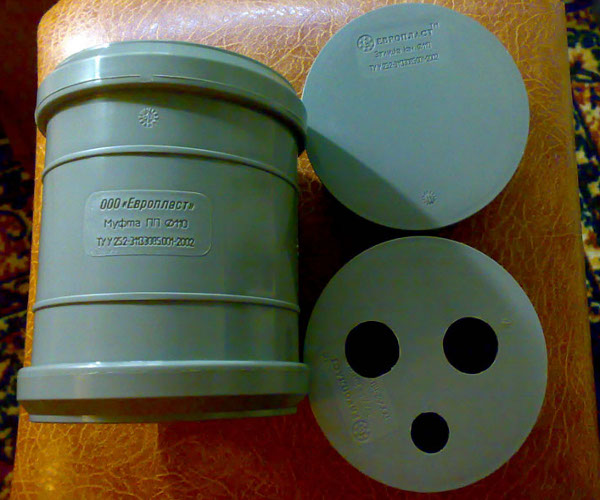
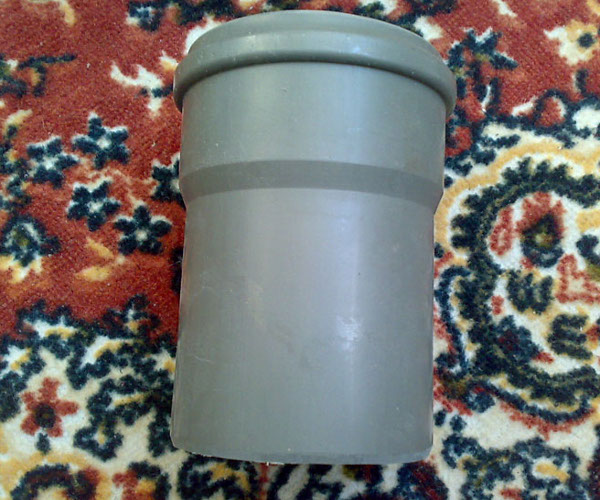
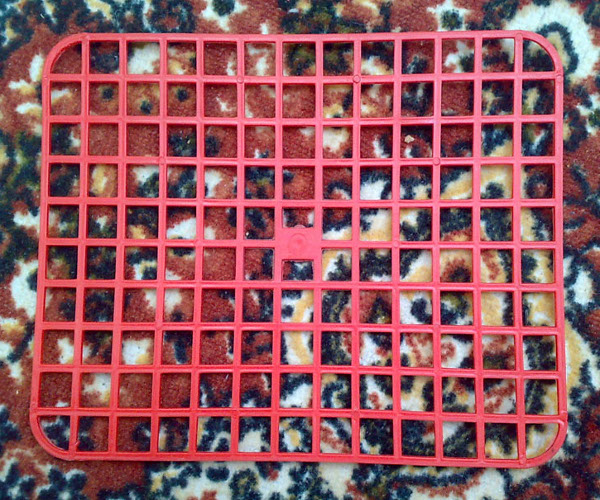
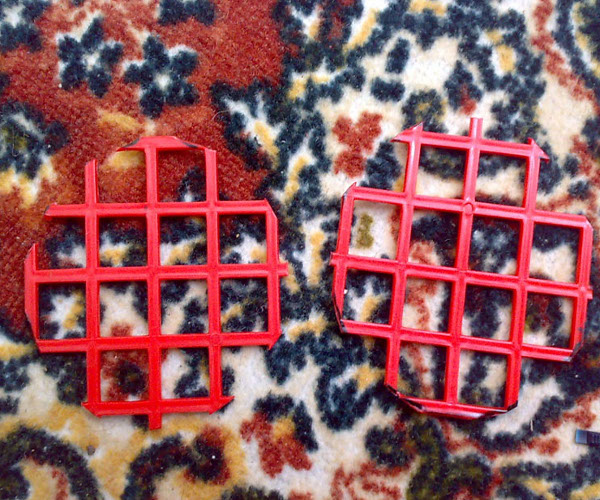
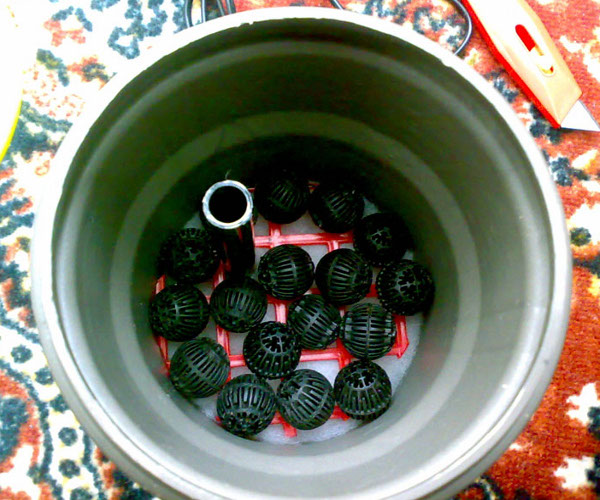
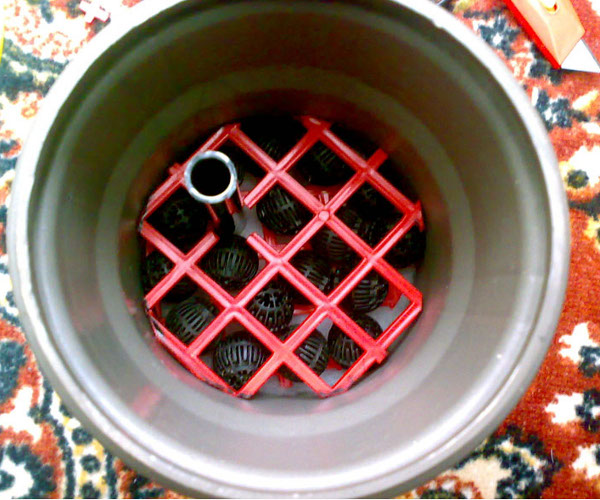
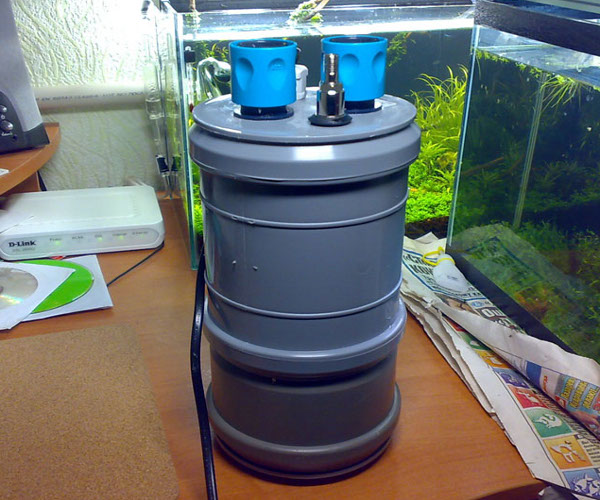
- The next stage of the filter assembly for the aquarium with their own hands will be the inside. It consists of an upper filter, intermediate separators and the body of the filter itself. As separators it is convenient to use usual kitchen screens for washing.
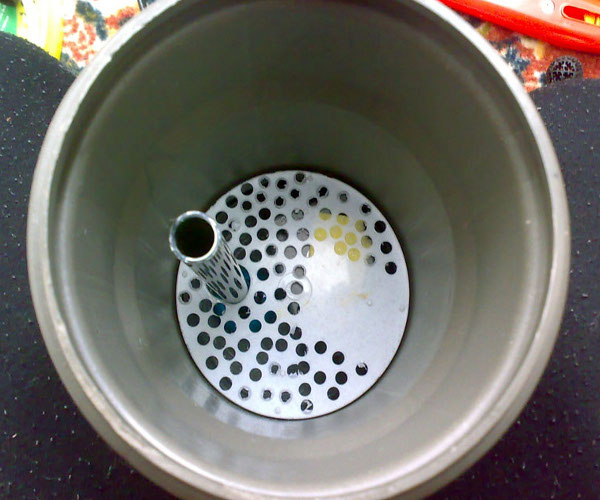
- On the grid, put the bell and draw its outlines with a marker. We cut out.
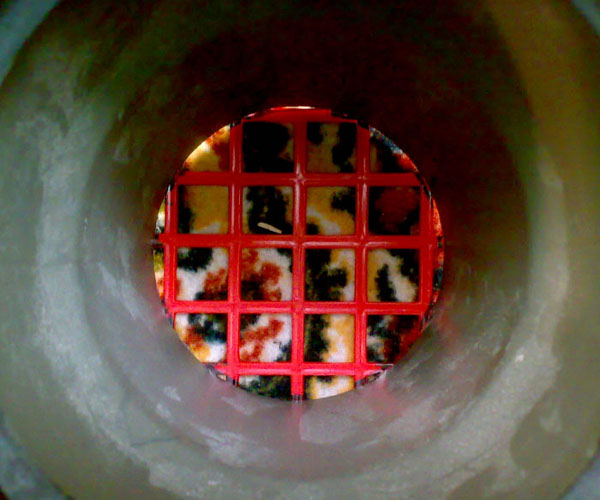
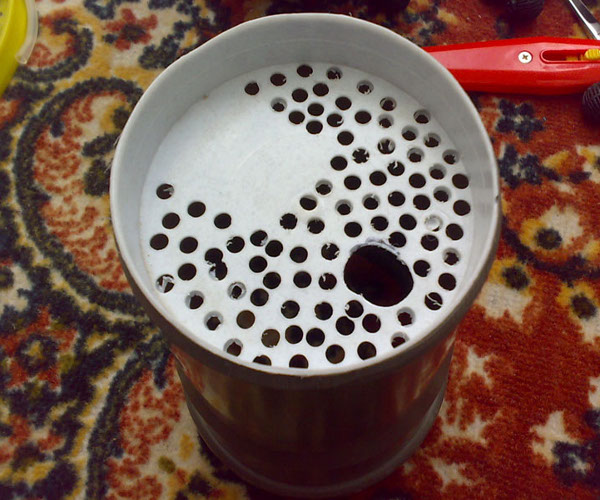
- As the upper separator we will use a saucer made of nylon from a flower pot. We drill holes in it: one for the inlet branch pipe and many small ones around it.
- We fix the workpiece into the socket, connect it with the coupling and fix it with silicone.
- We collect the finished parts of the aquarium filter by our own hands. We attach the "head" to the branch pipe and the upper separator.
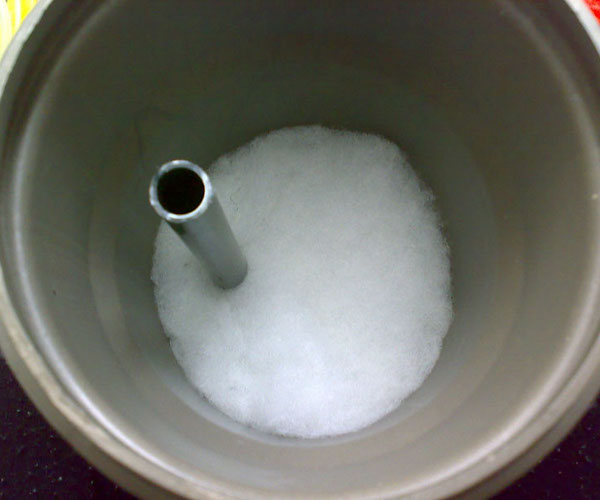
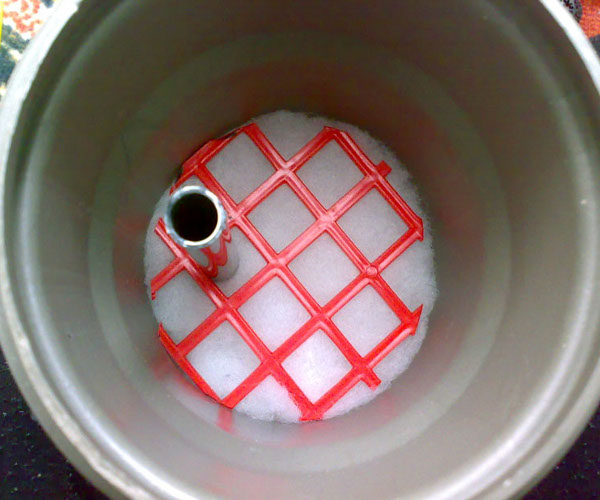
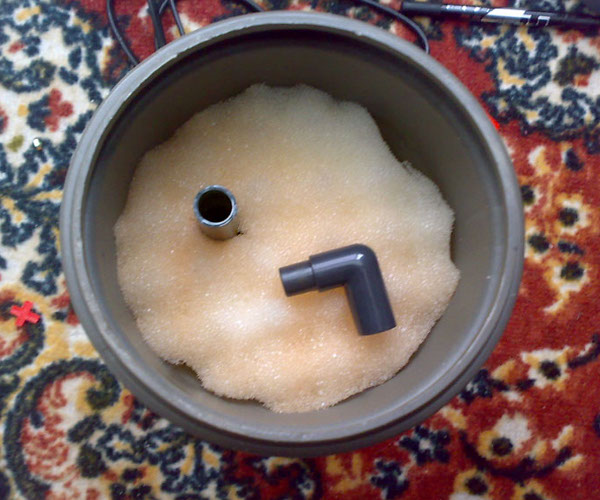
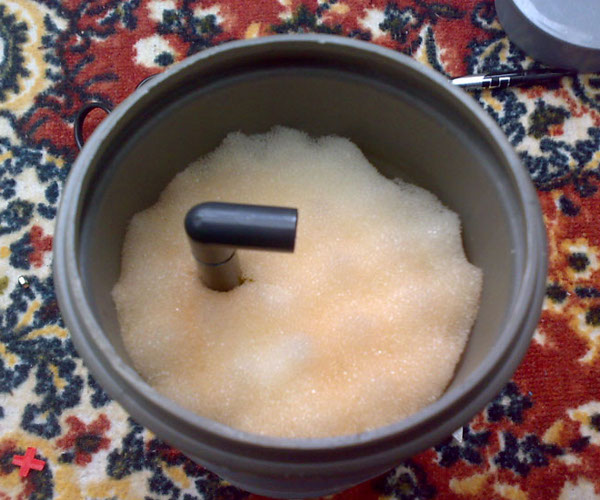
- We begin to fill the branch pipe. The lesson author suggests using the following scheme: sintepon, separator, then bioshars, again the separator and finally foam.
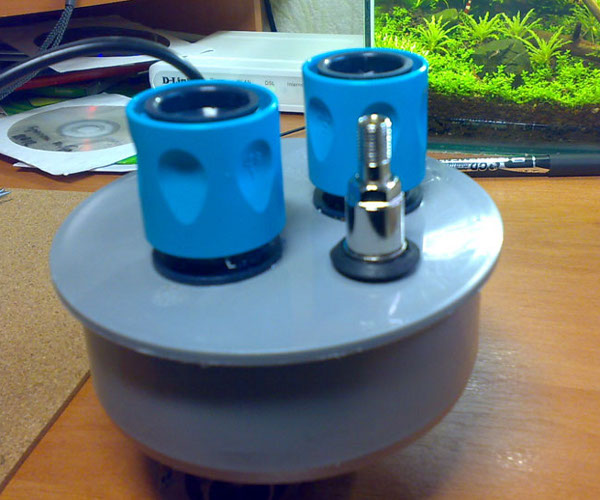
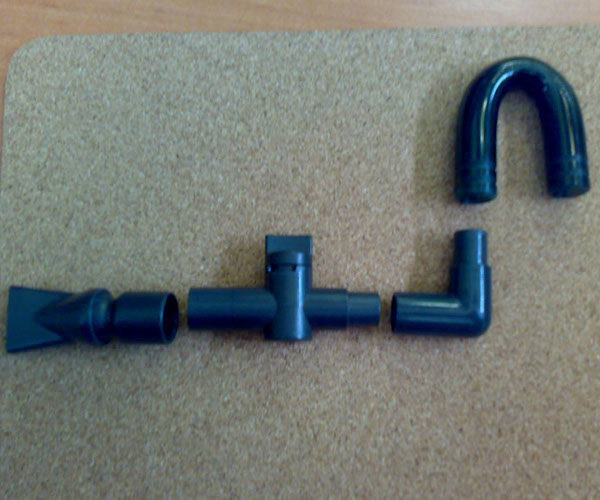
- In the filter kit there is a special corner.
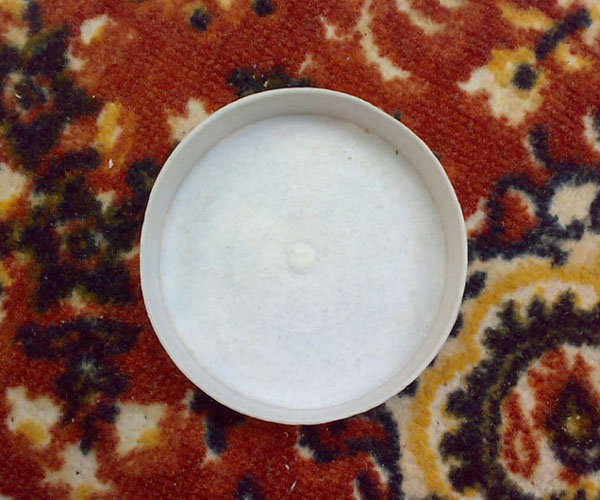
- The second blank is prepared as follows: on the edges of the glue we attach rubber stoppers from bubbles with medicines (you can use similar materials). Next, we collect the filter.
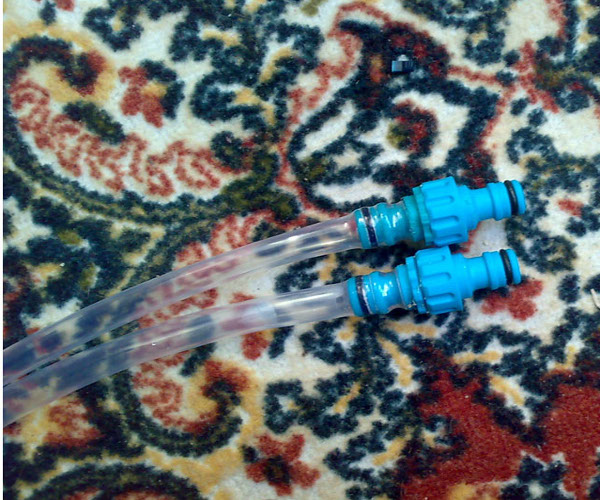
- Now, the assembly of connectors with external and internal threads, and the installation of tubes. (photo 23)
- We collect the armature for an external filter with our own hands. As a rule, all necessary details are included with the filter.
- We take any environmentally friendly pipe and make holes in it to increase the retracting area. You will also need a fence net, a mosquito net (this will be a prefilter, it must be twisted into a tube and inserted into the intake pipe). The sampling tube is put on the intake with a silicone gasket. A small piece from the garden hose will do. Also in the kit there should be an outlet bell, a cock and corners. Even if you can not find all of this in the kit, on the construction market such details are definitely there.
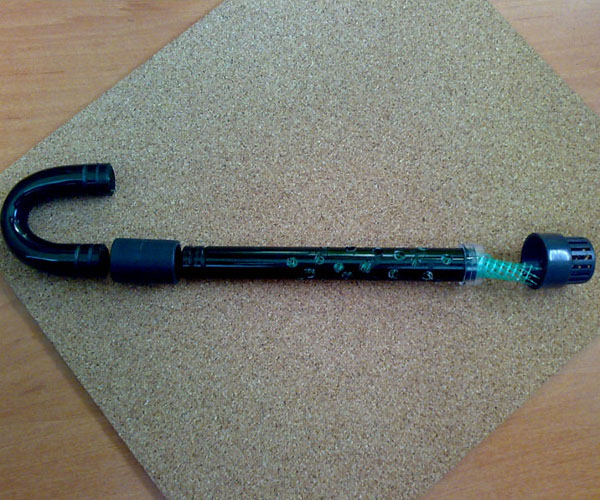
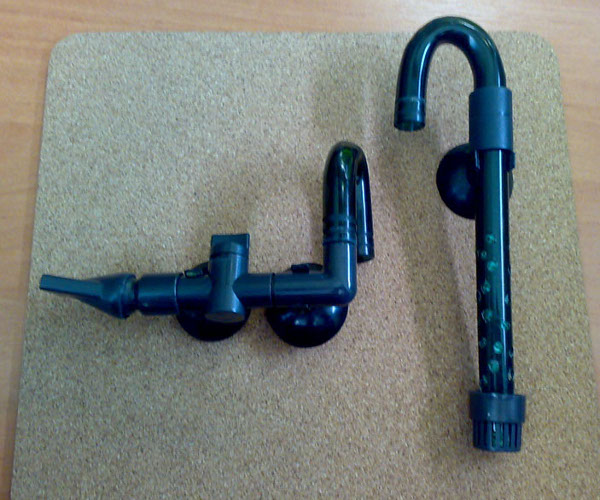
- An arc-shaped joint for butt fittings is called "overflow". It can be made from any plastic tube or use an extension pipe of the Atman canister. The manufacturing process is simple: we fill the inside of the tube with wet sand and start slowly bending it over the included gas stove. As a result, you will receive the required form and the tube will not crack.
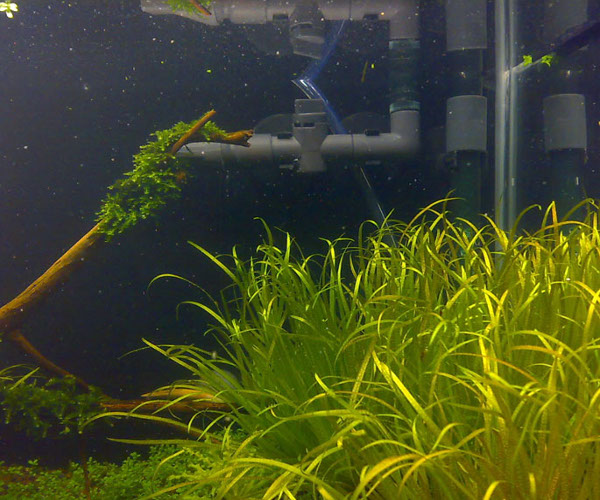
- The filter for the aquarium with your own hands is ready! Work it blows no worse than the purchase, and places and funds will save a lot.