In this article, we'll look at how to link a very popular hat-helmet with your own hands.
How to tie a children's hat helmet - master class
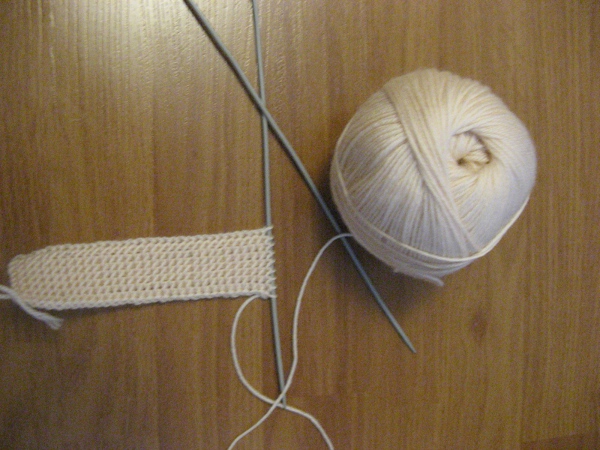
Before we tie the helmet with knitting needles, we will prepare everything you need: 100 grams of wool, 3 and 4 knitting needles, and circular ones. So, consider step by step how to tie a cap-helmet.
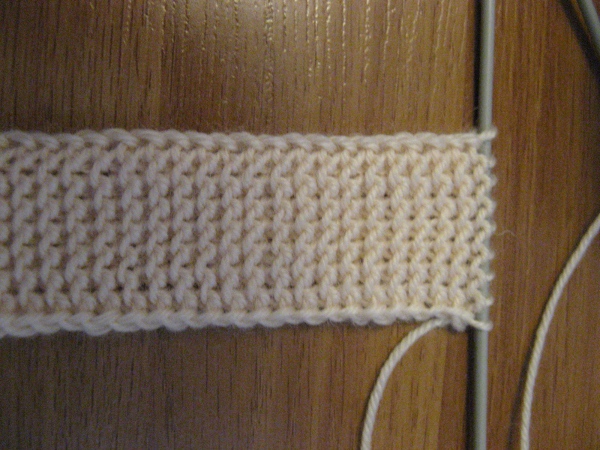
Planck. We take the knitting needles No. 3 and we sew 125 rows with garter stitch, having previously typed seven loops.
| | |
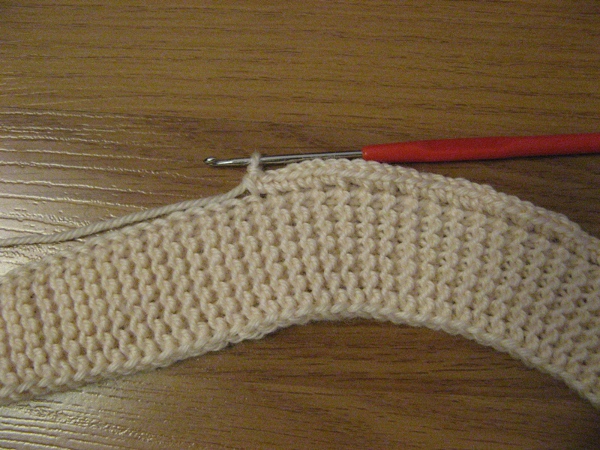
As a result, 63 loops, you need 106. We sew the hook using a column without a crochet: we need to tie it from the 1 st 2-ve, and alternate 2 and 3 loops.
Spokes are typed the same 106 loops.
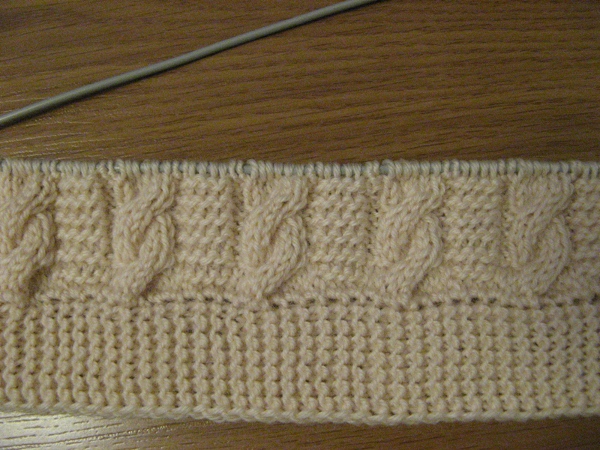
The next stage of the master class knitting hat-helmet knitting needles according to this pattern:
- 1 kr (edge);
- 2 pl in (garter stitch);
- 2 gn g (purplish smooth surface);
- 2 persons d (facial smooth surface);
- 2 pl in;
- 1 cr.
Thus we move up to 43 rows.
| | |
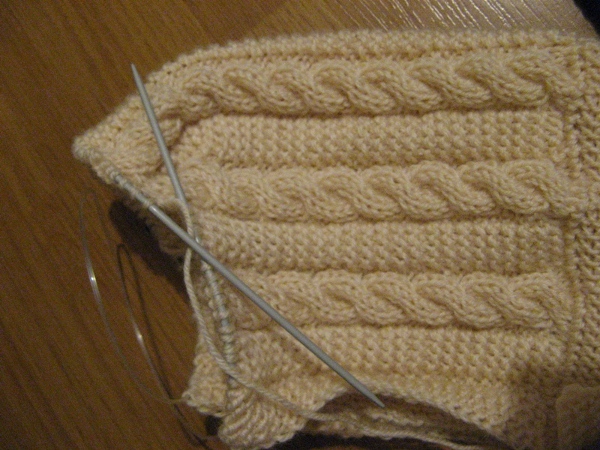
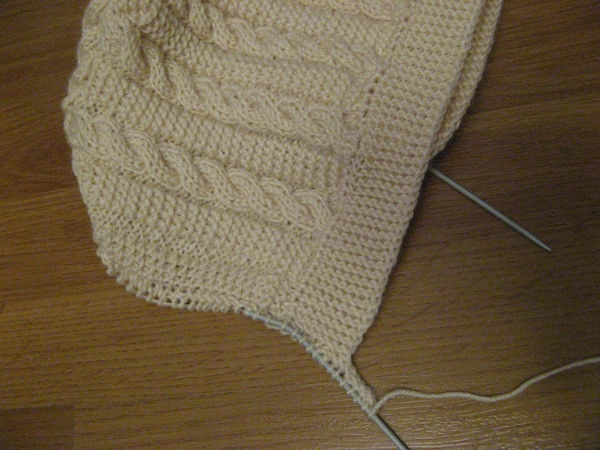
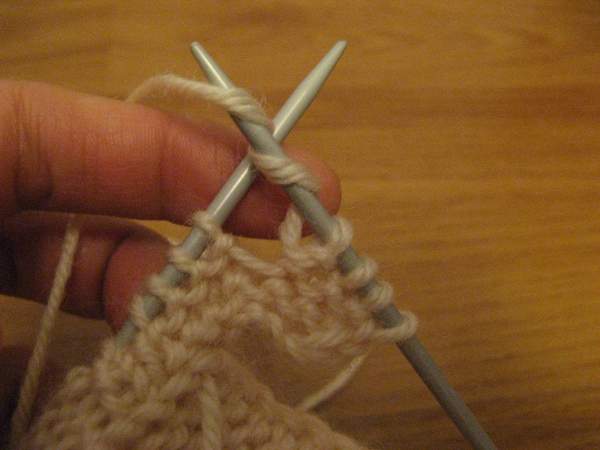
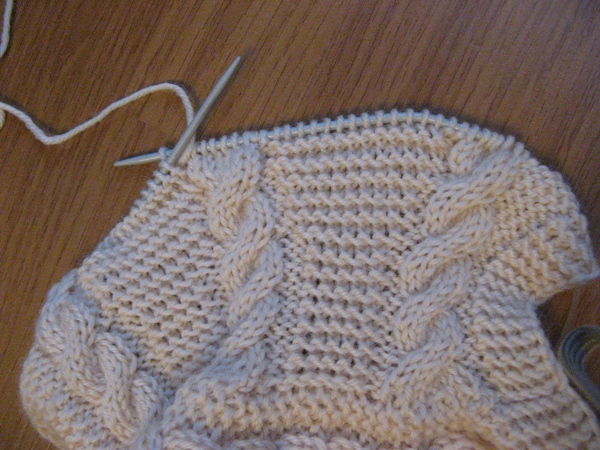
Next, consider how to tie the hood itself for the hat-helmet with knitting needles. We divide the series: in the middle of 36 n, along the edges 35. The scheme is as follows: 44th row: according to the scheme 35 n, with 6 of the 4 braids, then again in the figure 36 n in the center, and the remaining 35 in the figure plus 4 n on braids (further to). 45th row: the first 35 according to the scheme, the next 35 according to the scheme, and the 36th we sew with the next one to get a turn. 46th row: 1 n just shoot, then 35 on the scheme, 36 again we sew with the next one.
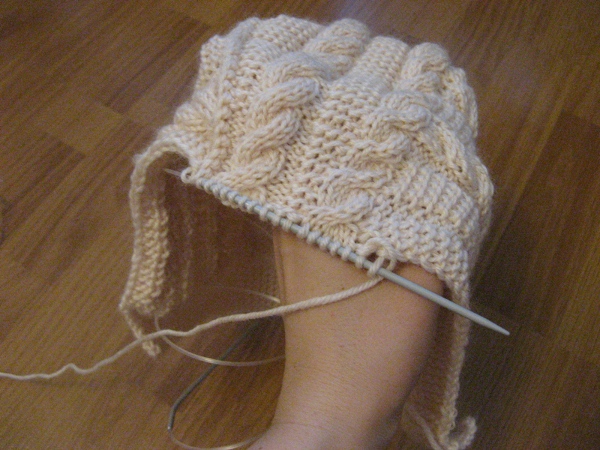
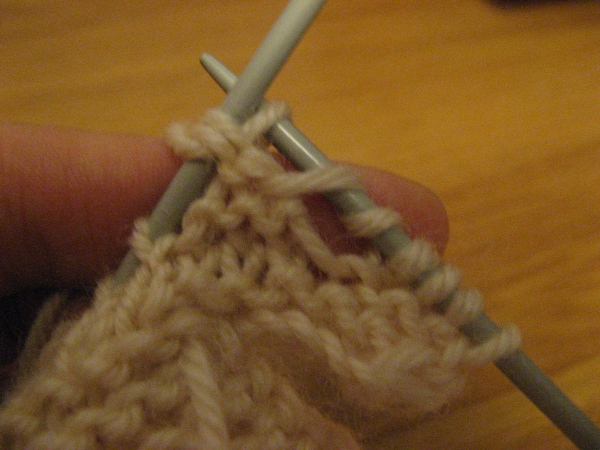
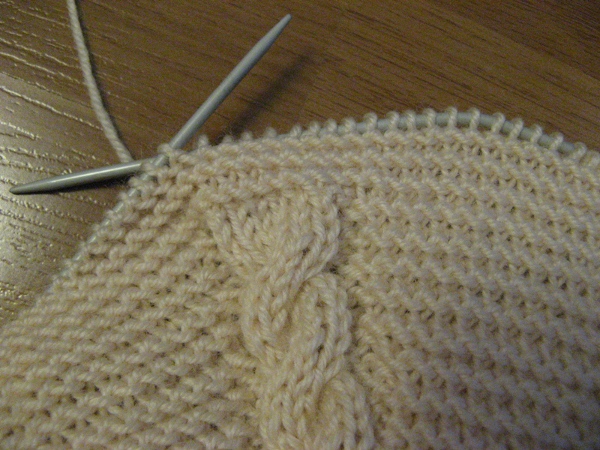
Thus we move up to 51 rows, and then gradually reduce the number of loops: one from the sides of the central to. So we continue 16 more rows.
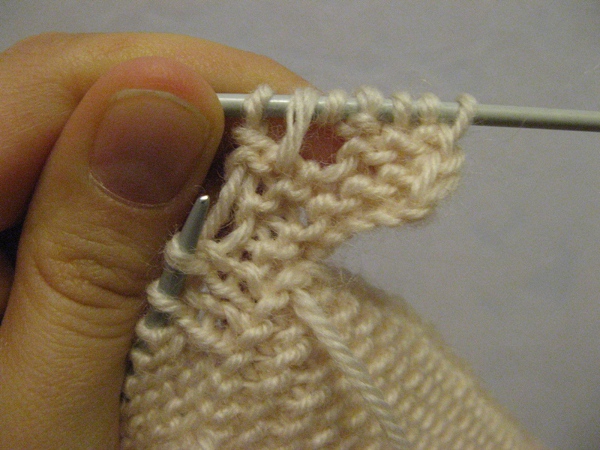
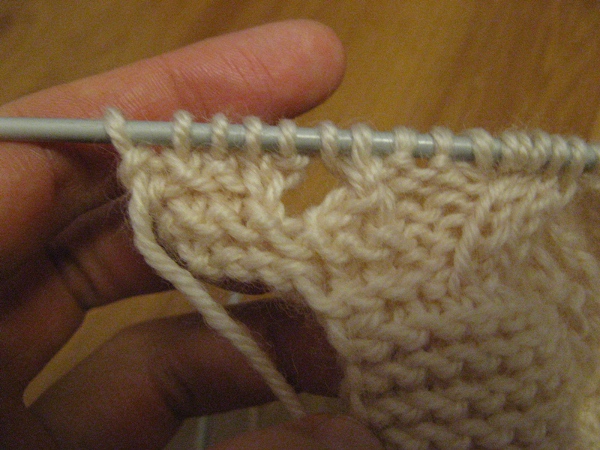
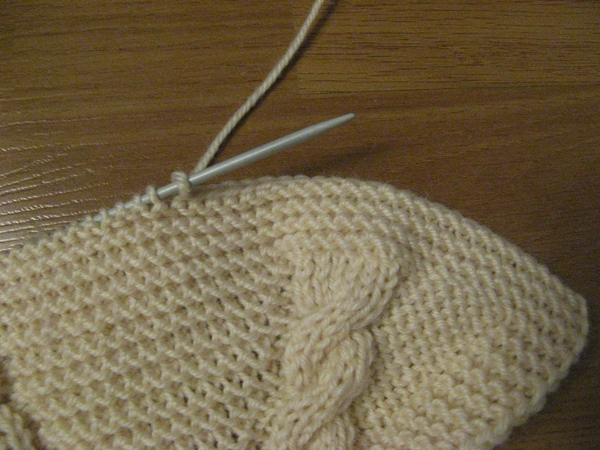
The hood is made before the end of the lateral loops. Close and cut the thread.
| | |
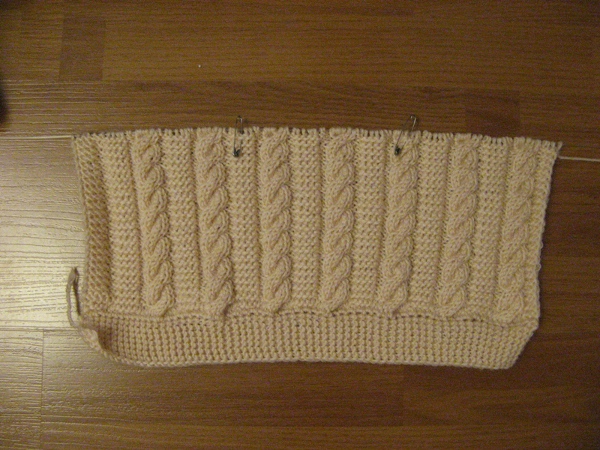
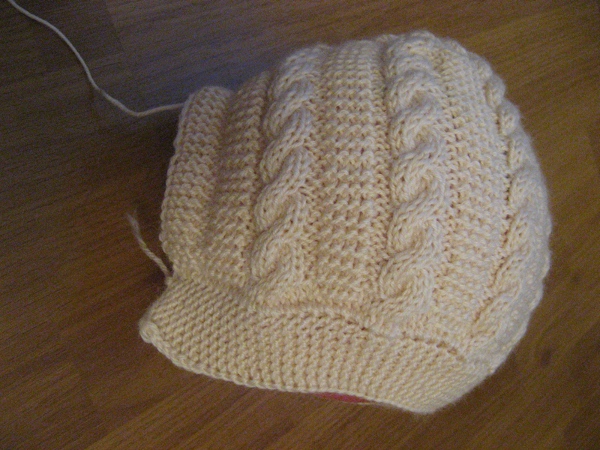
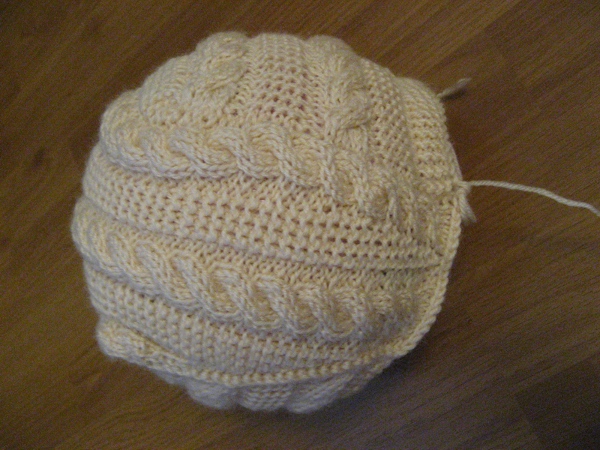
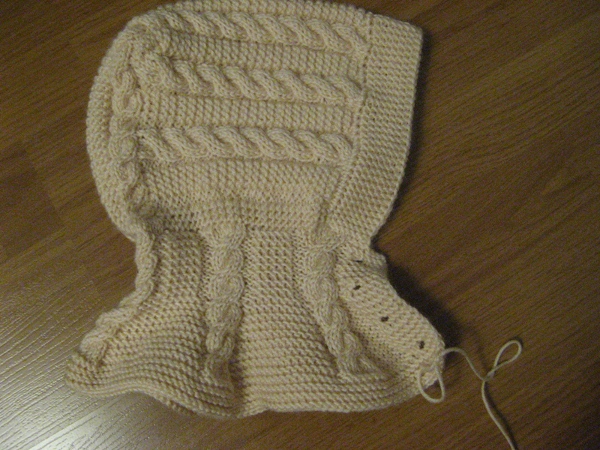
As a result we get such a workpiece.
| | |
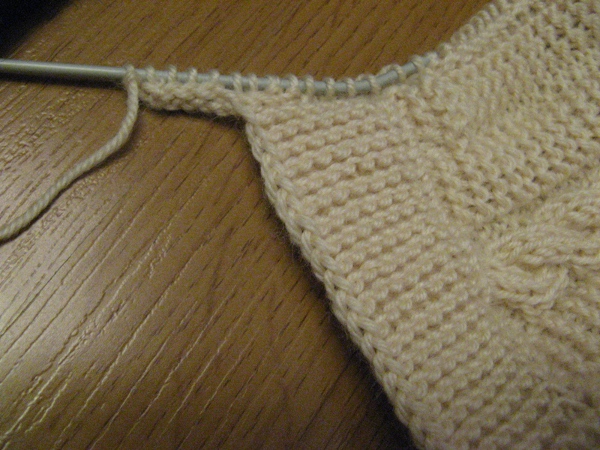
The next stage of the master class knitting cap-helmet knitting - the shoulder part. It is necessary to type on the bottom edge:
- 5 air;
- 74 loops;
- 5 air.
Now according to the scheme:
- 1 cr;
- 6 pl in;
- 2 persons d;
- 6 k;
- 2 persons d;
- 5 pl in (from 2 persons to 5 pl in four times);
- 2 persons d;
- 6 k;
- 2 persons d;
- 6 pl in;
- 1 cr.
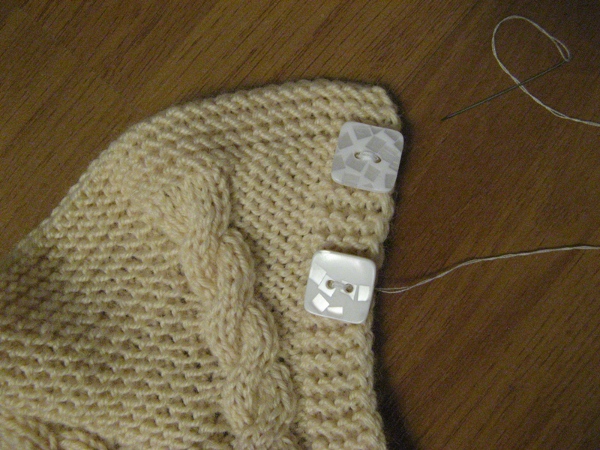
Hinges on the bottom edge: add 5 on the slats on the sides.
Make holes for buttons from air loops.
| | |
| | |
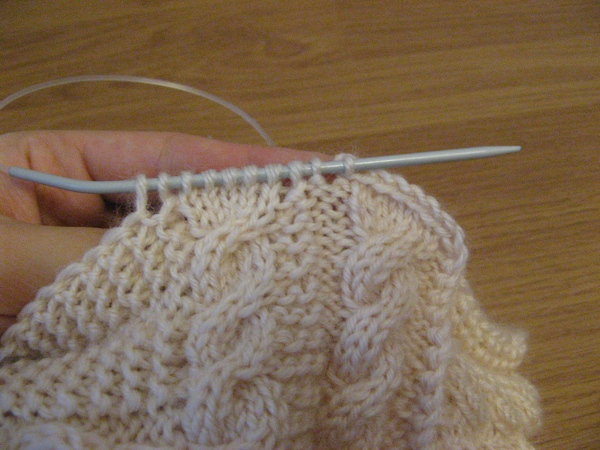
Then another sixteen rows, change the knitting needles and add along the edges of the braids in two rows. At the edges should be 8 increments.
| | |
Next 6 rows of pl in and close the loop.
| | | |
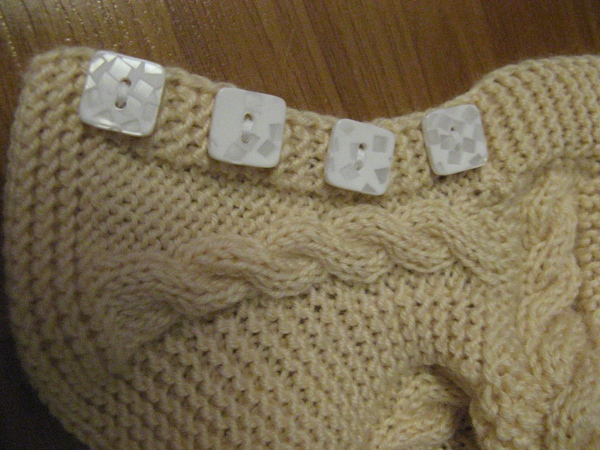
We sew on the buttons and everything is ready. To make the cap more original, you can use other patterns for the base fabric.
| | | |