Thin legs,
Red boots!
Remember this childish comic poem? How correctly to draw a spider? If you do not know this and have never done it, it does not mean that you can not do it! Today we will learn how to draw the most common spider, improving the creative abilities of the child.
Believe me, this is quite easy if you perform the work in stages. Even a child can cope with this task, armed with a sheet of paper and a simple pencil. So, how easy is it to draw a spider for children?
Master-class: how to draw a spider in stages
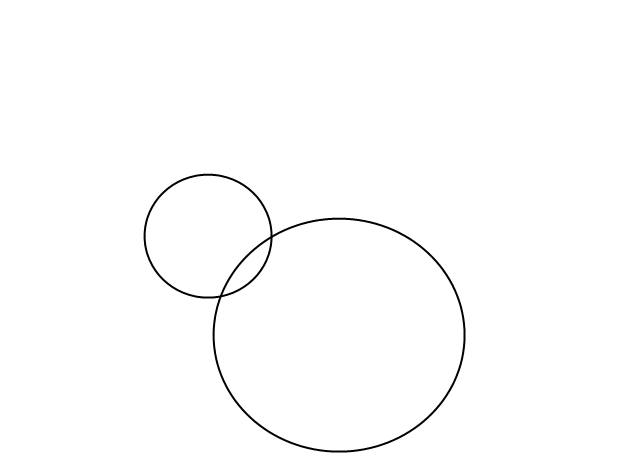
- The first thing is drawing a circle - this will be the abdomen of our spider. Of course, in a living insect, it is not so round, but elongated, but we are drawing for a child or a child, and therefore such subtleties are of no use, leaving them for older children. You can make a circle by hand or by using a compass.
- The next step is the back of the spider. It is half the size of the abdomen. Try to stick to the proportions to get a spider, like the present. The circumference of the back should slightly overlap the abdomen. Then you can erase unnecessary lines with a rubber band.
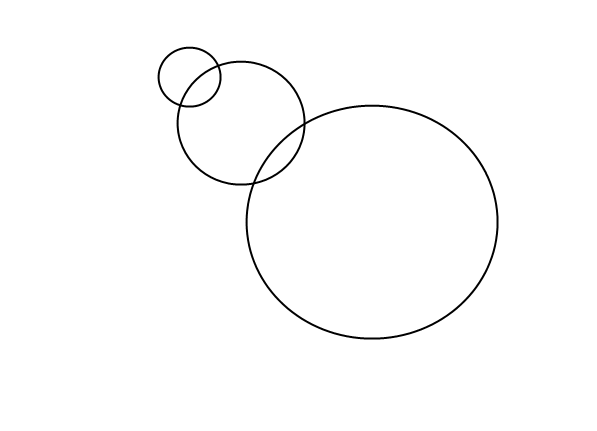
- And, finally, the third circle, which will soon become the head of a spider. We also draw it on top of the back, and in size it is half the size of the previous circle.
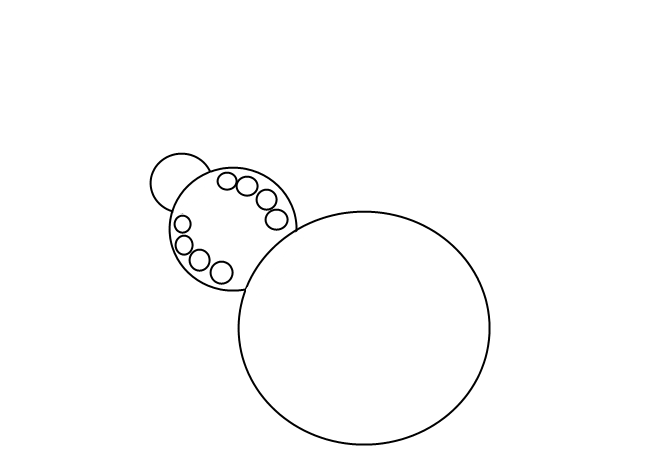
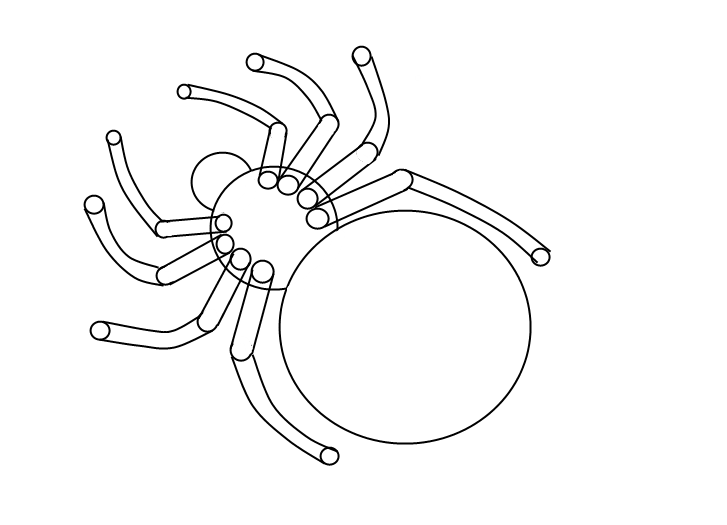
- Now we proceed to the most important, to what the spider does - a spider, to the paws. It's not for nothing that he belongs to the detachment of arthropods - his eight limbs are made up of several parts connected by flexible joints. On the back we draw four small circles on either side - these will be marks for the legs.
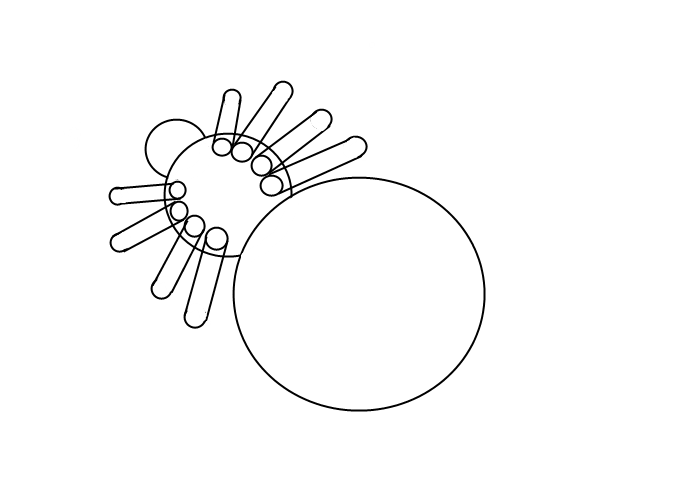
- Draw, emanating from small circles of eight cylinders, the length of the largest - about the size of the back of the spider, and those that are located near the head, a little smaller. They are like spread out fingers and should not be too close to each other.
- And now - attention! To the legs located near the abdomen, we draw slightly curved extensions, each of which also ends in a circle. The next pair of legs "looks" in the opposite direction, like the last ones located near the head.
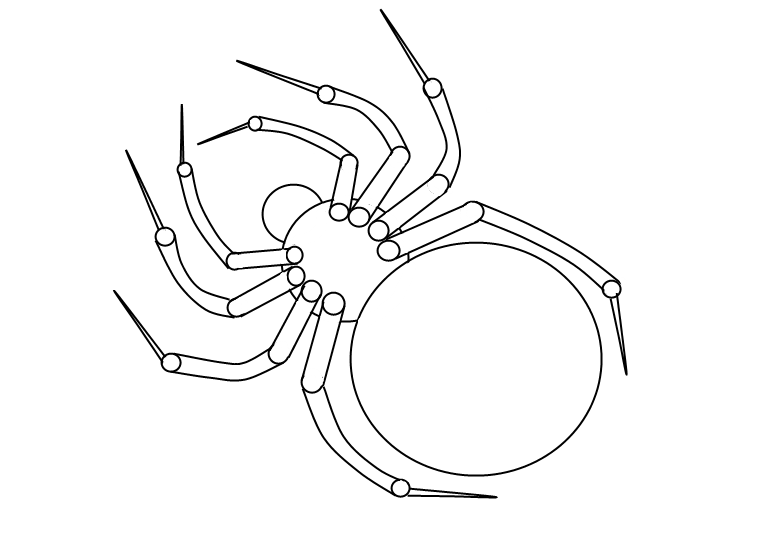
- Now our predatory spider needs to draw sharp claws on each foot.
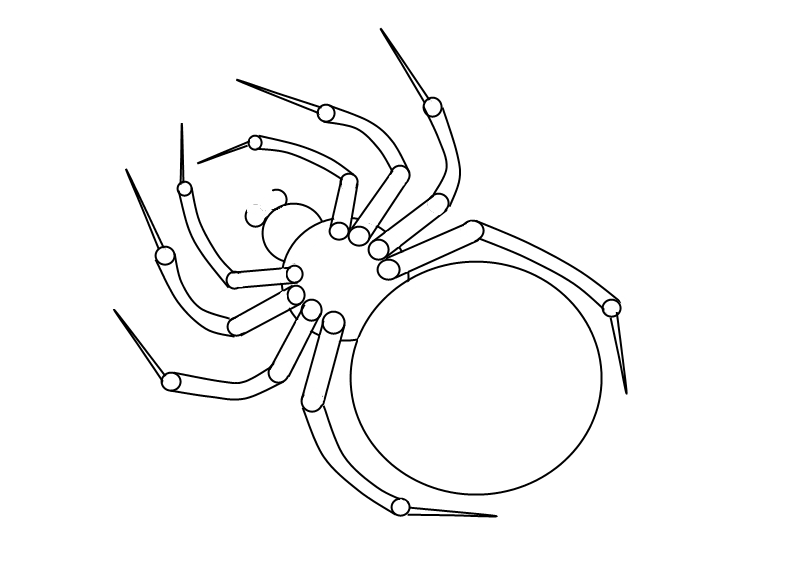
- On the head we will arrange semicircles, erasing the excess with an elastic band - these will be the poisonous fangs of the spider.
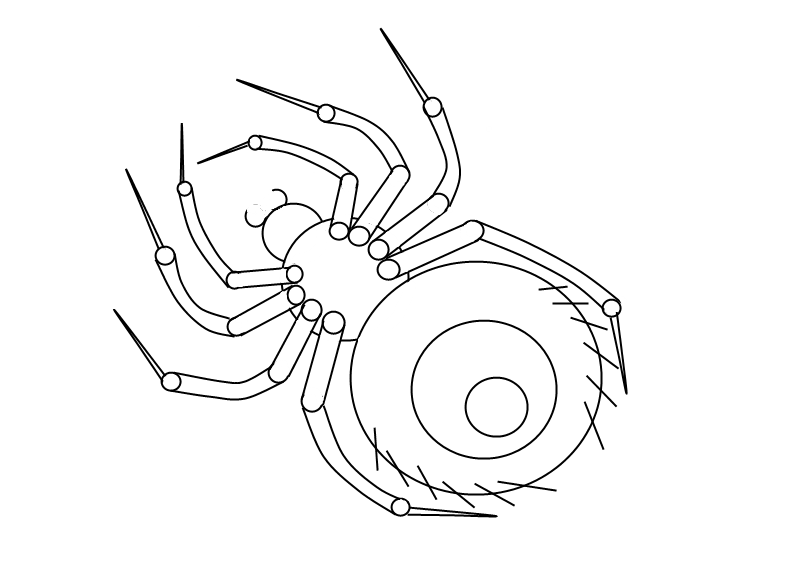
- The final touch is an intimidating combat coloring. On the abdomen, you can draw several circles one in one and add it with bristles. Now the finished drawing can be colored with colored pencils or felt-tip pens.
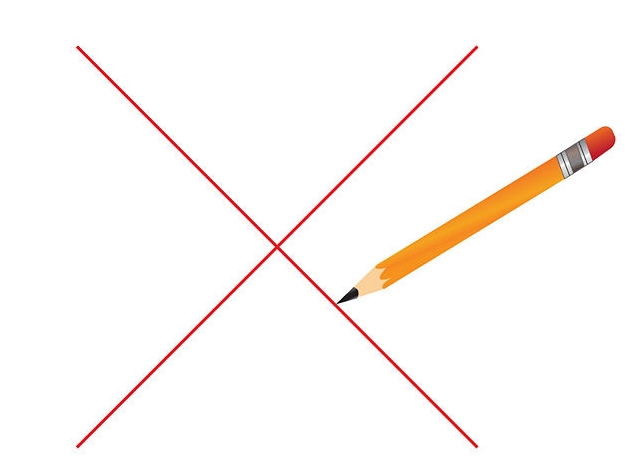
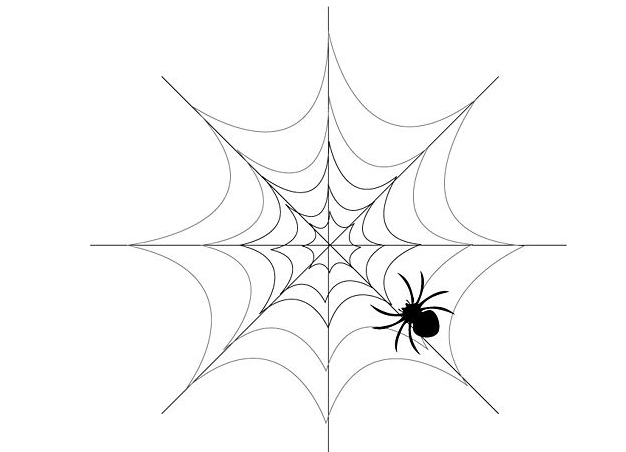
As you can see, drawing a spider with a pencil is very easy, but we also need a web with it for the full image. Make it simple with a pencil and ruler:
- Cross-crossed draw under the ruler two identical in size lines, which cross over. The sheet of paper is divided into four sectors.
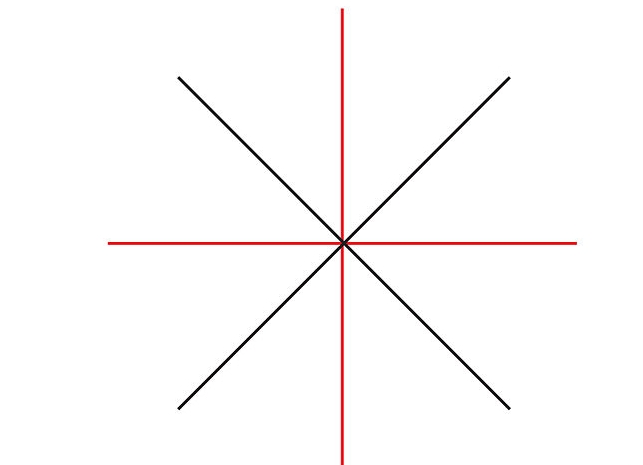
- Now, each of the sectors is divided in half by the same crossing lines, which should be slightly longer than the previous ones.
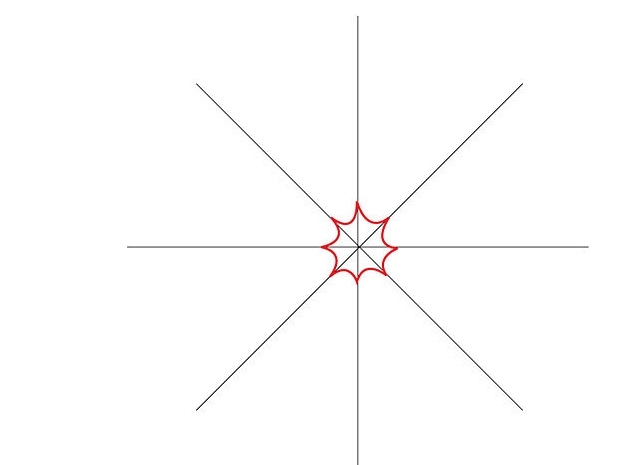
- Now is the time to begin to weave the pattern of the web itself. To do this, each of the sectors in the narrowest point, connects two adjacent lines with each other by a concave arc. This action must be carried out with all the lines, connecting them.
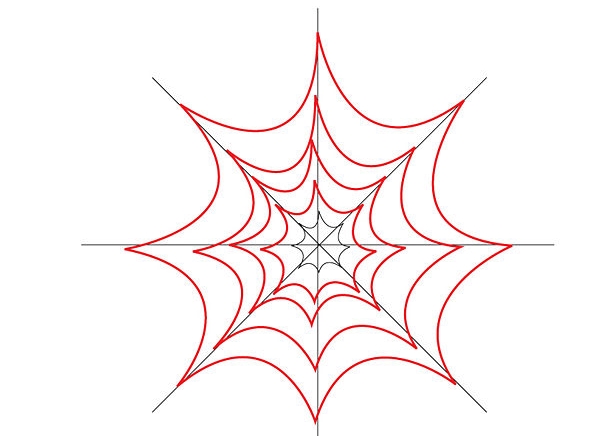
- Further the concave line becomes longer and the distance between them increases, reaching almost to the edge of our web, but the ends should be left free, this will create the illusion of a real hanging on the tree spider web.
- Well, do not forget about the main character of our project - a spider. We already know how to draw it.