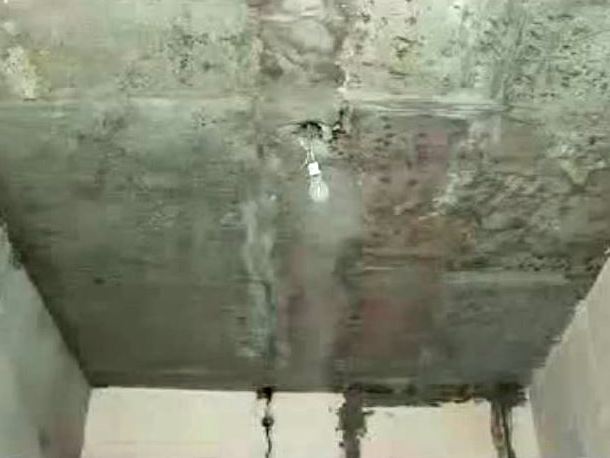
Major repairs can not be done without leveling the surface of walls or ceiling. Very often after buying an apartment people want to re-paste the wallpaper, but under the old layer they find a lot of defects - cracks , chips, loose plaster pieces, spilled seams between the slabs. We offer you in our article a small instruction how to quickly level the concrete ceiling without resorting to the help of an experienced master.
How to level a concrete ceiling in an apartment?
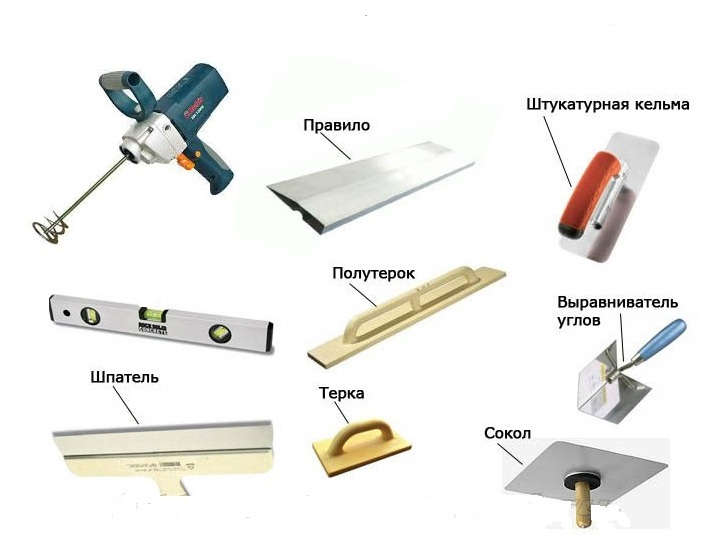
- To work, you will need practically the same tools that builders use for conventional plaster - a drill with a nozzle for mixing the working mixture, a level, a set of putty knives, a rule, a plaster falcon, a suitable solution tank, a roller, a convenient tray.
- The problem of how to level the curve of the ceiling can be solved in many ways. Small irregularities are eliminated with putty, but there are significant deviations on our ceiling, which are better to fix with plaster.
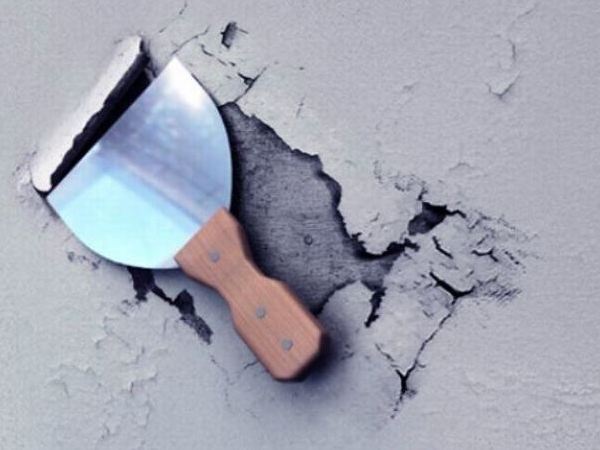
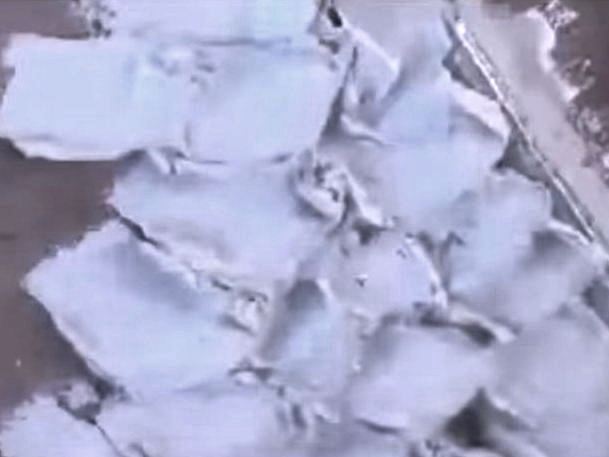
- Anything that can be crumbled off with light exposure is removed with a spatula. We clean the seams, remove dust and dirt from the ceiling surface with a brush.
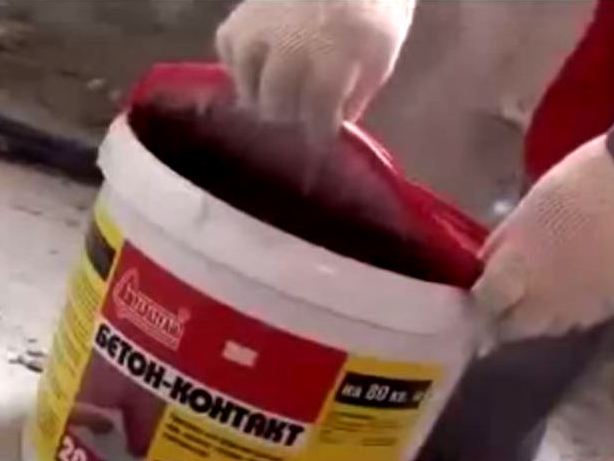
- Next, we will need a primer that will ensure good adhesion of subsequent layers of plaster to the concrete ceiling. Use special quality mixes ("Concrete contact" or others).
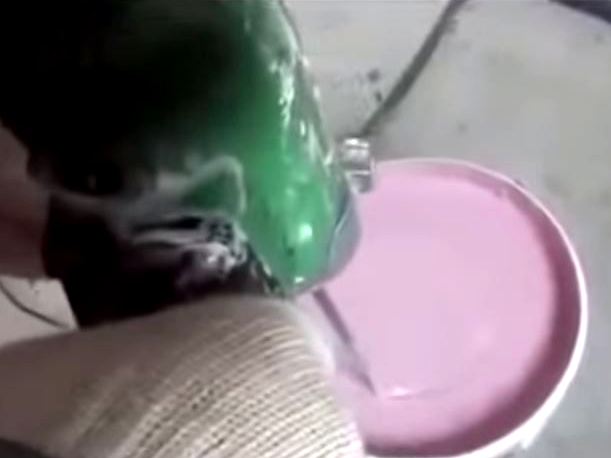
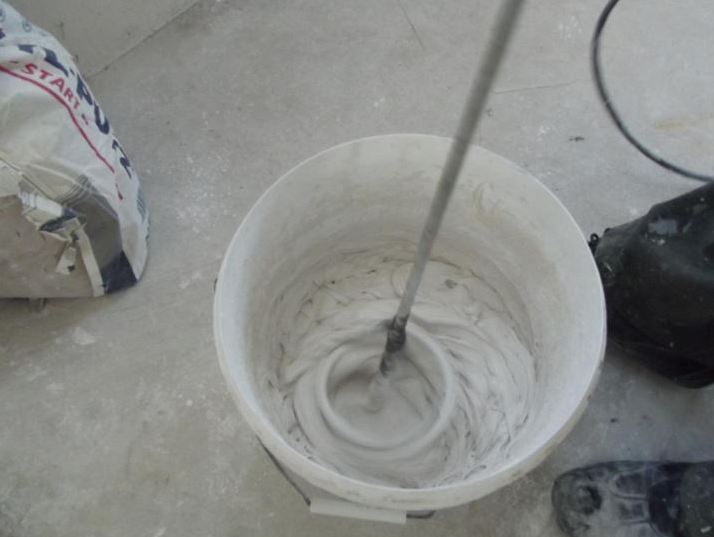
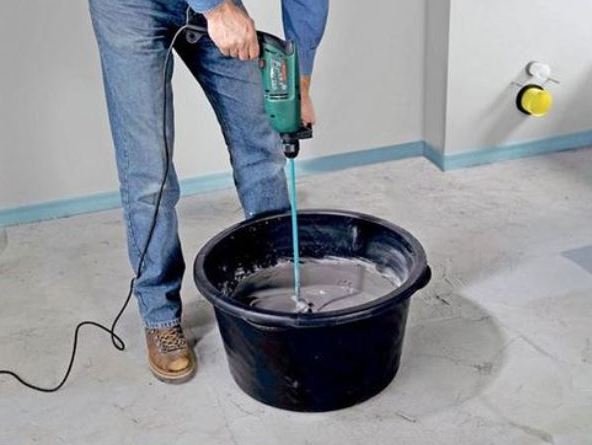
- Pour the primer into the container and mix the liquid a little with a mixer.
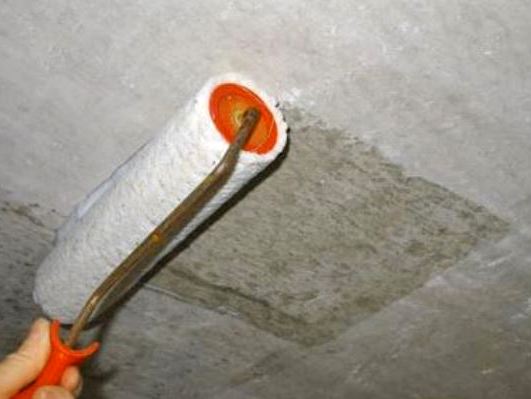
- Roller we apply a primer to the ceiling, if there are large depressions, then we work with a brush. Let the surface dry.
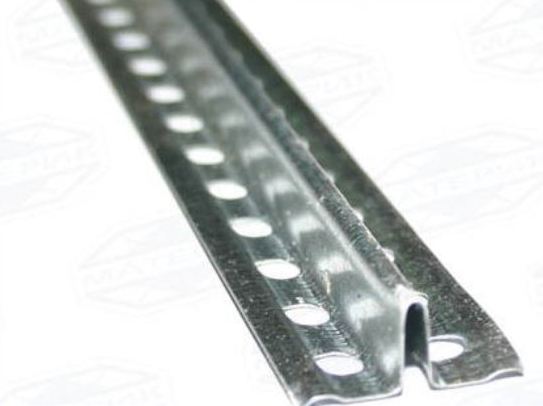
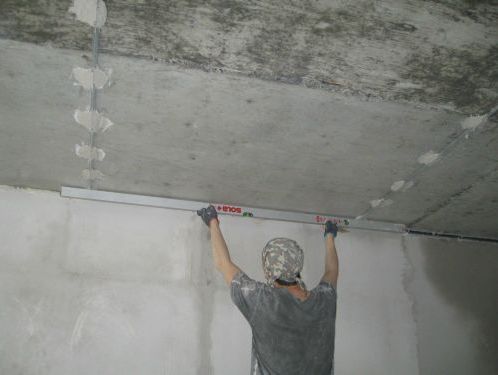
- In the case, how correctly to level the ceiling, it is good to use beacons. It is best to buy aluminum slats that can be left in place without pulling them out of solution. This material is resistant to corrosion.
- We raise a little bit of plaster for work.
- We fix beacons on the ceiling, the distance between neighboring racks should not exceed the length of the rule. Adjust with the help of a level so that the beacons are strictly in the same plane.
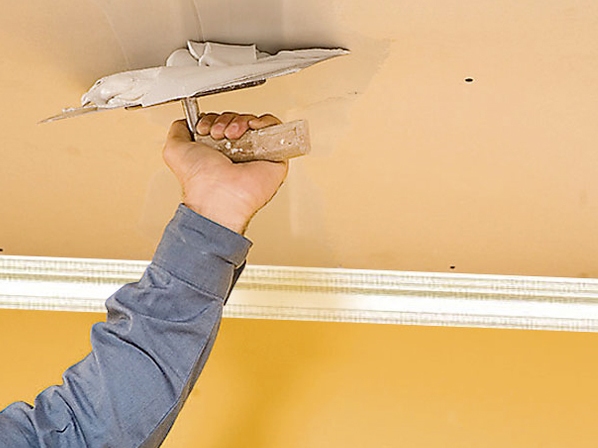
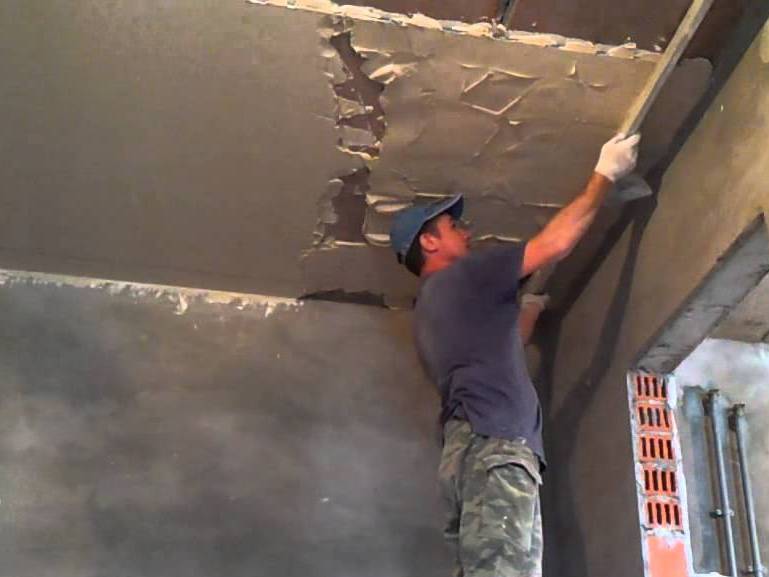
- Performing work at the next stage is possible only after the solution has hardened well. Next, mix gypsum plaster and apply it to the surface.
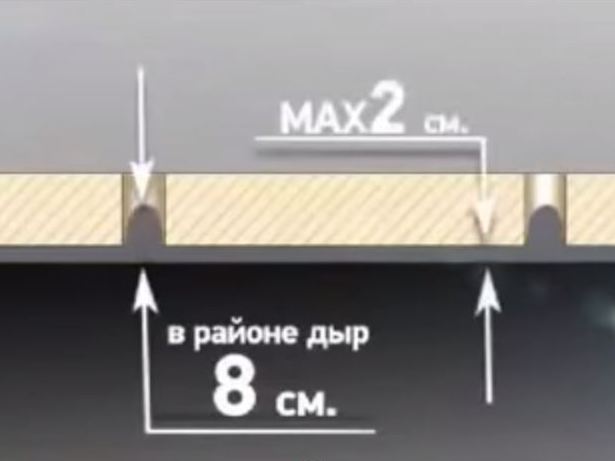
- If you want to align the ceiling yourself, then follow the next rule: the mortar layer should not exceed 2 cm on the plane and 8 cm in the vicinity of the holes. Also, be sure to observe the mixing proportions indicated on the package. Instructions for different compositions may be slightly different. First, water is poured in and then the mixture is continuously fed into it. After mixing, wait about five minutes and shake the solution again. This technique is necessary to ensure that all components of plastering begin to interact with each other.
- Fill the solution with grooves.
- Fill the plaster space between the beacons.
- Stretching the rule, level the solution.
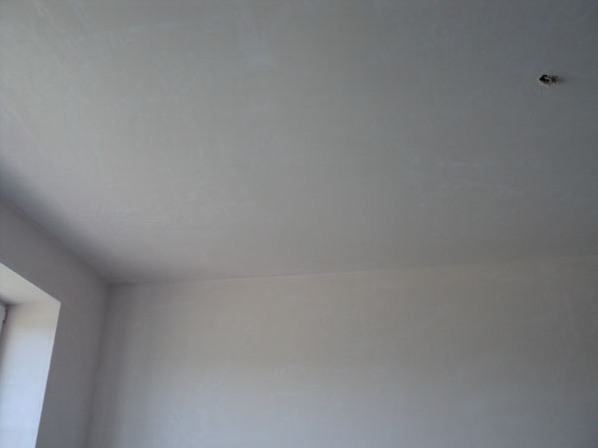
- The ceiling is flat and ready for further finishing works.
We have described here only one option, how to level the ceiling. It turns out that much depends in this case also on the state of the surface. "Wet" methods (plaster, putty) will help you out only if the difference in height is small. Too large a layer of solution (5 cm or more) will quickly crack and may collapse. This is fraught with not only new repairs, but also dangerous for residents. If you are faced with such a serious defect, then it is better to use plasterboard. This design is more expensive and "steals" several centimeters of the height of the room, but it is very reliable. In addition, when installing gipsokartonnyh ceilings, you can make insulation at home.