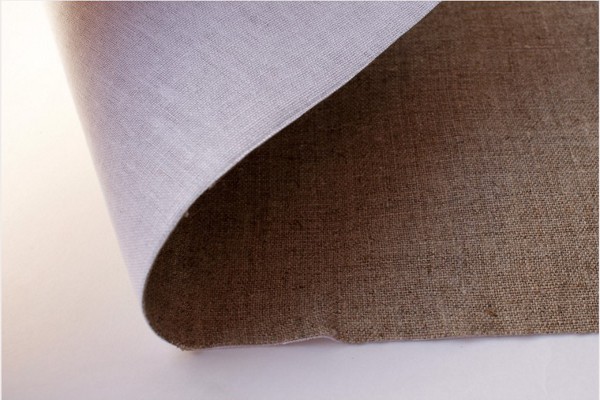
A bright and colorful cover can be sewn in just one evening. First, let's define what you can sew a laptop bag for. Well suited dense natural fabrics: canvas, cotton canvas or coarse calico. The material of the laptop bag must be tight and inelastic. Now consider a small step-by-step instruction on how to sew a laptop bag.
Laptop bag: master class
First we measure the device. After you have decided on what to sew a laptop bag, choose a few different cuts:
- basic;
- lining;
- fabric for the valve;
- duplerin (you can use non-woven or other seals);
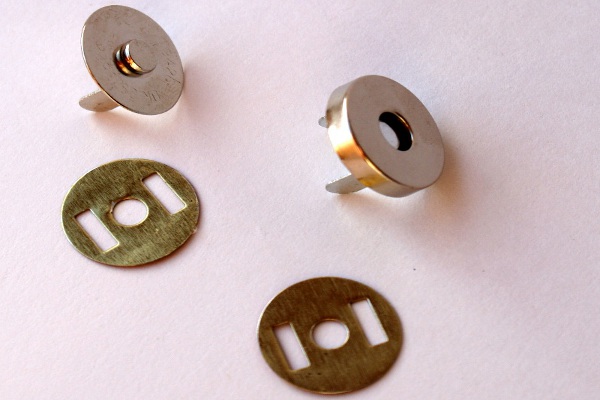
- two magnetic fasteners.
Now let's get to work:
1. The scheme of sewing a laptop bag starts with cutting. On the main and lining fabrics, we measure the measured sides of the device taking into account the allowances for the seams. For a loose fit, add another 2 cm. The valve layout also depends on the size of the device and the desired appearance.
2. Then cut out all the details of the case. Each part from the wrong side is glued with a doublerine or other sealant.
| | | |
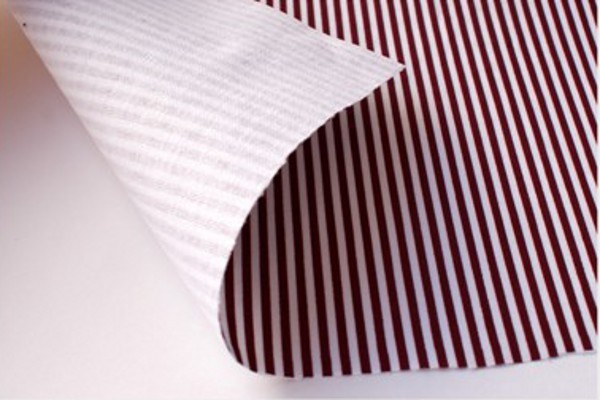
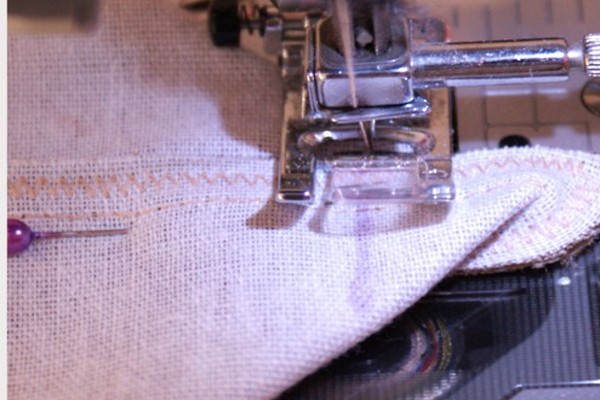
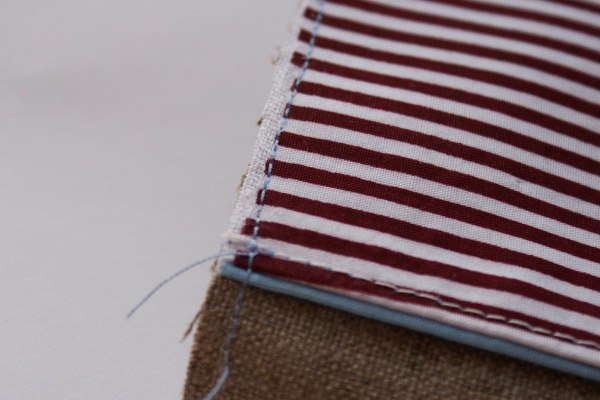
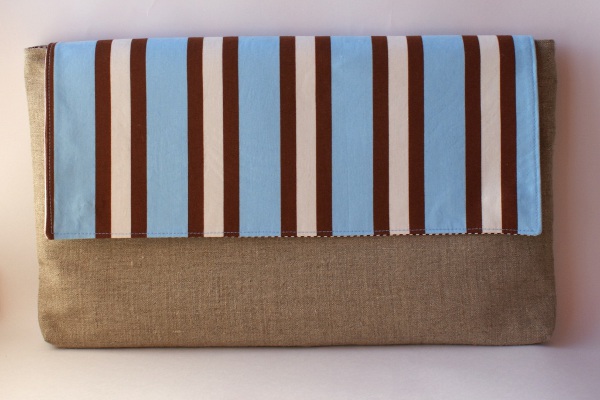
3. Fold the details of the base of the cover face inward and stitch it on the typewriter. We process the edges in a zigzag. If you decide to decorate the cover with strips or appliqués, you should do this before you sew a laptop bag.
| | |
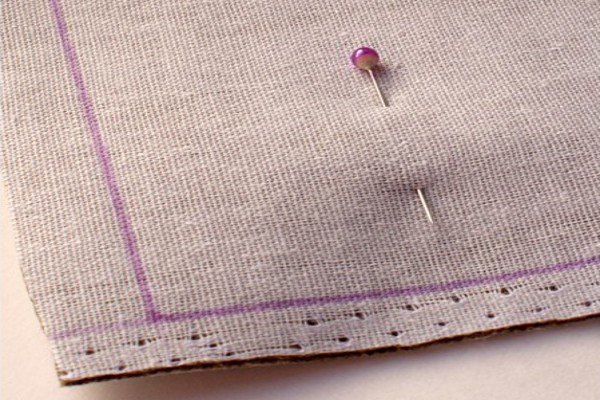
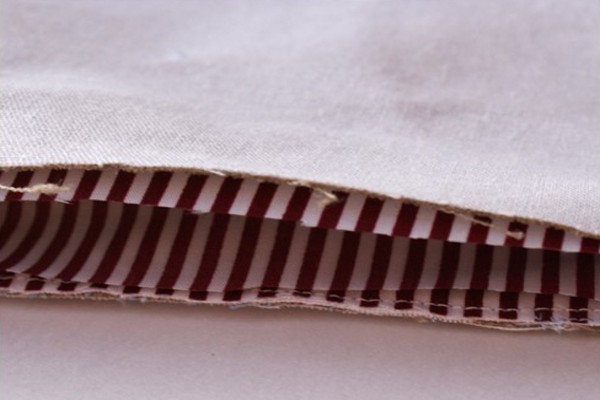
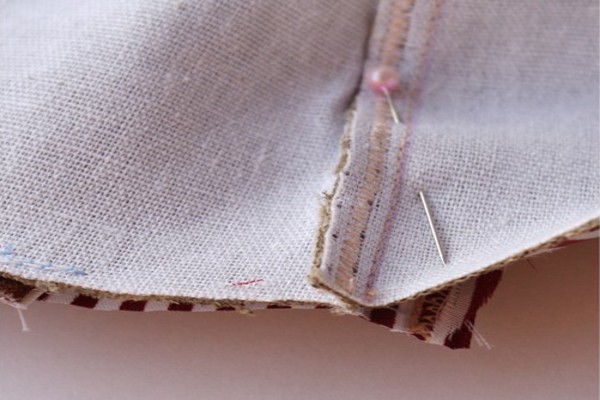
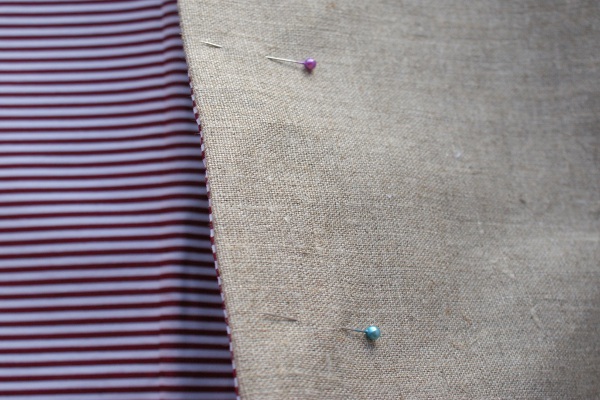
4. To form a bottom, fold the corner and combine the seams. For reliability, we prun off with a pin. Important point: allowances are bent in different directions.
5. The value equal to the height of the device, we measure and draw on the corner. We plot the line along the planned line.
| | |
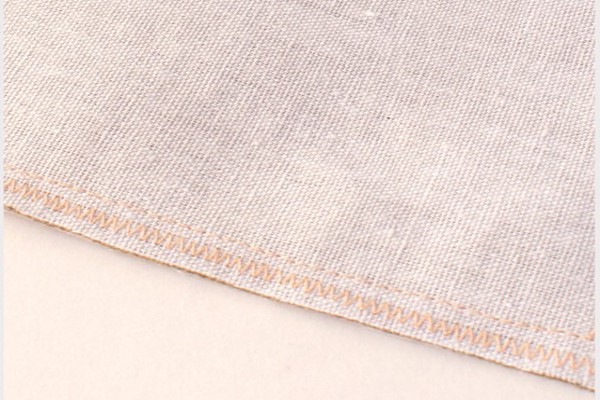
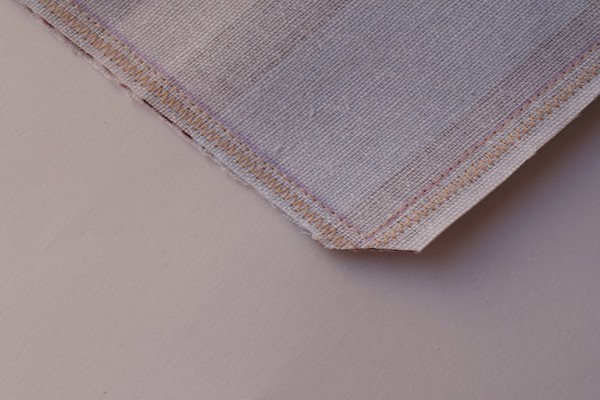
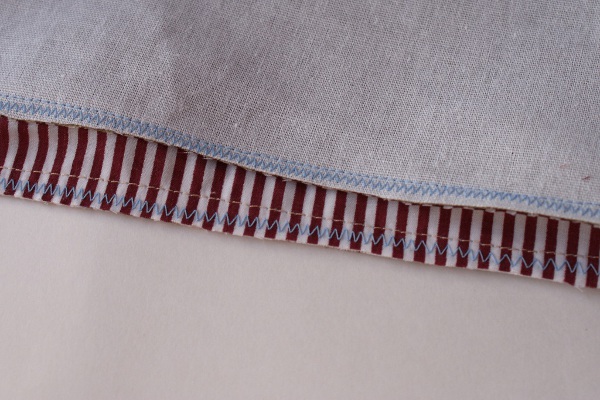
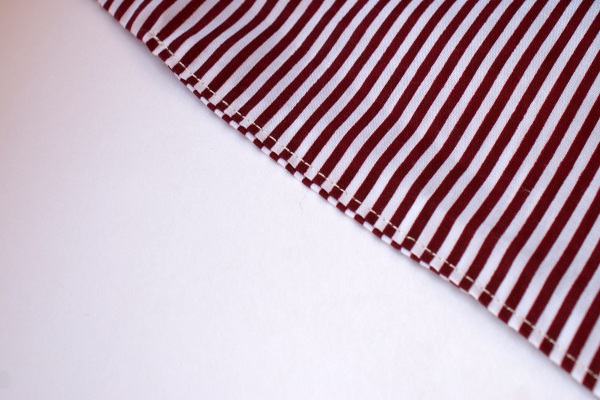
6. Then cut off the excess and work the edge with a zigzag line.
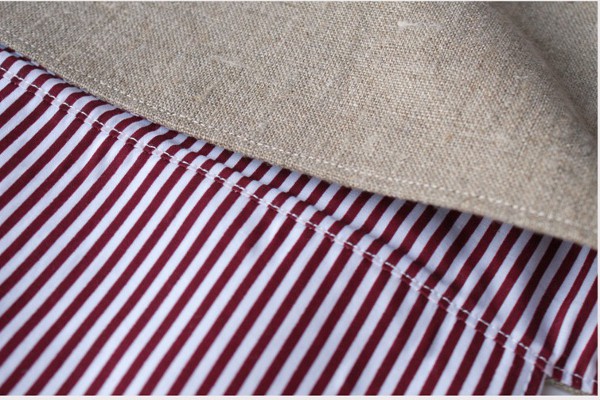
7. Do the same on the other side. That's how it looks outside.
8. Do all the steps again with the lining cloth. Do not forget to leave 10-15 cm for eversion.
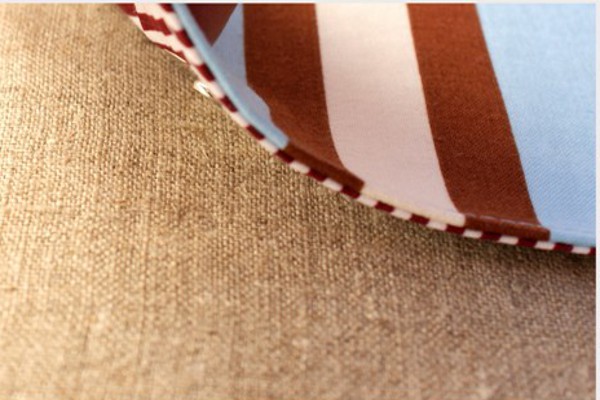
9. The next stage of the master class of sewing laptop bags will be a valve. Apply the face inside the valve part and stitch it on three sides, the edge is processed with a zigzag line. We turn the product out and straighten the corners with the stick.
| | |
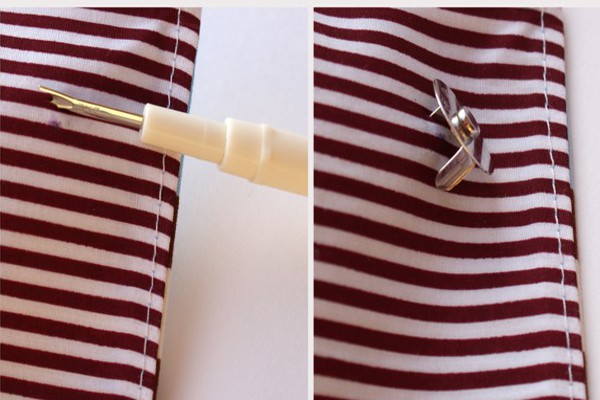
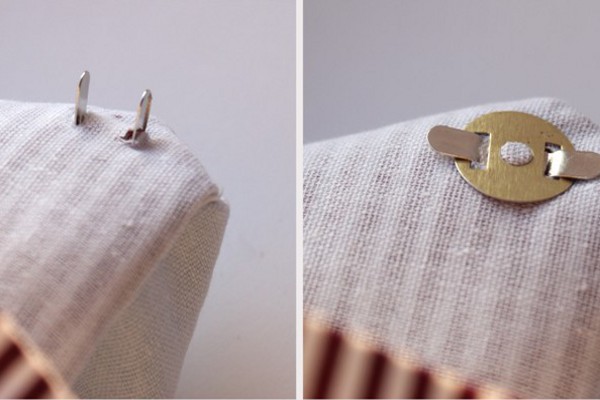
10. Next, we iron it well, and then we make a line.
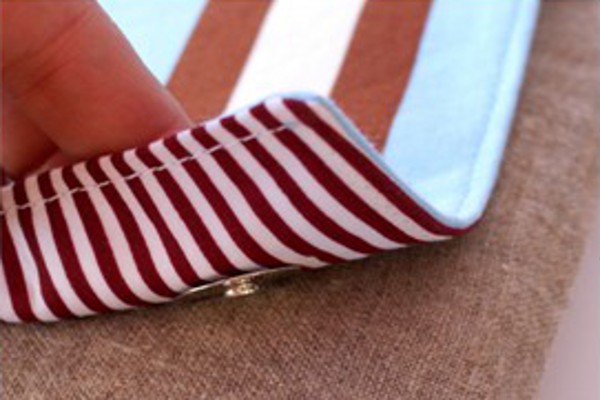
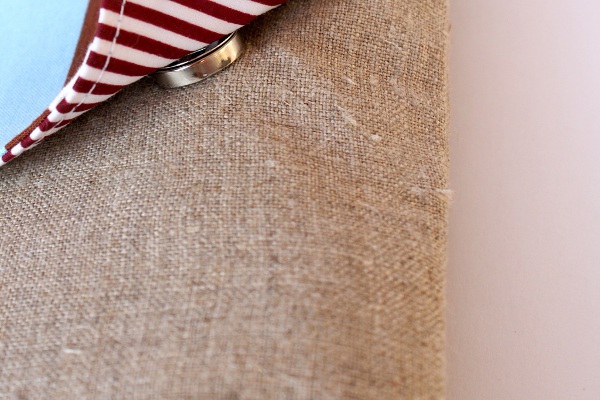
11. Install the buttons.
| | | |
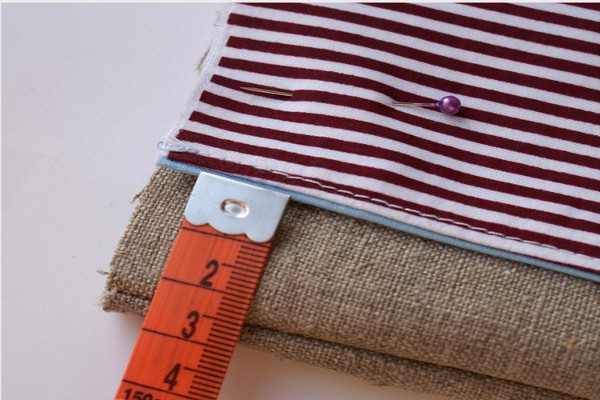
12. Apply the valve to the back of the cover and puncture it with pins. To be faithful, you can not just pound the pins, and pave the line.
| | | |
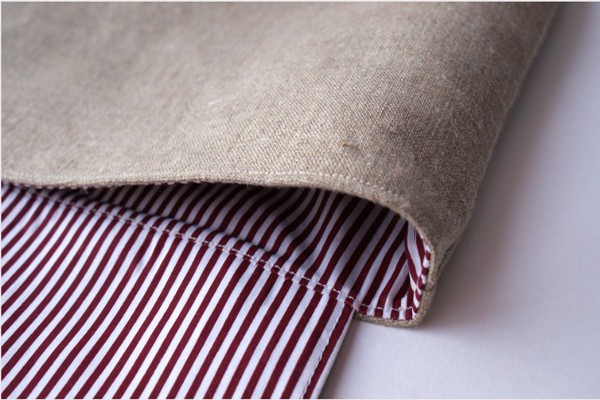
13. We turn the top part of the base and insert the lining into it face-to-face. The details are sewn together and the edge is processed.
| | | |
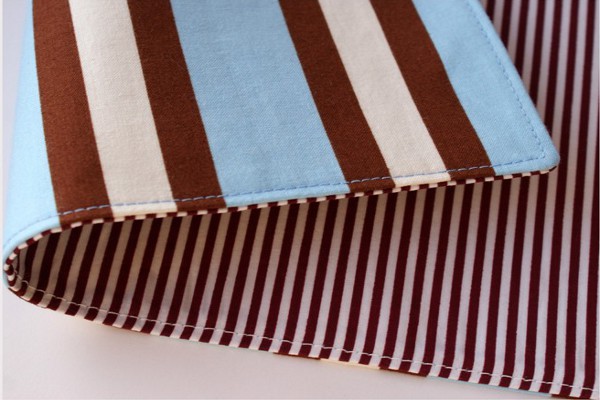
14. We turn everything through the hole in the lining. We smooth and disperse the edge.
| | | |
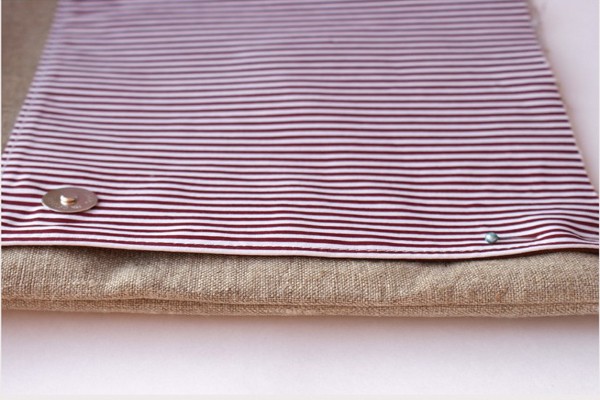
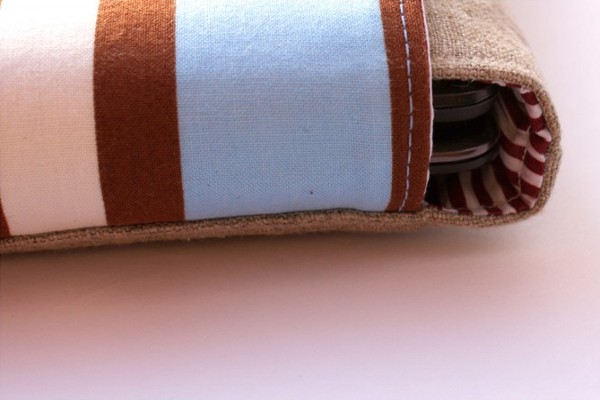
15. Before you attach the buttons, insert the device into it and note the position of the buttons.
| | |
| | |
16. At the end we sew the bottom of the lining.
| | |