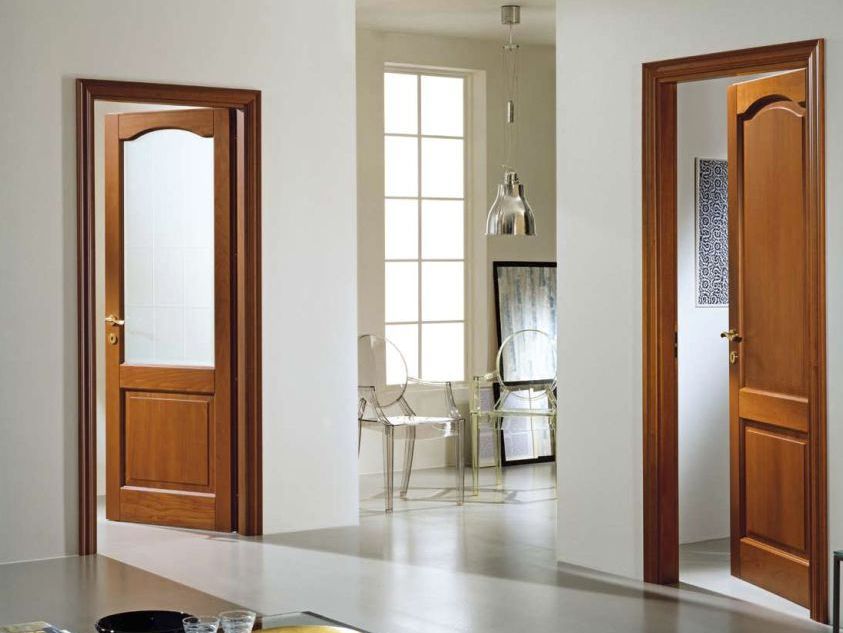
Interior door is one of the most important elements of the interior. It not only supports the style of the room, but also performs a number of important functions. The heat and sound insulation of the room depends on the quality of the product and the type of construction. Many apartment owners try to do the installation themselves. It must be remembered that a violation of the technology of installing interior doors will necessarily affect your comfort.
Step-by-step installation of interior doors with their own hands
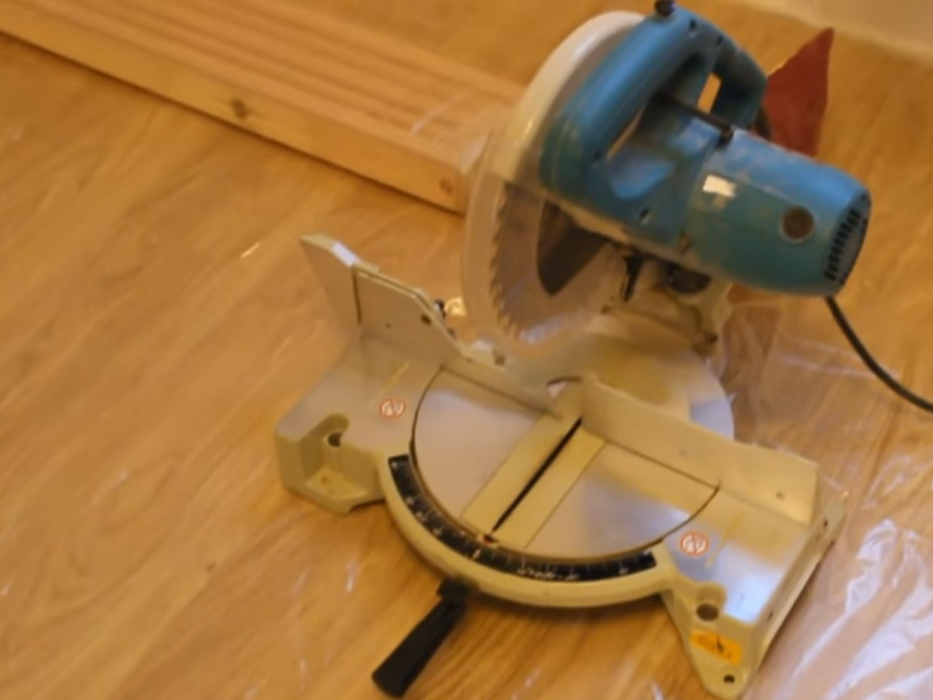
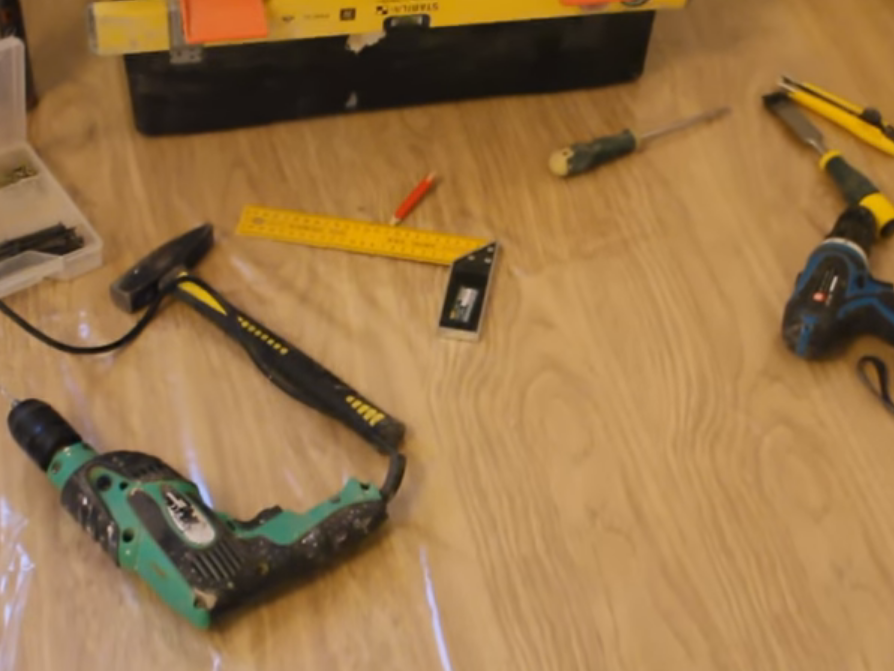
All installation works are carried out before finishing the room after finishing the floor covering . This will save us from problems near the doorway. We prepare materials and tools.
| | |
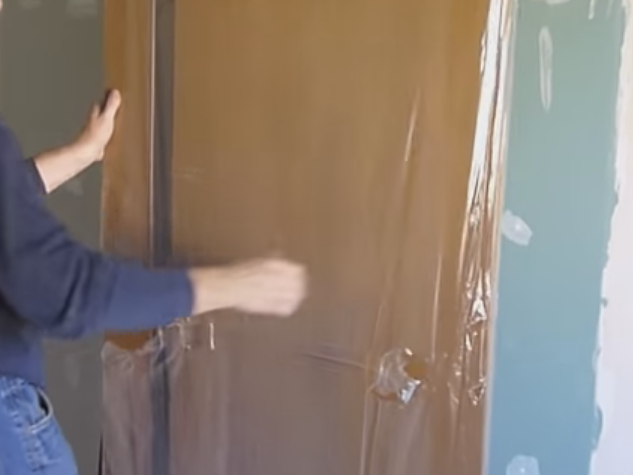
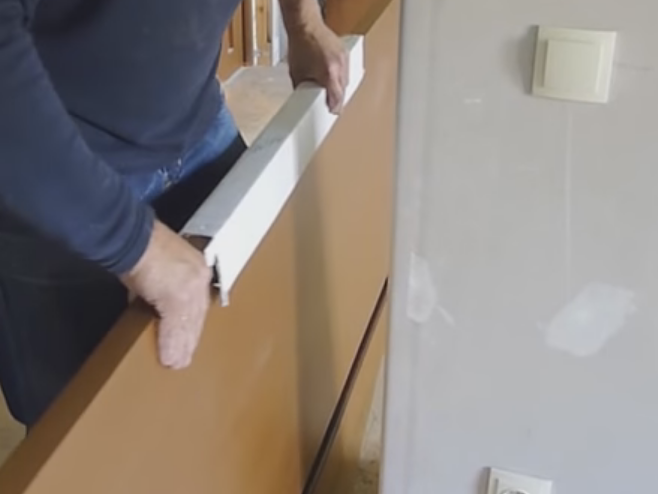
We take the product out of the package and make sure of its quality.
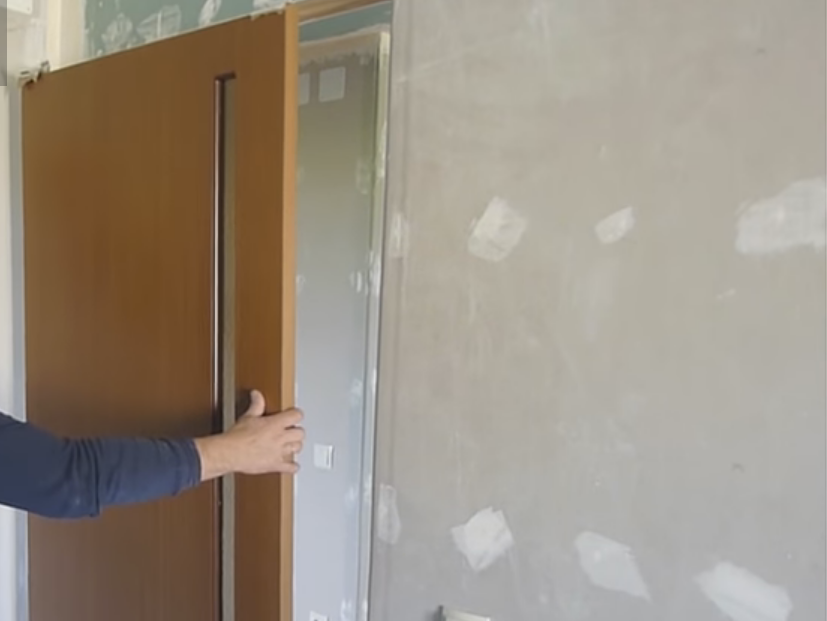
We take measurements of the door and check the conformity of the purchase to the doorway, determine the type of the hinges.
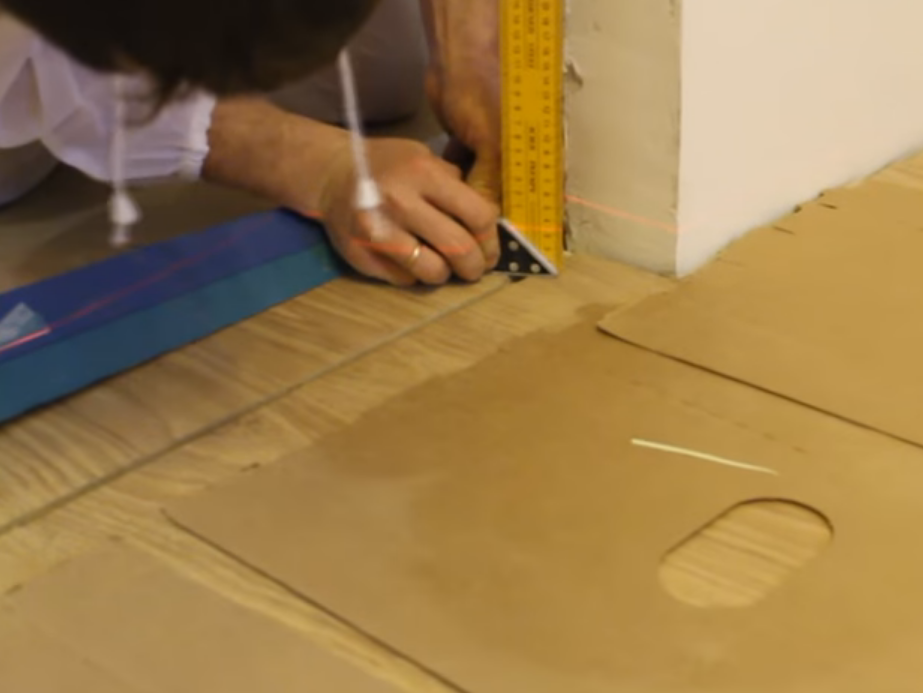
We measure the difference in sex. It is best to use the laser level for this.
We hang the hinges on the door. If there is no helper or special device, we work in the doorway, protecting the blade from damage.
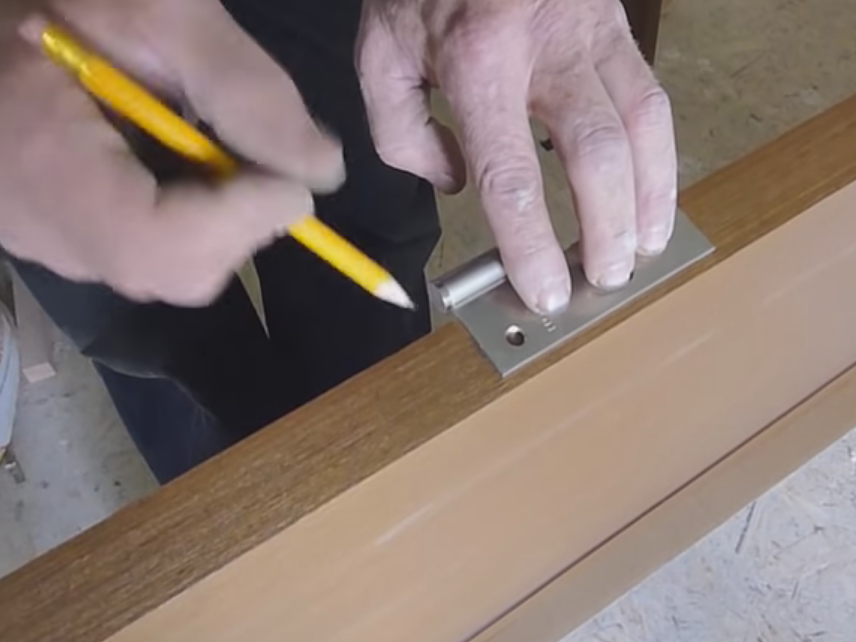
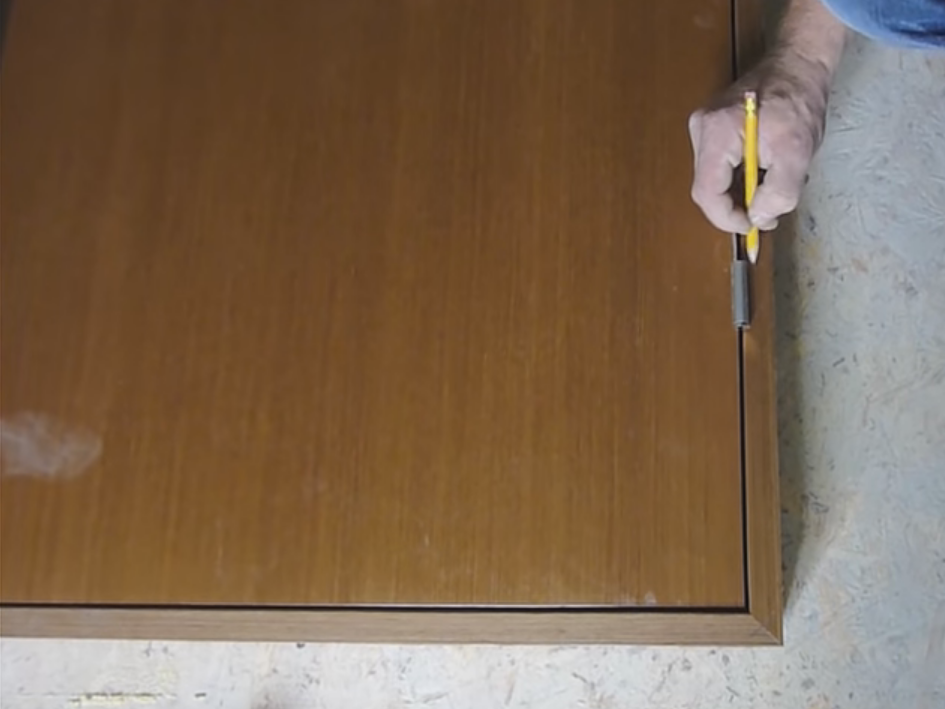
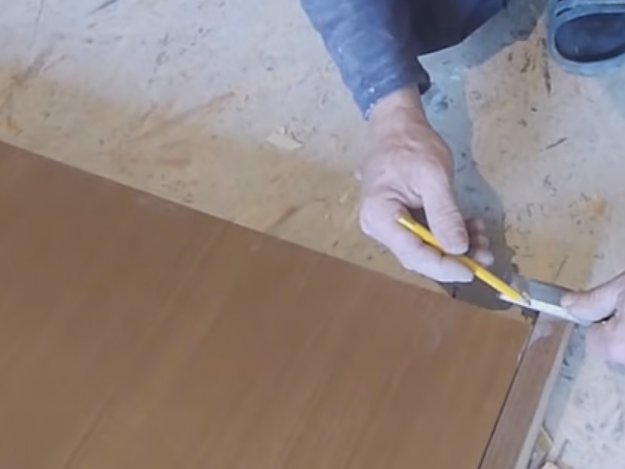
The part is looped into the room, keeping a distance of 20-25 cm from the edge. We set the hinges so that they protrude about 2 mm behind the edge of the door and outline the contour.
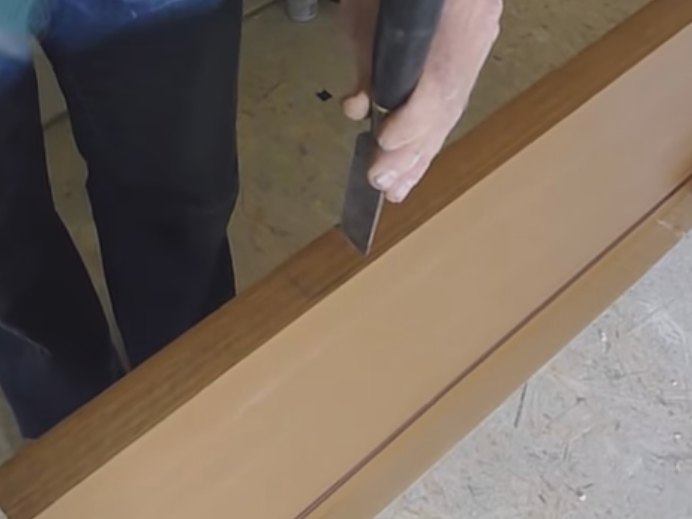
Choose a chisel outlined place. In order not to split the veneer, we make a test impact in the middle of the layout.
We move the chisel with light hammer blows along the inner edge of the line with an overlap.
We select the top layer of the veneer, working neatly on the edges of the contoured section along the fibers. If you shoot the material hard, we make notches.
To the door does not pull, we prepare grooves with small depressions.
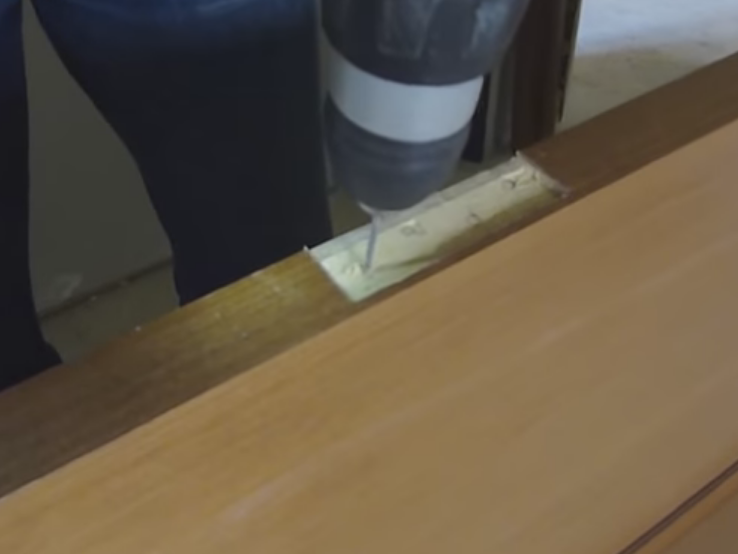
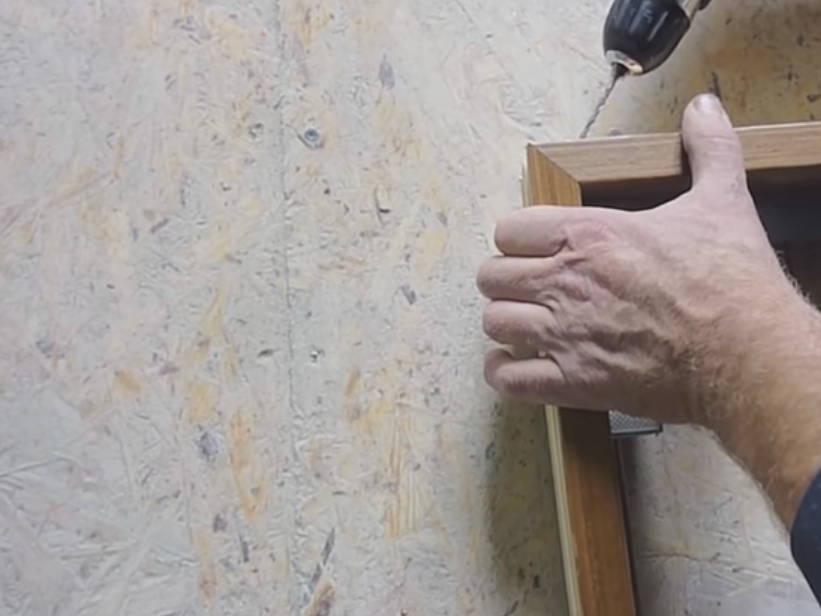
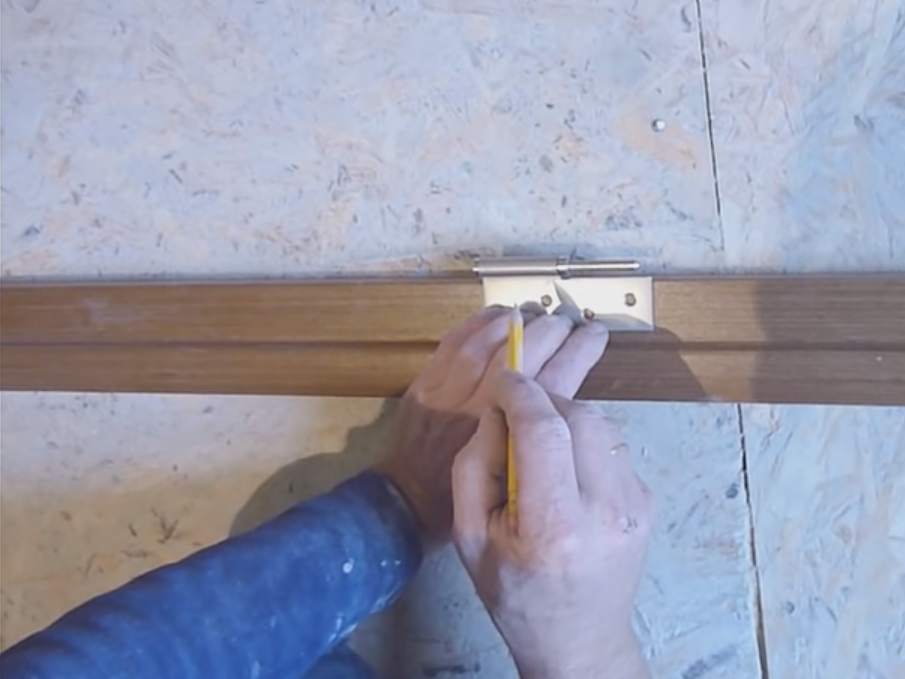
We screw the loops with screws, having made preliminary deepenings with a drill.
| | |
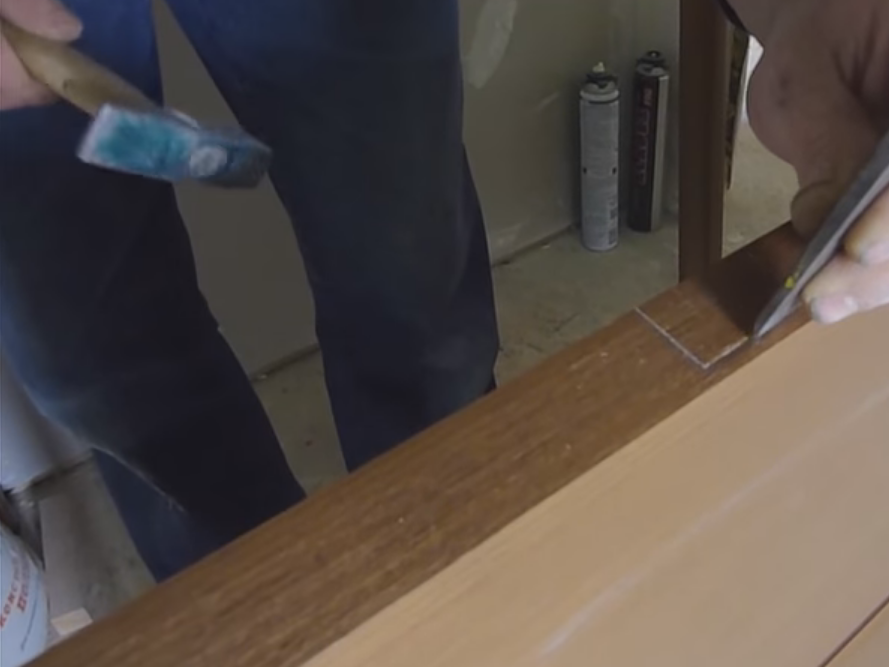
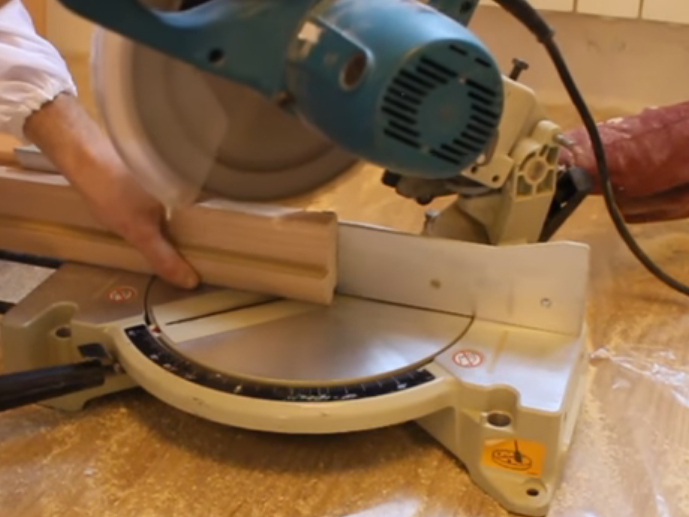
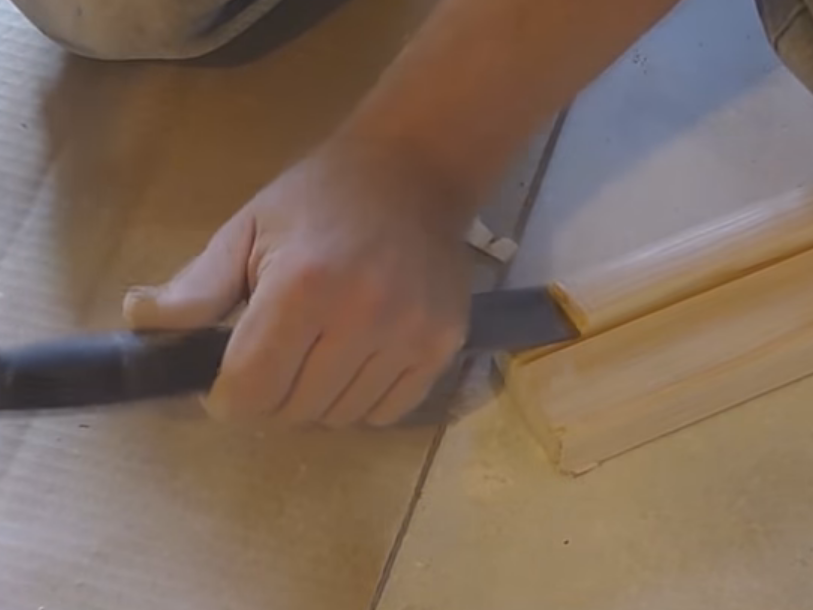
We collect the door frame from the side where the hinges will be hung. The point of the pruning is marked with the point of the knife. In places of trimming, we remove the chisel with veneer and cut the board at an angle of 45 °. It is best to do this with a circular saw with a swivel platform.
| | |
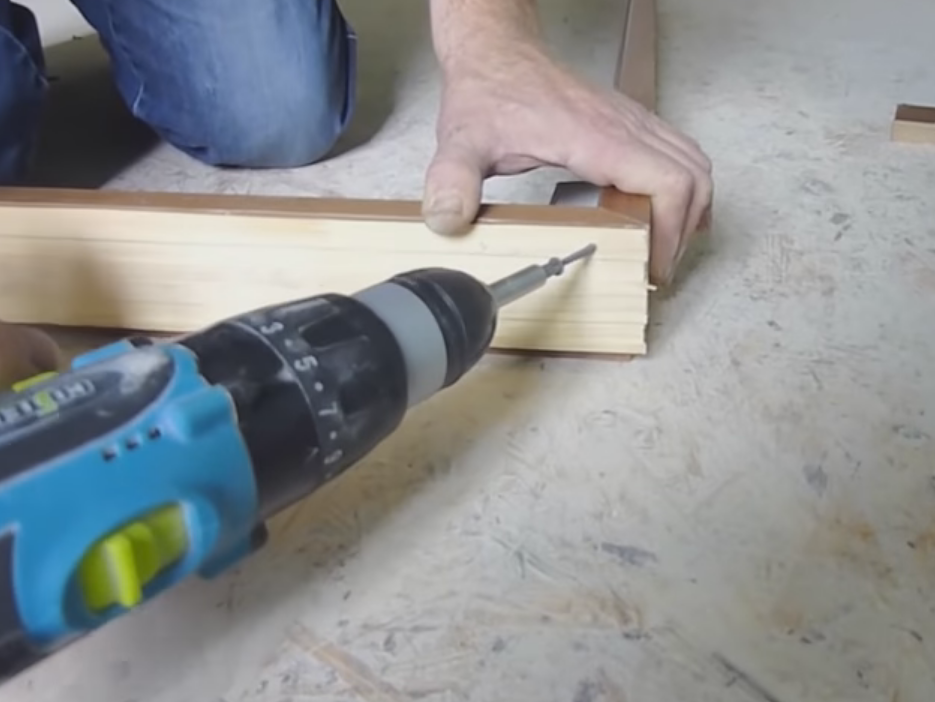
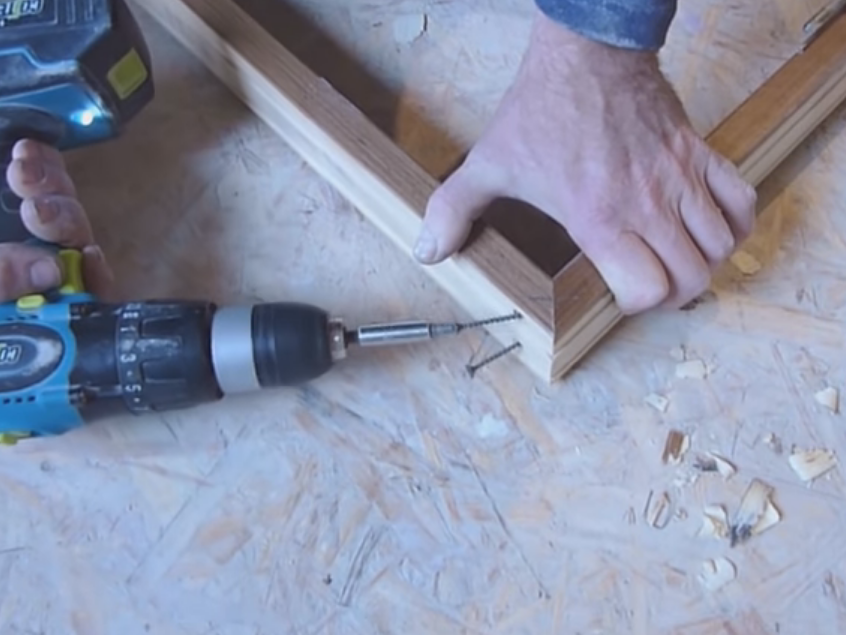
We connect the straps of the box with screws (at an angle). To do this, put them on a flat surface, expose it with a square and check how much the plane of the corners.
Then drill a hole and tighten with a screwdriver.
| | |
Draw the corner with a pencil in order to avoid the displacement of parts when reassembling.
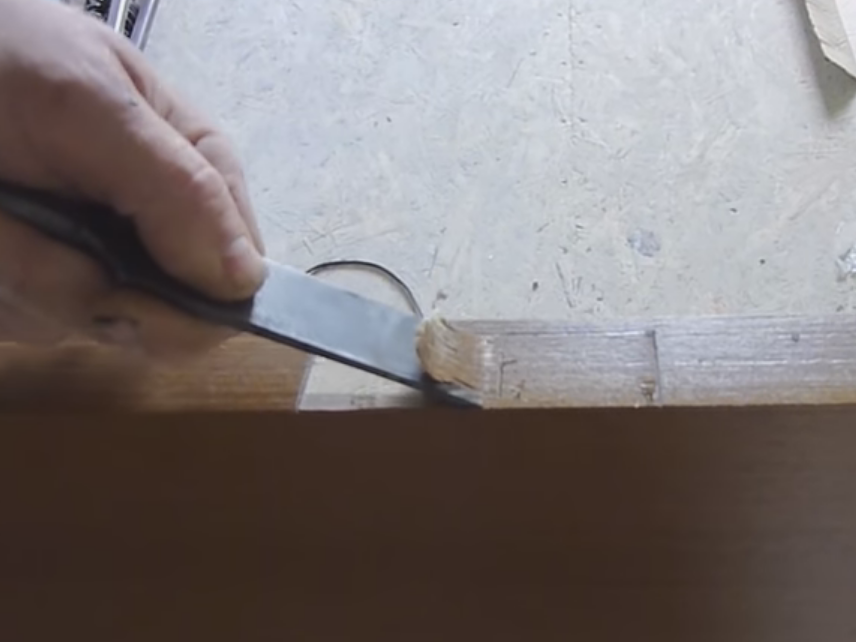
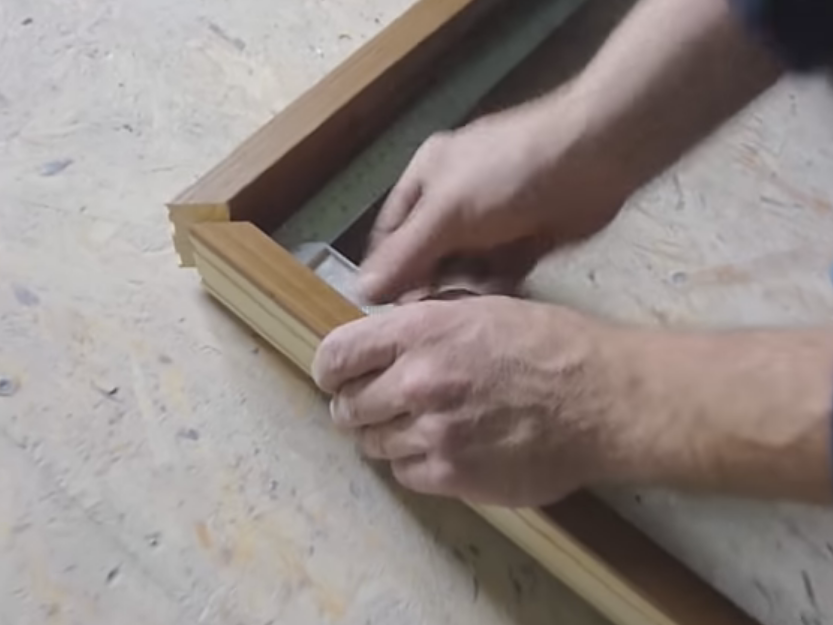
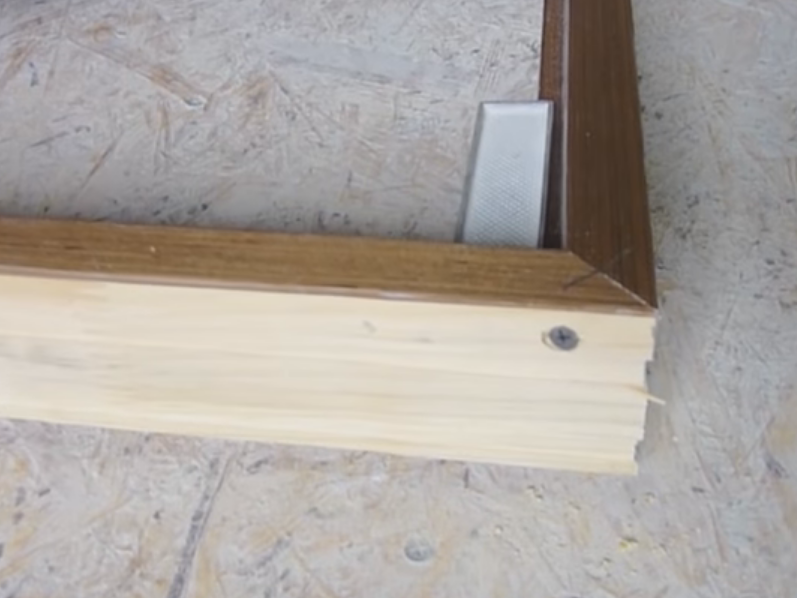
As a rule, the slats have a quarter, so that they are exactly joined, a quarter is chosen using a hand saw, chisel and hammer. We connect them with screws.
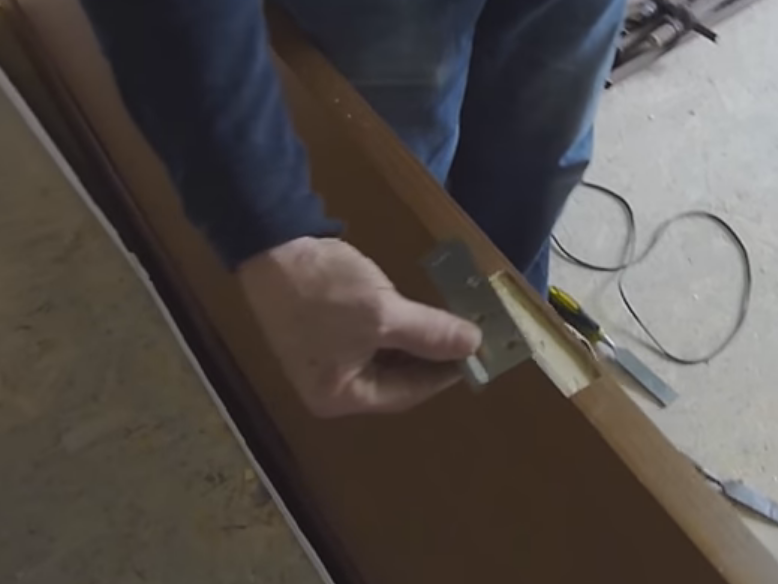
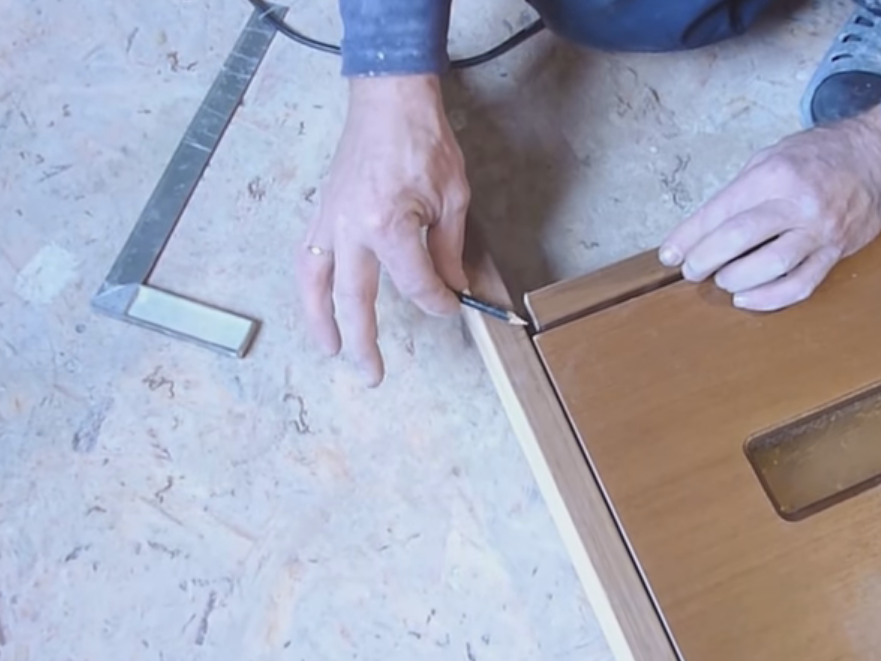
We stack the door on the assembled half-box, we plan to place the loops on the board of the box and set the gap.
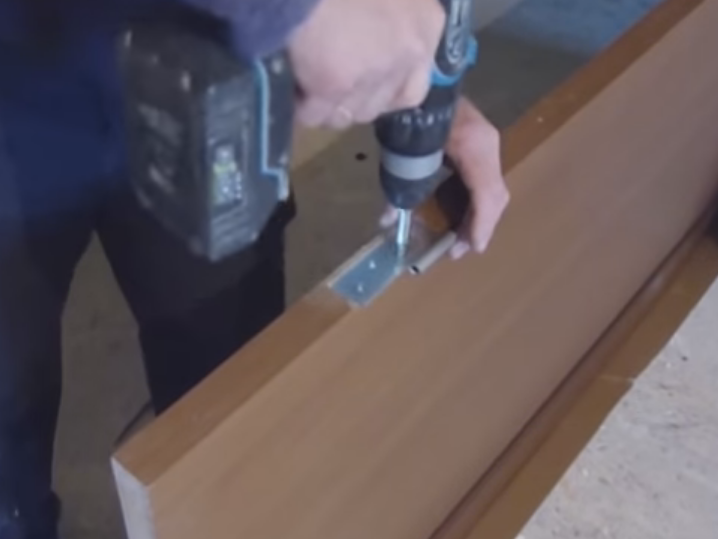
We take out the door and install the hinges on the board of the door frame along the planned line, untwisting it for convenience. It is important that the outer edge of the loop protrude beyond the box by 2 mm. We work the same way as installing the hinges on the door. In the case of insufficient experience, many recommend fixing the loops on two screws so that you can correct the error.
We reconnect the details of the door frame, combining them along the corner dash.
We hang the door leaf on the hinges. We lay it on the floor and check the size of the gaps. We make markings on which it is necessary to cut off the top board.
We remove the door from the hinges and cut the board along the intended line.
We connect the details of the box at an angle. We hang the door and check the gaps. In the case of a large gap, dismantle the box and file. Vertical racks are cut to fit the floor. The gap between the door and the floor is usually 12-15 mm.
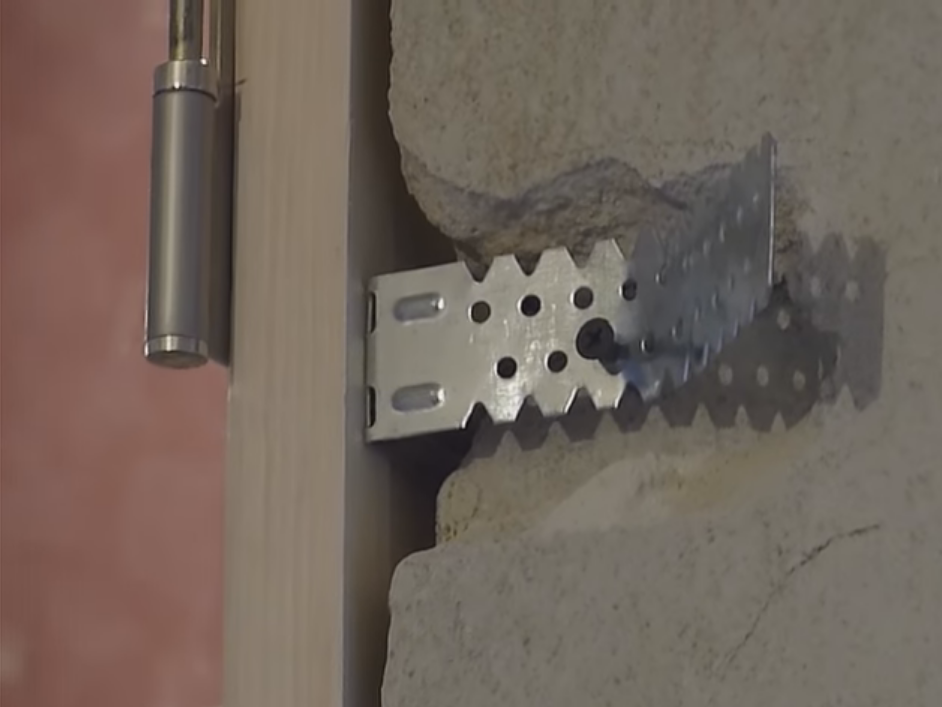
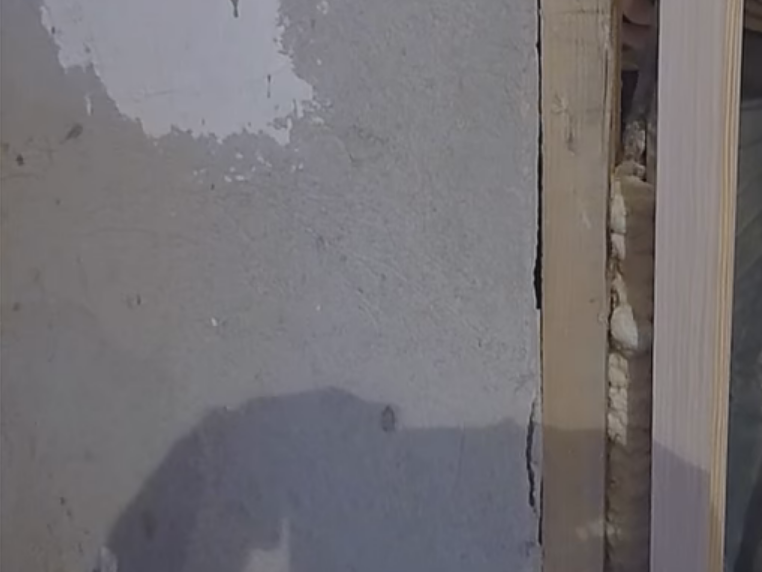
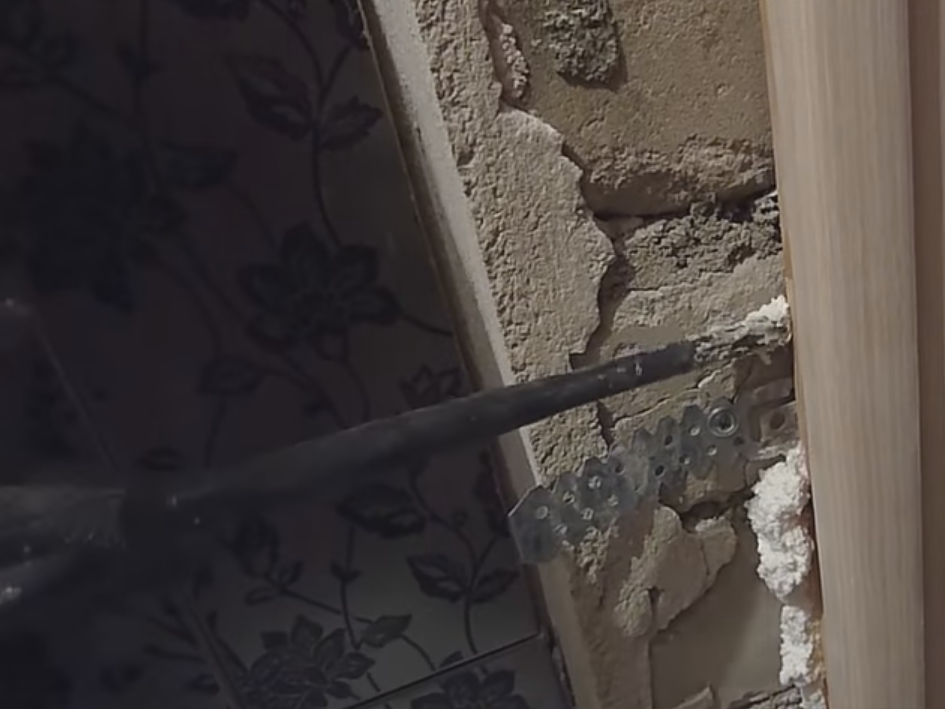
We fix the box on the suspensions from one side to the timber, on the other to the bricks. Before installing, we moisten the wall.
We take up the gaps.
| | |
We cut off the ears of the hangers and attach the platbands at the final stage of the repair. Installation of interior doors is usually carried out without thresholds, the presence of which somewhat complicates the work.