Arch is not only a clever way to hide the defect of a wall or a doorway , but also a reasonable method to improve the interior of a room. Lightweight construction hides irregularities, the possibilities of building materials allow you to create a frame of any shape. Try to "trim" the opening in this way yourself.
Types of arched openings
There are several types of arches:
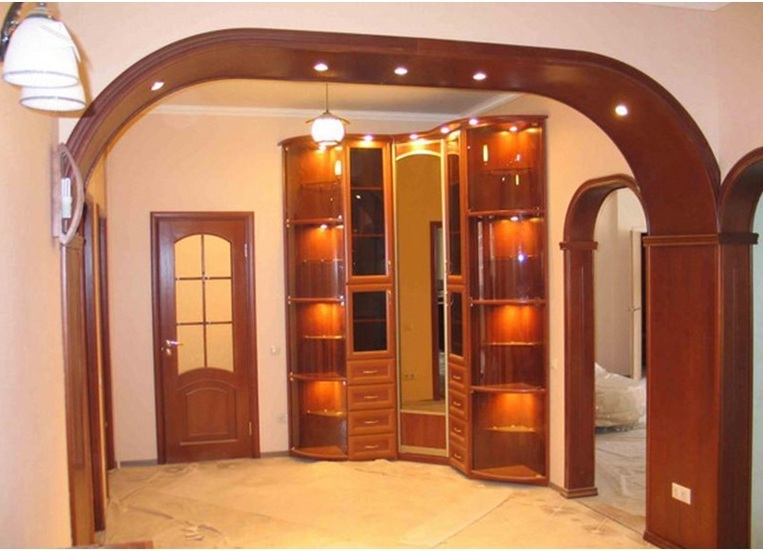
- classical is the correctness of the arc;
- a framework with a changing radius, when the upper part of the arc is directed upwards;
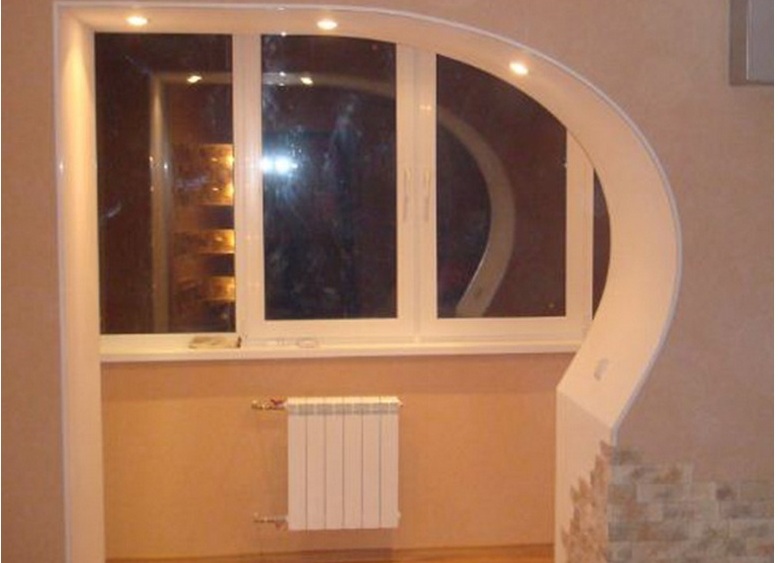
- The design can have a straight ceiling, but the corners will be rounded;
- In the non-standard approach, the arch resembles a curved ellipse;
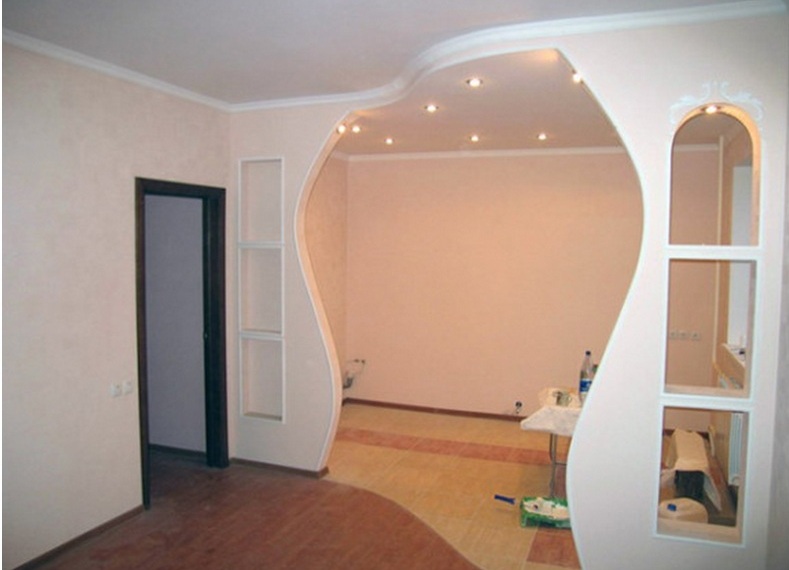
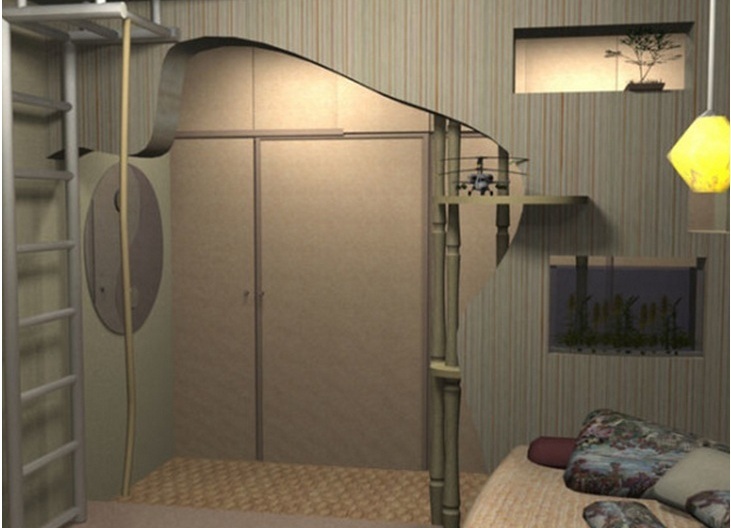
- The arch in the futuristic style is characterized by undulating, curved forms.
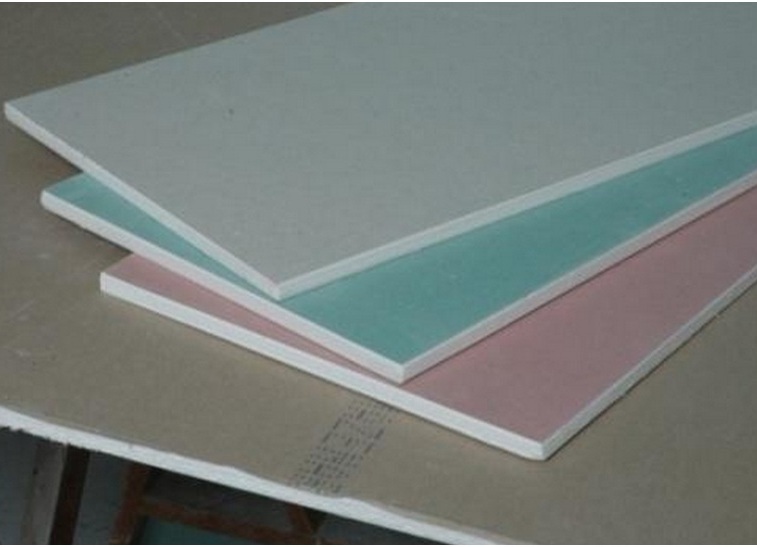
The main material for mounting any arch is plasterboard. Depending on the chosen model and the features of your opening, you will need sheets of plasterboard with a thickness of 7 mm, 9.5 mm or 12 mm. They can be ordinary, moisture-resistant, super-moisture resistant or fire-resistant.
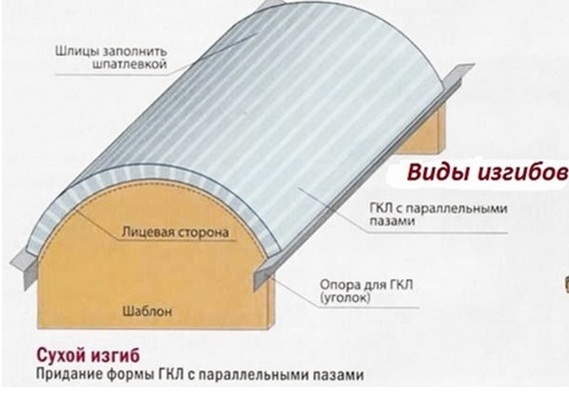
Arch can be erected in two ways: dry and wet. The first approach allows you to bend a gypsum board of an impressive radius: the material is fixed step by step to the metal profiles, the edges of the cardboard can be cut slightly.
| | |
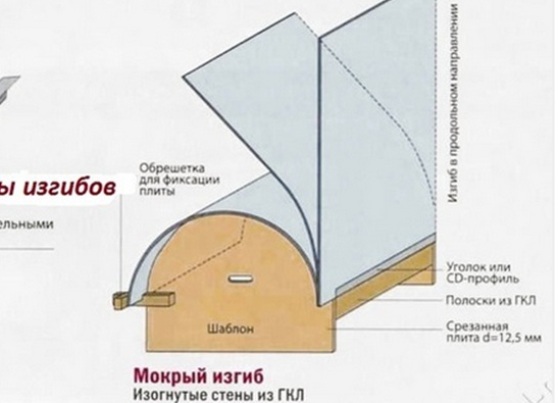
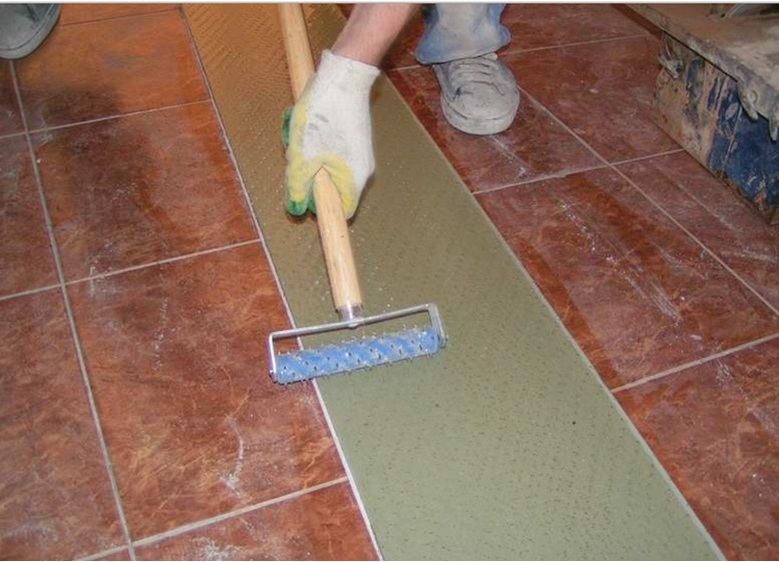
The wet method does not allow to impart a large radius to the opening. The sheet must be perforated with a special silk on a special grille. Then, walk with a moistened roller on the surface of the gypsum material.
So, if you work with gypsum cardboard 9.5 mm, then with wet installation radius should not exceed 0.5 m, dry - 2 m. If the sheet has a thickness of 12.5 mm, using a wet approach, the arch will be up to 1 m, with dry - up to 2.5 m. A thin gypsum of 7 mm allows to get a bend in 1 m "dry" and 0.3-0.35 m with perforation.
How to properly make an arch in the doorway?
Before you start, stock up on plasterboard, ordinary and reinforced rack metal profiles, plaster corners, putty, reinforced mesh, dowels, self-tapping screws, primer.
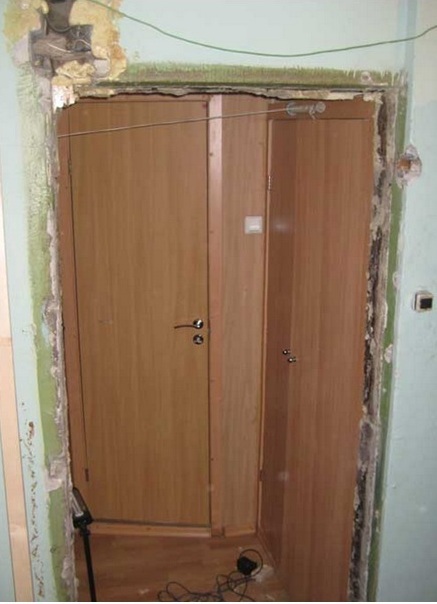
- Pre-prepare the doorway: remove the door leaves, trim and box. On the perimeter, get rid of all the finishing materials in the form of wallpaper, plastic.
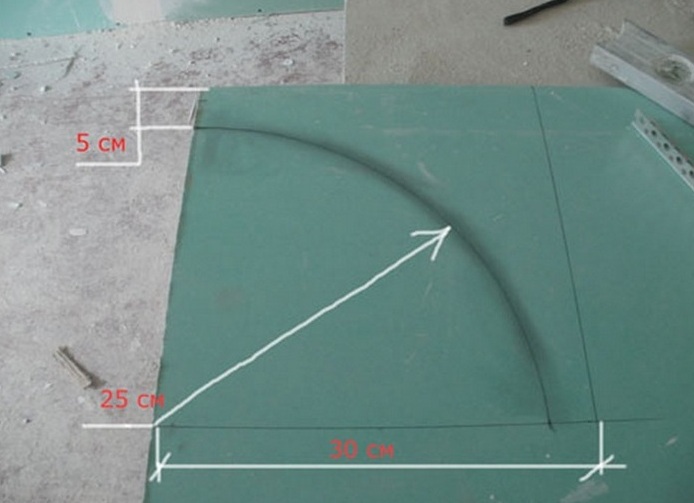
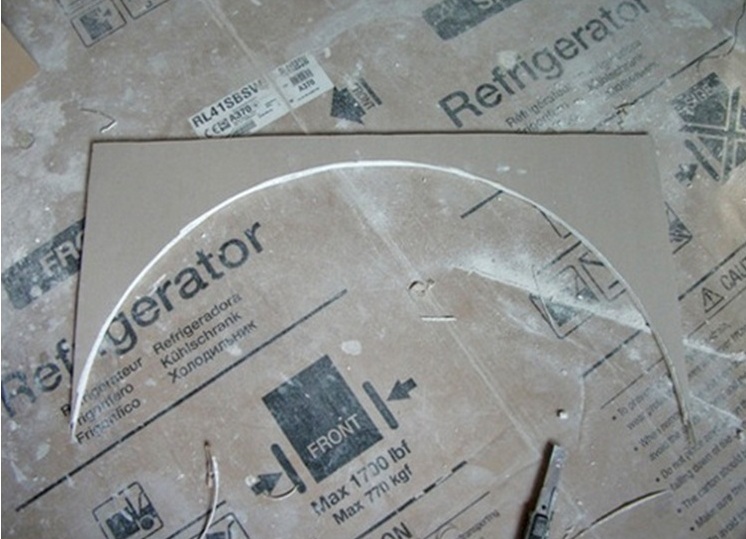
- Measurements should be accurate, so that the arch turned out as correctly as possible. Proceed to the cutting of the raw materials. The width of the sheet should correspond to the width of the doorway. One part of the sheet is cut in a straight line, the second one draws the radius of the future arch. The arc is made with a pencil and a rope fixed at the point of radius. It will take two such blanks.
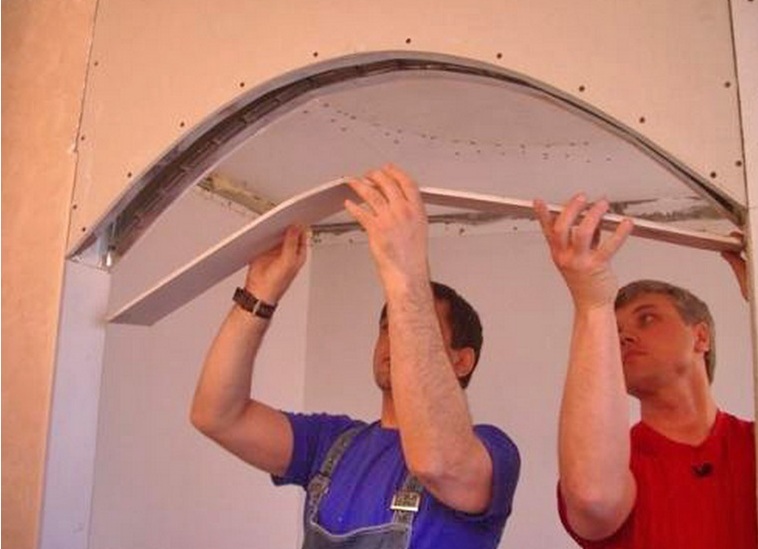
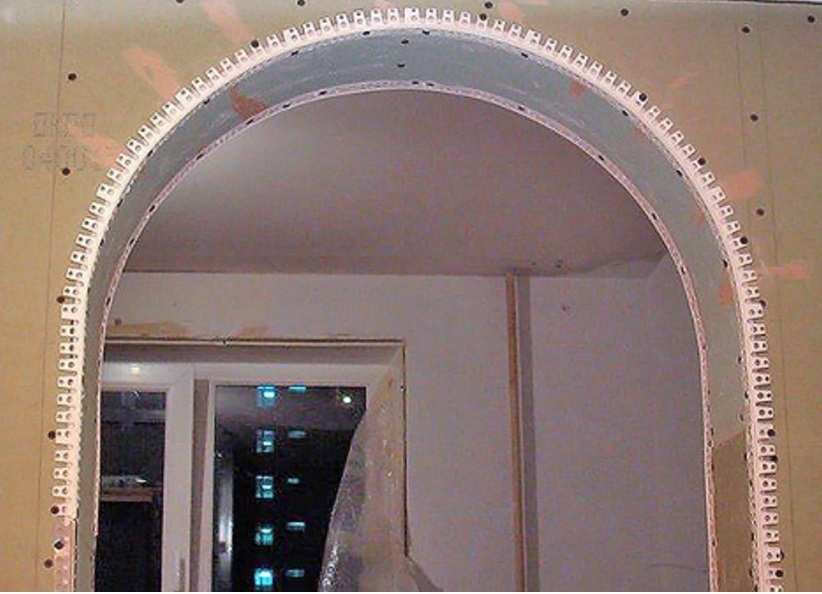
- The next step is the installation of profiles, where the plasterboard will be attached. A large guide profile should have a length equal to the width of the opening. Short lengths are identical with the height of the cut pieces. Using a puncher and dowels, fix the metal. For narrow apertures, double strapping is required, for a wide opening the profiles are fixed on both sides.
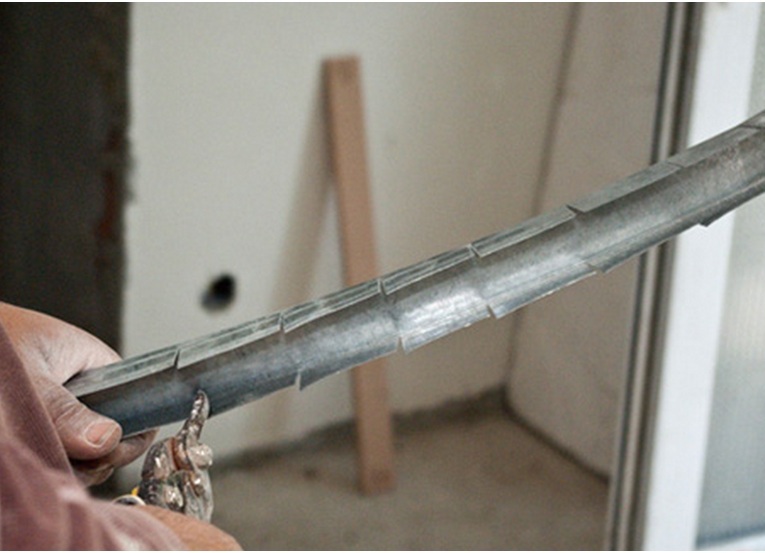
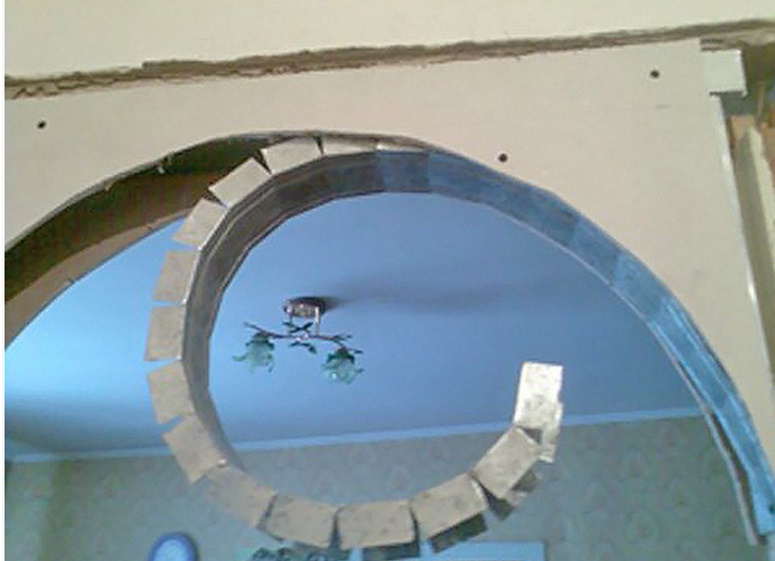
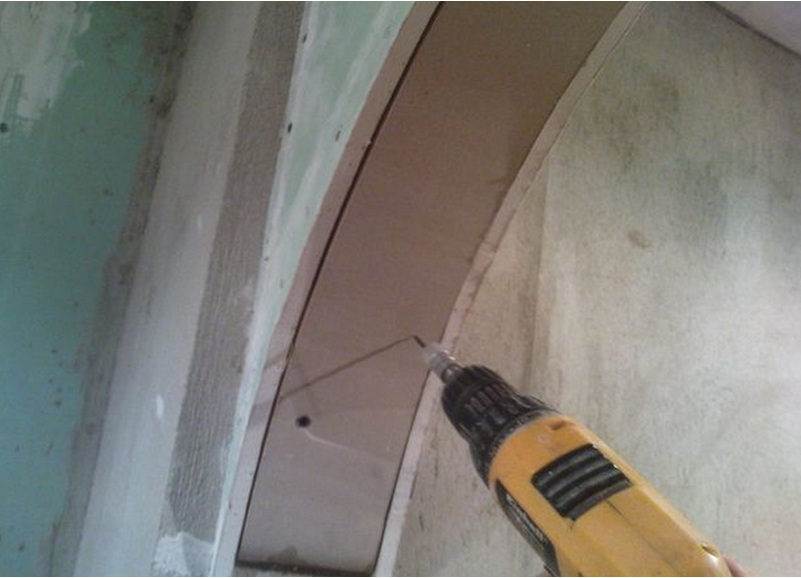
- Now attach the arched "facade" to the profile, the accessories drown by 1-2 mm. The length of the radius profile is cut according to the measurements. To give the desired shape to the profile, make cuts on both sides of it with a step of 3 cm.
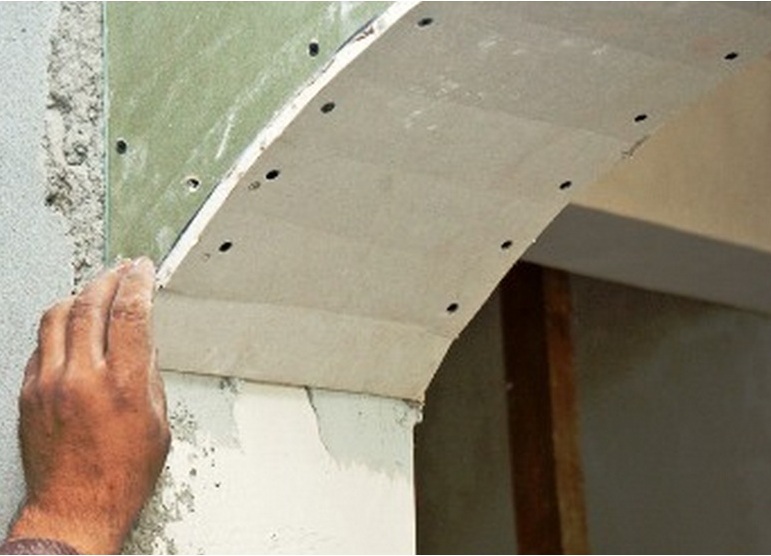
- We fix plasterboard to profiles. With the end sheet you need to be neat, this also applies to bending (wet or dry), and mounting.
- Mount the arched corner under the putty, you need a stapler.
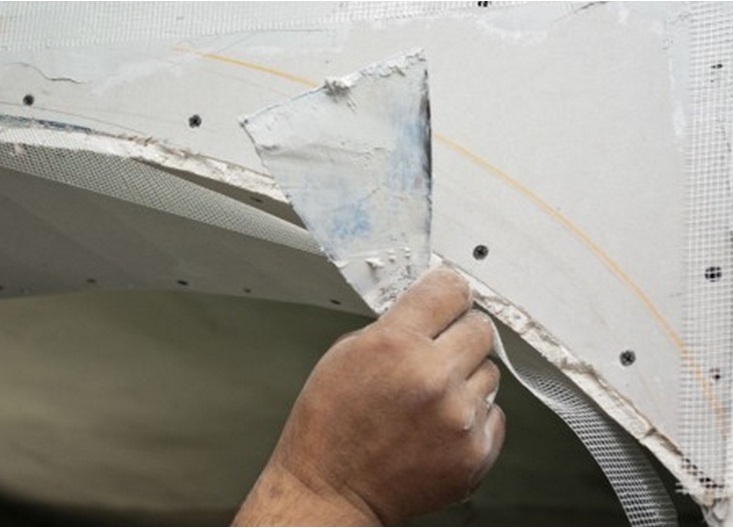
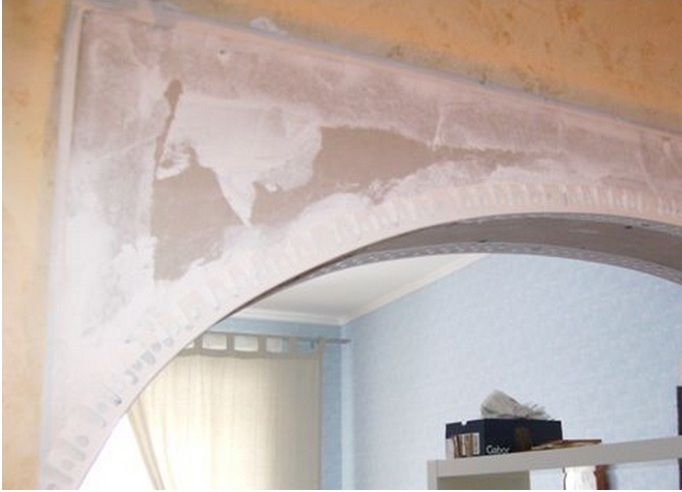
- We proceed to finish the finish. Start with a primer, allow the surface to dry (about 24 hours). Do not forget about the reinforcing mesh. Then put a putty on the putty knife, preferably in several layers.
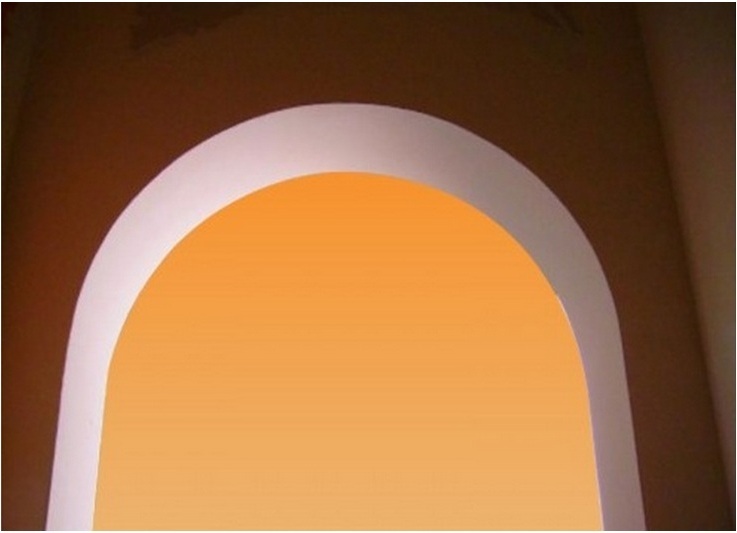
- Sand the arch with a special mesh, cover it with a primer, then proceed to painting. The arch in the doorway with his own hands is ready.
| | |
| | |
| | | |
| | |