Gathering a mosaic of paper is a great way to spend time for you and your children. First, it will strengthen your already close connection with the child, and secondly, it will help develop the small motor skills of the baby's hands and his color perception. Thus, you kill two birds with one stone: play with the child, and through this game - lay the foundation for sensory education of a young child.
In addition to simple mosaics made of colored paper, there are various sophisticated techniques of paper applications. For example - a mosaic in the technique of quilling done together with your teenage daughter will help you pass a boring evening.
Next, we give some examples with master classes on assembling mosaics made of paper.
"Torn" mosaic of pieces of paper
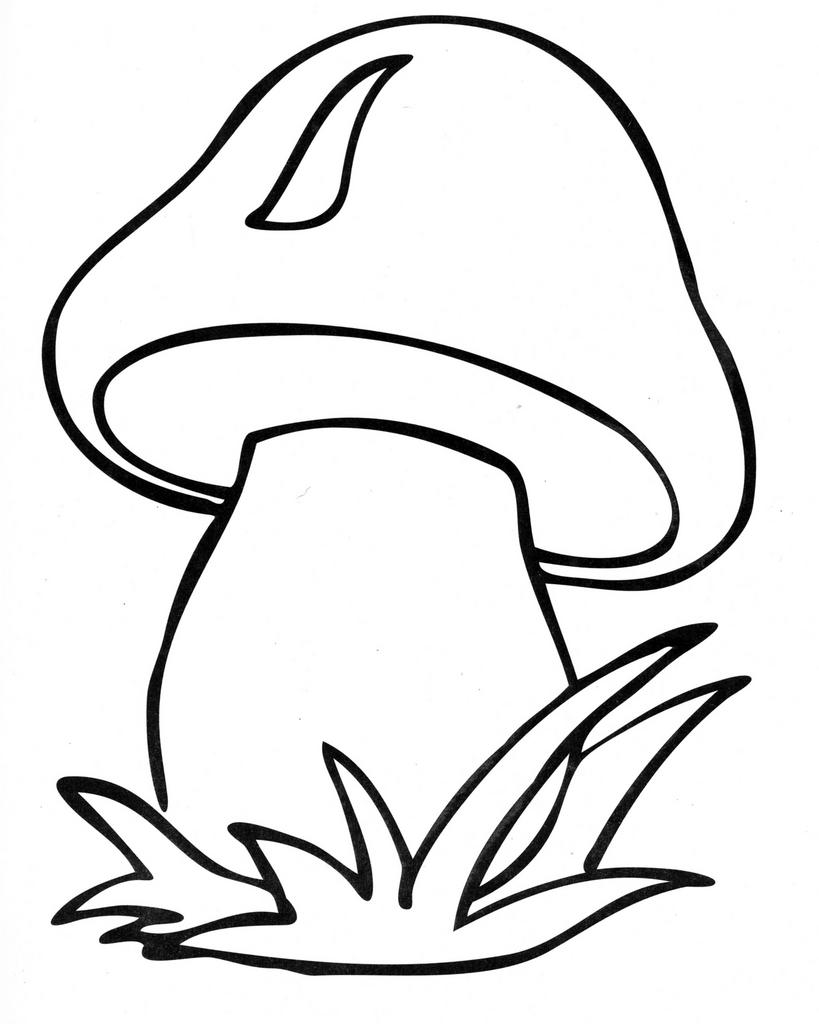
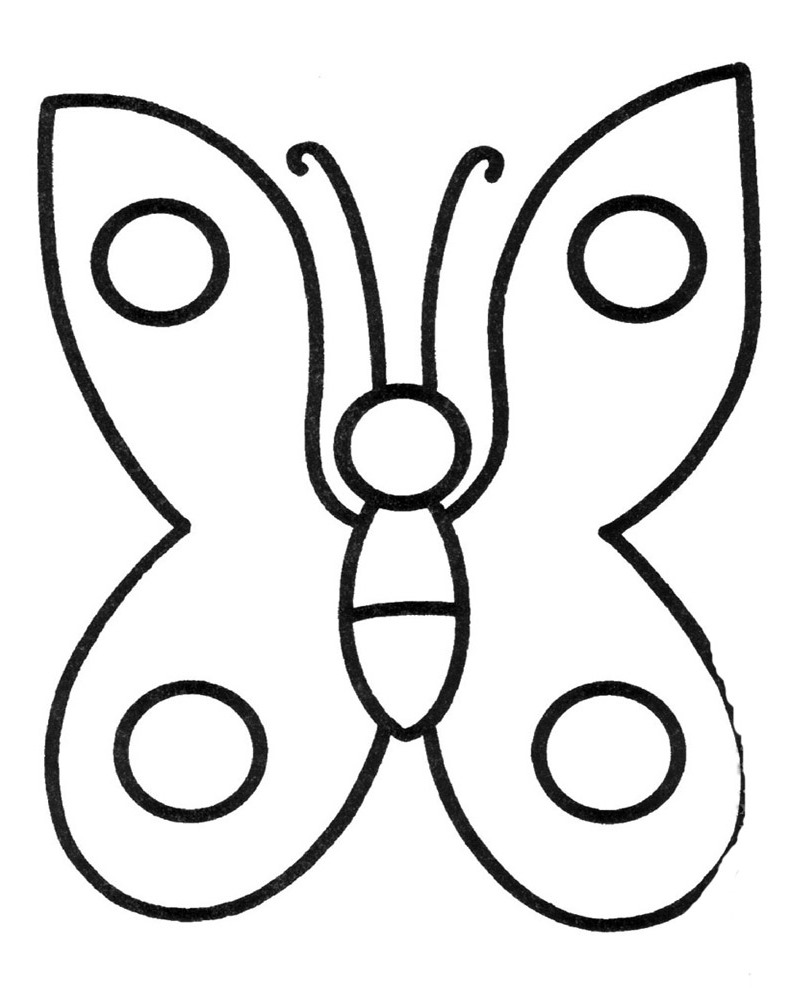
The easiest way to do with the baby an application-mosaic of paper - use the technique of "torn" mosaic. What is required for this? No special materials and costs are needed. Remove the favorite colored paper from the cabinet and tear it into pieces. Then, together with the child, paste them on top of the suggested stencil (print the pictures from the appendix to the article) in accordance with the desired color.
Using the felt-tip pen, draw the missing details.
All! A mosaic of pieces of paper is ready!
| | |
| | |
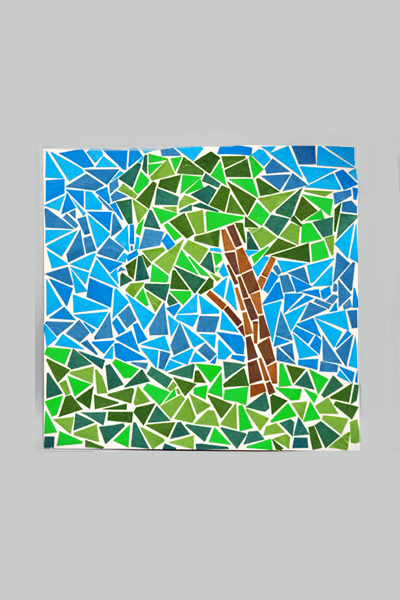
How to make a mosaic of paper with your own hands?
As you have already noted, colored paper is a universal tool that you can use for teaching, but exciting activities with your children. Quite an interesting option - a simple mosaic of paper. This is both an educational and attractive activity for children of any age. The question of the complexity of the mosaic of colored paper consists in the number and size of the elements, as well as the size of the drawings at the base of the stencil. You can select any picture, print it and use it for a mosaic.
Work technique:
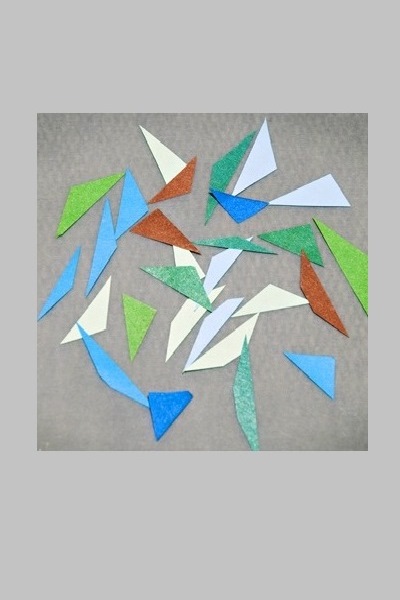
- Cut the colored paper into pieces of any shape and size. In order for the work to look more creative, use several shades of each color.
- Prepare a work surface, a template, pieces of paper and glue. Ask the kid to lay out pieces of the mosaic, without leaving the contours. At first, maybe he will need your help, but as you learn, you will notice that the child is coping himself, and asks for more and more complex drawings.
- In order for the work to look more accurate, we advise after applying each piece, wipe the surface with a dry cloth (especially if you use PVA glue).
| | |
Peacock mosaic in quilling technique
This mosaic of paper is much more difficult to perform than the previous two, and requires painstaking work. Offer your teenage child such fun.
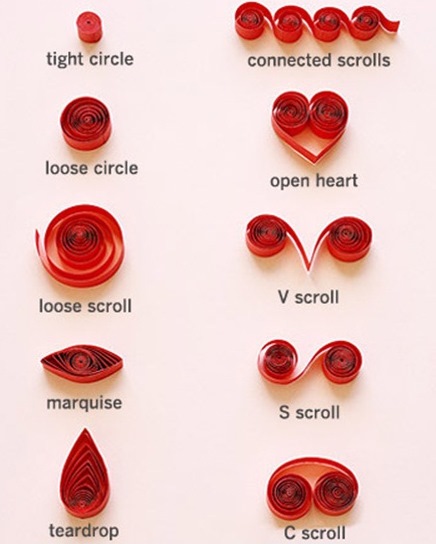
Quilling - this is a very simple, but elegant style of needlework, which is based on twisting thin strips of paper in tight tubules. From multi-colored spiral paper scrolls can make incredible beauty collages and applications.
For work you will need the following materials: colored paper (A4 sheets or specially prepared for twisting paper), tweezers, PVA glue and quilling tool. In the absence of this, cut the top of the rod from the ballpoint pen with the knife for 7 mm. In the received "slit" paper is inserted, in order for it to be easier to twist.
So, now you need to prepare paper spirals. For your convenience, we present a table with the most used quilling elements.
Choose the colors that you liked most for this paper application. Collect the picture by the principle of a mosaic, placing the prepared paper spirals over the stencil.
| | |