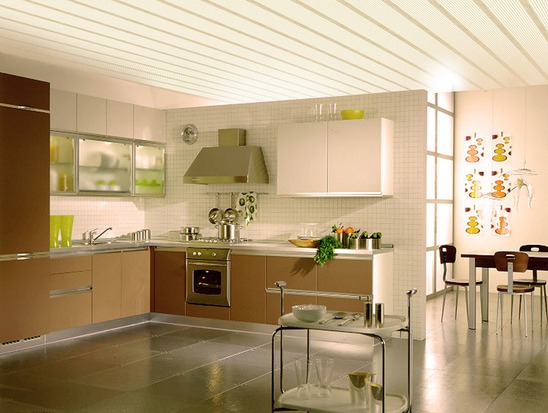
Modern materials allow owners to create a variety of ceilings in an apartment or house. Now there are no problems with the installation of stretch ceiling, cassette, rack or multi-level complex structures from gypsum board. In this review, you are offered the instruction of arrangement of one of the most accessible kinds - a ceiling from PVC panels. This is quite cheap, easy and, most importantly, a practical way to decorate the kitchen or bathroom, because the plastic panels are perfectly resistant to moisture.
PVC hinged ceiling with own hands
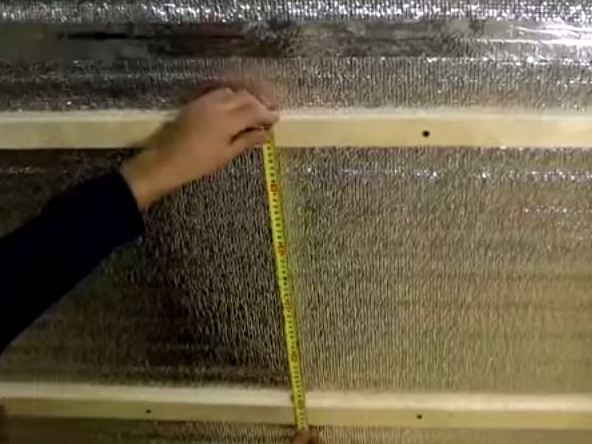
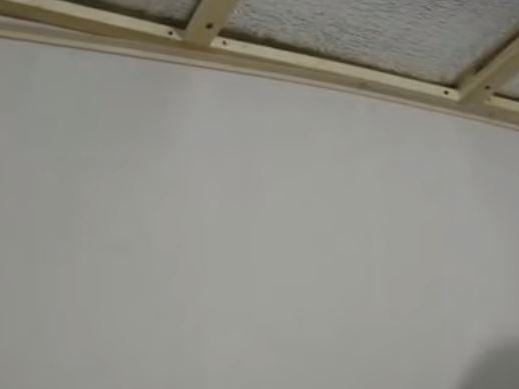
- Installation of a hinged ceiling with own hands begins with arrangement of a lathing. To do this, we use a wooden beam with dimensions of 20x40 mm. Mounting we produce on self-tapping screws. If you have a room with high humidity (kitchen, bathroom), it is better to buy a metal profile for this job.
- We try to locate the frame rails perpendicular to how the panels will be installed.
- The distance between the neighboring bars is 40 cm.
- We attach a fixing strap around the perimeter.
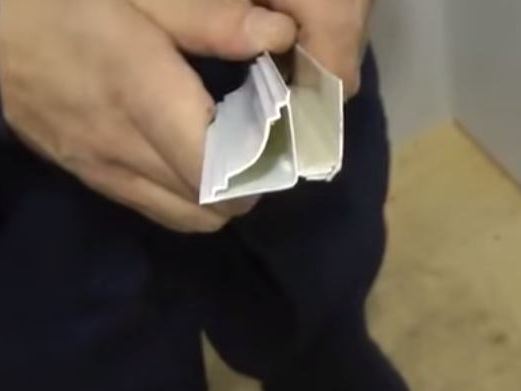
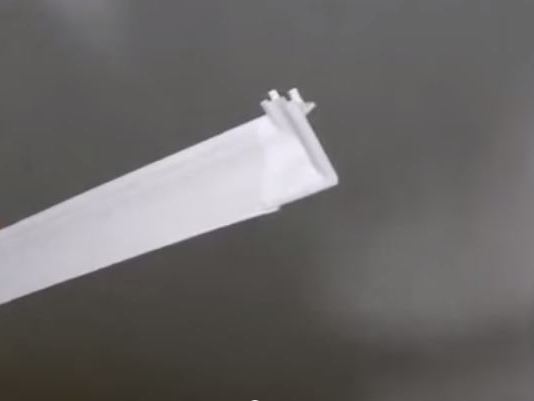
- This part is a plastic corner (angle of 90 °), which is fixed to one side of the crate, and in the second there is a groove, where the ceiling molding can easily be snapped.
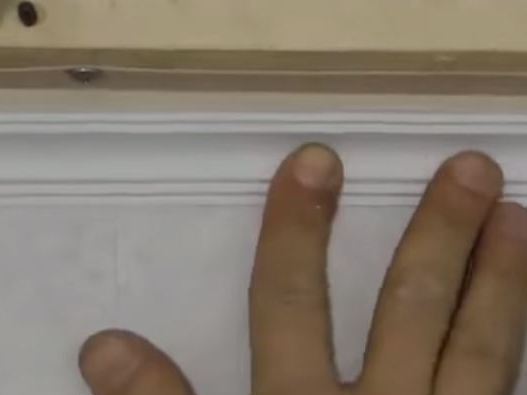
- When you insert the plinth in the bar at our top under the ceiling is a small notch, here we will insert the panel.
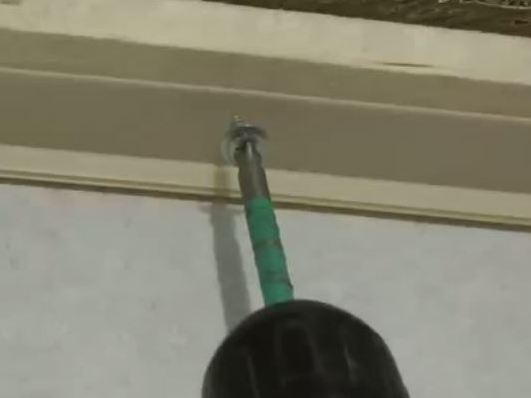
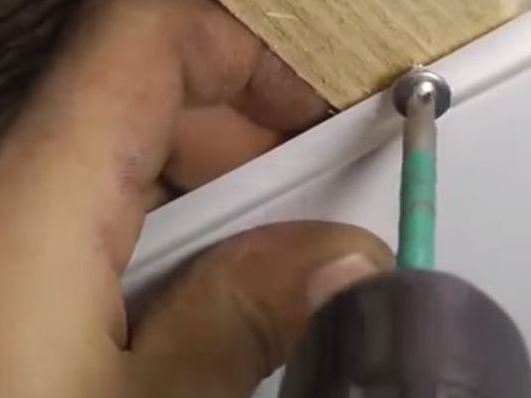
- Screws self-tapping in 25 cm increments, trying to arrange them in the middle of the bar.
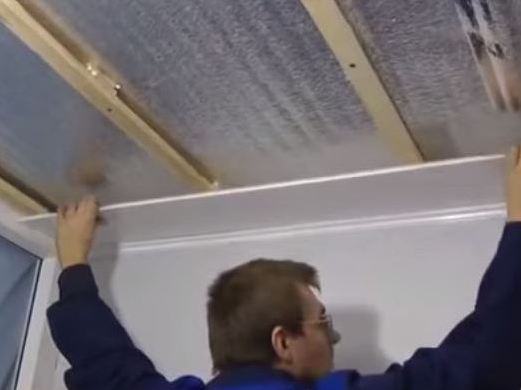
- At the next stage of installation of the suspended ceiling, we turn to the ceiling skirting with our own hands. Cut the workpiece of the desired length and insert into the end of the corner.
- We put the plinth in the groove located on the bar.
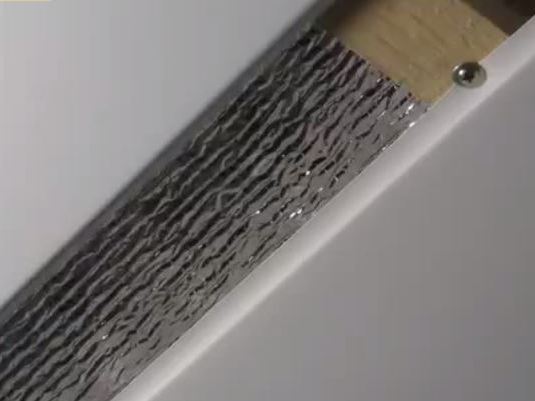
- We carefully slide the first panel into the groove between the bar and the decorative skirting board.
- To the wooden beam the panel is additionally fixed with screws.
- The next panel is inserted into the groove of the previous one and also screwed to the wooden crate by screws.
- We try not to create cracks between the panels.
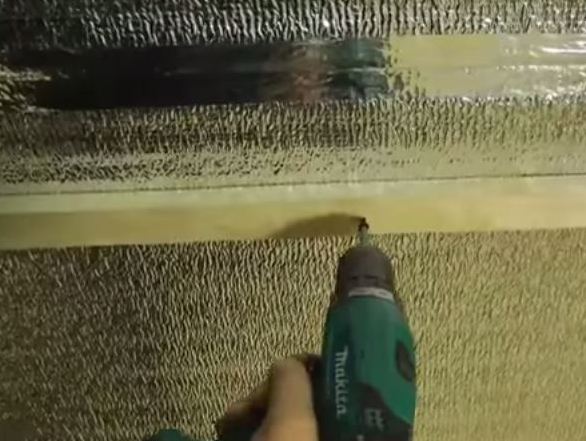
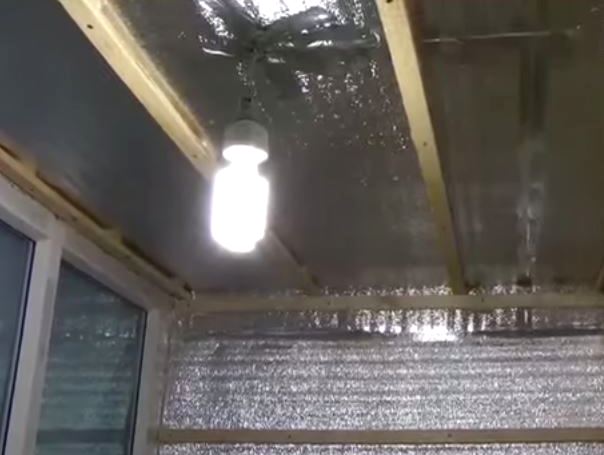
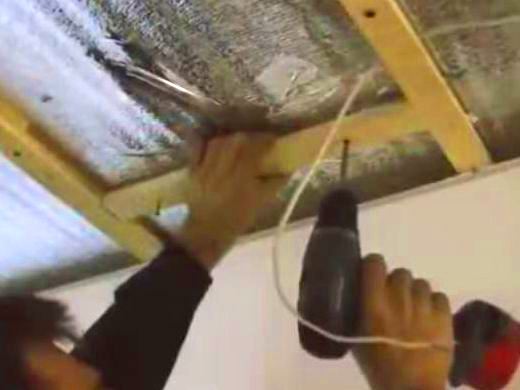
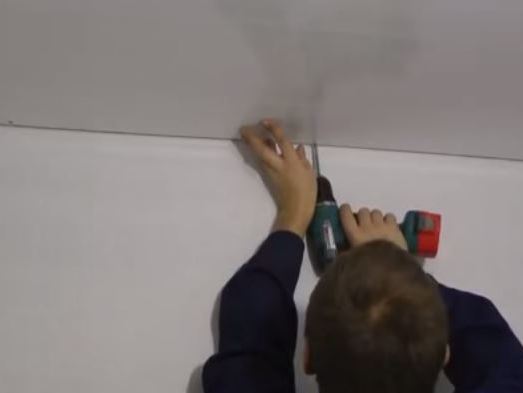
- When the overhead rack or PVC ceiling is first installed with your own hands, there are always a lot of questions about luminaires. At this point, you need to strengthen the frame, attaching an additional beam to the ceiling and neighboring racks.
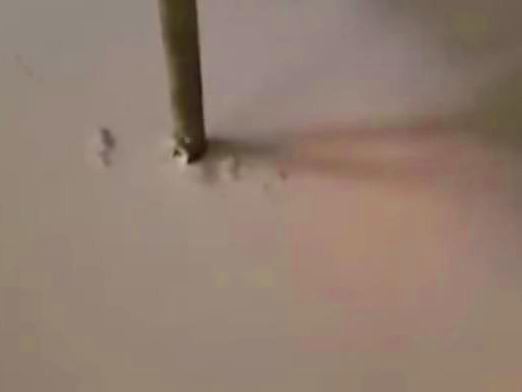
- We drill a hole in the panel for the cable.
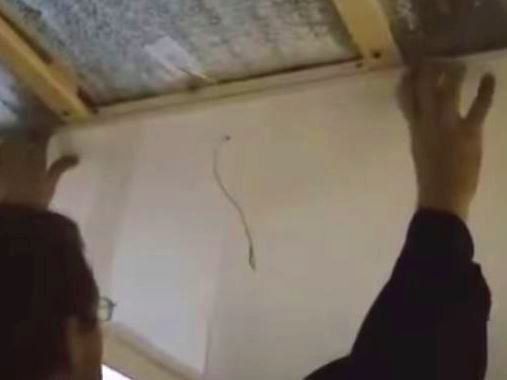
- Display the wire and install the panel in place.
- The suspended ceiling with its own hands is almost finished, it remains to install the last panel. Here also sometimes beginners have a lot of problems. Almost never its size does not coincide with the formed hole between the plinth and the penultimate panel. It is necessary to pre-cut the plastic strip with a saw or jigsaw along, making the workpiece of the desired width.
- We start the panel and additionally fasten it to the crate by screws. It is better to prepare the holes for fastening on the ground beforehand, so as not to damage the delicate plastic during installation.
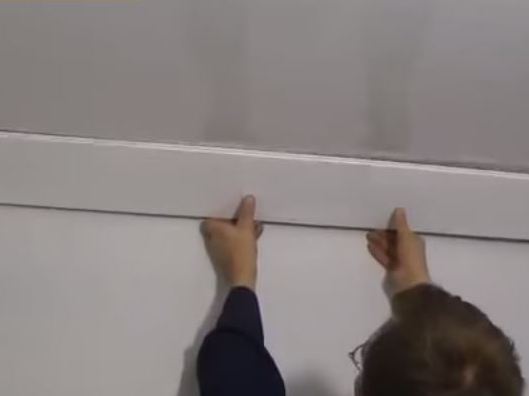
- We fix the ceiling skirting.
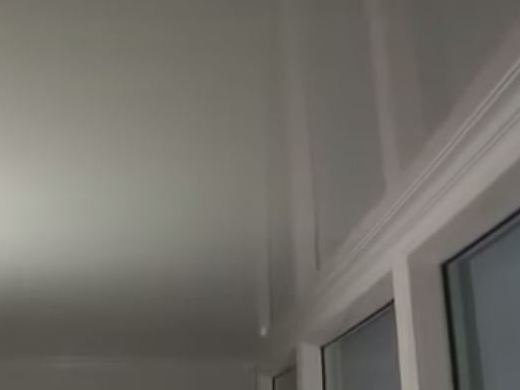
- Finishing is completed, you can admire the results of your work.
You see that this hinged ceiling is assembled quickly, and no difficulties in assembling it should arise even for beginners. A little effort and you will get a beautiful and even surface. More budget option is, perhaps, only a glue ceiling made of expanded polystyrene. If the owners want to equip themselves in their room with something more refined, then they will have to put in a lot more resources and efforts. In many ways, everything depends on the customer's finances. The market is filled with products, which makes it possible to embody the most bizarre and fantastic ideas.