If you do not want to spend money on buying a new aquarium , you can make it with your own hands. The task is not the most difficult, but you will need some care and some skills.
Preparatory work for aquarium gluing
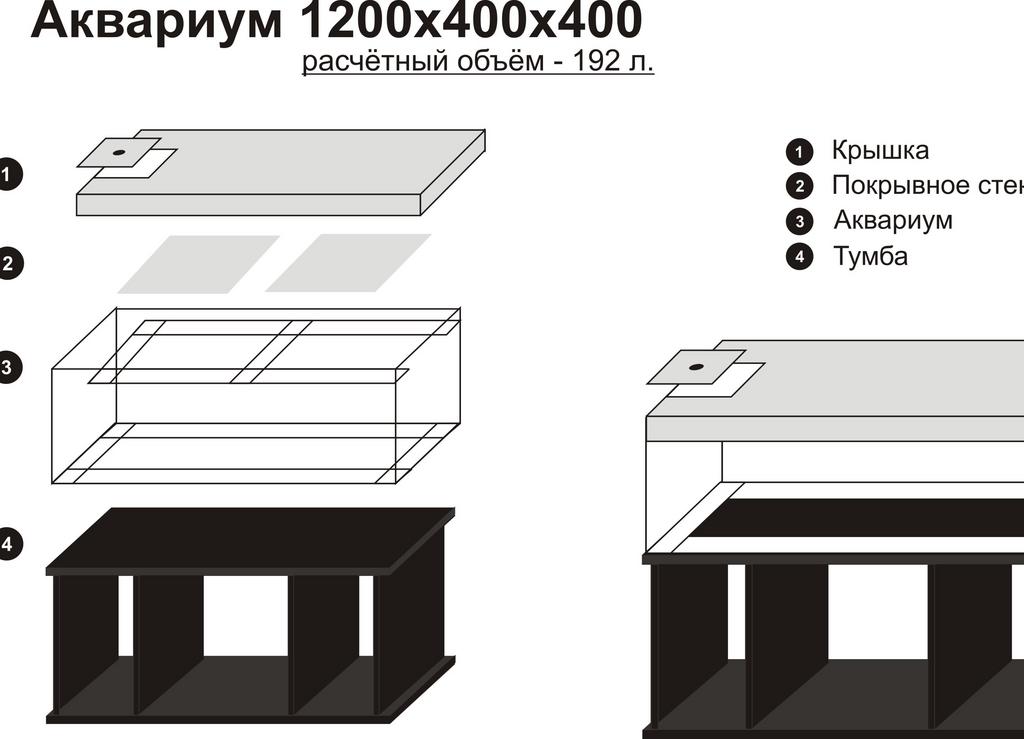
We recommend choosing a spacious work area, where there would be a firm and level surface. Consider the assembly of the aquarium 1,2х0,4х0,4 m.
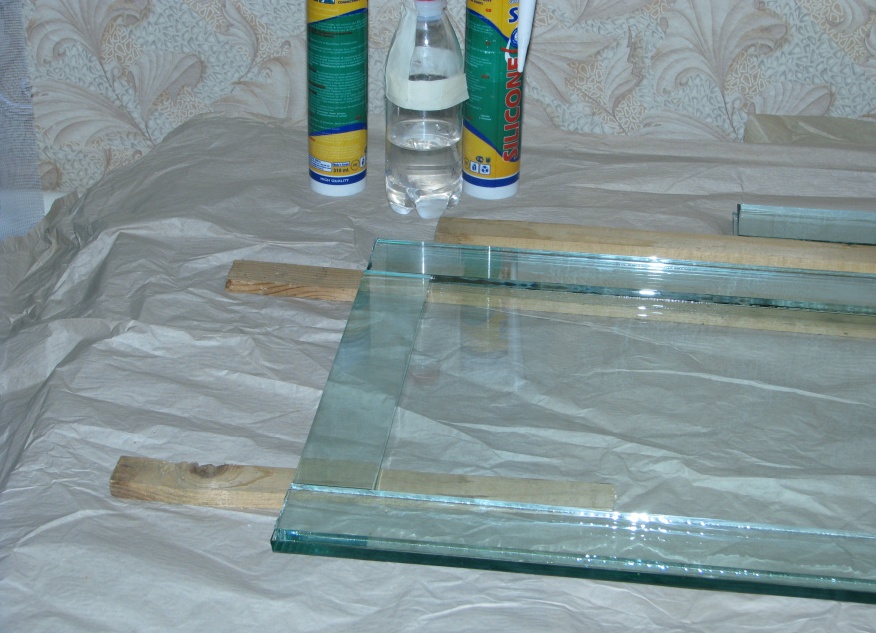
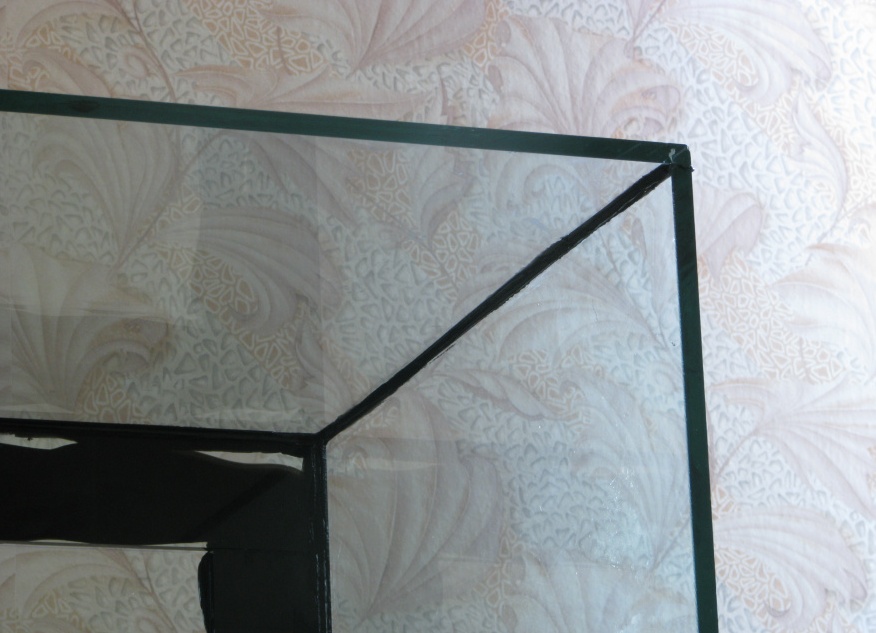
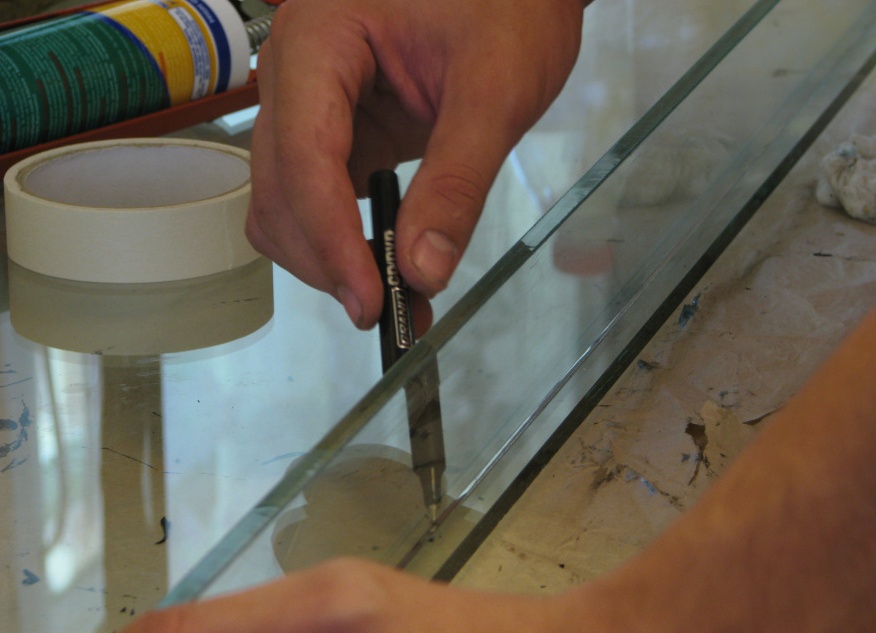
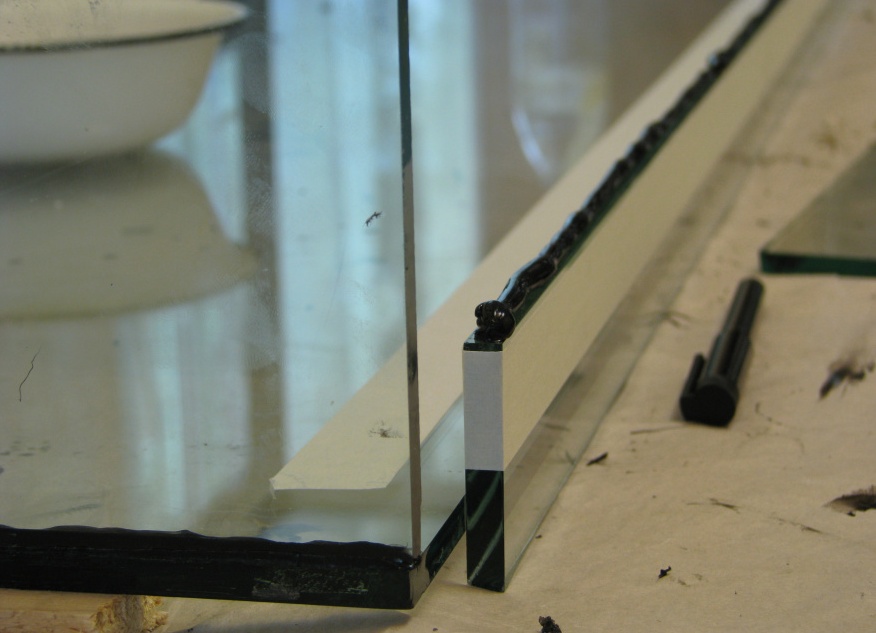
The main goal of the "event" is to achieve tightness of all seams. Before this, it is necessary to cut the glass correctly. Do the cutting yourself or order the following sheets from the glazier: front and back at 1.2 x 0.4 m; 2 lateral by 0,4х0,382 m; The bottom will be 1,182х0,382 m. To this list it is necessary to add trays for strengthening the bottom - 0,282х0,05 m (2 pcs.) and 1,18х0,05 m (2 pcs.). The edge will be 1,124x0,05 m (2 pcs.), The screed - 0,38х0,05 m (2 pcs.)
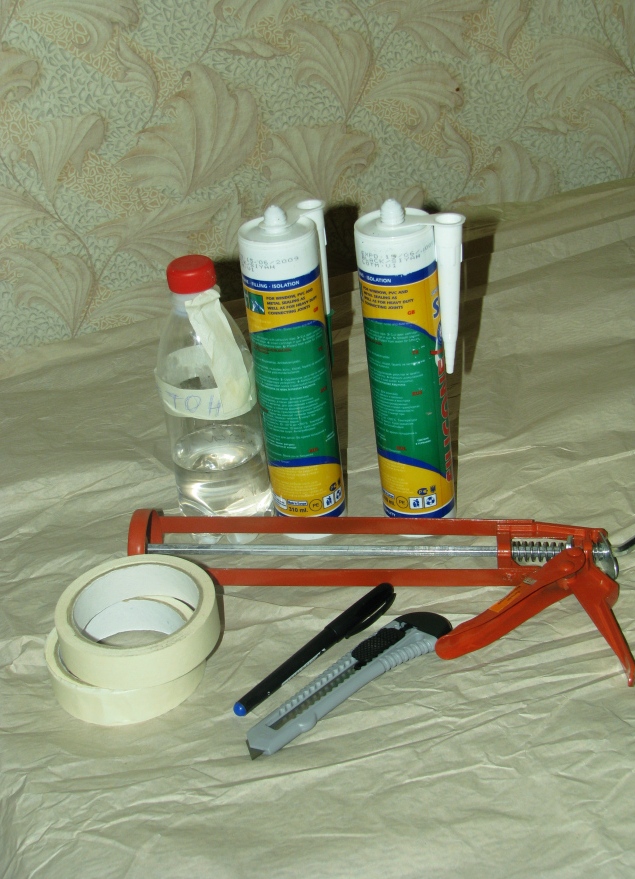
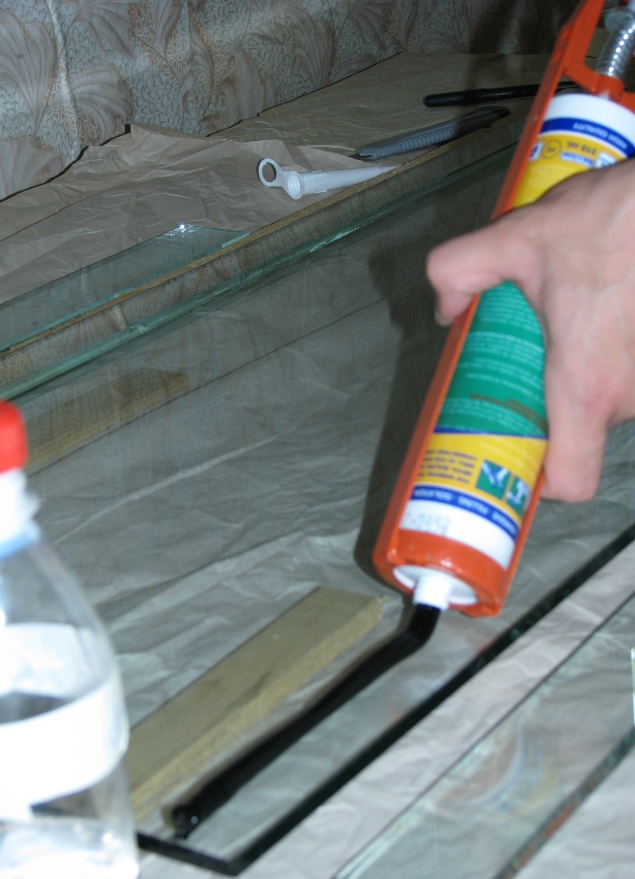
Before you start working, make sure that you have something to glue the aquarium out of the glass. Prepare a jar of silicone adhesive (most likely, you need 2 pieces), a glue gun, an adhesive tape, a sharp knife or blade, acetone and a marker. As an auxiliary material will need 4 wooden slats.
How to properly glue the aquarium?
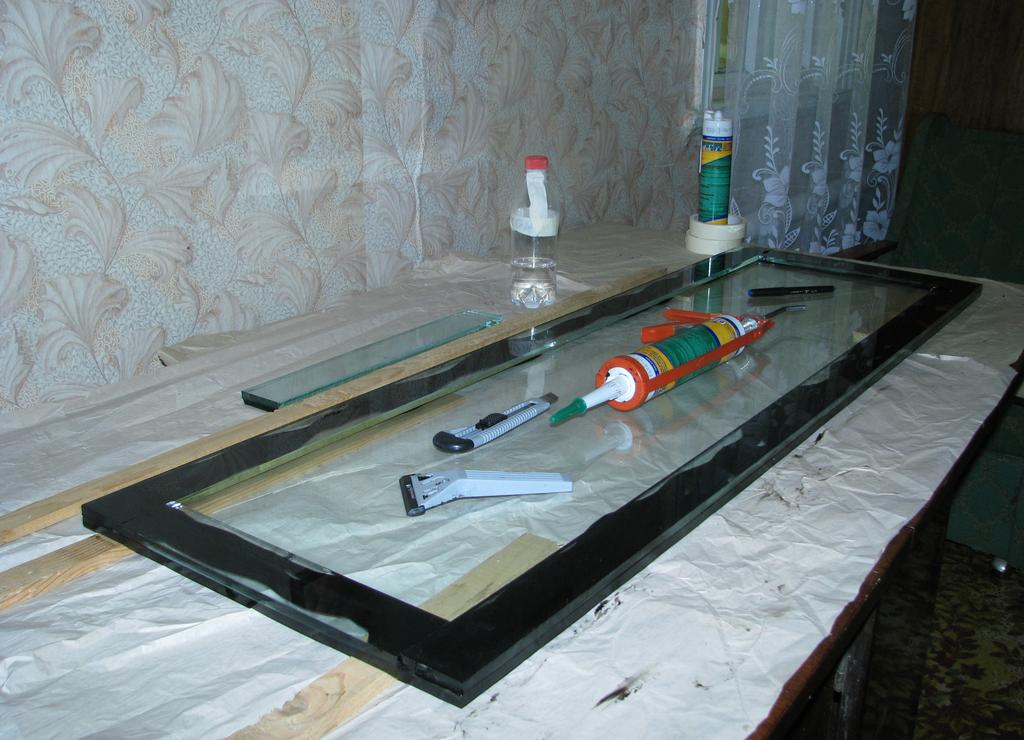
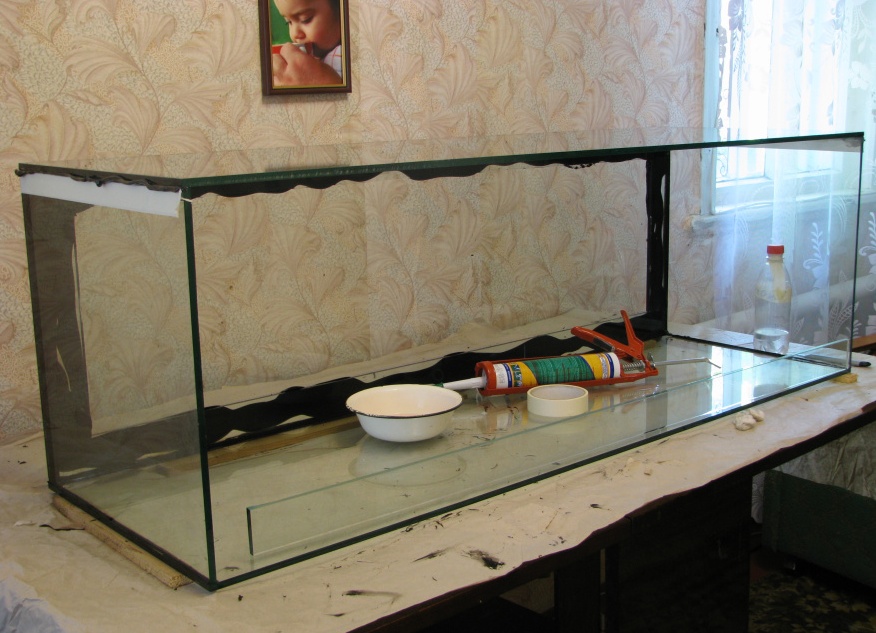
- We put the "bottom" on the slats, apply the strips to strengthen it.
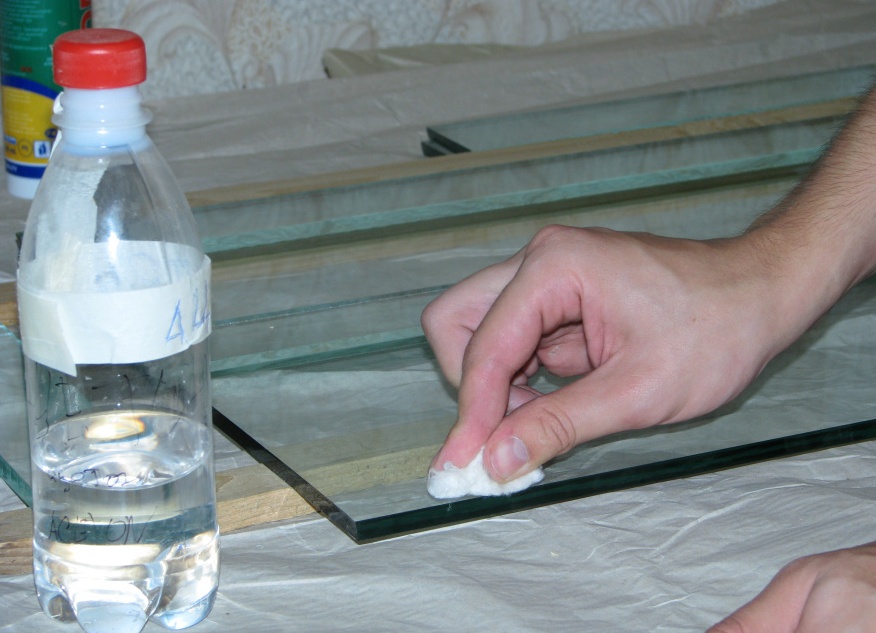
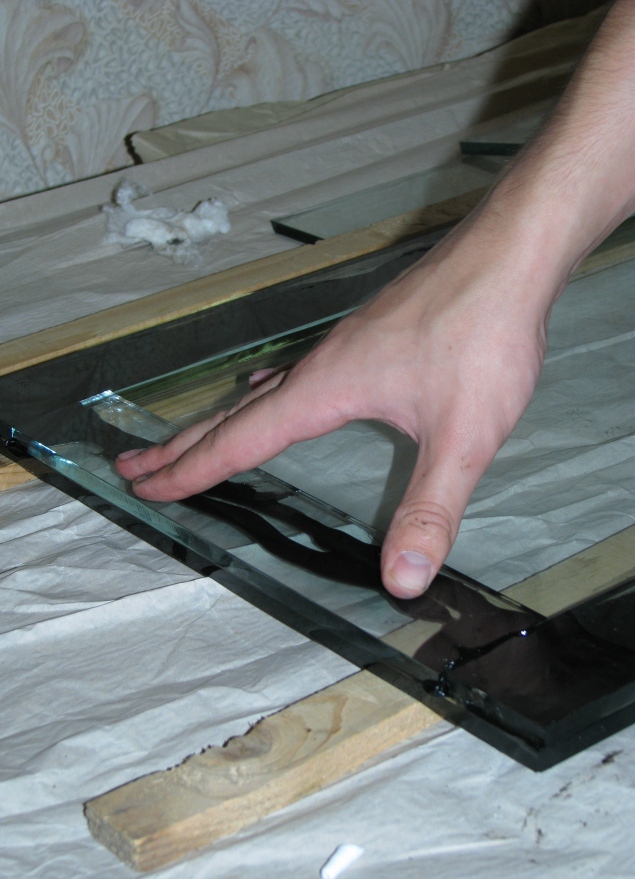
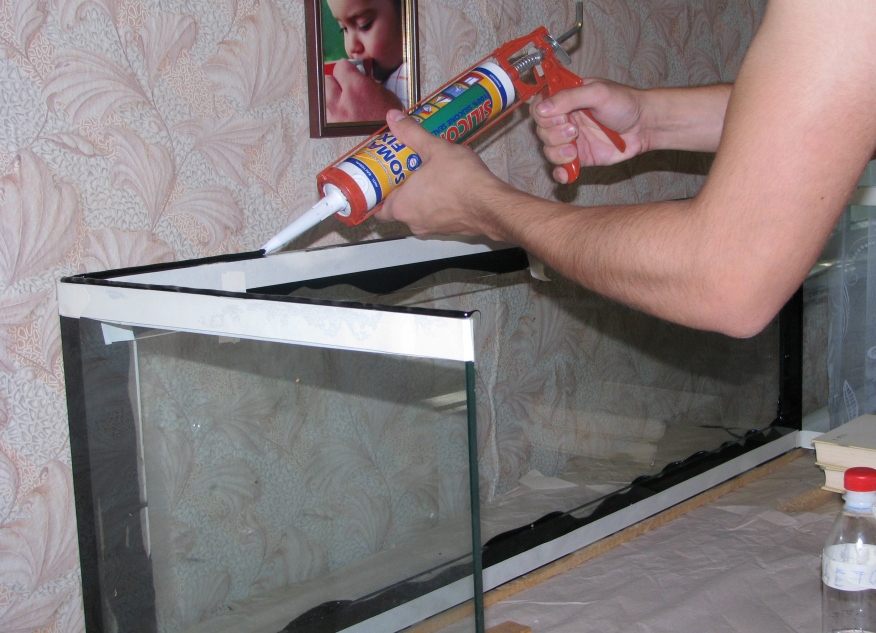
- To fix the walls and their tightness was maximum, treat the joints with acetone.
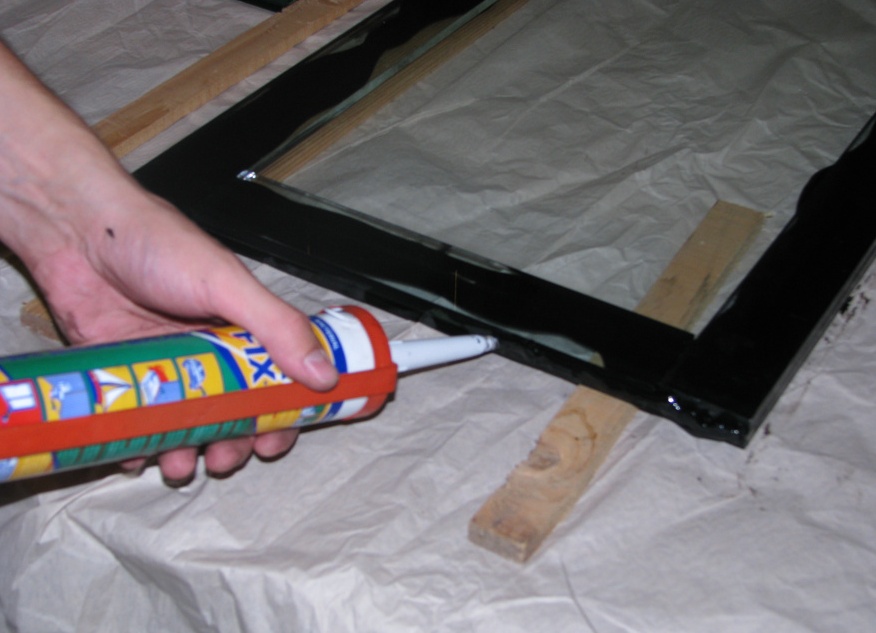
- Apply a silicone compound to the surface to be bonded.
- At this place, the patches are applied and pressed firmly. Continue manipulation will be possible only after 1-2 hours, so that the top layer of silicone "grabbed".
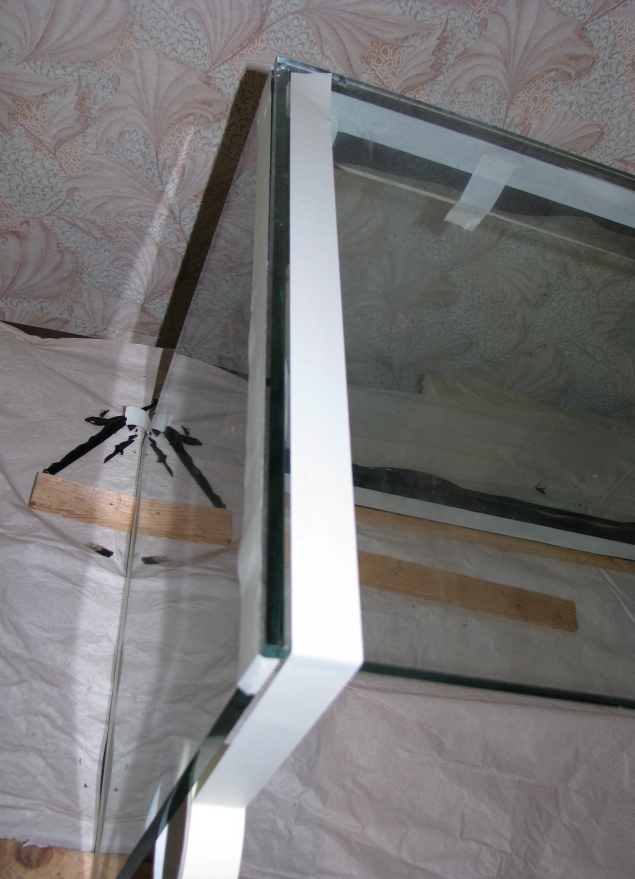
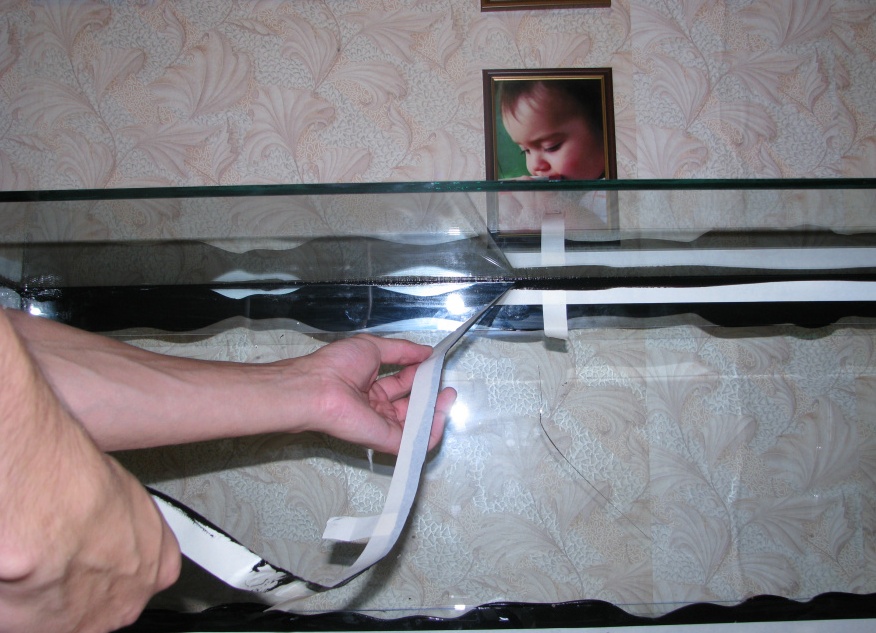
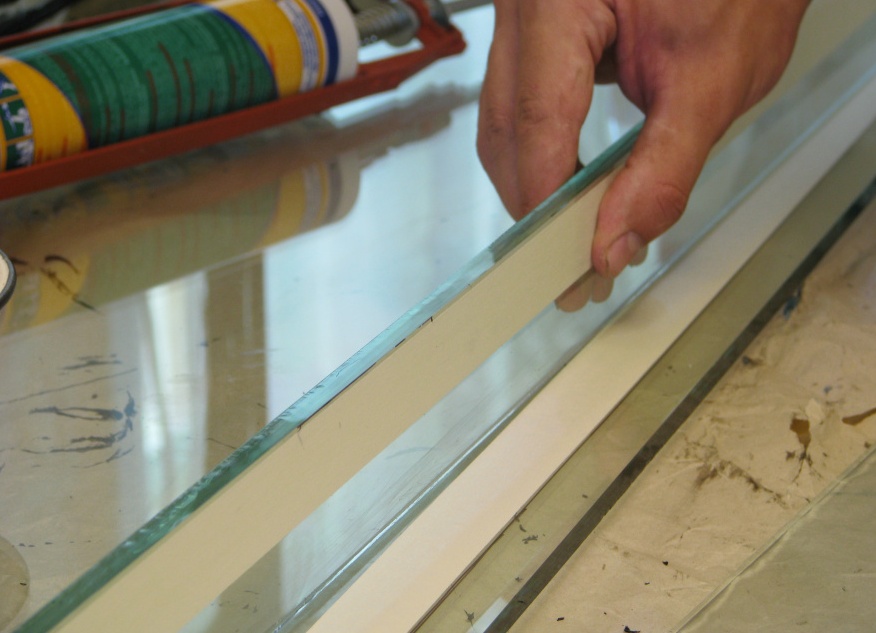
- Lateral elements also need to be degreased. Paint them with a paint tape, leaving about 2 cm at the edge (bottom thickness plus 3 mm).
- Silicone extrudes slowly, do not feel sorry for it.
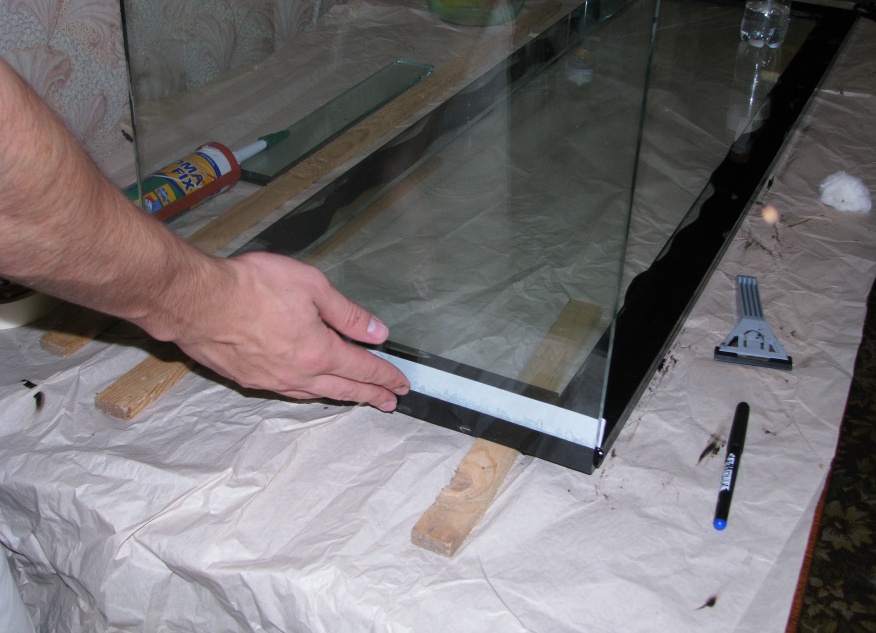
- Press down the end to the bottom, remove excess silicone. We recommend that you dip your hands into soapy water beforehand. Remove the adhesive tape.
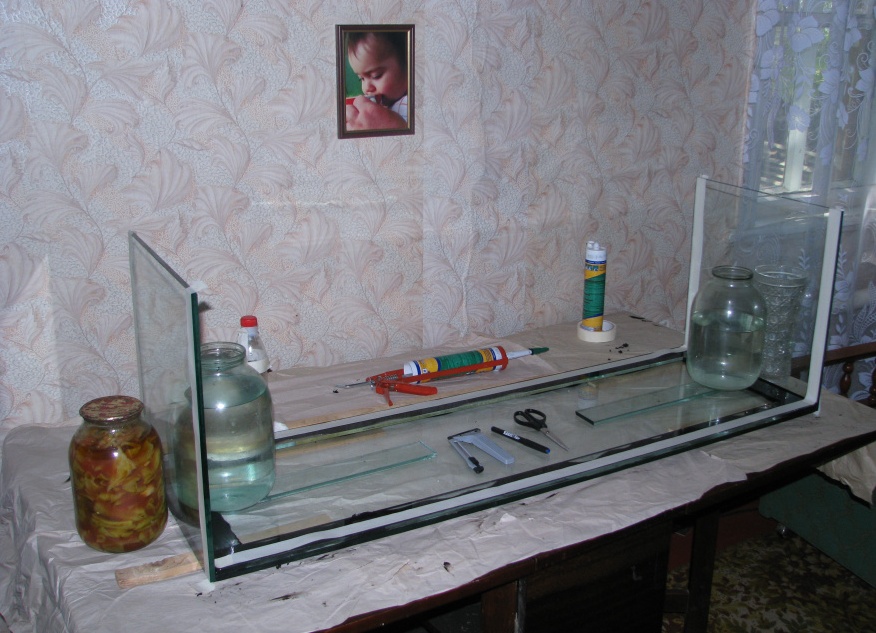
- The bottom is already fastened to the sides. To seal the sealant in the desired position, the walls can support the water-filled cans.
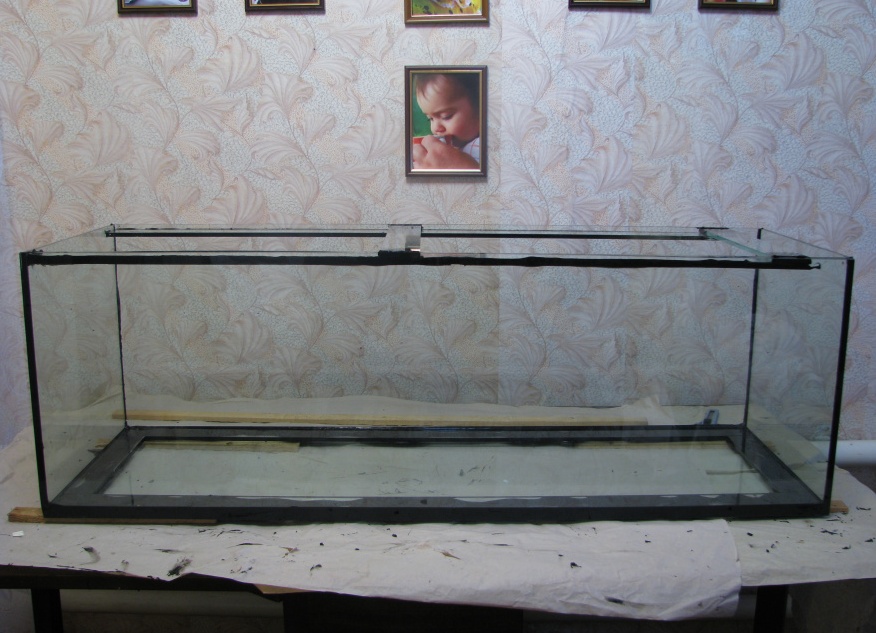
- A day later turn the structure and start fixing the front side.
- Again, a painting tape is useful. When finished, remove it.
- Excess silicone is removed with a blade or knife, but only after it completely dries.
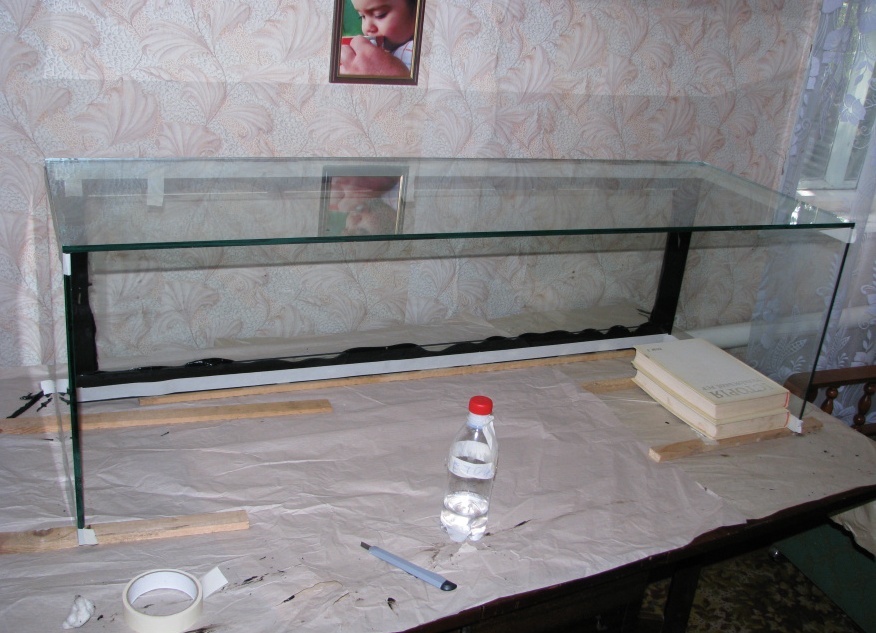
- After 12 hours, you can start installing the back of the tank.
| | |
| | |
| | |
| | |
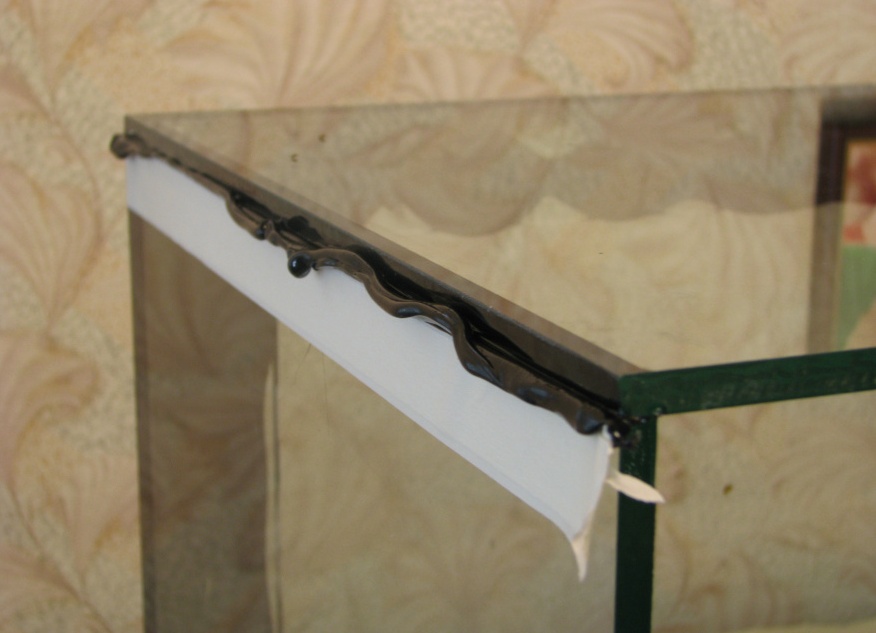
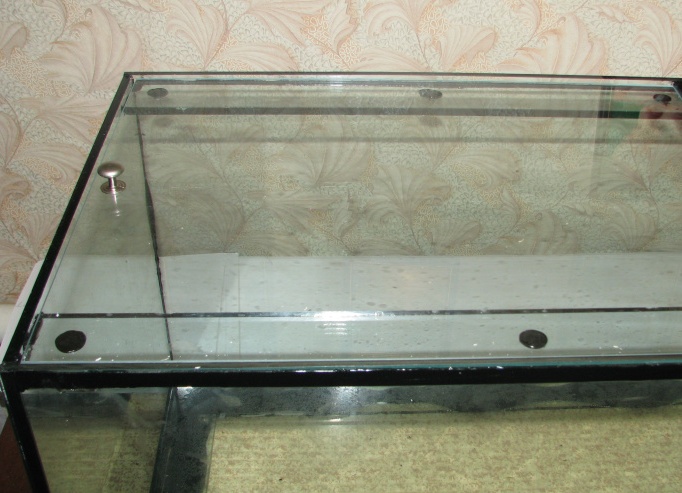
Prepare and fasten the stiffeners and the top screed.
| | |
| | |
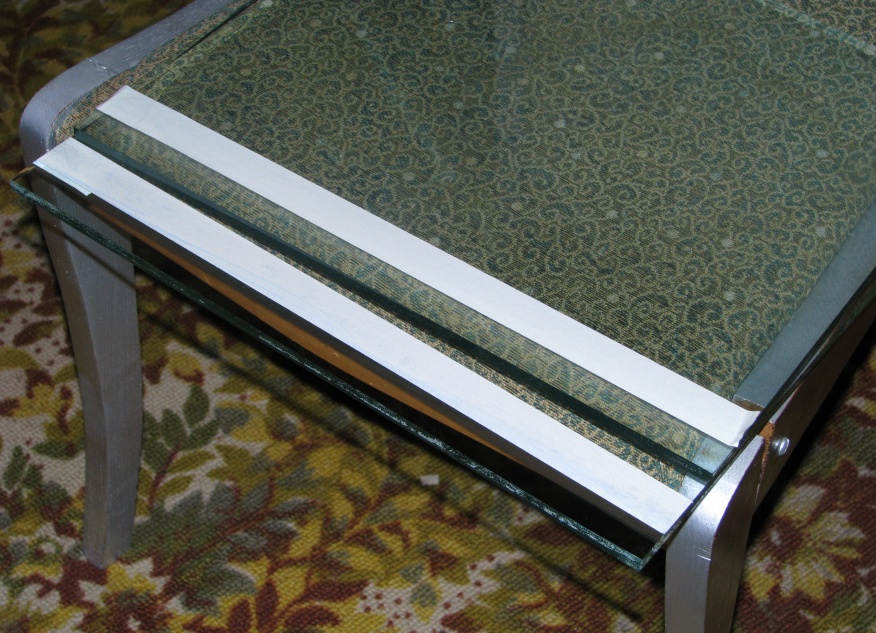
If desired, make coverslips. They look like this:
The design is ready. In a few days you can test it with water. Draw the water to the brim to check for leaks. If necessary, correct the defects with a silicone filler. Now you know how and how to glue the aquarium.