A notepad is a simple and necessary thing almost everywhere: at work, at school, and even at home. But very often it's not just a notebook, but also a stylish accessory that can complement the image and diversify the gray routine. Undoubtedly, it's the easiest to buy - shop counters are full of various options - from simple kopeechnye to piece versions of world famous manufacturers. But it's much more interesting to make original notebooks with your own hands. This will get you exactly the thing that you need: the right size, thickness, and most importantly - looking exactly as you need it. In addition, such a notebook will be a wonderful gift, which better than words will tell about your special relationship to the person to whom it is addressed.
On the question of how to make a notebook, it's easy to answer: you can make it from a notebook, decorating the cover, or you can do it from scratch by sewing simple sheets of paper. Let's consider some variants.
How to make a notebook yourself, a master class
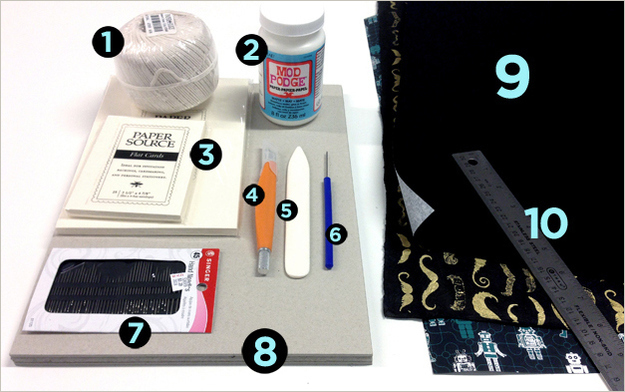
We need:
- Twine.
- Stationery glue.
- A pack of small paper. You can take it ready, but you can cut larger sheets.
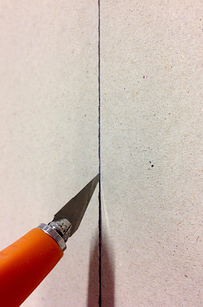
- Stationery knife.
- A bone stick is not necessary, but it helps to smooth folded paper.
- Awl.
- Sewing needle.
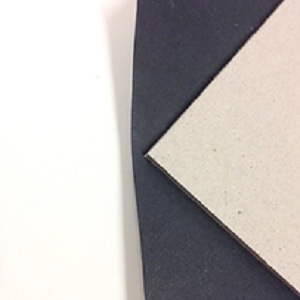
- Thick cardboard for the cover.
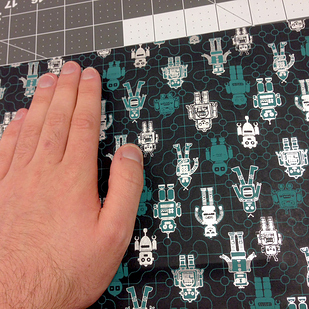
- Decorative paper for a notepad.
- Ruler.
Progress:
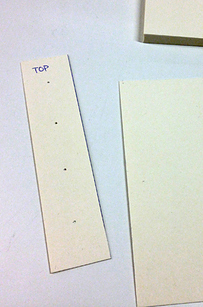
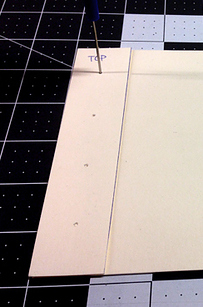
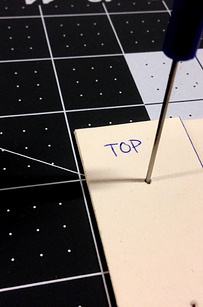
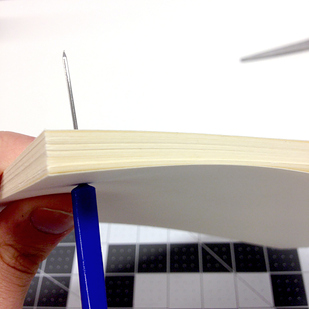
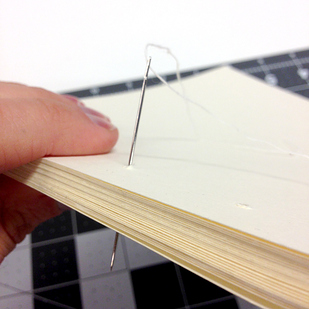
- We make a cardboard pattern so that it is possible to pierce through it holes in the paper.
- We impose it not a small pile of sheets and we punched holes with an awl, we take the following.
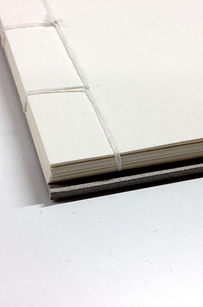
- Sew the stack with a Japanese stitch.
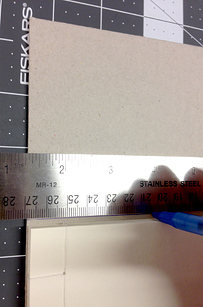
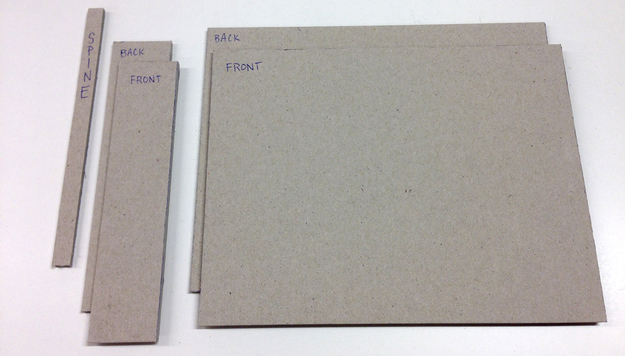
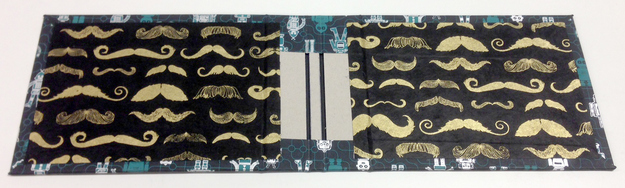
- On the cardboard we draw the cover for the notepad. For the basis we take the stack of sheets sewn by us.
- We should have the following details: two large details of the cover, two smaller for the binding, a detail of the rib.
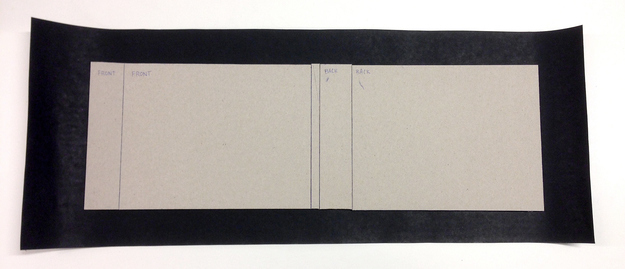
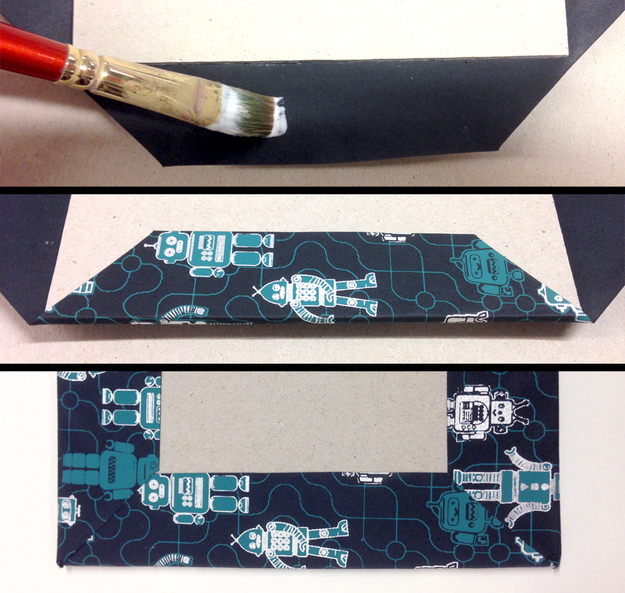
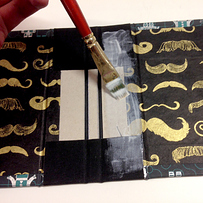
- On the back of the sheet of decorative paper, lay out the details of the cover as shown in the photo.
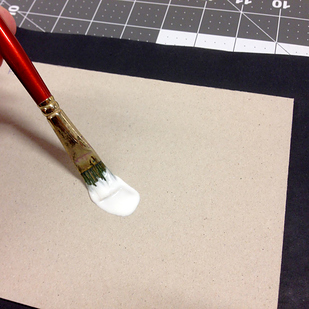
- We glue the parts.
- Crop the corners of the paper.
- Fold and glue the edges.
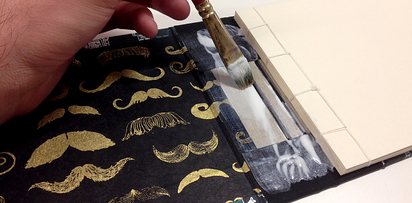
- We glue the paper on the inside of the cover.
- We glue sheets to the base of the notebook.
- Leave to dry for the night.
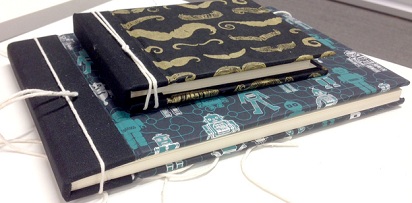
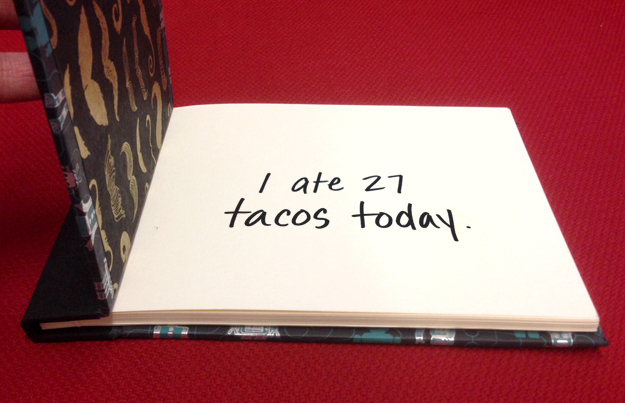
- The notepad is ready, you can use it - trust your business and secrets.
| | | |
| | |
| | | |
| | |
| | |
| | |
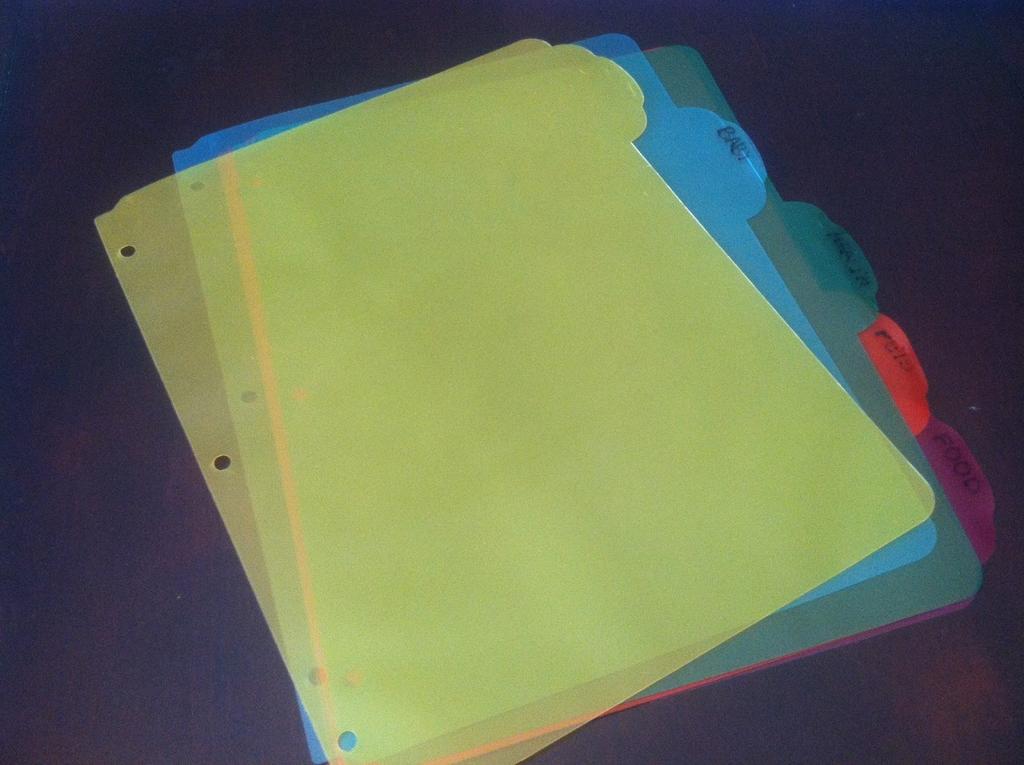
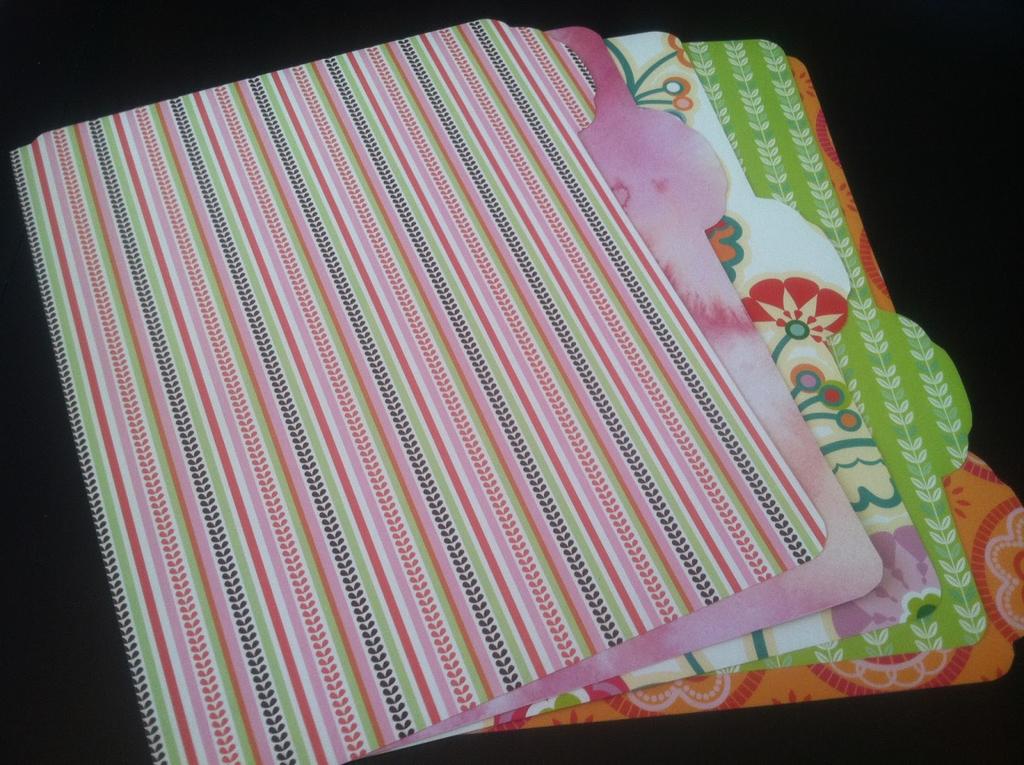
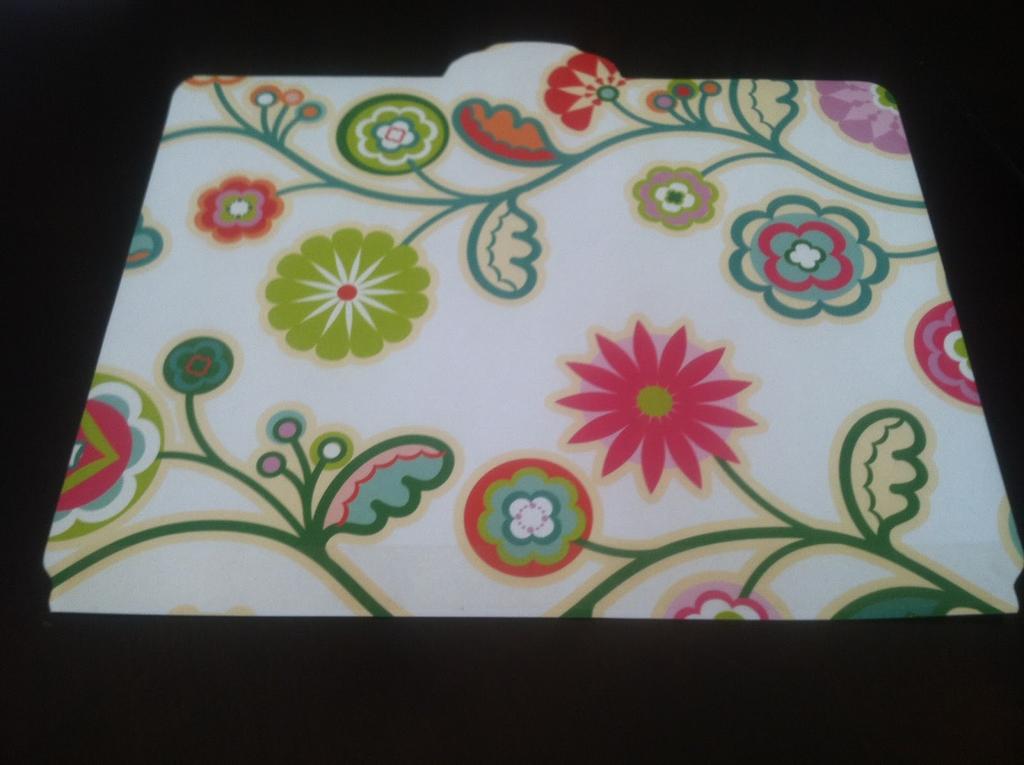
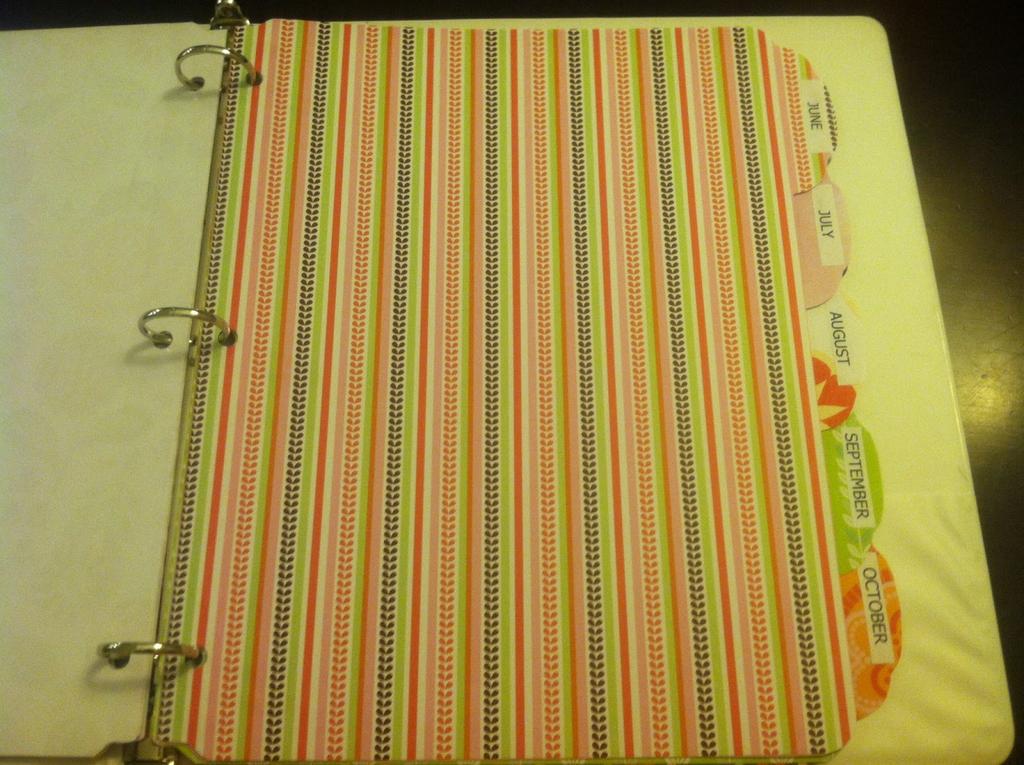
Notepad on the rings with your own hands
This option notebook is convenient in the event that you have to make records on the weight, the sheets on the rings are more convenient to turn and fold than ordinary. You can also use delimiters, if you want to divide the notebook into thematic parts.
We need:
- pencil;
- 3 ring-holders (can be purchased in the store for needlework or clerical);
- hole puncher;
- paper;
- scissors;
- separators from the old notebook;
- decorative paper;
- Scotch.
Progress:
- We take decorative paper and old dividers.
- On the reverse side of each sheet, we draw the dividers along the contour.
- We cut out.
- Cut out the sheets for the notepad according to the template of each separator.
- We make hole holes and fasten rings. The notepad is ready.
| | |
| | |
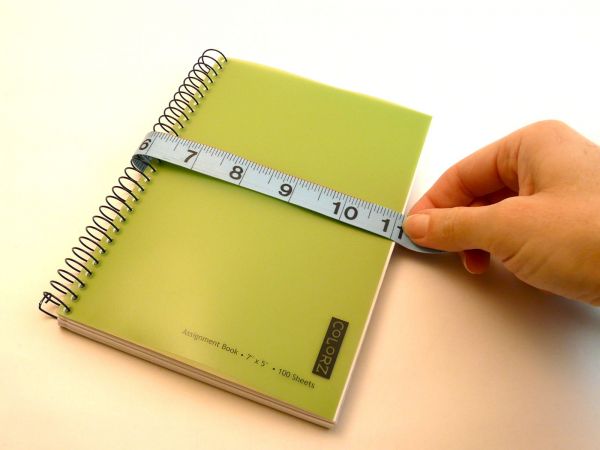
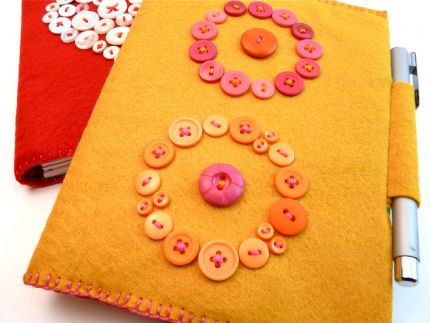
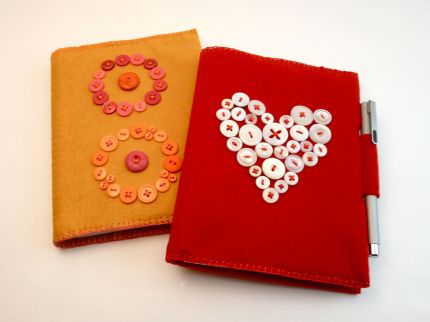
Cover for notepad with your own hands
We need:
- notepad with a spiral;
- a pen;
- roulette;
- felt;
- buttons;
- scissors;
- marker for tissue or chalk;
- pins;
- needles;
- glue;
- brush.
Progress:
- We measure the notepad in order to know the size of the cover.
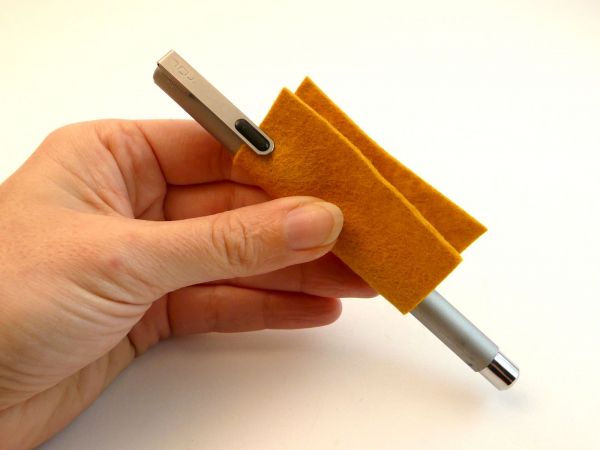
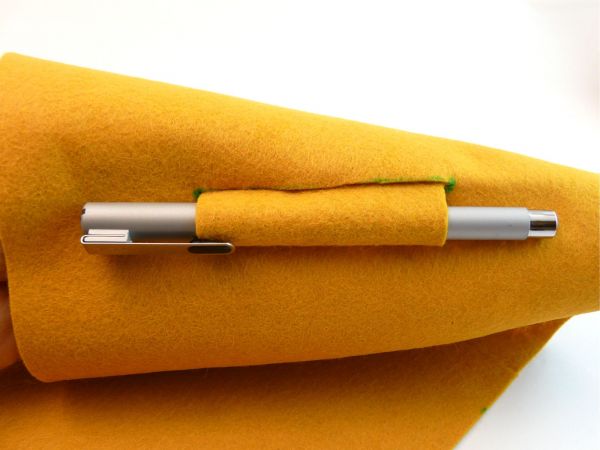
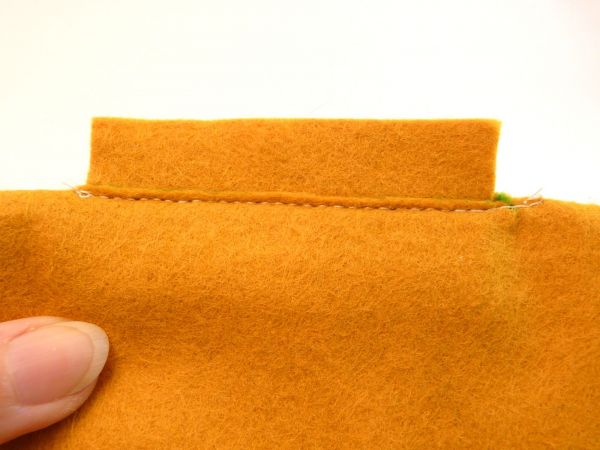
- Cut a small rectangle of felt - it will serve as a holder for the handle.
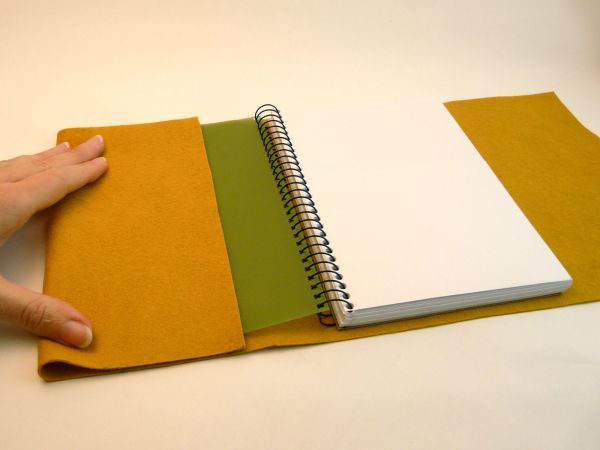
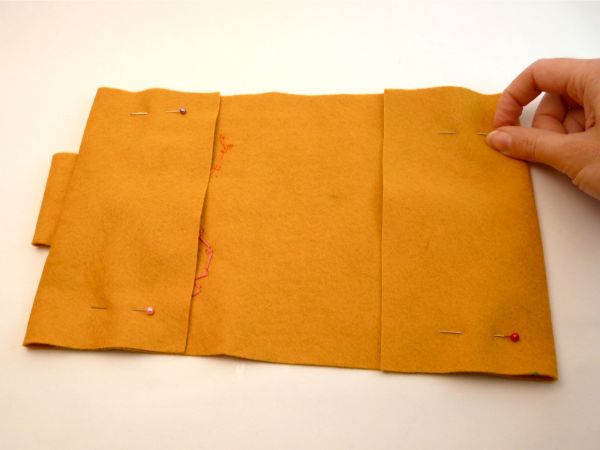
- Cut the felt to the size of a notepad with a stock.
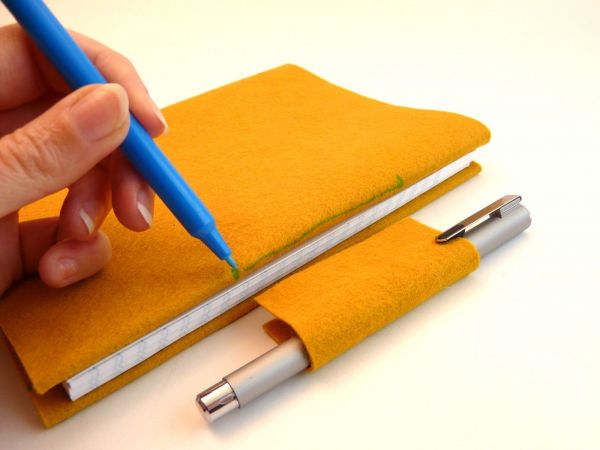
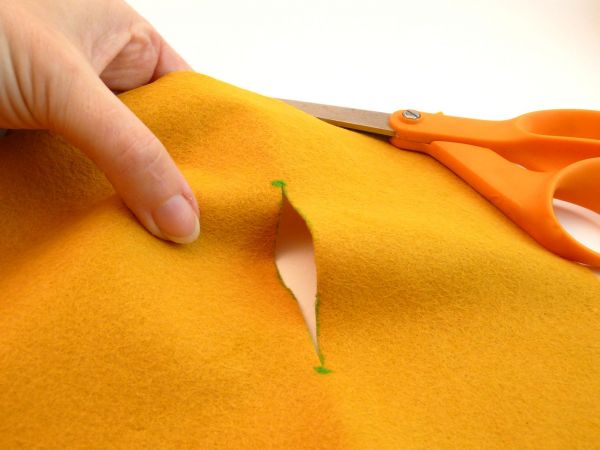
- Note the position of the holder for the handle on the edge of the front cover.
- We make a cut along the planned line.
- We put the holder in the hole.
- We fix it with a pin.
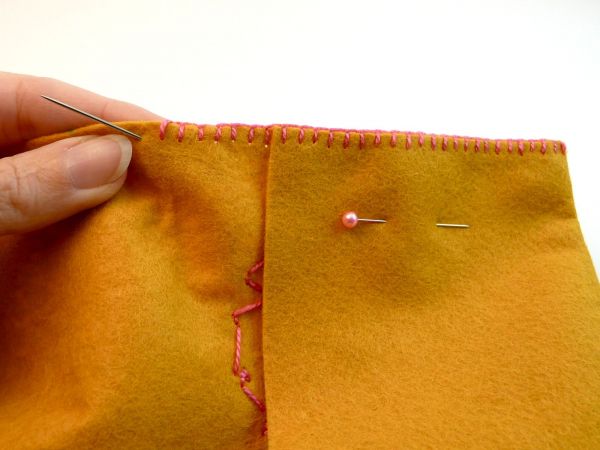
- Stitching.
- The ends of the seam should go smoothly to the edges.
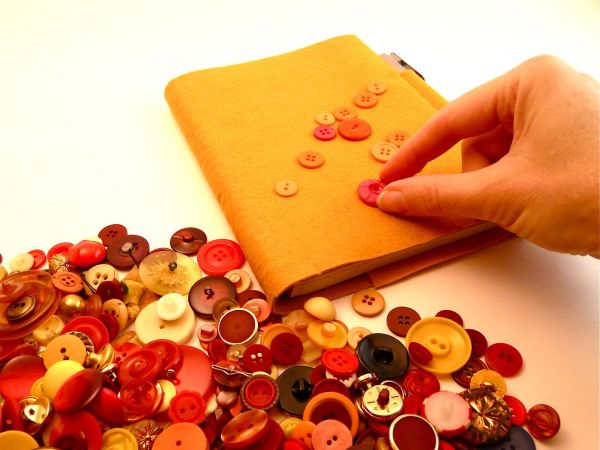
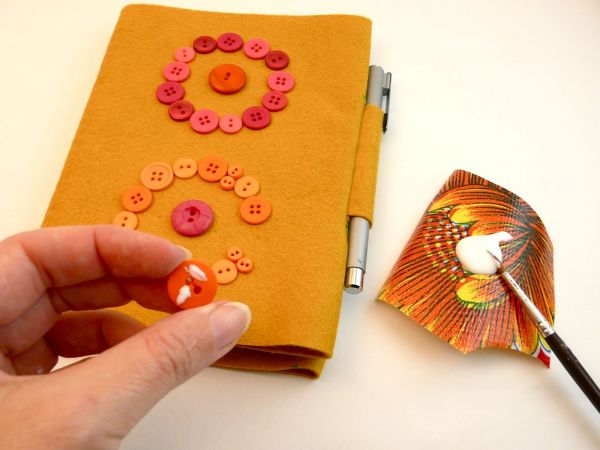
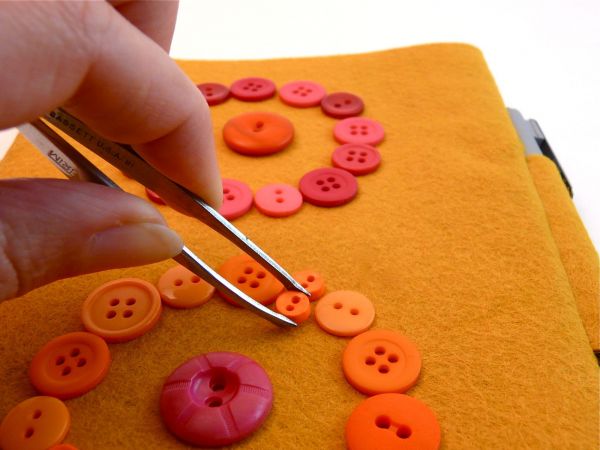
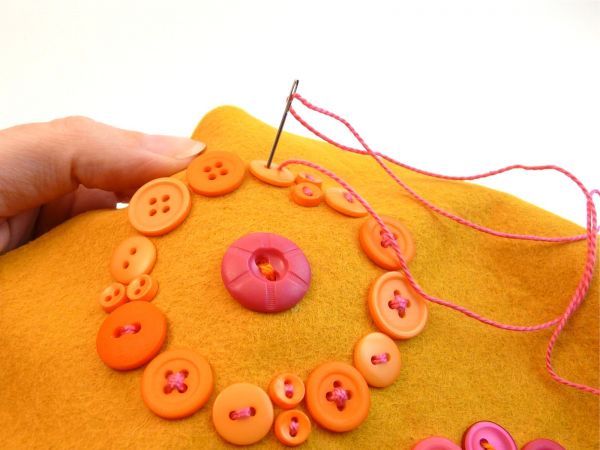
- We take the buttons for decoration.
- We spread out a picture from them and paste them to the felt.
- For convenience, you can use tweezers.
- When the glue dries, sew on the buttons.
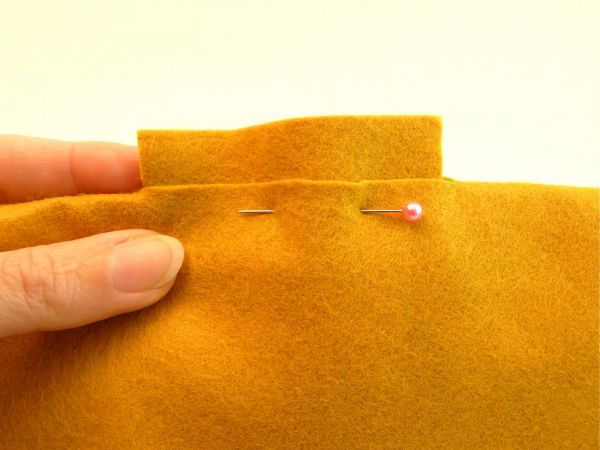
- The edges of the cover are fixed with pins.
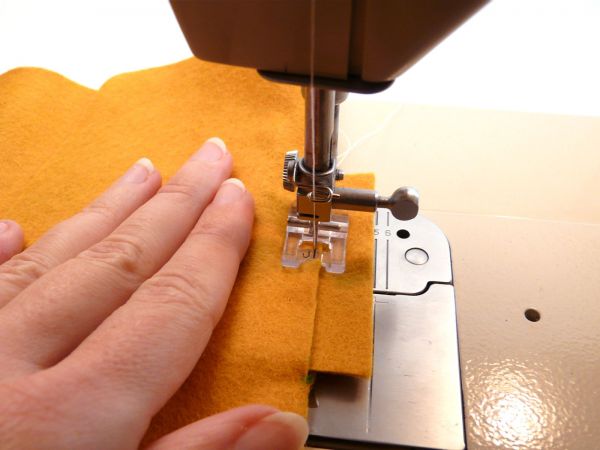
- Sew on the perimeter with a decorative stitch.
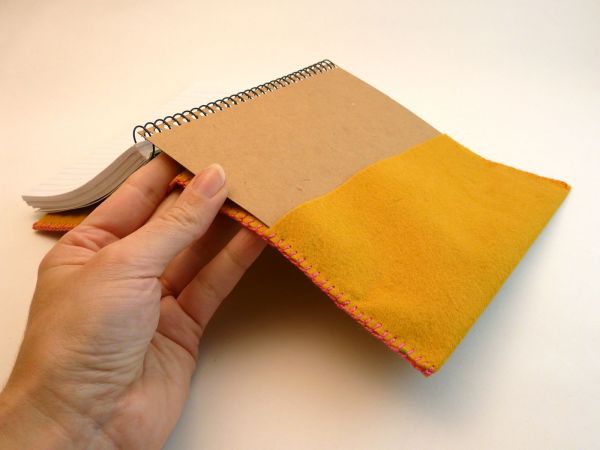
- We insert a notepad into the cover.
- The original cover is ready.
| | |
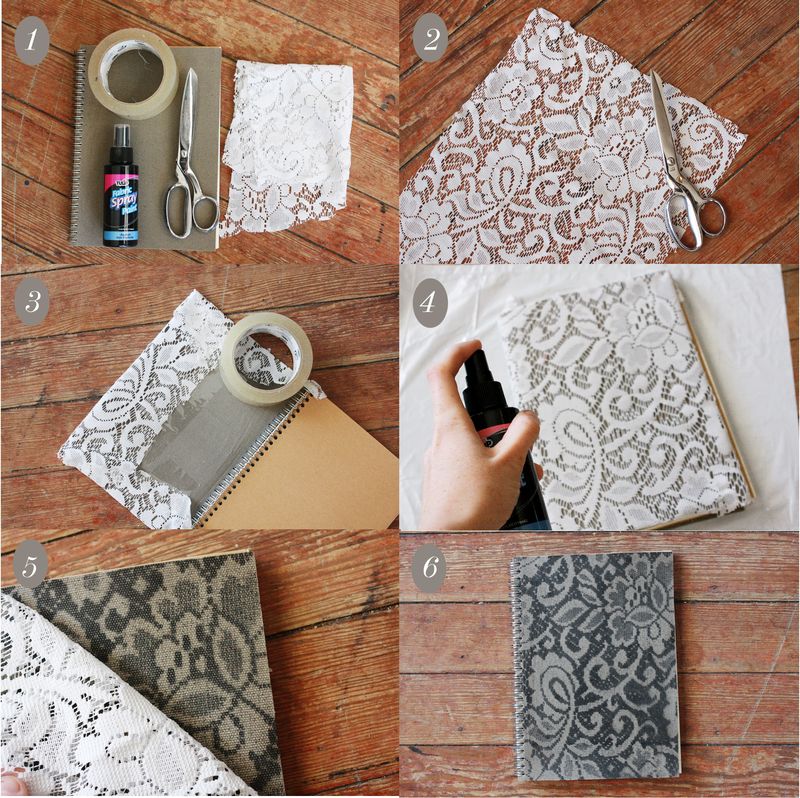
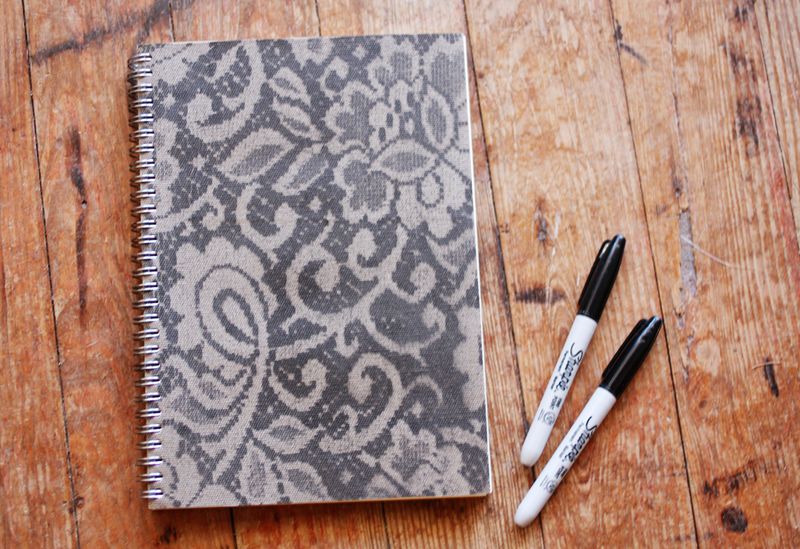
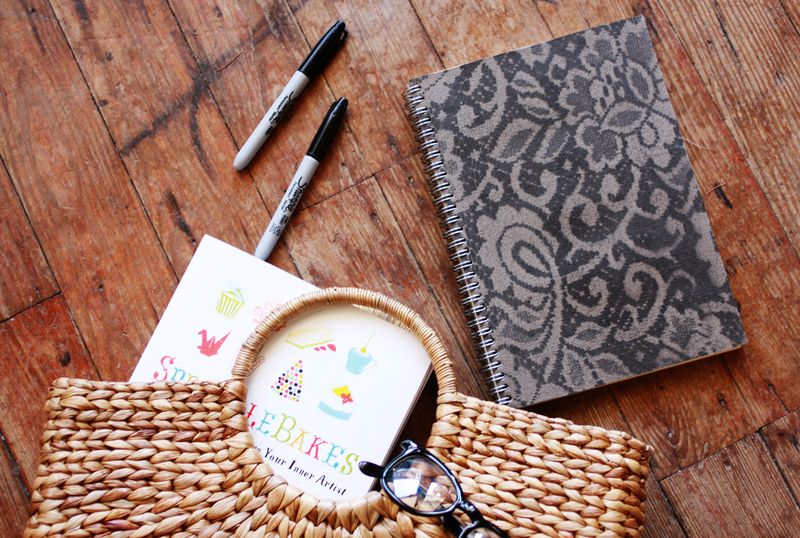
How to decorate a notebook with your own hands?
In order to get the original accessory at your disposal, you do not need to make a notebook yourself, you can diversify it with an unusual design.
We need:
- Notepad, it's better if the cover is made of fabric, but the cardboard is also suitable;
- lace, piece of tulle;
- Scotch;
- scissors;
- spray-paint for fabric.
Progress:
- Cut out a piece of tulle slightly more than the size of a notebook.
- We wrap the cover over it and fix it with tape.
- We spray paint.
- We let it dry and we remove the tulle.
- The cover is ready.
| | |
With your hands, you can make a personal diary , and a cover for a book.