The decoration of clothing and interior items with their own hands is becoming more popular. Especially popular are embroidery. In this article, I'll show you how to create 3D drawings.
Beautiful convex work, embroidered with ribbons, flowers are especially good ( tulips , lilacs , roses, lilies, chamomiles ). This embroidery can be used for creating wall panels, decorating pillows, bags and even on clothes.
But the question is often asked: what exactly can be embroidered with ribbons. All. And houses, and trees, and flowers , and even figures of people, the main thing is to know how to achieve with the help of a need for an effect.
In this article, you will learn how to embroider trees and some flowers with ribbons.
For each of them we will need:
- 7 mm ribbon of different colors;
- a needle with a large eye;
- thread of a mulina of different colors;
- fabric for embroidery;
- embroidery frame.
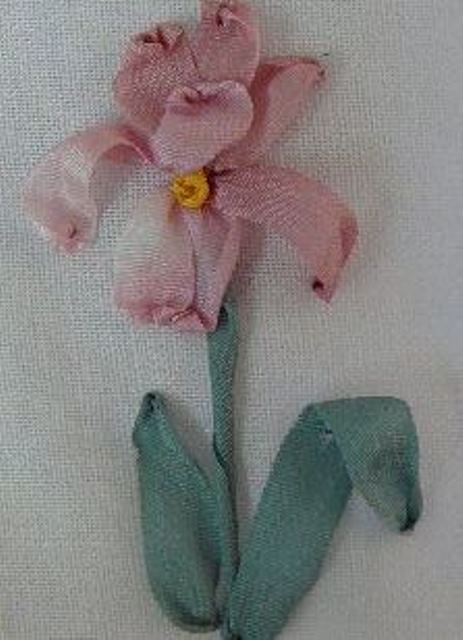
Master-class No. 1: embroider with iris ribbons
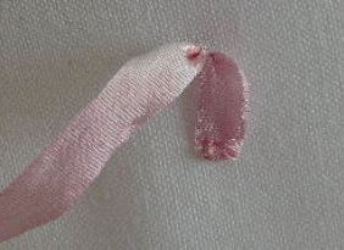
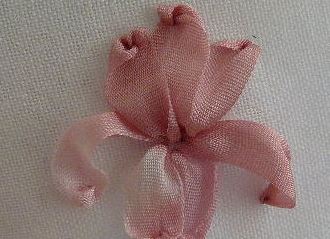
- From the center of the putative flower, make 2 stitches with the seam "forward with a needle". We measure the necessary distance for the petal and stick the needle into the middle of the tape. This will create the necessary edge for us.
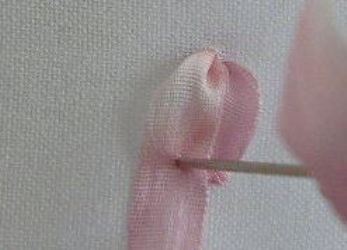
- After the stitch, we return to the center and make 2 stitches "forward with a needy needle" in different directions.
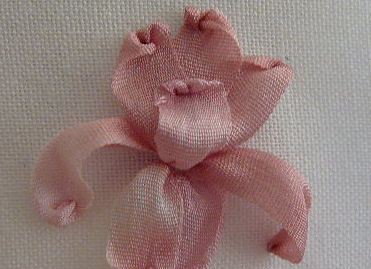
- Every time we return to the center. Now we make 3 petals up, in the same way as the first two.
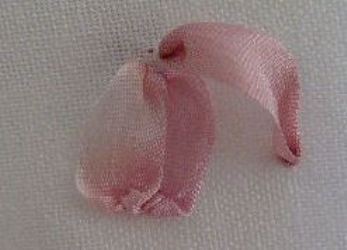
- On top of them we make one more volumetric petal upward.
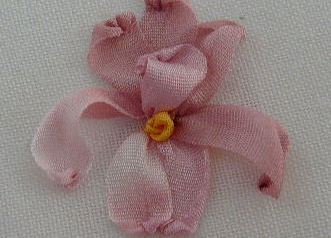
- Make the middle color yellow. To do this, wrap the tape and enter the fabric, very close to the place where it was taken out.
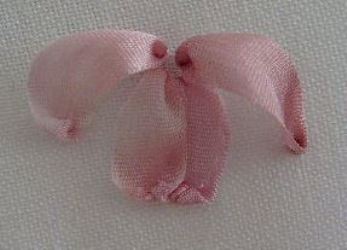
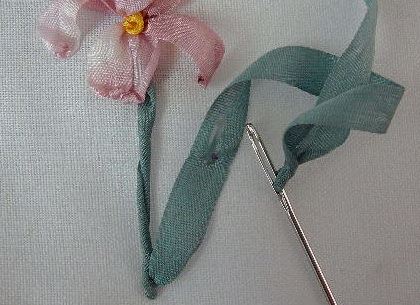
- We put a green ribbon in the needle. We remove it from under the petals, twist it several times and enter the fabric, making an even flower stem. Then we go into the side, embroidering the leaves with stitches "forward with a needle".
| | |
| | |
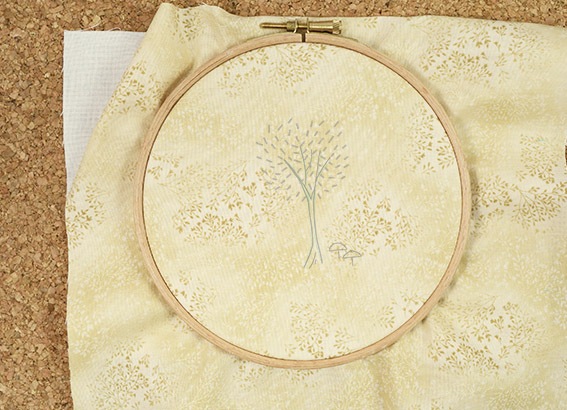
Learning to embroider ribbons on trees
Deciduous tree
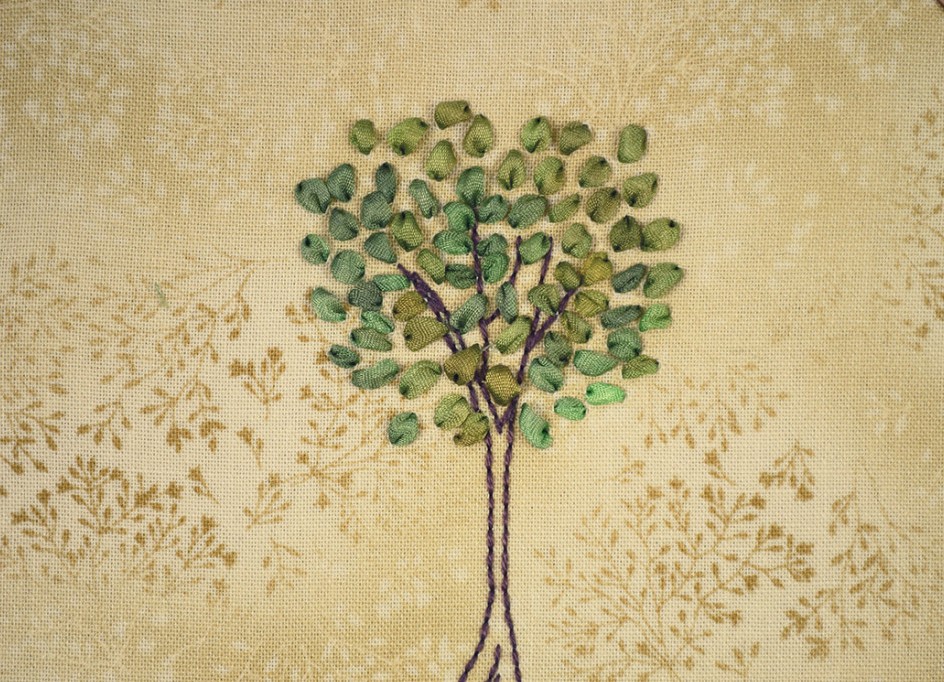
- Draw on the fabric of our future tree.
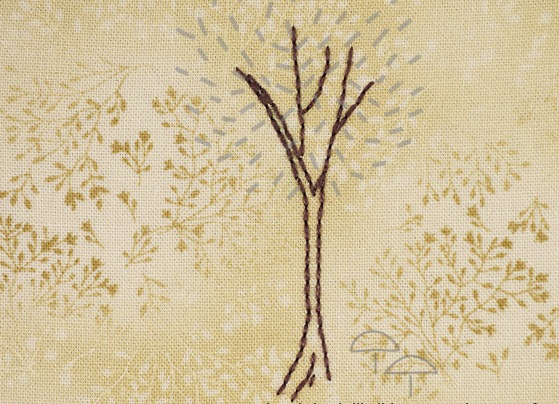
- We sew the trunk and branches with a string of brown mulina.
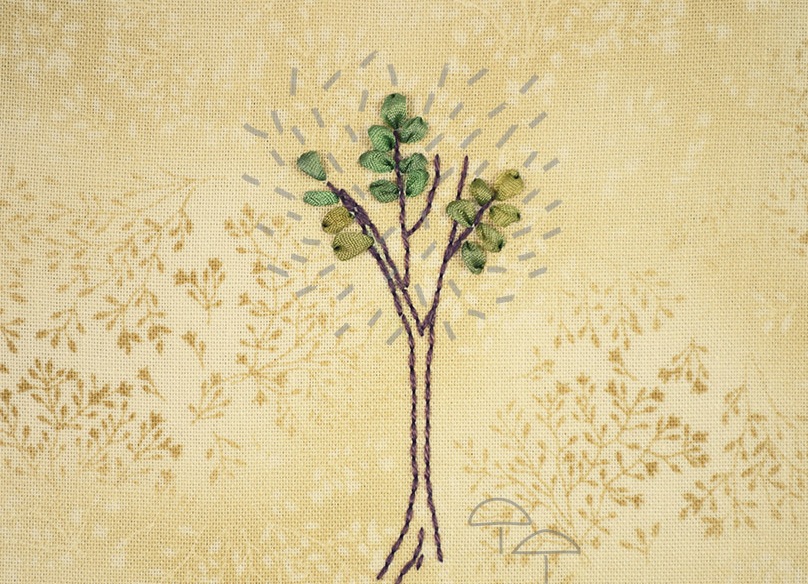
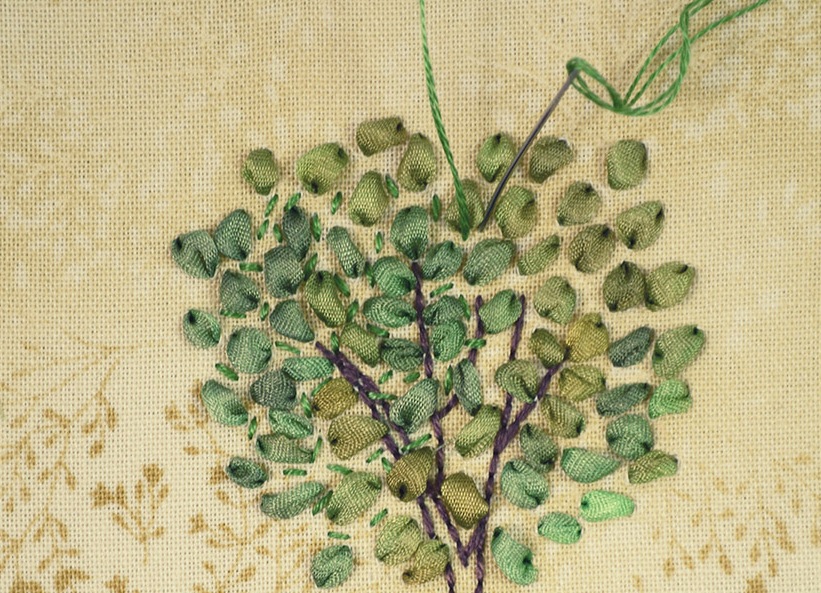
- Along the branches embroider a stitch "forward needle" leaves. To create a more natural look, you can use several shades of green for embroidering the crown.
- The space between the leaves is stitched with a green thread.
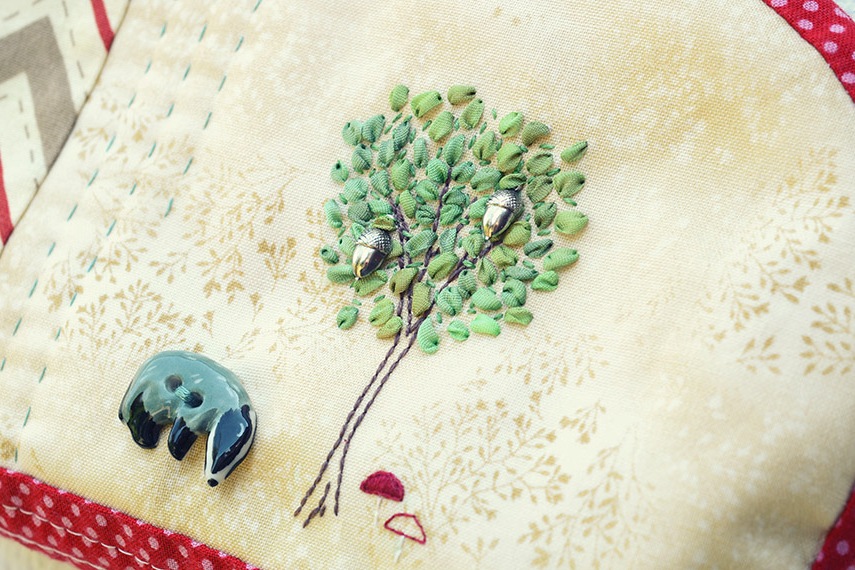
- We decorate embroidery with bells, raccoons and mushrooms.
| | |
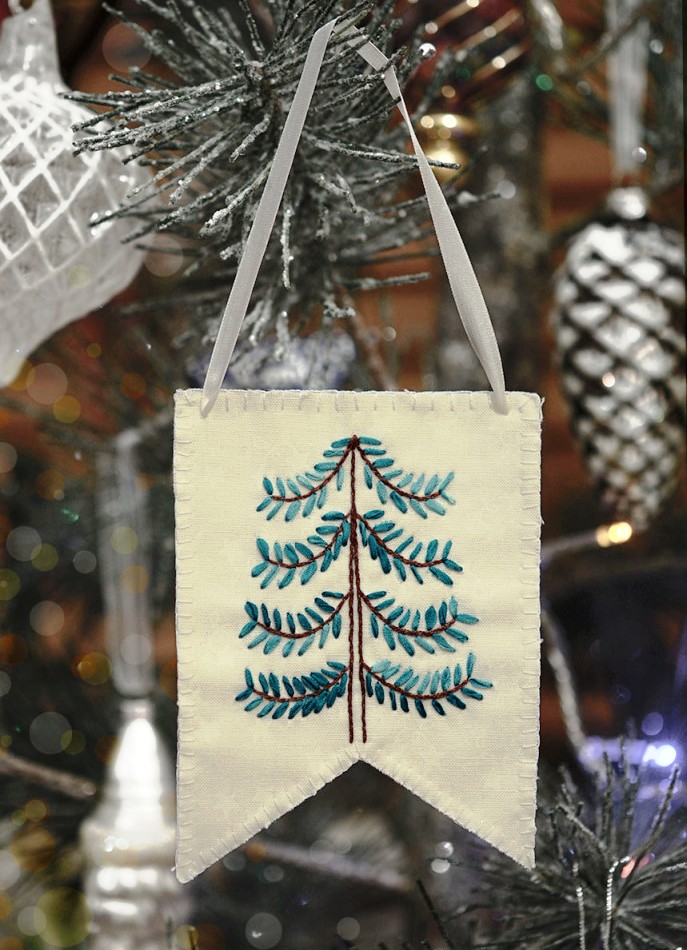
Christmas tree
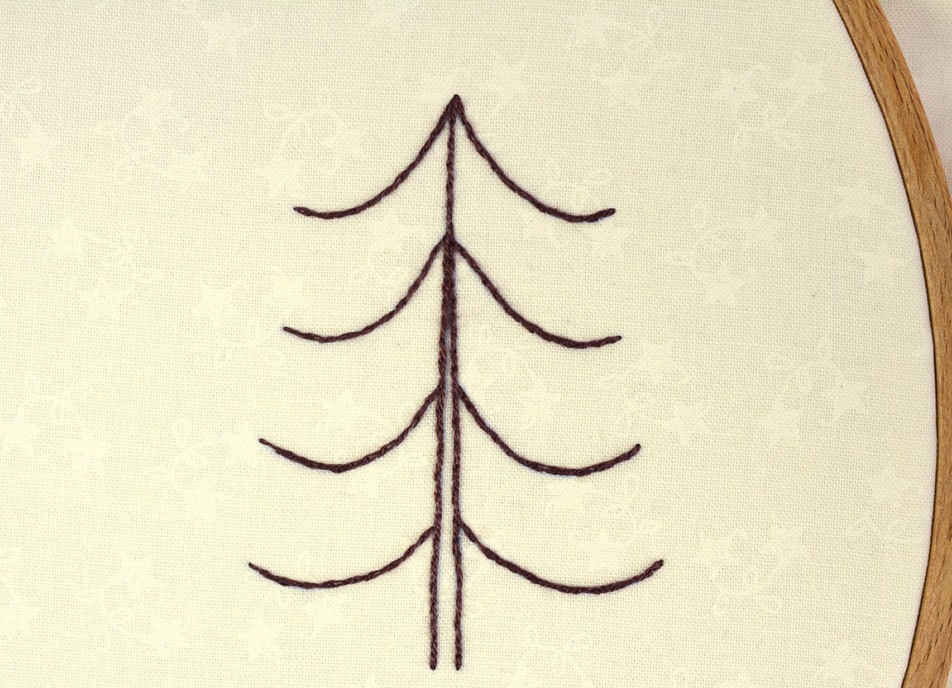
- First draws a trunk and branches. On each side there should be 4 branches of the same length.
- Stitch with a seam "hand stitch" this pattern with brown thread for embroidering.
- We sew needles on received branches. Do this in such a way that each of them is the same size, and the green stitches located from different sides of the branches look in opposite directions.
- We cut out the fabric in the form of a flag, we process the edge with a seam stitch and our New Year's hand-crafted "Christmas tree" is ready.
How to sew a rose with ribbons?
Rose is one of the most popular motif of embroidery ribbons. As well as several types of this color, there are different versions of its production. Consider how one of them is done:
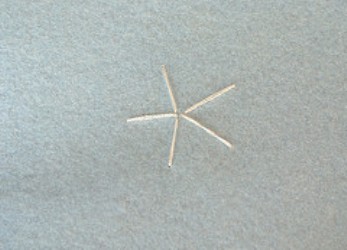
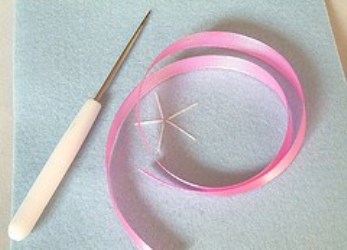
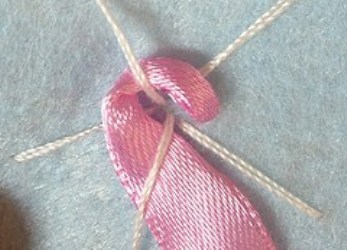
- From one point we make 5 long stitches. They should look in different directions, like the spider's paws.
- We take a tape and an awl (or hook). Leaving about 10 cm tape on the wrong side, we bring it very close to the center on the front.
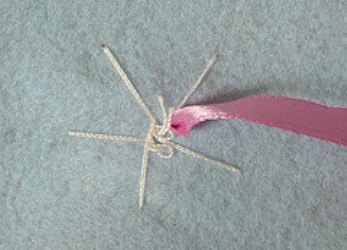
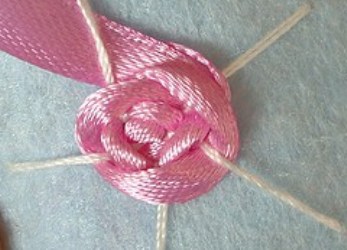
- Now lead the tape counterclockwise in a circle. Alternately we carry it over and under stitched stitches. Gradually, the diameter of the circle of our flower will increase.
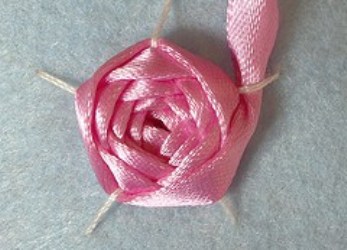
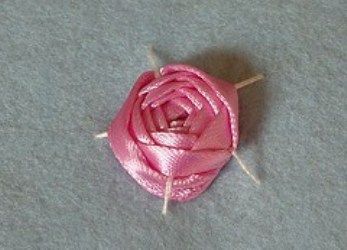
- Each layer must be densely placed to the previous one, you can even go into it a little. When the ribbon is finished, we put the end under the petals.
| | | |
| | | |
This way of creating roses from satin ribbons is perfectly suitable for people who do not know the technique of sewing.
| | |