Have noticed, that now many representatives of a fine half of mankind are fond of weaving from elastics ? For a short time you can create jewelry with bright patterns - bracelets , rings, hair bands and even necklaces! We'll show you how to weave bracelets made of rubber bands in the form of asterisks on the machine.
Bracelet from elastics "star" - materials
To create a spectacular bracelet you will need the following:
- machine;
- clasp;
- gum different flower, including black and bright shades;
- hook.
How to weave a bracelet of rubber bands "star" on the machine in stages?
So, let's start braiding:
- Place the machine on a level surface in front of you so that the arrows and U-shaped pins are pointing away from you.
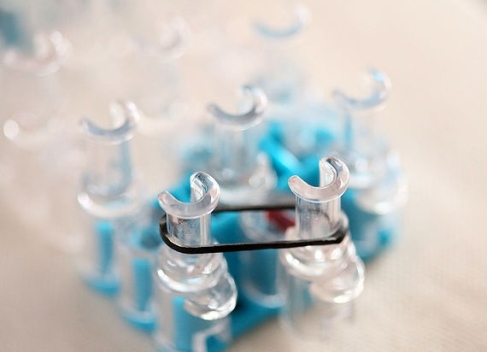
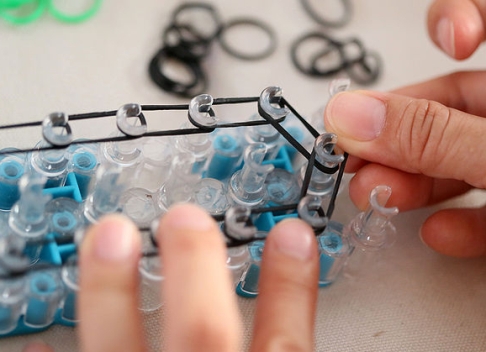
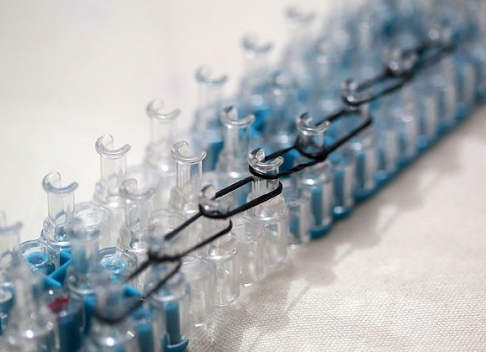
- First place the black frame of the future bracelet. Black rubber band on diagonally on the first pegs of the central and left rows.
- Put the second black rubber band on top of the first pin and on the second pivot of the left row.
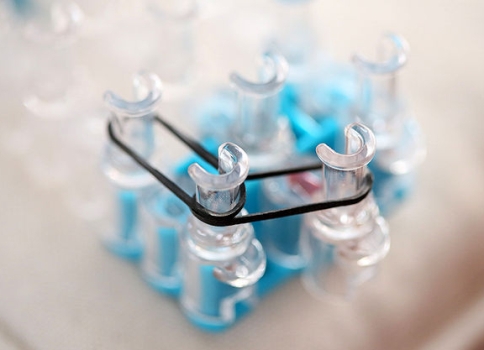
- Continue likewise until you reach the penultimate peg row.
- Insert the rubber band from the penultimate pin diagonally to the last pin of the central row of the machine.
- Now you need to return to the front of the machine and do the same with the right side. After that, all black gum should be lowered to the bottom of the peg.
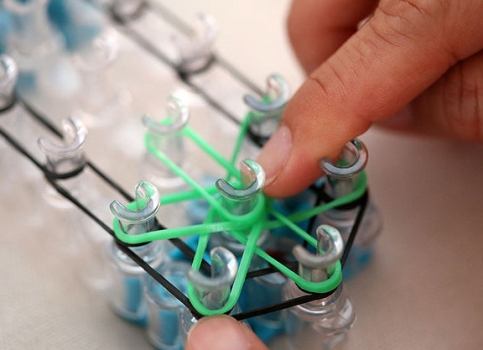
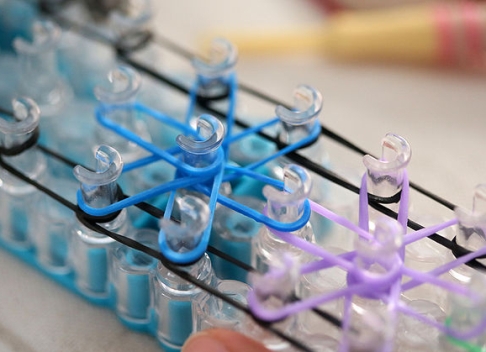
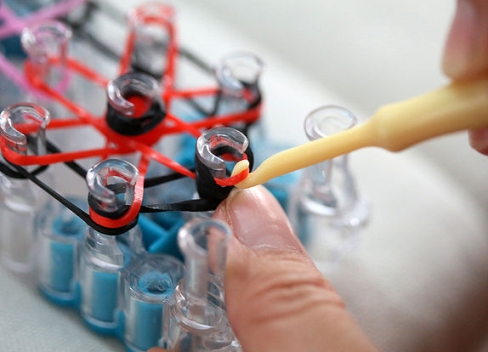
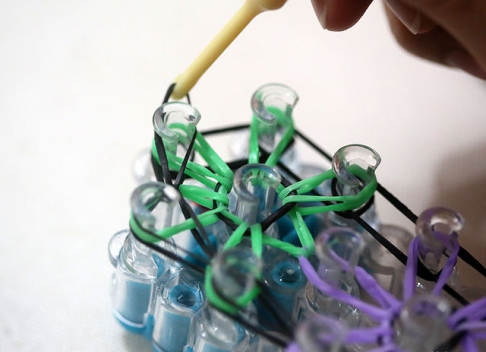
- Now we will fill the frame of a bracelet of elastic bands in the style of "star". Select 6 rubber bands of the same color. Put the first rubber band on the second pin of the center row and on the second pin of the right row. Similarly, from the second peg in the middle row, put another 5 rubber bands clockwise, forming an "asterisk". Lower the rubber bands to the bottom of the pins.
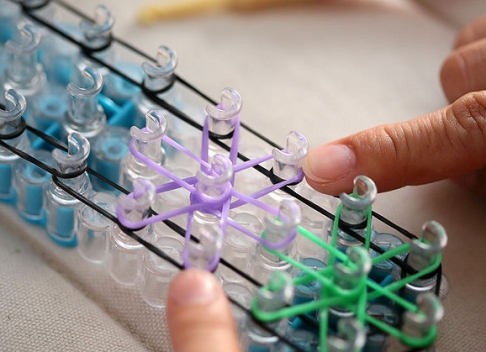
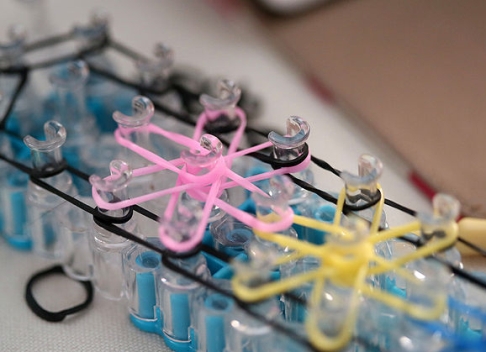
- The second "star" of the bracelet should be started from the fourth peg of the central row of the machine. All six rubber bands of a different color are placed similarly to the first "star".
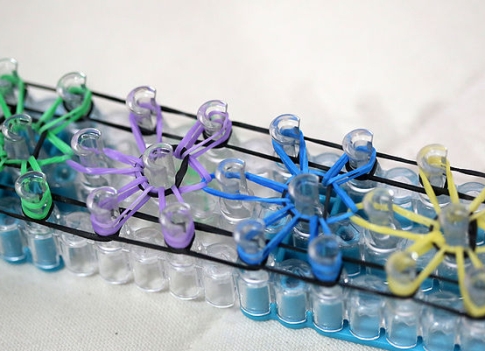
- Similarly, make another 4 "stars", not forgetting to lower the rubber bands to the bottom of the peg.
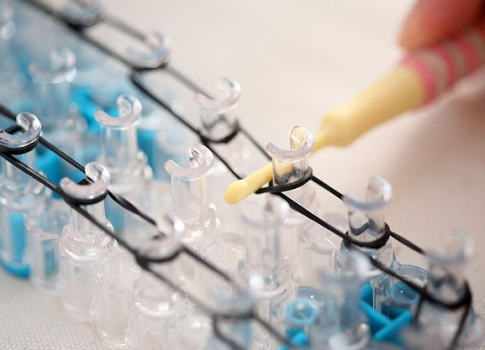
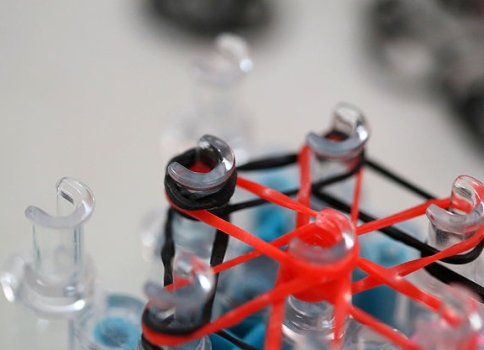
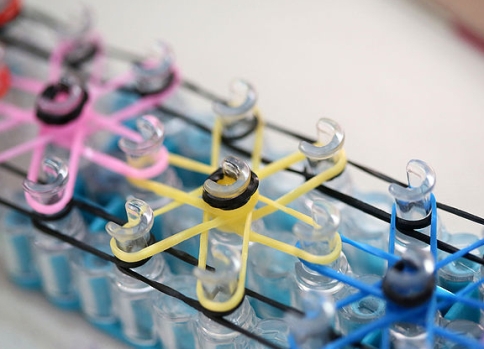
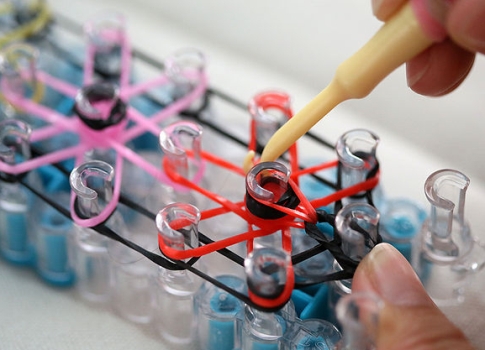
- Then, on the first peg of the middle row and the central peg of each star, put on a black elastic band folded in half.
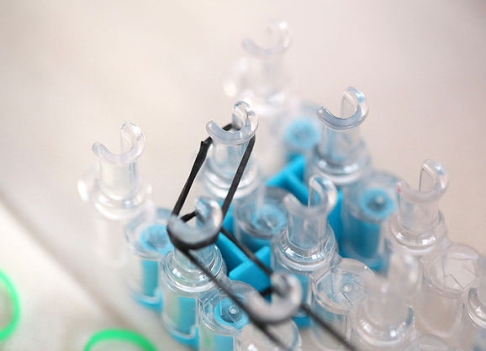
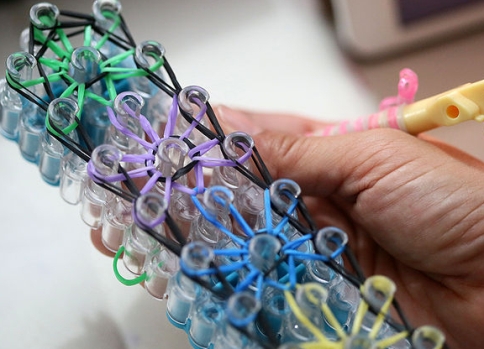
- There comes the most important stage of creating a bracelet of rubber bands with a pattern of "asterisks" - a plexus. Now the machine should be positioned so that the arrows on the machine "looked" at you. Then, in the middle row in the first pin, hook the colored rubber band, pull it up and put it on the second middle row pin (it's the center of the asterisk). Thus, on the peg there will be two loops of one rubber band.
- Similarly, we deal with the rest of the asterisk. In this case, hook the loop from the center of the sprocket to the peg, moving counterclockwise around the circle. Similarly we do the rest of the stars on the machine. Be careful not to release the loop and thereby not disturb the weaving.
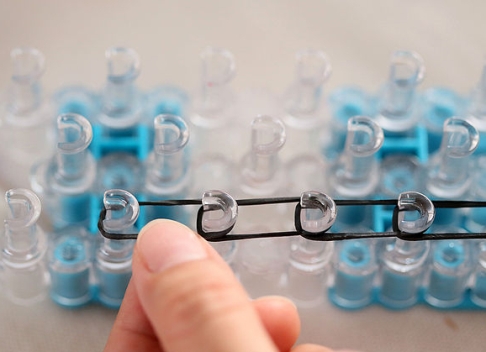
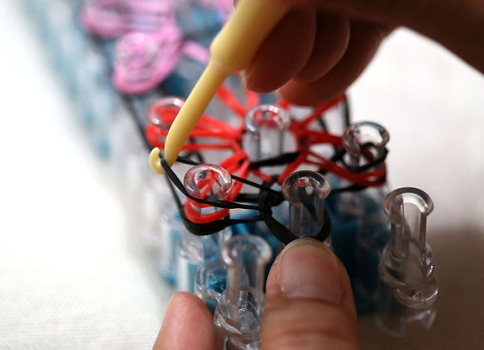
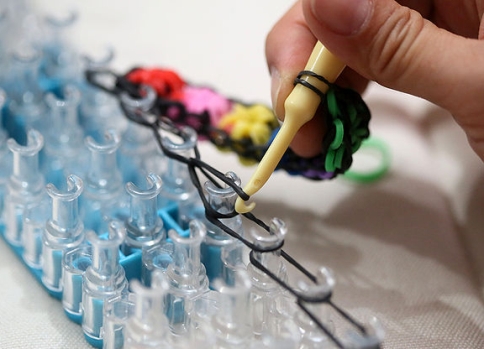
- Then you should do the woven bracelet skeleton. We begin with the first peg of the central row. Hook the edge of the rubber band, which is engaged between the first peg of the middle row and the first peg of the left row. Pull it up and put it on the first peg of the left row so that both edges of the rubber band are on the same pin.
- Continue to weave this way the left row, making a stop on the last peg of the middle row.
- Similarly, weave the right side of the bracelet skeleton.
- At the last peg of the middle row hook hook all the gum, through which then you need to drag a new black rubber band. Both ends of the rubber band are hooked.
- After that, you need to carefully remove the bracelet from the machine. Hook with a loop in your hand.
- To lengthen the bracelet on an empty machine, put on 5 black rubber bands.
- Then you need to hook the edge of the rubber band from the first pin to the second one, and from the second to the third one and so on.
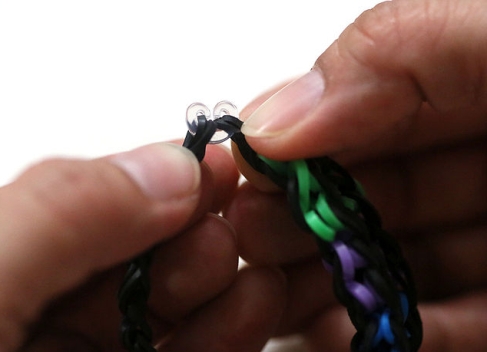
- Now the first extension loop should be connected to the loop of the bracelet, which is on the hook.
- At the end, the ends of the bracelet are connected with a buckle.
| | |
| | |
| | |
| | |