Bolero is an exquisite attribute of the women's wardrobe, which will not only warm you up on a cool summer evening, but also add a touch to your side. And this applies not only to girls, but also to very small representatives of the fair sex. By the way, knowing the elementary skills of working with a crochet, you can very quickly and simply link a child bolero for a girl, and how - we'll show you now. Only we will not teach you how to make capes with a bar and air loops or advise you the elements for knitting a bolero for a girl, the main purpose of our master class is to tell you a few ideas of knitting the simplest boleros, the patterns for which you pick yourself, based on your level of ownership crocheted.
Option number 1
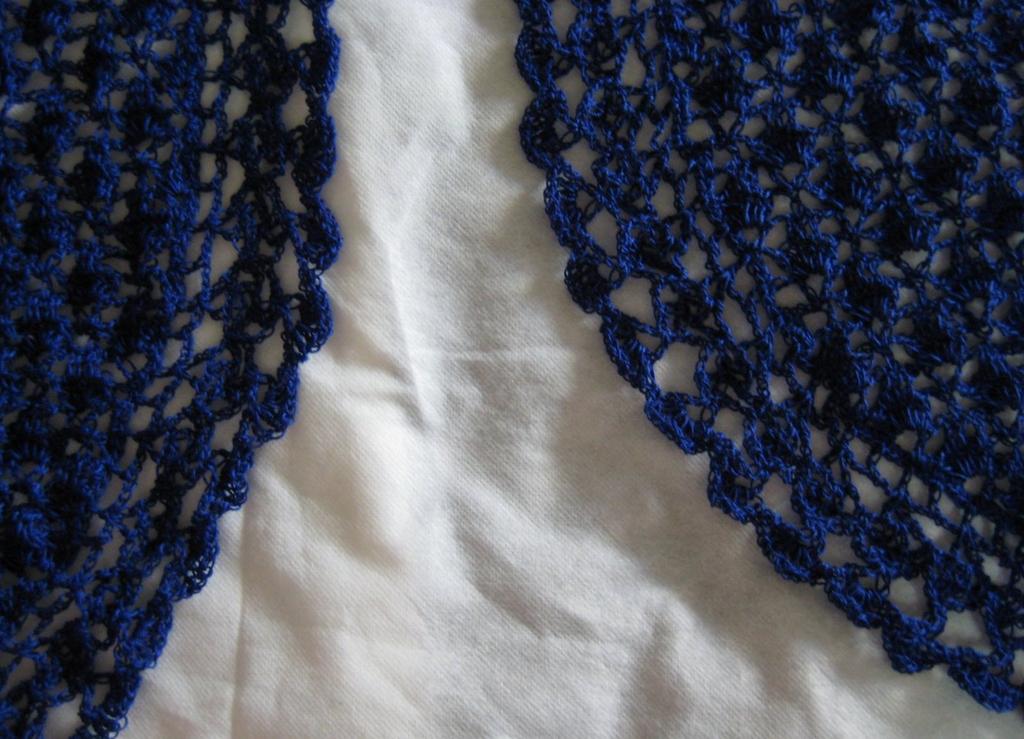
- With the chosen pattern we knit the left and right shelves of the future bolero. To do this, start with a small extreme row and gradually add up and down new loops. As a result, you should get two "wings".
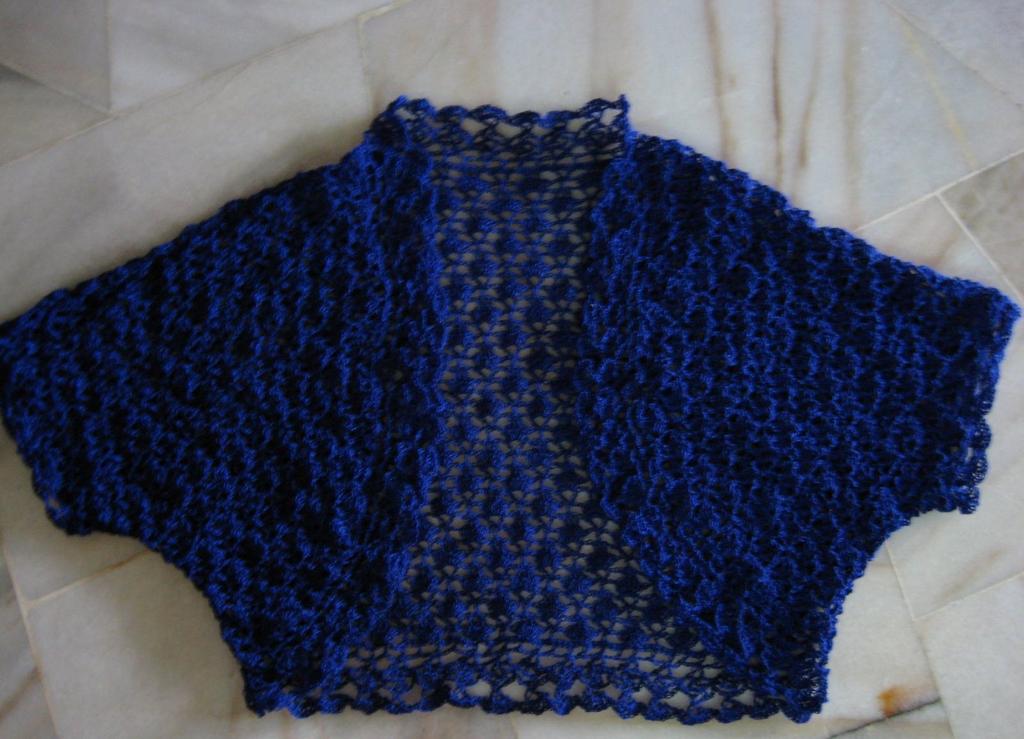
- Now we pass to the back and also easily and simply untie it, focusing on the bends of the shelves and not forgetting to untie the neck.
- Gently sew all together.
- You can proceed to the frame of our almost finished product. And at this step you can distinguish yourself and use a thread of a different color.
Option number 2
- By the liked pattern we knit the first component of our bolero in the form of the letter "P". The upper crossbar will lie on the back of the neck, and the two front straps will be the bases.
- Now, in accordance with the size of the circumference of the trunk, we knit a strip-base. For this element, it is best to choose a pattern-gum.
- You can sew together our base straps.
- It remains only to fill the empty space with a beautiful pattern, make, where necessary, the edging and bolero is ready. Of course, if you want, you can come up with a beautiful buckle suitable for your outfit.
Option number 3
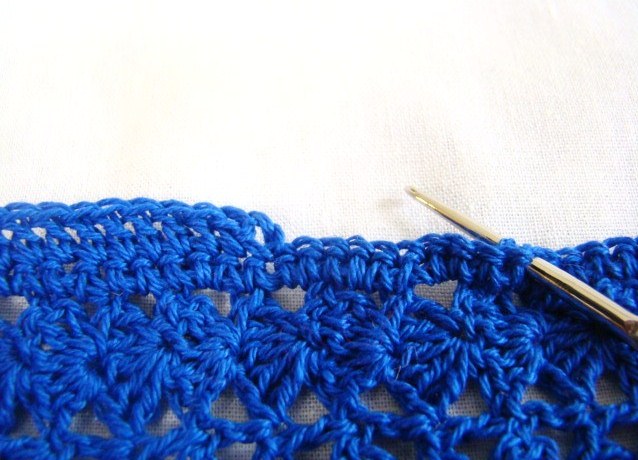
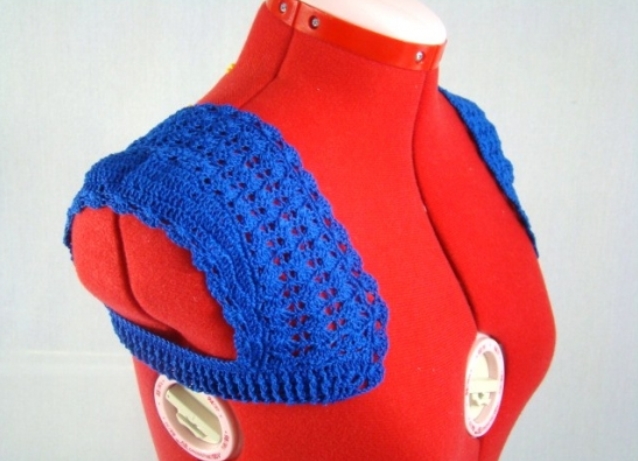
- Now let's talk about the simplest and most unusual bolero, the basis of which will be the circle. We start from the middle and knit a simple rectangle of the size we need.
- Afterwards on the sides of the resulting rectangle we make two chains that will enclose this element in a kind of circle.
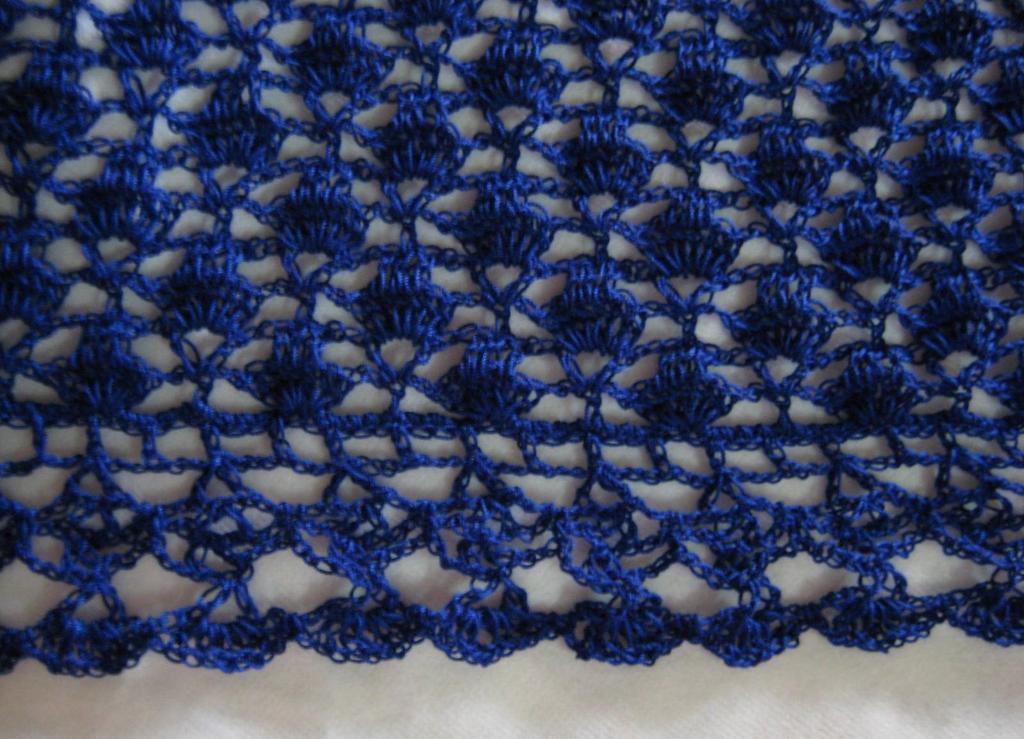
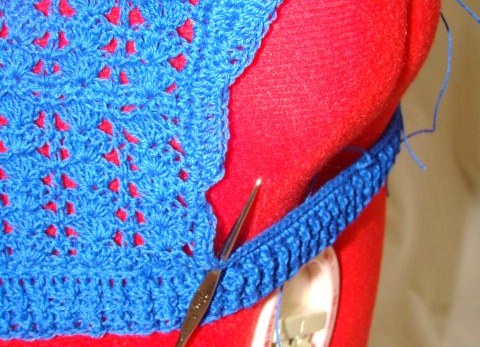
- Immediately do the inner edging, and then on the top of the chain begin to build up the height, using a beautiful fishnet pattern.
- In the end, if there is a desire and need, you can make a beautiful ribbon-zavyazochku, or come up with an original and interesting brooch.