Stencils are used to decorate all types of surfaces - from old furniture to T-shirts . They are made from both ordinary paper and more durable materials. Below we will look at a couple of ways how to properly make a stencil, and the most popular templates.
Reusable stencils for decoration
The first type of stencils for decor, which we will do with our own hands, are of durable reusable material. Typically, use a thin transparent material, very similar to a real stencil. For this, folders from documents are quite suitable.
Performance:
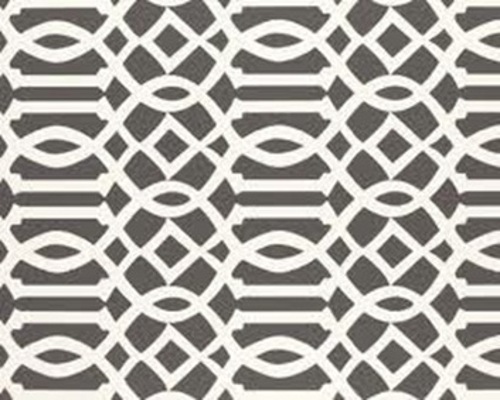
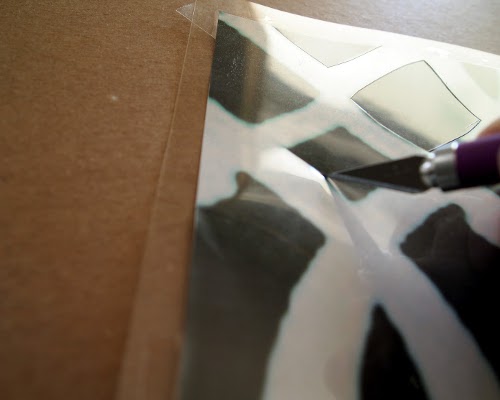
- So, choose one of the patterns for the stencils for the decor. We print out its fragment in black and white.
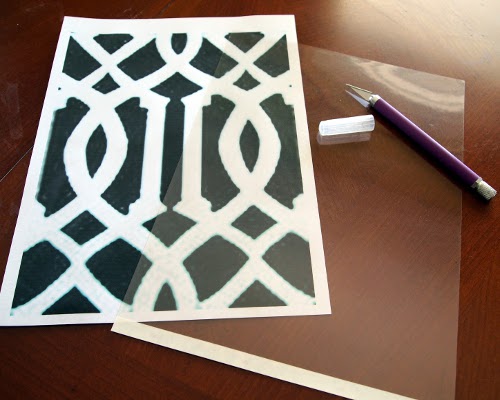
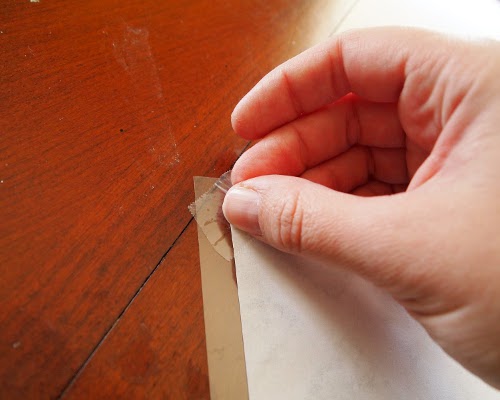
- From above put a transparent sheet for the stencil and fix both sheets of Scotch tape.
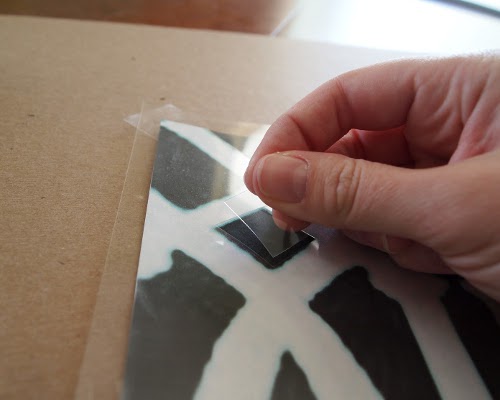
- With the help of a clerical knife, we cut out the black details of the ornament.
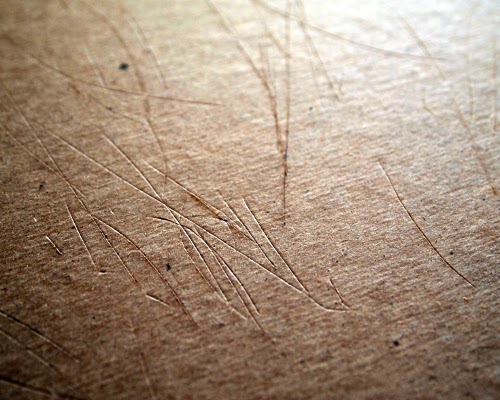
- To make stencils for decorating yourself, be sure to prepare a wooden board or something similar, since on the reverse side there will certainly be such cuts.
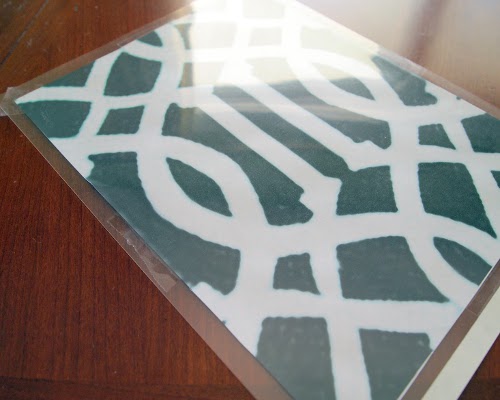
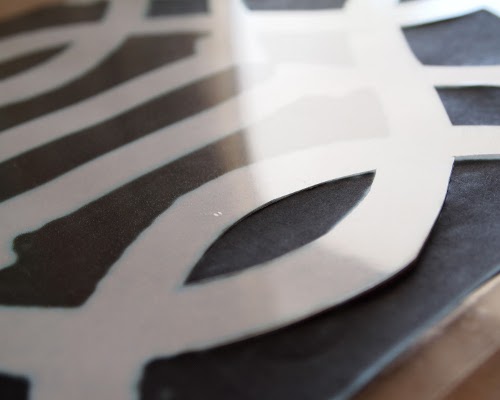
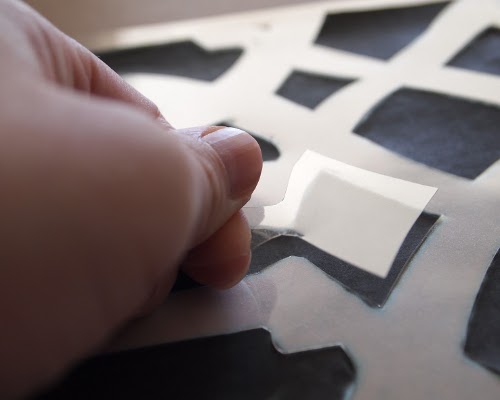
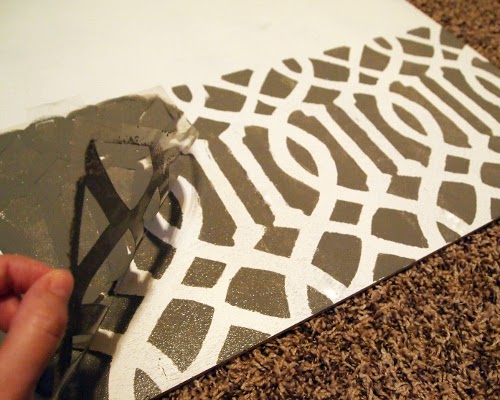
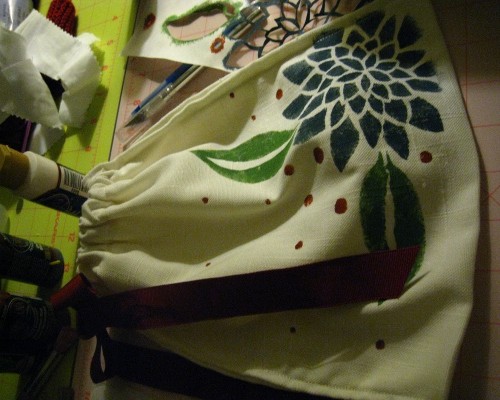
- And here is the ready-made stencil. We test it on a small plot.
- And now you can reproduce the picture on any square.
How to make a stencil out of paper?
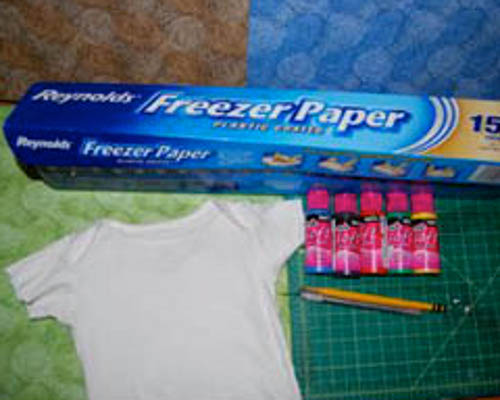
If at your next supermarket you notice the so-called freezer paper Freezer Paper, take it without hesitation. It is convenient to use even for people very far from working with paints or cloth.
Progress:
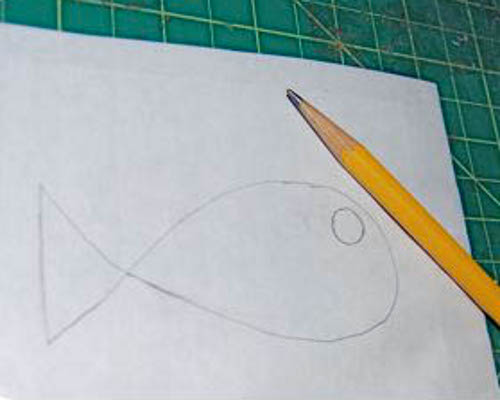
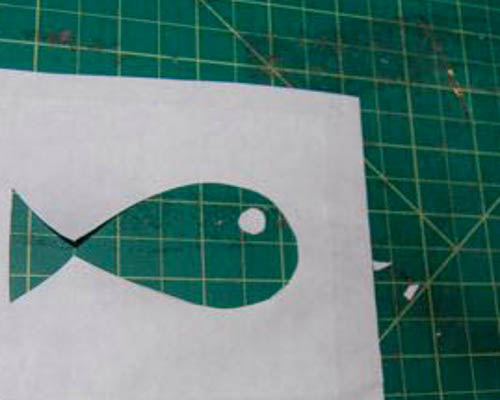
- So, on the reverse side of a piece of paper we draw an ornament.
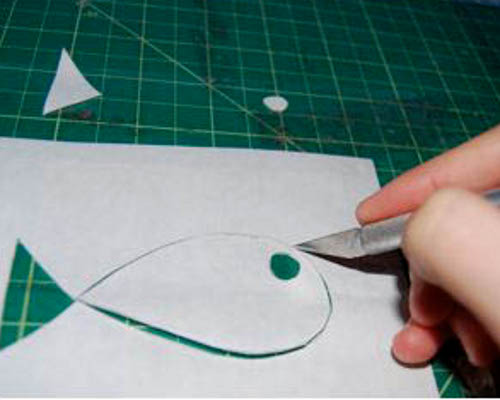
- Then carefully cut out all the necessary details and the main part of the drawing with a clerical knife.
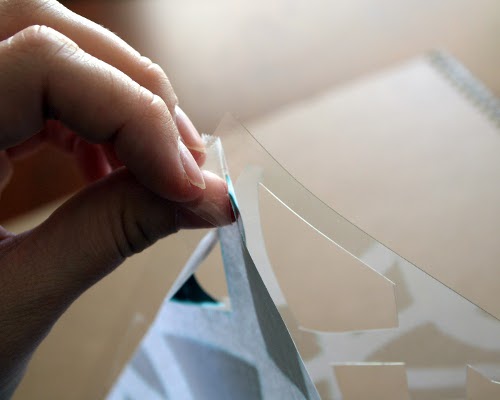
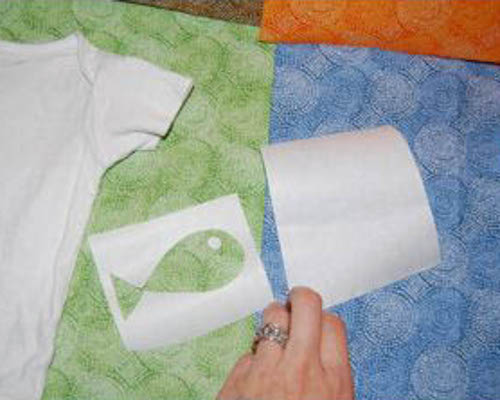
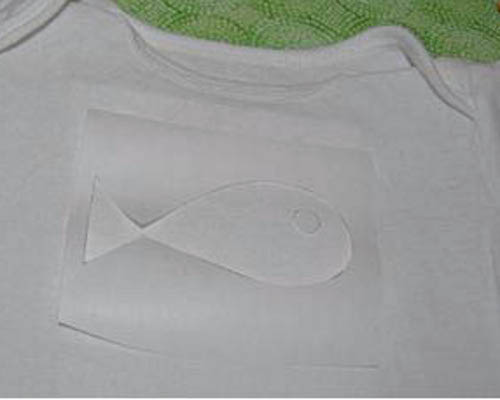
- We remove the substrate and use an iron to glue the main part first, then the small parts into their places.
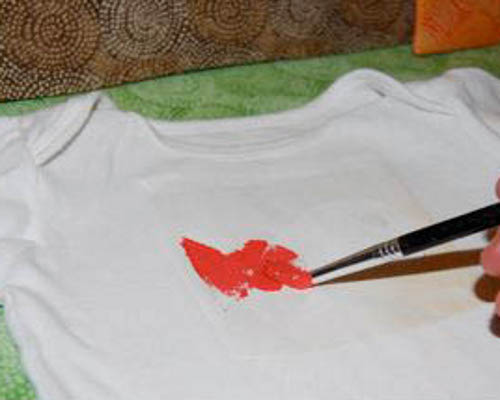
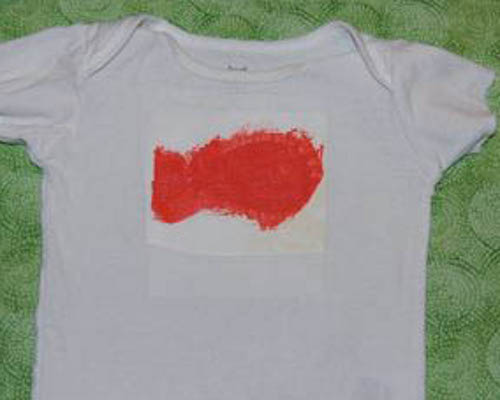
- We put the paint.
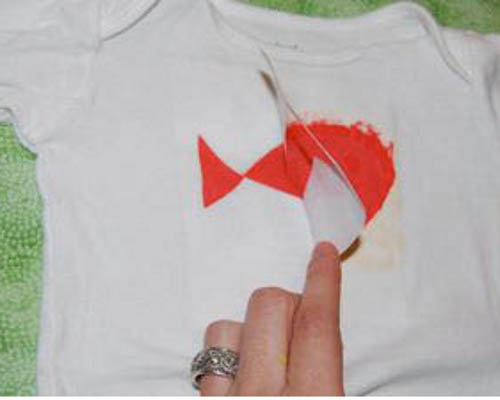
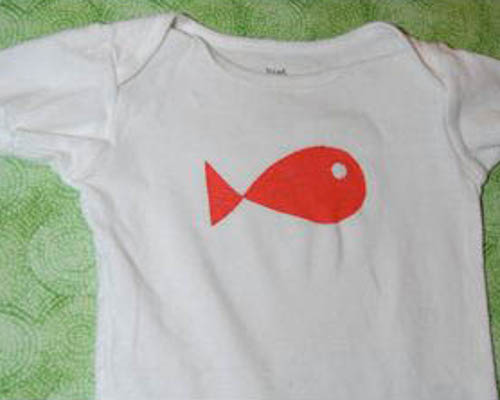
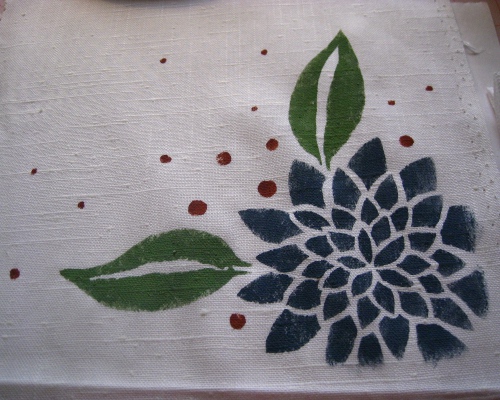
- And then we remove the film and the picture is ready.
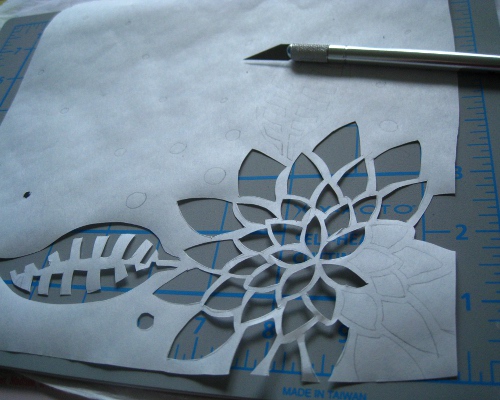
- It would seem, well, for what you might need a paper template, if the more durable of the transparent sheet is much more reliable. But sometimes it is convenient to work with such paper, in particular with tissues. Here's another option, how to make a stencil out of paper in a more "jewelry" technique:
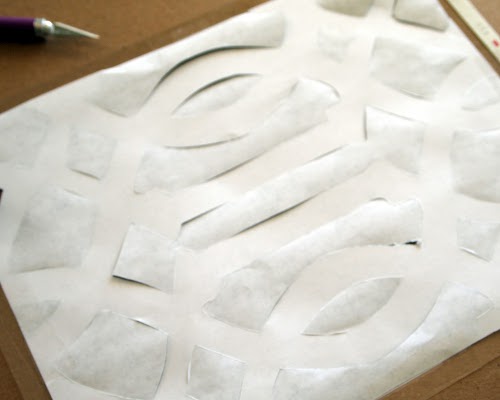
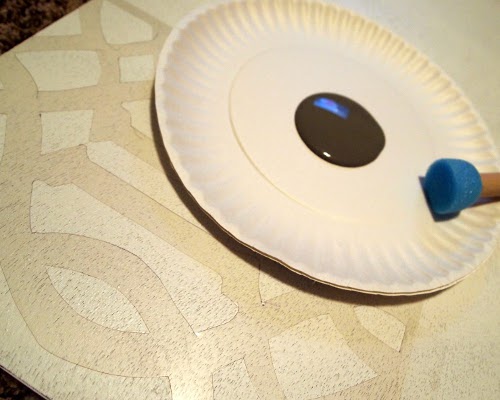
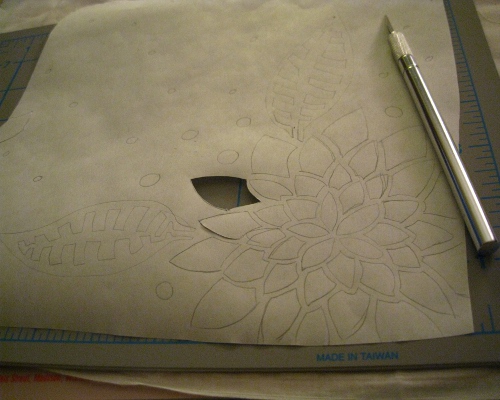
- We take already familiar to us Freezer Paper and with the help of a pencil we move the drawing.
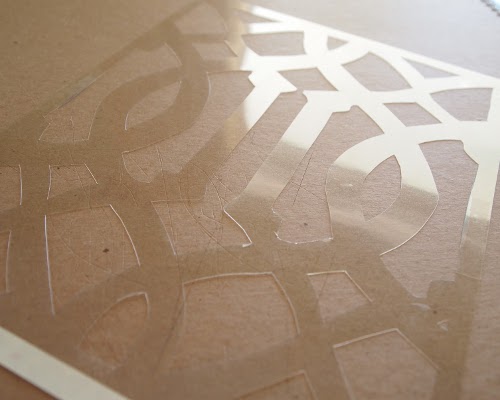
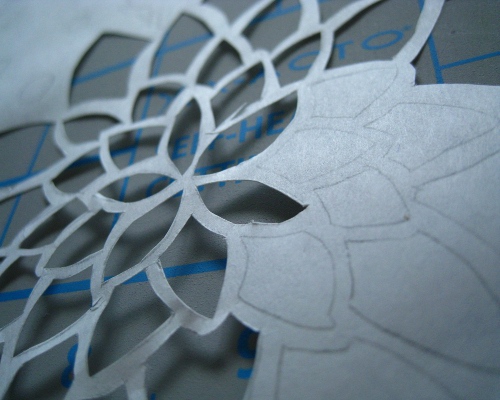
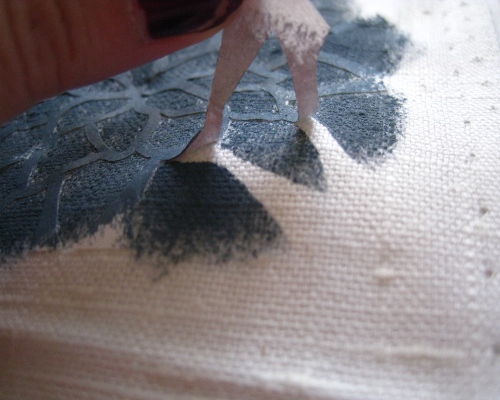
- Now, with a clerical knife, carefully cut out and get literally a mesh for a more complex pattern.
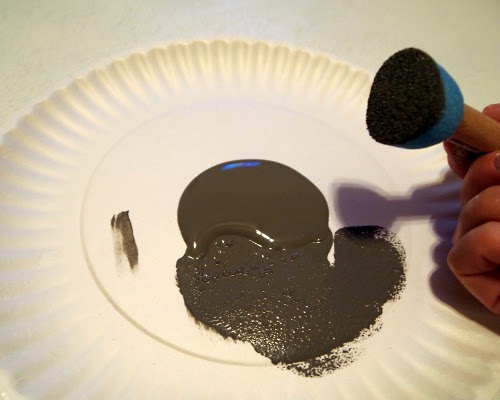
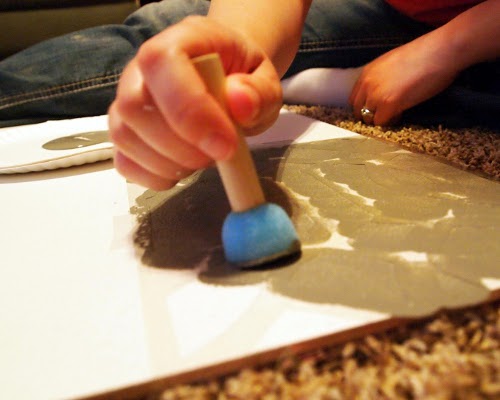
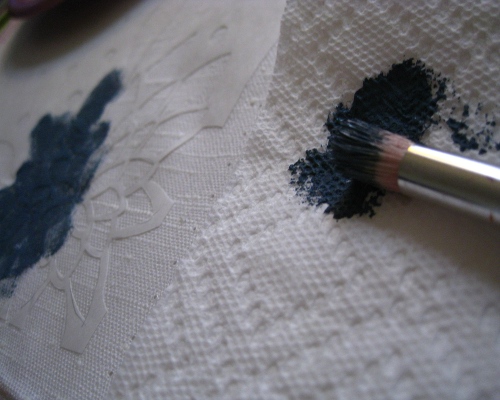
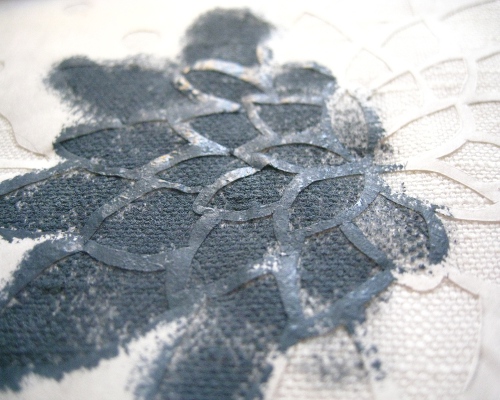
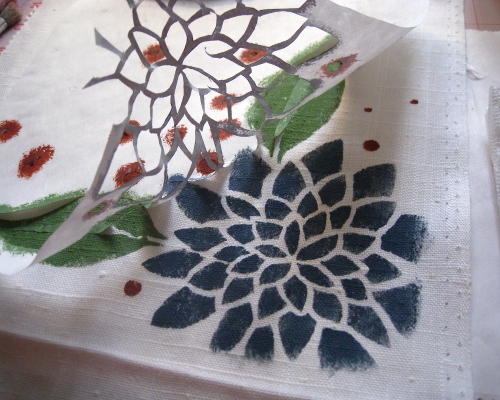
- And the last stage of the master class of stencil manufacturing is paint application. Previously, the paper was smoothed to the fabric and now we gradually fill the stencil.
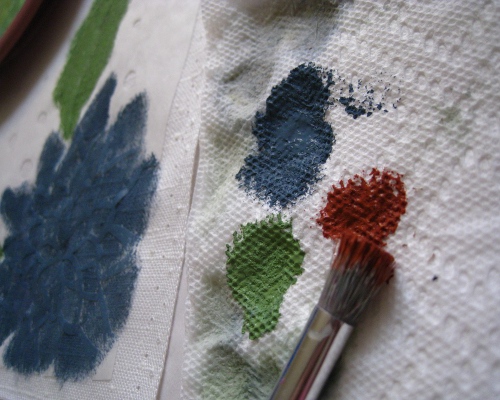
- For this technique, you should use a soft sponge such as a sponge for washing dishes or a brush, but beforehand remove a little of the excess paint on the napkin.
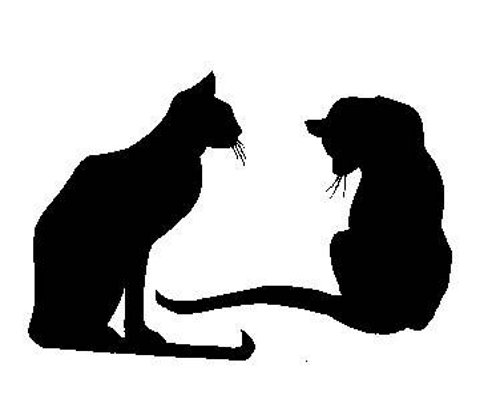
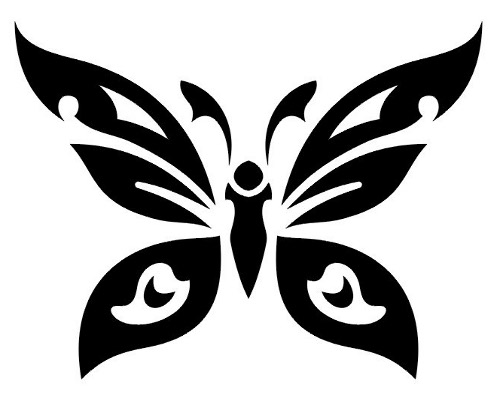
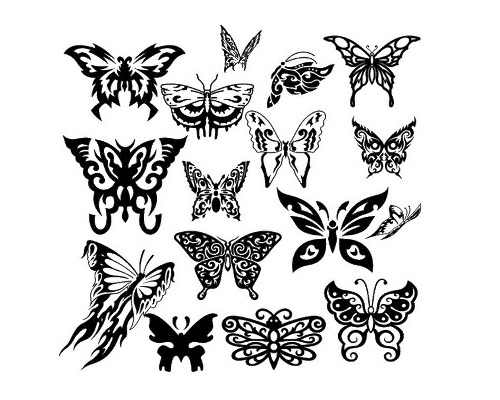
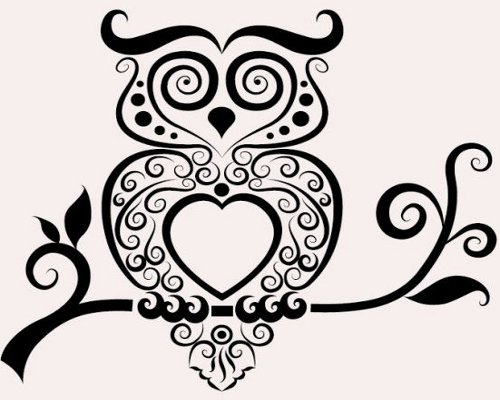
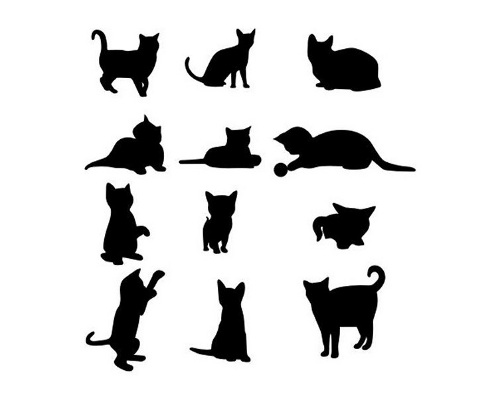
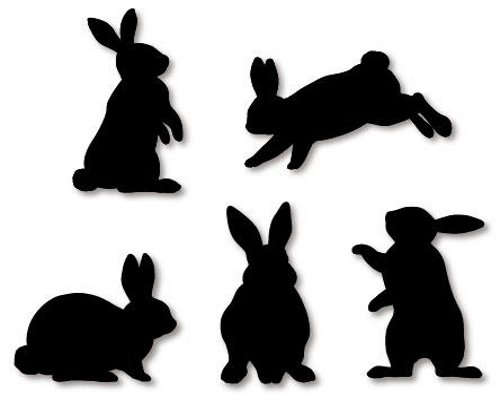
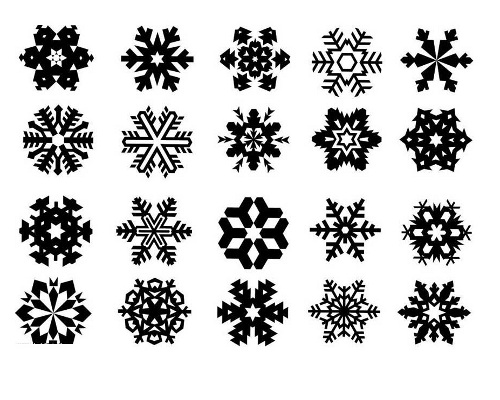
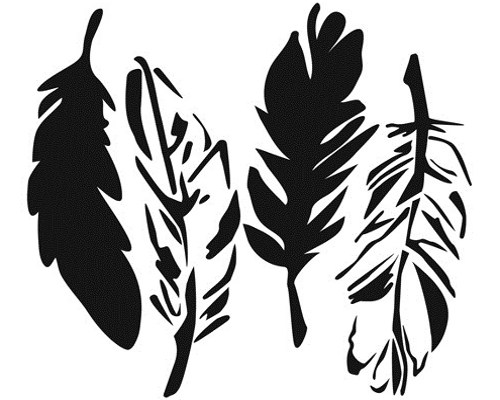
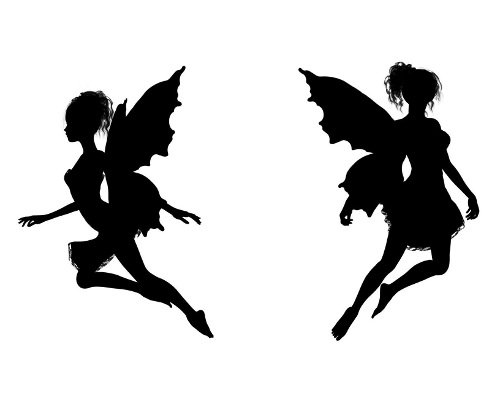
Below are the most commonly used patterns for stencils for decor, which are quite capable of overcoming a newcomer in this matter.