From organza, not only dresses, skirts or tulle are obtained, but also very delicate and beautiful hand-made articles. In this article, you will learn step by step how to make your own hands the original topiary from organza. After all, it can help us decorate your holiday or congratulate your loved ones.
MK: topiary from organza with own hands
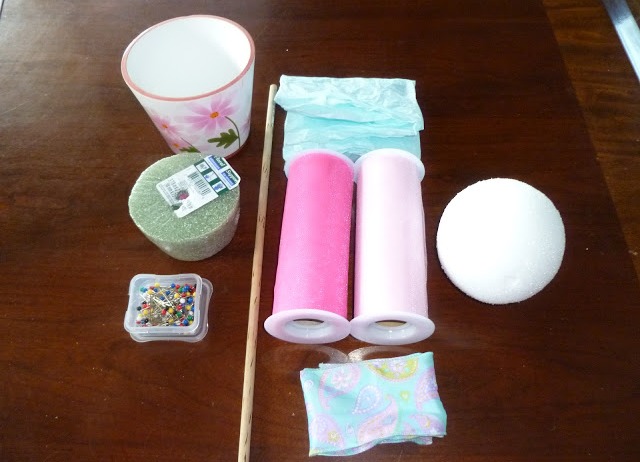
It will take:
- pot;
- a foam ball;
- stick;
- sewing pins with beads on the end;
- round expanded polystyrene;
- 2 rolls of organza in different shades of pink;
- papyrus paper;
- glue;
- bright wide ribbon.
Progress:
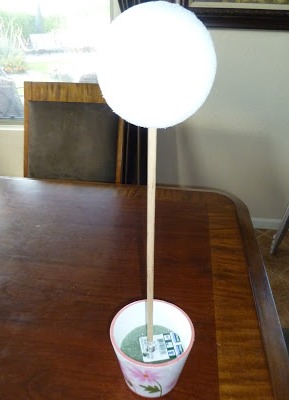
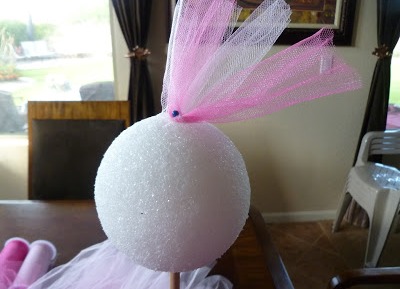
- We put polystyrene in a pot, and then in the center we stick a stick into it. At the second end, put on the ball.
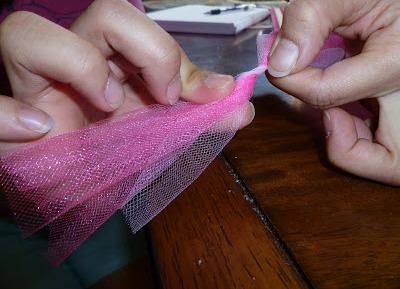
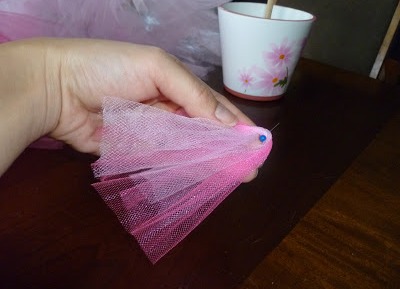
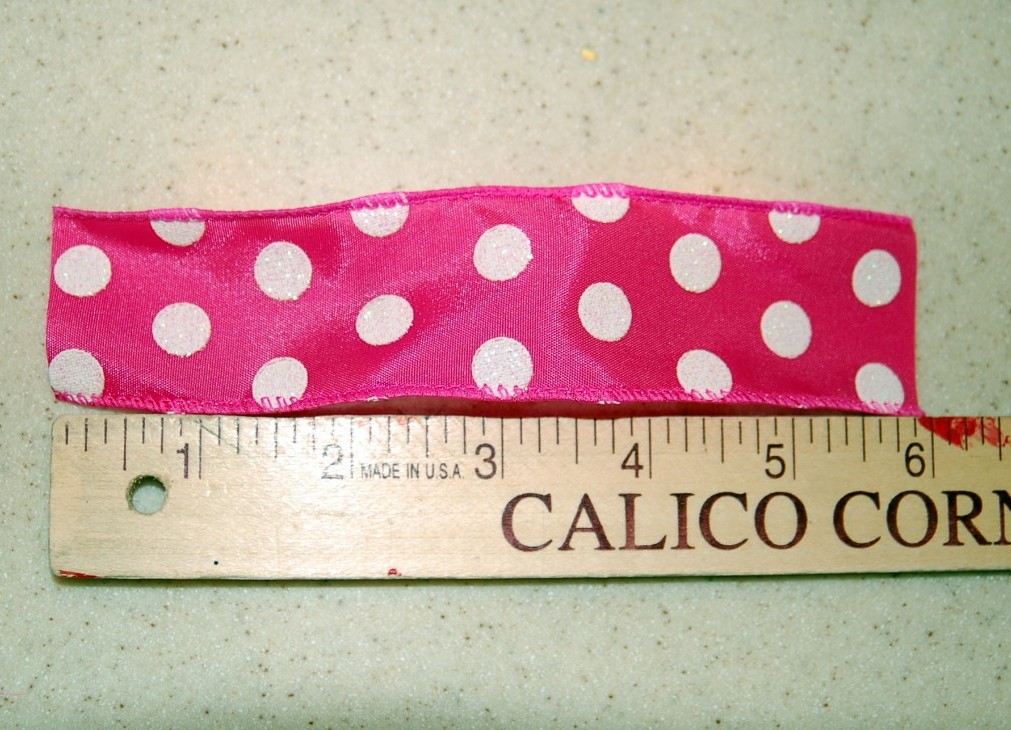
- We cut organza ribbons into lengths of 20 cm in length. In total, we need 65 pieces of each color.
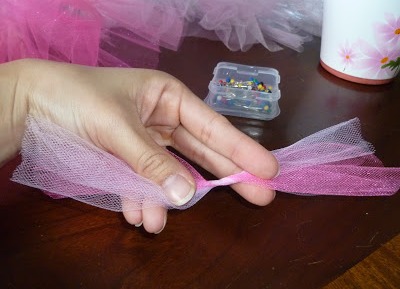
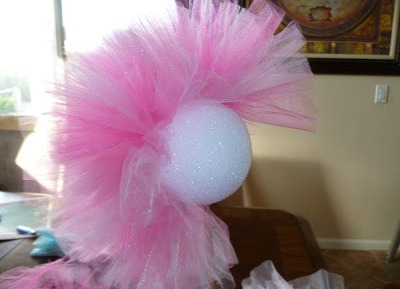
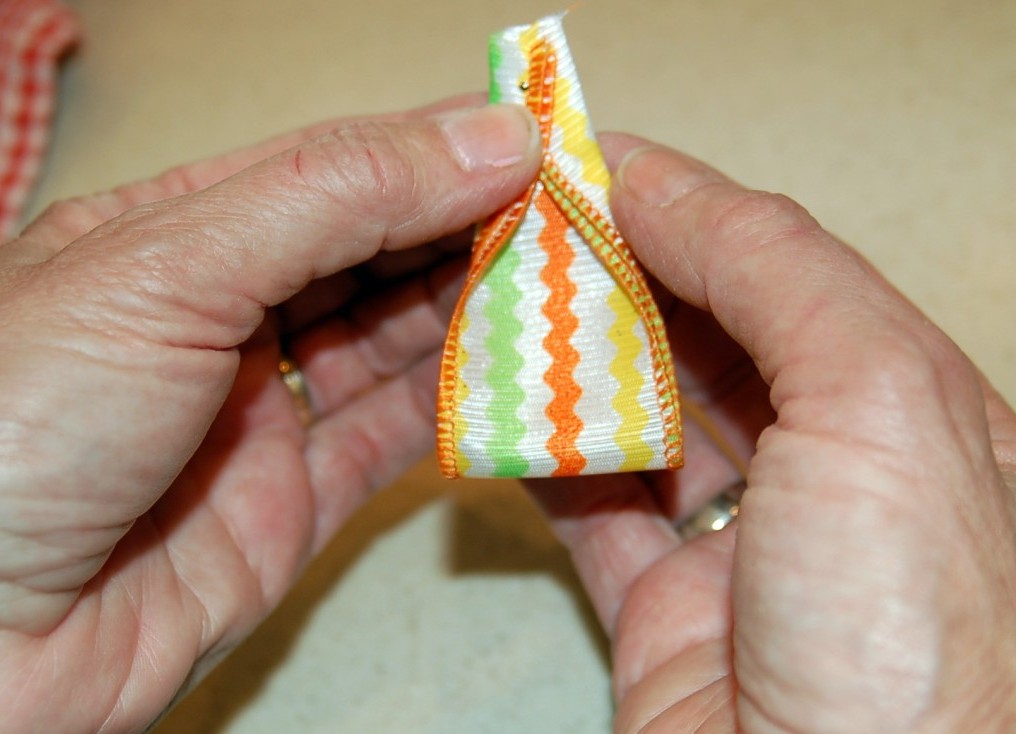
- We take 1 piece of different colors. Twist them in the middle several times, then fold them in half and pierce the material at the folding point.
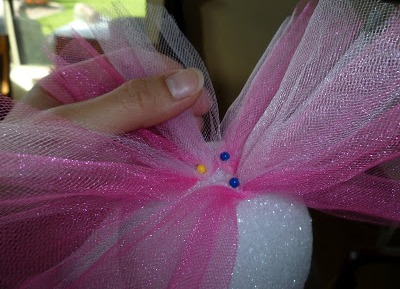
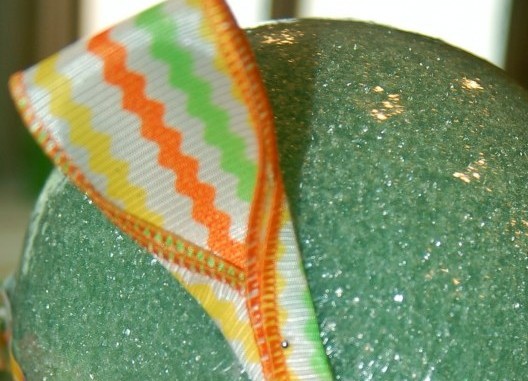
- Hold the ball, stick the upper part of our workpiece. All the others are pinned at a distance of 2.5 cm. The new workpieces must be pinned first from one side from top to bottom, and then only to the second half.
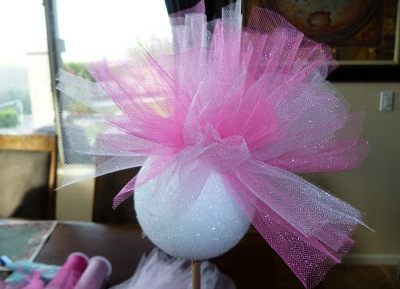
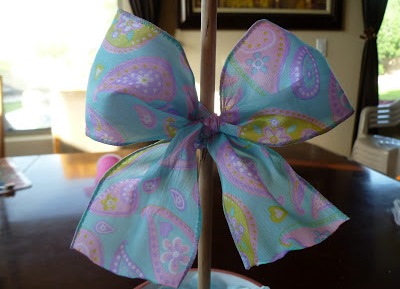
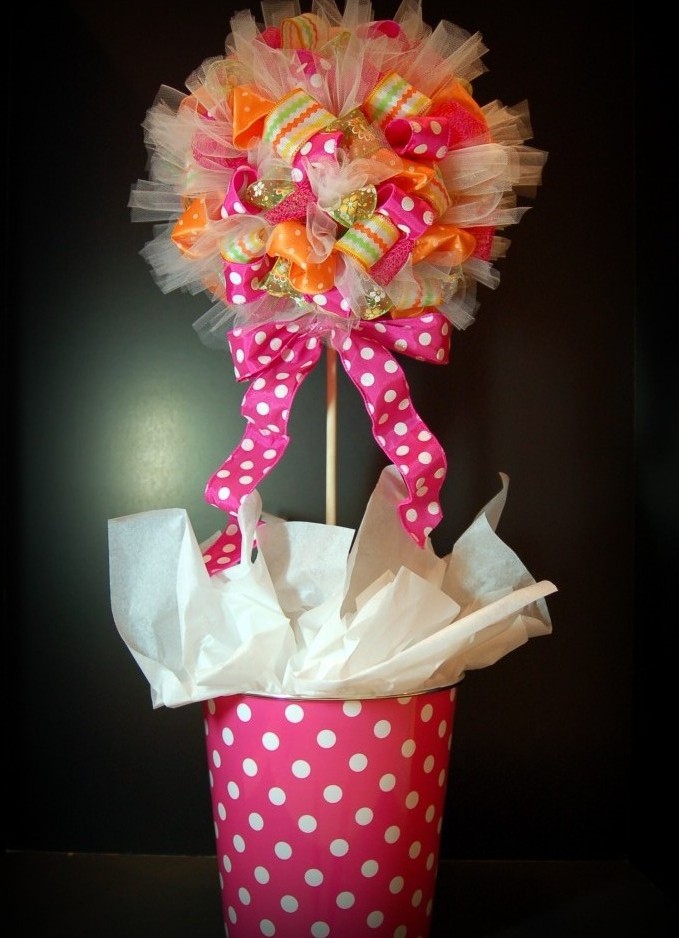
- 5. We decorate the surface around the trunk with blue papyrus paper. We paste it to the expanded polystyrene, put in a pot, and we tie a bow on the stick.
- The topiary is ready!
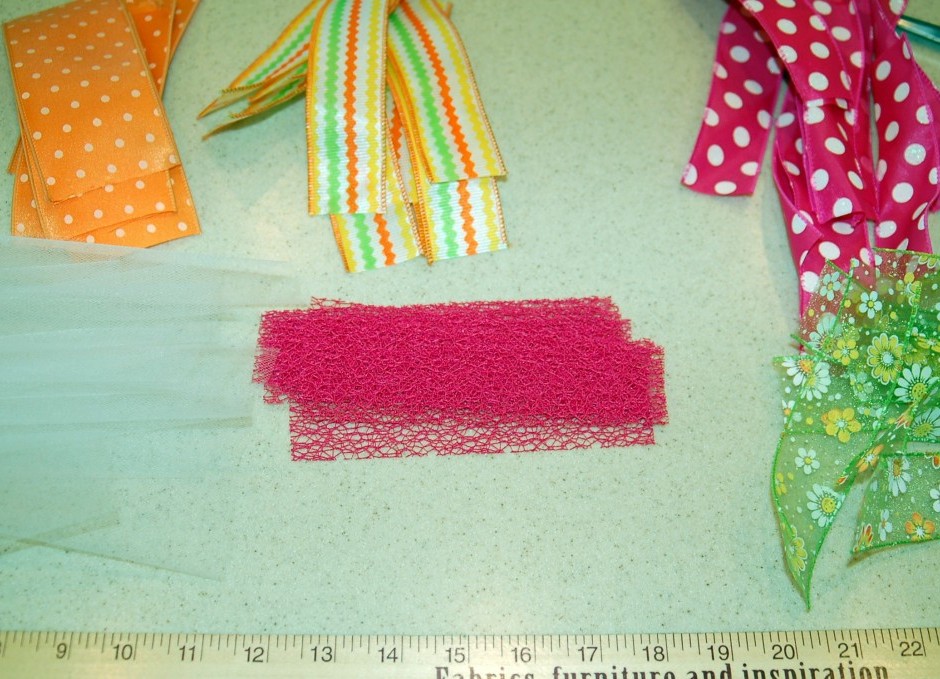
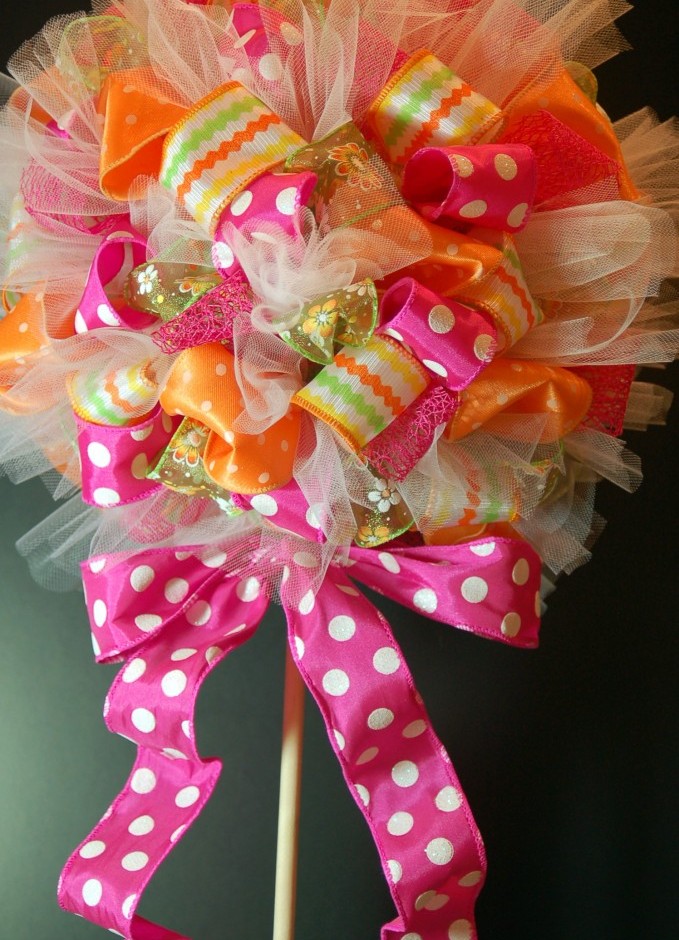
- If this option seemed boring to you, you can supplement it with satin ribbons.
- To do this, cut the colored ribbons into pieces of 15 cm.
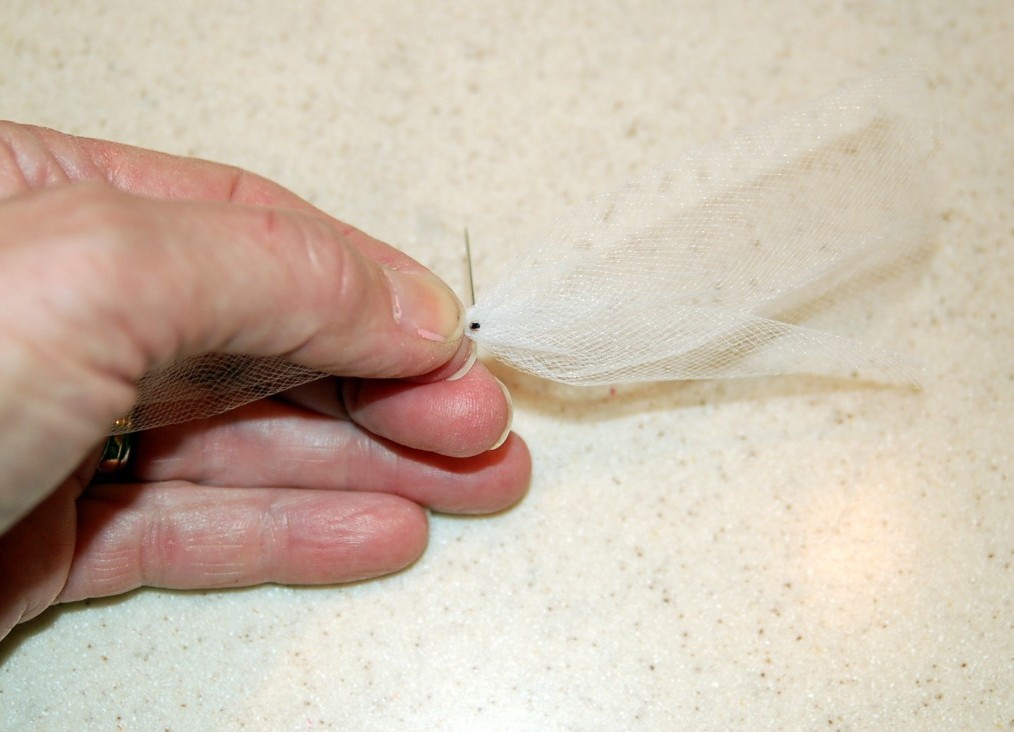
- Fold them in half and bend the corners, going a little beyond the middle. In the center we stick a needle, fixing a cloth.
- From the white organza we make the blanks as described in the master class.
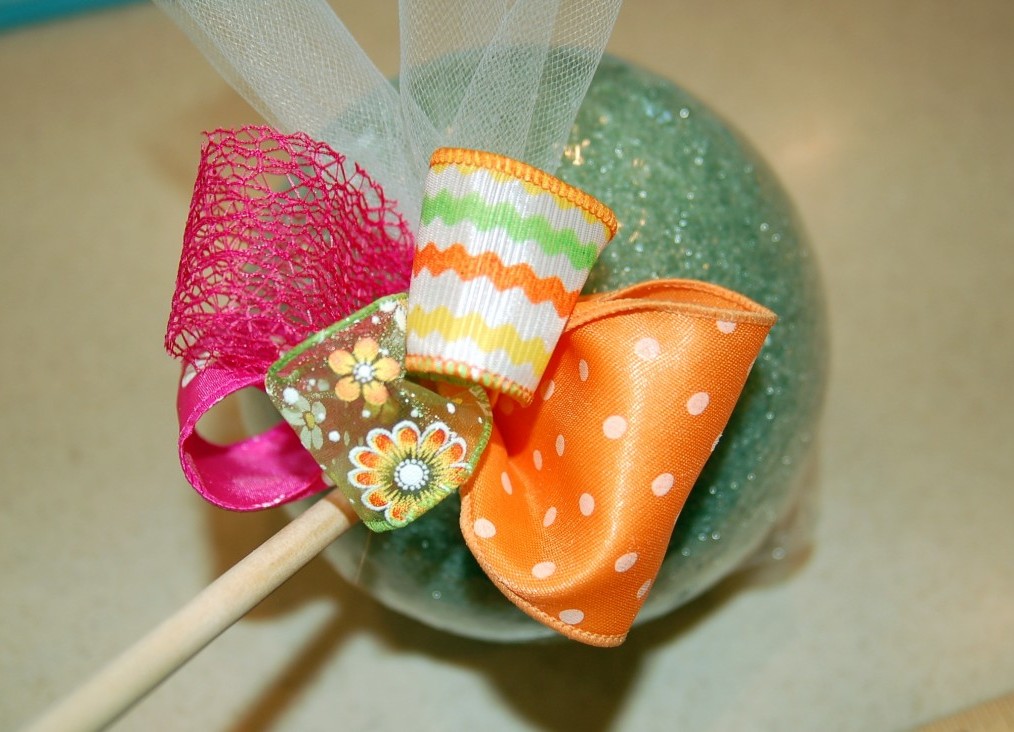
- We stick in a ball alternately blanks from tapes and organza.
- After all the space of the balloon is closed, we tie a bow on the trunk and decorate the space in the pot. Our topiary is ready!
| | |
| | |
| | |
| | |
| | |
| | |
| | | |
| | |
| | |